You’ll achieve professional 3D printed jewelry by mastering progressive sanding from 100-grit to ultra-fine, wet sanding for mirror finishes, and vapor smoothing with acetone for ABS pieces. Use heat gun smoothing between 150-200°C, apply plastic-compatible primers before painting, and polish with compounds using circular motions. Optimize resin prints through post-curing, add surface textures via bead blasting or laser etching, and finish with UV-protective clear coats for durability. These techniques transform rough prints into stunning, professional-quality accessories that’ll elevate your craftsmanship to the next level.
Sanding With Progressive Grit Techniques
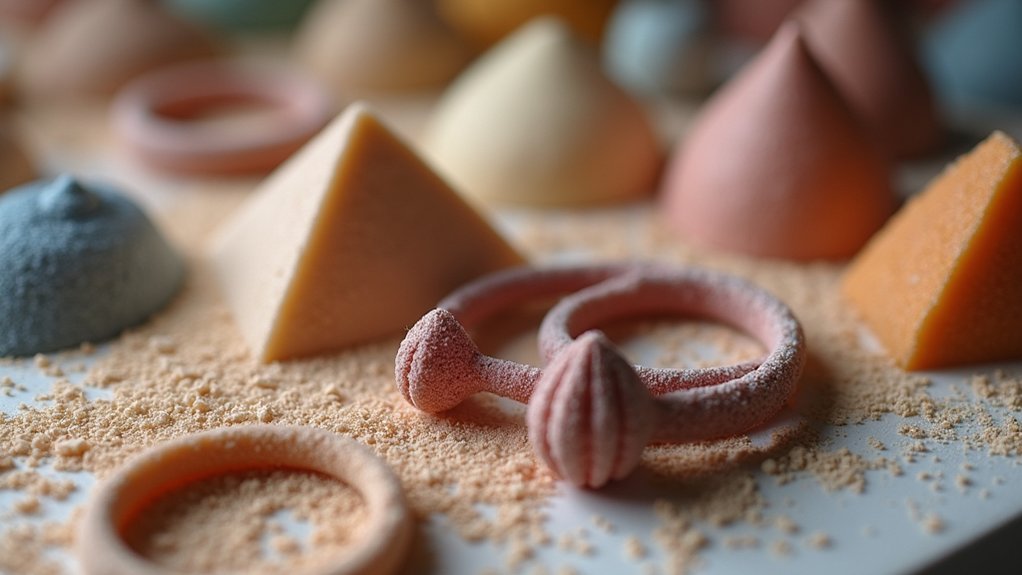
When you’re ready to transform your 3D printed jewelry from rough to refined, start with coarse sandpaper in the 100-200 grit range to tackle those prominent layer lines and surface imperfections.
This initial sanding creates the foundation for achieving a professional smooth surface finish.
Next, progress systematically to 400-600 grit sandpaper to refine the surface further.
This gradual shift prevents creating new scratches while eliminating previous grit marks.
Maintain consistent motion and apply even pressure throughout the sanding process to avoid uneven surfaces.
For best results, incorporate wet sanding during final stages.
This technique minimizes dust production and enhances smoothness considerably.
Remember to inspect your piece regularly between grit changes, monitoring progress carefully before advancing to finer grades.
This methodical approach guarantees exceptional results.
Wet Sanding for Mirror-Like Surfaces
You’ll achieve that coveted mirror-like finish on your 3D printed jewelry by mastering three critical wet sanding elements.
Start with progressive grit selection methods that move systematically from coarse to ultra-fine abrasives.
Then maintain proper water flow techniques to keep your surface lubricated throughout the process.
Complete your transformation by applying the right polishing compounds that’ll bring out that professional, glass-like shine you’re after.
Progressive Grit Selection Methods
As you commence on transforming your 3D printed jewelry from rough to radiant, selecting the right progression of sandpaper grits becomes essential for achieving that coveted mirror-like finish. You’ll need to strategically advance through specific grit ranges to eliminate layer lines and surface imperfections effectively.
| Grit Range | Purpose | Technique | Duration |
|---|---|---|---|
| 100-200 | Remove layer lines | Circular motions | 2-3 minutes |
| 400-600 | Refine surface | Light pressure | 1-2 minutes |
| 800-1000 | Pre-polish prep | Gentle strokes | 30-60 seconds |
| 1200+ | Final smoothing | Minimal pressure | 15-30 seconds |
Remember to clean your sandpaper and jewelry piece regularly during wet sanding. This prevents debris accumulation that could scratch your work. Each grit change brings you closer to that professional smooth finish you’re targeting.
Proper Water Flow Techniques
Water flow control transforms ordinary wet sanding into a precision finishing technique that’ll deliver the mirror-like surfaces you’re after.
You’ll want to maintain a steady, gentle stream that keeps your sandpaper and jewelry piece consistently lubricated without flooding your workspace. Start with a light water flow—just enough to create a slurry that carries away debris and prevents clogging.
Too much water washes away the abrasive action, while too little causes scratching and overheating.
Keep your sandpaper moving in circular motions, allowing water to flow across the surface continuously. Clean both the jewelry and sandpaper frequently to remove accumulated particles.
This controlled wet sanding approach prevents scratches and guarantees your polished finish develops evenly across the entire surface.
Final Polishing Compound Application
Three distinct polishing compounds will elevate your wet-sanded jewelry from smooth to mirror-bright perfection.
Start with medium compound using circular motions on your highest-grit surface. Apply light pressure while working systematically across the entire piece. You’ll notice the surface becoming increasingly reflective as micro-scratches disappear.
Switch to fine compound next, reducing pressure even further. This stage removes remaining imperfections left by medium compound. Work slowly and methodically – rushing compromises your final appearance.
Finish with ultra-fine compound for maximum brilliance. Use barely perceptible pressure, allowing the polishing compounds to do the work.
Rinse thoroughly between each stage to prevent contamination. The progression through these three compounds transforms your wet-sanded piece into professional-quality jewelry with mirror-like reflectivity that rivals commercially manufactured pieces.
Vapor Smoothing With Acetone and Solvents
When you’re looking to achieve professional-grade finishes on your 3D printed jewelry, vapor smoothing with acetone stands out as one of the most effective post-processing techniques available.
This method dissolves your print’s surface layer, virtually eliminating layer lines and creating a glass-like finish that’s perfect for jewelry applications.
You’ll place your ABS jewelry piece in a sealed container with acetone, ensuring the vapor circulates without direct liquid contact. The process reduces surface roughness by approximately 90% while preserving your piece’s structural integrity.
Always work in well-ventilated areas and wear protective gear, as acetone fumes pose health risks.
This technique transforms rough 3D prints into smooth, professional-quality jewelry pieces that rival traditional manufacturing methods.
Heat Gun Smoothing for Thermoplastic Materials
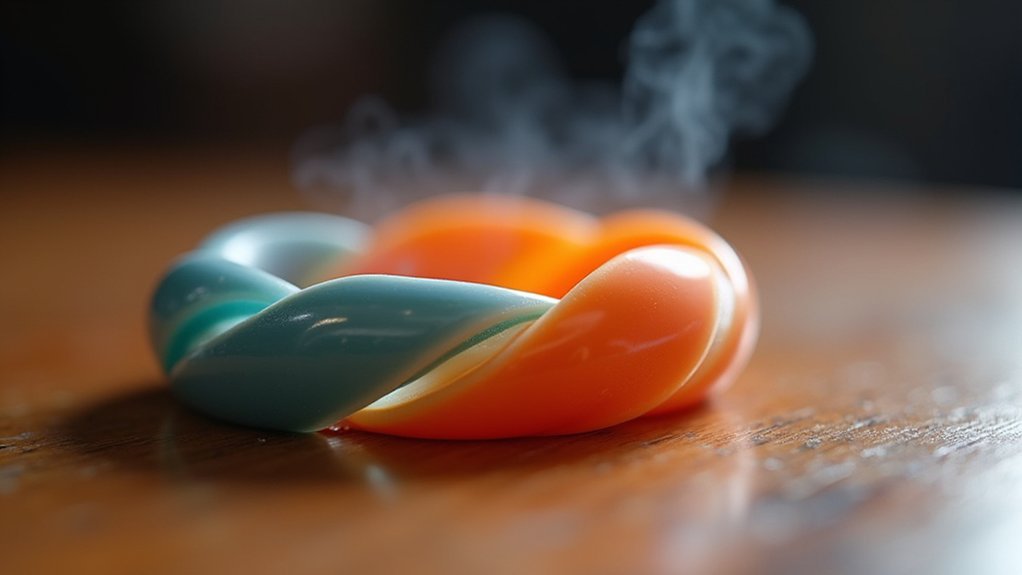
You’ll need precise temperature control between 150°C to 200°C when using heat gun smoothing to avoid melting or warping your thermoplastic jewelry pieces.
This technique effectively reduces layer lines by slightly melting the surface, creating a smoother finish that enhances the overall texture and professional appearance of your prints.
Always work in a well-ventilated area and wear protective equipment, as the heating process releases potentially harmful fumes that you shouldn’t inhale.
Temperature Control Methods
Although 3D printed jewelry often emerges from the printer with visible layer lines that detract from its professional appearance, heat gun smoothing offers an effective solution for thermoplastic materials like PLA.
You’ll need precise temperature control to achieve a smooth surface without damaging your printing work. Set your heat gun between 130°C to 150°C for ideal results. This temperature range melts the outer layer just enough to eliminate layer lines while preserving the structural integrity beneath.
Maintain a consistent 4 to 6-inch distance from your jewelry piece to prevent overheating. Move the heat gun steadily across the surface using controlled motions.
You’ll avoid localized melting that can warp or distort intricate details. Your steady hand ensures even heat distribution, creating that polished, professional finish your jewelry deserves.
Surface Texture Enhancement
Since achieving professional surface quality remains the ultimate goal for 3D printed jewelry, heat gun smoothing transforms rough, layered surfaces into smooth, polished finishes that rival traditionally manufactured pieces.
This technique works by carefully heating thermoplastic materials like PLA to melt the outer layer slightly, reducing layer line visibility and creating an enhanced surface finish.
You’ll need precise temperature control to prevent deformation or warping.
Follow these essential steps for ideal results:
- Maintain safe distance between heat gun and jewelry piece
- Move heat gun in sweeping motions for even heat distribution
- Avoid creating hot spots that could damage material
- Focus on larger surface areas where sanding isn’t efficient
This method considerably improves your jewelry’s visual appeal while creating a comfortable, smooth texture that’s pleasant to wear.
Safety Precautions Required
While heat gun smoothing delivers exceptional results, working with high-temperature equipment demands strict safety precautions to protect both you and your workspace.
Always wear protective gloves and safety goggles before operating your heat gun to prevent burns and eye injuries from hot surfaces or flying debris.
Ensure your workspace has proper ventilation to avoid inhaling toxic fumes released when heating thermoplastics like PLA.
Maintain 6-12 inches distance between the heat gun and your jewelry piece to prevent overheating and deformation.
Place a heat-resistant mat under your work area to protect surfaces and prevent fires.
Regularly monitor your heat gun’s temperature settings, as different materials require specific ranges for effective smoothing without melting or warping your carefully crafted pieces.
Primer Application and Professional Painting Methods
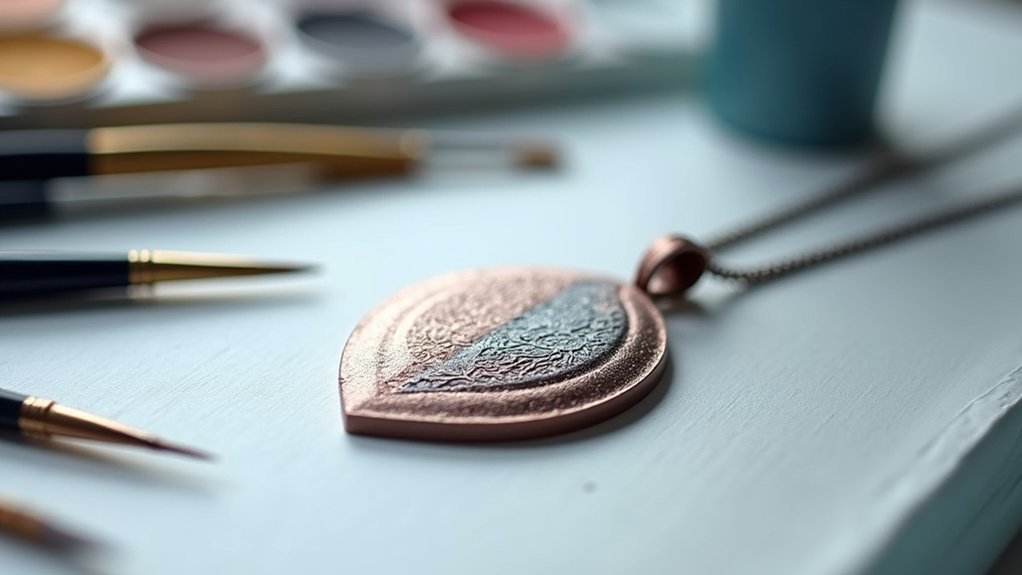
When you’re ready to transform your 3D printed jewelry from rough prototype to polished masterpiece, primer application becomes your first critical step toward achieving professional results.
You’ll need high-quality primer designed specifically for plastics to guarantee proper compatibility with your 3D printed material. This fills layer lines and imperfections while creating the ideal base for paint adhesion.
Follow these professional painting steps:
- Apply primer evenly across the entire surface.
- Sand with 400-600 grit sandpaper once primer dries completely.
- Apply multiple thin acrylic paint layers, allowing each to dry thoroughly.
- Finish with clear topcoat for glossy protection.
Professional painting requires patience—rushing between coats creates drips and uneven texture.
The topcoat not only enhances appearance but provides essential protection for your finished jewelry piece.
Resin Coating for Durable Protection
You’ll need to choose between epoxy and UV-curable resins based on your project’s requirements and available equipment.
Your application method matters greatly—whether you’re brushing, dipping, or spraying the resin directly affects the final quality and evenness of coverage.
The curing process you select will determine both the timeline and durability of your protective coating.
Selecting Optimal Resin Types
Two primary resin types dominate the 3D printed jewelry finishing market: epoxy resins and UV-curable resins, each offering distinct advantages for protecting your pieces.
Epoxy resins provide extended working time, allowing you to carefully apply the resin coating and smooth the surface before it hardens. They’re ideal for complex geometries where you need precision application.
UV-curable resins offer rapid curing under specialized lights, making them perfect for quick turnaround projects.
Consider these factors when selecting:
- Curing time requirements – UV resins cure in minutes versus hours for epoxy
- Working temperature – Epoxy performs better in cooler environments
- Final hardness level – UV resins typically create harder surfaces
- Cost considerations – Epoxy generally costs less per application
Choose based on your specific project needs and workspace capabilities.
Application Methods and Tools
Once you’ve selected your preferred resin type, proper application tools become the foundation of achieving professional results.
You’ll need fine brushes or silicone applicators for precise resin coating distribution across your additive manufacturing pieces. Foam brushes work well for larger surfaces, while detail brushes handle intricate areas and crevices effectively.
Essential equipment includes UV lamps for rapid curing, disposable gloves for safety, and mixing cups for two-part epoxy resins.
Keep lint-free cloths nearby for cleanup and masking tape to protect specific areas from coating.
Work in a well-ventilated space with adequate lighting to spot imperfections during application.
Position your jewelry on elevated stands or pins to access all angles while preventing the piece from sticking to your work surface during the curing process.
Curing and Hardening Process
After applying your resin coating evenly across the jewelry surface, the curing process transforms the liquid material into a hard, protective shell that’ll dramatically improve your piece’s durability and appearance.
You have two primary curing options for your resin-coated jewelry:
- UV lamp curing – Provides rapid hardening within minutes for faster project completion
- Air drying – Allows natural curing over several hours without additional equipment
- Post-curing sanding – Creates an ultra-smooth, glossy finish perfect for premium jewelry
- Safety precautions – Maintain proper ventilation and wear protective gear during the resin curing process
UV curing delivers quicker results, making it ideal when you’re working on multiple pieces.
Once your resin has fully hardened, you can sand the surface to achieve that professional, scratch-resistant finish that’ll protect your jewelry from environmental damage.
Mechanical Polishing With Compounds
The polishing machine becomes your primary ally in transforming rough 3D printed jewelry into professionally finished pieces.
Mechanical polishing with the right polishing compounds eliminates layer lines and creates mirror-like finishes that rival traditional jewelry-making methods.
Select your compounds strategically – tripoli works excellently for aluminum and brass pieces, while rouge delivers superior mirror finishes on various metals.
You’ll need soft polishing wheels or buffing pads to distribute compounds evenly without scratching delicate surfaces.
Maintain consistent, moderate speeds with light pressure throughout the process. Excessive heat can distort or melt heat-sensitive materials, ruining hours of work.
Clean your tools regularly and replace worn pads to prevent contamination that compromises finish quality.
This methodical approach guarantees professional results every time.
Post-Curing Optimization for Resin Prints
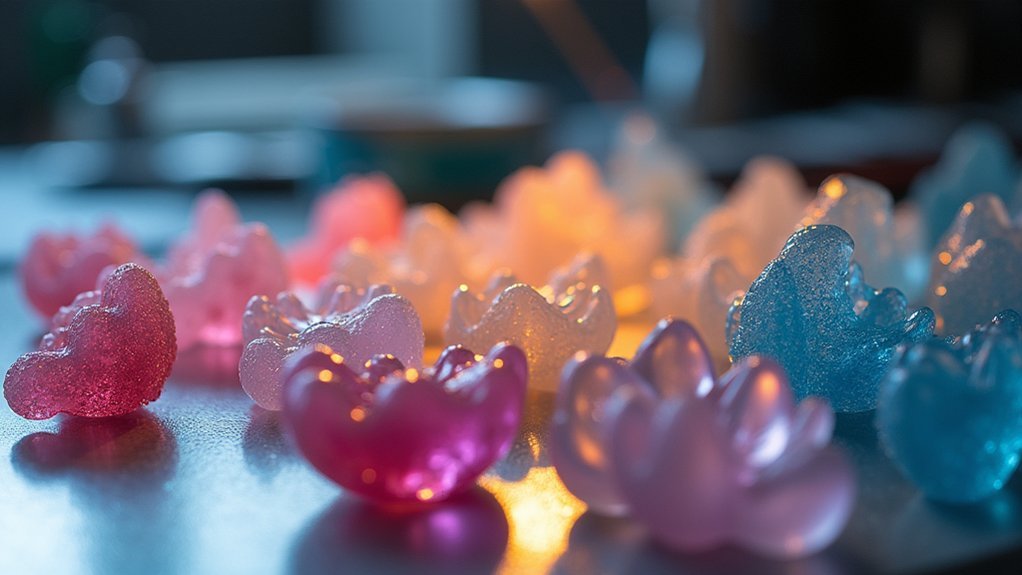
When your resin jewelry emerges from the printer, it’s only reached about 80% of its potential strength and surface quality.
Post-curing optimization transforms your pieces into high-quality 3D printed jewelry by exposing them to controlled UV light after initial printing.
Here’s your essential post-curing workflow:
- Clean thoroughly – Remove all uncured resin before UV exposure to prevent surface defects.
- Set proper timing – Expose pieces for 10-30 minutes depending on resin type and thickness.
- Use UV chambers – Guarantee uniform light distribution to prevent warping and uneven curing.
- Monitor progress – Longer exposure increases hardness and durability considerably.
This process eliminates residual tackiness while enhancing clarity and gloss.
You’ll notice markedly improved mechanical properties and a professional surface finish that elevates your jewelry’s overall aesthetic quality.
Surface Texturing and Pattern Enhancement
Surface texturing transforms smooth 3D printed jewelry into pieces with visual depth and tactile appeal that rival traditional handcrafted techniques.
You can create intricate patterns that enhance your jewelry design through various post-processing methods. Bead blasting or sandblasting adds elegant matte finishes while eliminating unwanted layer lines and imperfections from your prints.
For functional improvements, apply textured coatings like spray-on rubberized finishes that boost grip and comfort for wearable pieces.
Laser etching offers precise customization options, letting you incorporate personal touches or branding elements seamlessly into your designs.
Consider embossing or debossing techniques to create raised or recessed surface patterns that add dimensional interest.
These surface texturing methods elevate your 3D printed jewelry from basic prints to sophisticated pieces with professional-grade finishes.
Clear Coating and UV Protection Applications
Building upon textured surfaces, clear coatings serve as your jewelry’s armor against daily wear and environmental damage.
These protective layers transform your 3D printed pieces into durable, professional-quality accessories that withstand time and use.
UV protection prevents your PLA and ABS materials from discoloring or degrading under sunlight exposure.
Clear coatings like acrylic or polyurethane don’t just protect—they enhance your jewelry’s visual appeal with glossy finishes that make colors pop and designs shine.
For ideal results, follow these application techniques:
- Apply thin, even layers to prevent air bubbles
- Allow adequate drying time between coats
- Choose water-resistant formulas for everyday wear pieces
- Work in dust-free environments for smooth finishes
You’ll extend your jewelry’s lifespan considerably while creating stunning, professional-grade pieces.
Frequently Asked Questions
How to Get Smooth Finish on 3D Print?
You’ll achieve smooth 3D prints by sanding progressively from 100-600 grit, applying primer, then using heat guns on PLA or vapor smoothing with acetone to reduce surface roughness considerably.
How Can I Improve My Surface Finish in 3D Printing?
You’ll improve surface finish by progressively sanding from 100-grit to 600-grit, applying primer, using heat guns for PLA, applying resin coatings, or employing vapor smoothing with acetone for superior results.
What Coating Makes 3D Prints Stronger?
You’ll strengthen 3D prints most effectively with epoxy resin coatings, which create protective shells around your pieces. Two-part polyurethane also works well, increasing wear resistance for frequently-used items through tougher exterior protection.
Which of the Following Are Known Finishing Processes for 3D Printed Parts?
You’ll find sanding, primer application, heat gun smoothing, resin coating, and vapor smoothing are all established finishing processes that’ll greatly improve your 3D printed parts’ surface quality and appearance.
In Summary
You’ve now mastered the essential techniques for transforming rough 3D printed jewelry into professional-grade pieces. Whether you’re using progressive sanding, vapor smoothing, or post-curing methods, consistent practice will refine your results. Don’t rush the process—each technique builds upon the last. Experiment with different combinations to find what works best for your specific materials and desired finish. Your jewelry’s ready to compete with traditionally manufactured pieces.



Leave a Reply