You’ll master 3D printed jewelry polishing through five pro techniques: start with thorough surface preparation and needle filing to remove supports and layer lines, then progress through systematic sanding from 400 to 1200 grit for smoothness. Apply hand polishing with tripoli and rouge compounds for enhanced luster, utilize mechanical polishing with rotary tools and specialized attachments for efficiency, and finish with professional burnishing techniques to achieve mirror-like surfaces. These methods will elevate your pieces to professional standards.
Surface Preparation and Filing for 3D Printed Jewelry
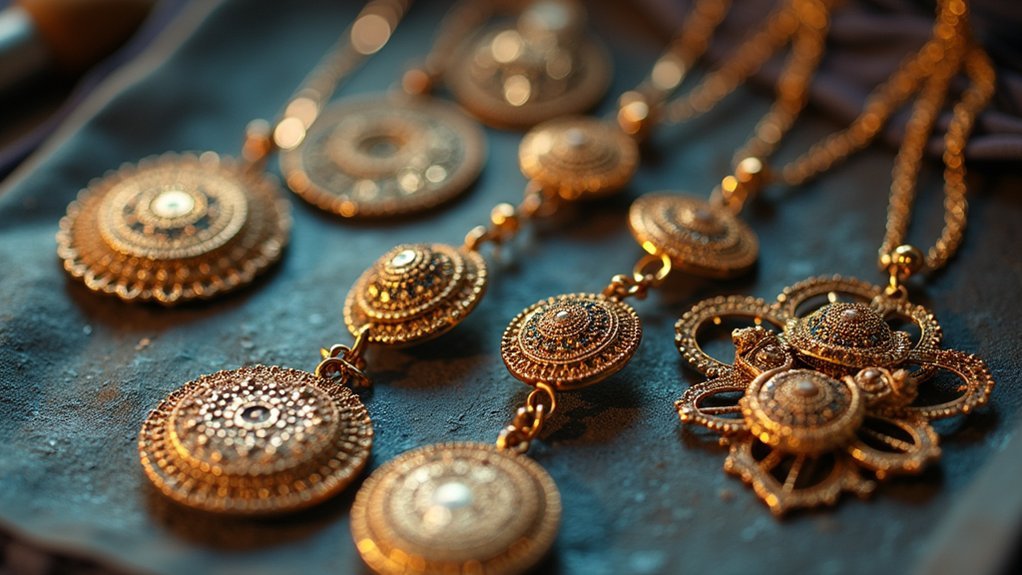
Precision starts with proper surface preparation when transforming your 3D printed jewelry from rough prototype to polished masterpiece.
You’ll need to remove all supporting structures first, then clean your jewelry pieces thoroughly to prevent debris contamination during later stages.
Use needle files for intricate details and contours, starting with coarser files before progressing to finer ones.
This systematic filing approach eliminates layer lines and imperfections while reducing extensive sanding requirements later.
Pay careful attention to each surface, as meticulous filing directly impacts your final piece quality.
Once you’ve achieved proper surface preparation through detailed filing work, you’ll have established the foundation for effective sanding and polishing processes that deliver the smooth finish your jewelry deserves.
Progressive Sanding Techniques for Smooth Finishes
After completing your initial filing work, you’ll begin the essential progressive sanding phase that transforms rough surfaces into smooth, polish-ready finishes. Start with 400 grit sandpaper and work systematically through increasingly finer grits up to 1200. Focus on removing visible scratches and imperfections at each stage, maintaining consistent sanding direction following your material’s grain to prevent deep marks during the polishing phase.
| Grit | Purpose | Technique |
|---|---|---|
| 400 | Remove filing marks | Dry sanding, firm pressure |
| 600 | Smooth rough texture | Consistent sanding direction |
| 800 | Eliminate scratches | Light, even strokes |
| 1200 | Final preparation | Wet sanding preferred |
Wet sanding proves particularly effective for controlling dust and achieving superior surface finish. Assess your jewelry piece after each grit stage, ensuring satin appearance before advancing. This methodical approach guarantees ideal final polish results.
Hand Polishing Methods With Specialized Compounds
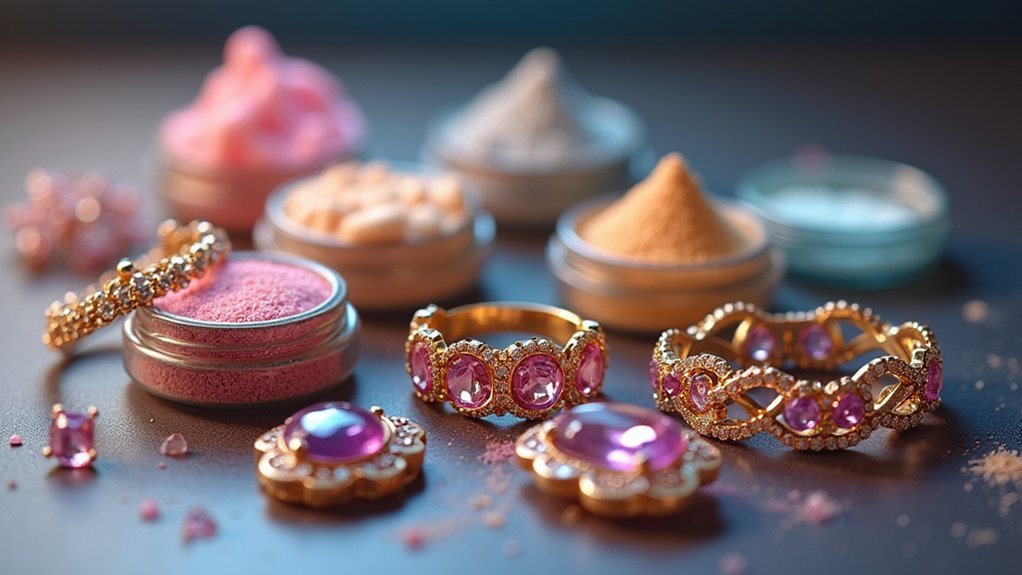
Transform your sanded jewelry into a mirror-like masterpiece using specialized polishing compounds that deliver professional-grade results.
Hand polishing methods offer superior control and precision, especially for intricate designs where rotary tools can’t reach.
Follow this proven polishing process:
- Clean thoroughly – Complete debris removal prevents scratches during polishing.
- Apply tripoli compound – Use a polishing cloth for coarse buffing to remove blemishes.
- Switch to rouge compound – Change polishing direction for fine finishing and enhanced surface luster.
- Work systematically – Focus on small sections to achieve consistent high shine.
These specialized polishing compounds work effectively when applied with soft cloths or wheels.
The key is changing your polishing direction between compound grades to eliminate swirl marks and guarantee even coverage across all surfaces.
Advanced Mechanical Polishing With Rotary Tools
Efficiency becomes your greatest ally when you graduate to rotary tools for polishing printed jewelry. The Dremel Multi Tool exemplifies precision control, accommodating various attachments like polishing mops and silicone carbide points.
These flexible wheels excel at maneuvering intricate designs that challenge traditional methods.
Your polishing compounds strategy requires systematic progression. Start with tripoli for pre-polishing, then advance to rouge for mirror-like finishes. Change polishing direction between grades to prevent uneven wear and achieve consistent results across your jewelry’s surface.
Enhance your technique by attaching polishing paper to small flat wood pieces. This modification guarantees even application of pressure during rotary polishing, delivering superior surface quality.
Silicone carbide polishing points, available in diverse shapes, provide faster finishing on complex geometries while maintaining the detailed work your printed jewelry demands.
Professional Burnishing and Final Surface Treatment
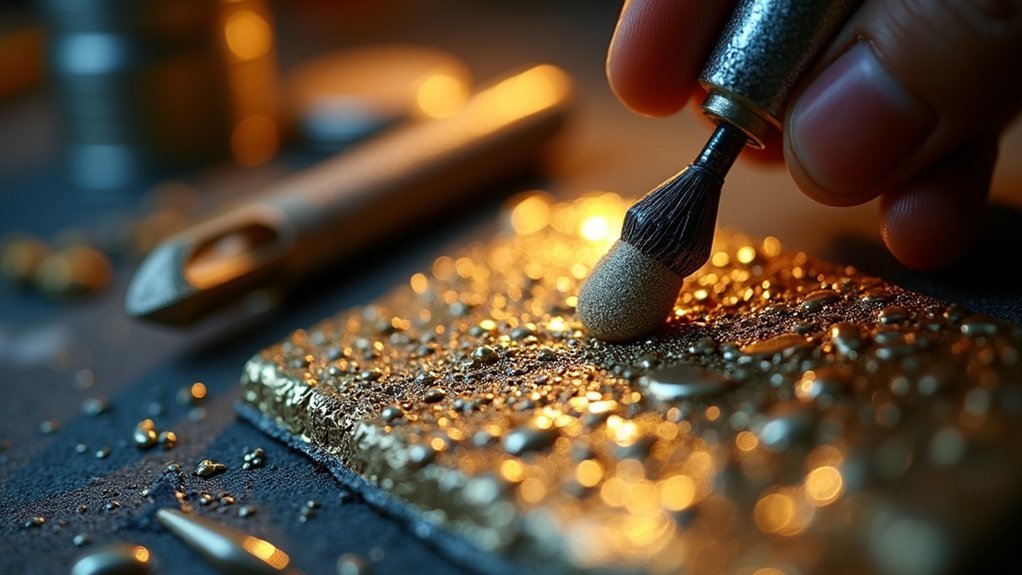
Three distinct advantages make burnishing your secret weapon for achieving exceptional surface quality on printed jewelry.
Professional burnishing creates a reflective shine without abrasives, making it perfect for delicate finishes on softer metals like silver and gold. You’ll smooth irregularities while sealing surfaces against wear, dramatically improving aesthetic quality.
Master this surface treatment with these essential steps:
- Use proper burnisher technique – Apply steady pressure with your steel-blade burnisher to create that coveted shiny finish
- Highlight artistic design elements – Create stunning contrasts between polished and oxidized areas
- Seal printed surfaces – Protect intricate designs from future wear and damage
- Apply polishing compounds – Follow burnishing with rouge to achieve a mirror-like finish on complex details
This combination transforms ordinary printed pieces into professional-grade jewelry.
Frequently Asked Questions
How Do Professionals Polish Jewelry?
You’ll clean the jewelry thoroughly first, then use rotary tools with coarse compounds like tripoli to remove scratches, progressing to finer rouge for mirror finishes while maintaining equipment properly.
What Is the Difference Between Buffing and Polishing Jewelry?
You’ll find polishing uses abrasive compounds to remove tarnish and create shine on rough surfaces, while buffing employs soft cloths to gently refine and finish surfaces after polishing’s completed.
How Much Do Jewelers Charge for Polishing?
You’ll typically pay between $20 to $100 for jewelry polishing, depending on your piece’s material and complexity. Gold and platinum cost more, while package deals can reduce your overall expenses considerably.
How Do You Buff Jewellery?
You’ll use a rotary tool with buffing wheels and appropriate compounds like tripoli, then rouge. Apply gentle, consistent pressure while changing directions between stages. Clean wheels between uses to prevent cross-contamination.
In Summary
You’ve now mastered the essential techniques that’ll transform your rough 3D printed jewelry into professional-quality pieces. Remember, you can’t skip steps—proper surface prep sets the foundation, progressive sanding creates smoothness, and careful polishing brings out that mirror finish. Don’t rush the process; each technique builds on the last. With practice, you’ll develop the touch needed to achieve consistent, stunning results that rival traditionally manufactured jewelry.


Leave a Reply