You’ll create stunning 3D wearable art by selecting materials like cardboard, wire, and 3D printing filaments that balance weight with visual impact. Start with a wire framework using 16-20 gauge wire for structural support, then build using pinching, coiling, or slab construction techniques. Focus on proportion and scale to enhance your anatomy while ensuring comfortable weight distribution. Apply color theory through dyeing or painting for emotional statements, and document each stage from initial sketches to final assembly. Master these fundamentals to reveal advanced sculptural techniques.
Understanding the Intersection of Jewelry and Wearable Sculpture
When you step into the world of wearable art, you’re entering a domain where jewelry transcends simple adornment to become sculptural statements that reshape how others perceive you.
Unlike conventional jewelry that focuses on decoration, wearable sculptures emphasize the dynamic relationship between your body and three-dimensional forms. You’ll discover how these pieces dramatically alter your appearance and identity through movement and presence.
Wearable sculptures transform your body into a dynamic canvas where three-dimensional art reshapes identity through movement and presence.
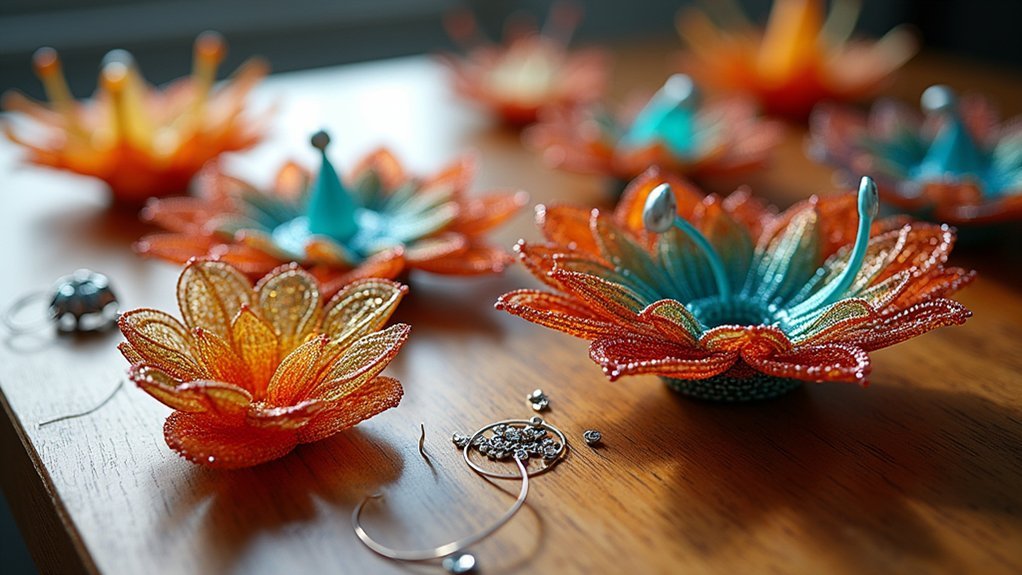
As you Design Wearable art pieces, you’re challenging traditional boundaries by incorporating unconventional materials like cardboard, fabric, or 3D printed elements.
This wearable medium transforms you into a living canvas where sculpture meets functionality. Your creations become extensions of your body, enhancing your natural movements while maintaining comfort and wearability through thoughtful design choices.
Essential Tools for 3D Jewelry Construction
You’ll need three categories of tools to successfully create 3D wearable art pieces: basic hand tools for manual work, 3D printing equipment for fabrication, and finishing supplies for assembly.
Each category serves a specific purpose in transforming your digital designs into polished, wearable sculptures.
Let’s examine what’s required in each area to set up your workspace effectively.
Basic Hand Tools
Five essential hand tools form the foundation of any 3D jewelry construction toolkit, each serving a specific purpose in bringing your wearable art vision to life.
You’ll need utility knives for precise cuts when shaping cardboard or plastic materials. Reliable scissors handle trimming and detailing smaller components effectively. Hot glue guns provide quick assembly with strong bonds while allowing adjustments before setting.
Make certain your ruler measurements guarantee accurate dimensions for proper symmetry and proportion.
For Printed Wearable art success, consider these key factors:
- Precision cutting – Sharp utility knives create clean edges that enhance your design’s professional appearance
- Proper adhesion – Hot glue guns work best when your printer supports compatible materials for peak bonding
- Surface finishing – Sandpaper smooths rough edges, creating polished surfaces that elevate your wearable art’s overall quality
3D Printing Equipment
Modern 3D printing technology revolutionizes jewelry construction by offering unprecedented precision and creative freedom for wearable art pieces.
You’ll need a high-resolution 3D printer like the Stratasys J850, which supports over 600,000 Pantone Validated colors for vibrant designs that capture every intricate detail.
Your slicing software is equally essential – Ultimaker Cura prepares STL files while letting you adjust layer height and wall line count for peak print quality.
Choose PLA filament for its ease of use and durability, perfect for creating lightweight yet intricate jewelry pieces.
Don’t forget finishing tools: craft knives or flush cutters guarantee clean edges and precise details.
Complete your setup with sandpaper and polishing compounds to enhance surface finish, elevating your jewelry’s aesthetic appeal and wearability.
Finishing and Assembly
Once your 3D printed jewelry components emerge from the printer, transforming them into polished wearable art requires specific finishing and assembly tools.
You’ll need craft knives or flush cutters to trim excess material and create clean edges, greatly reducing post-processing time. Sandpaper ranging from 400 to 800 grit becomes essential for smoothing surfaces and achieving that professional polished appearance.
Your assembly toolkit should include:
- Hot glue gun – Provides strong bonding while allowing repositioning before the adhesive sets completely
- Varying grit sandpaper – Creates smooth shifts between rough printed surfaces and finished pieces
- Clear acrylic spray – Adds protective gloss coating that enhances durability and visual appeal
These tools guarantee your 3D printed components evolve into stunning, wearable masterpieces.
Material Selection for Structural Integrity and Aesthetics
You’ll find that cardboard offers surprising structural strength when properly reinforced and layered, making it an excellent foundation for lightweight wearable sculptures.
The key lies in understanding how cardboard’s corrugated structure distributes weight and stress across your design.
Balancing this structural capability with visual elements requires careful consideration of how the material’s natural texture and edges contribute to your overall aesthetic vision.
Cardboard Strength Properties
Three critical factors determine cardboard’s effectiveness in wearable art: its remarkable strength-to-weight ratio, compressive durability, and structural design.
You’ll find cardboard’s compressive strength ranges from 2,000 to 5,000 psi, depending on thickness and quality. This variability gives you flexibility in designing structures that balance weight with durability.
Corrugated cardboard’s fluted interior structure provides superior rigidity compared to single-layer alternatives, making it your best choice for pieces requiring movement resistance.
You can enhance moisture resistance through specialized coatings, protecting your artwork during outdoor exhibitions.
Consider these strength optimization strategies:
- Layer orientation – Align corrugated flutes perpendicular to stress points for maximum support
- Joint reinforcement – Use overlapping tabs and strategic adhesive placement at connection points
- Weight distribution – Position heavier elements close to your body’s center of gravity
Visual Design Balance
While structural integrity forms your foundation, achieving visual design balance requires carefully weighing each material’s aesthetic potential against its performance capabilities.
You’ll want to incorporate multi-dimensional designs and textures that allow creative expression while ensuring your chosen materials complement your overall visual theme.
Consider how PLA filament’s smooth finish contrasts with high-density cardboard’s natural texture—both can work beautifully when they align with your artistic vision.
The key lies in balancing elasticity and rigidity; your materials should enable comfortable movement without sacrificing the sculpture’s intended shape.
Don’t forget that finishing techniques like sanding or sealing considerably enhance visual appeal while extending durability.
Always create mock-ups to evaluate weight, flexibility, and visual impact before committing to your final design choices.
Digital Design Software for Sculptural Planning
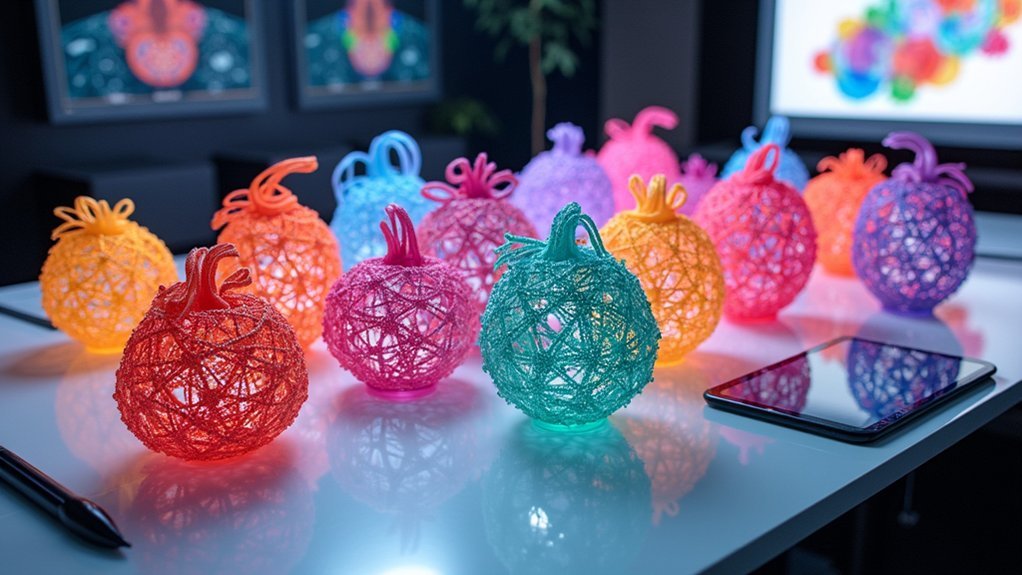
Since sculptural wearable art demands both artistic vision and technical precision, digital design software becomes an indispensable tool for transforming creative concepts into tangible pieces. Programs like Fusion 360 enable you to create intricate 3D models with precise detailing and customization capabilities.
You’ll access powerful functionalities including extrusion, filleting, and layering to enhance both structural integrity and aesthetic appeal.
Essential software features for sculptural planning:
- Simulation capabilities – Visualize how your wearable art interacts with the body during movement
- STL export functionality – Guarantee accurate translation from digital models to 3D printing processes
- Rapid prototyping support – Make quick iterations and modifications based on feedback or aesthetic preferences
These tools facilitate seamless shifts from conceptual designs to physical prototypes, streamlining your creative workflow.
Traditional Hand-Building Techniques for Three-Dimensional Forms
Although digital tools offer precision and efficiency, traditional hand-building techniques provide an irreplaceable tactile connection between artist and medium that can’t be replicated through screens.
You’ll want to master three fundamental approaches when crafting wearable art pieces.
Start with pinching, where you’ll shape clay or paper-mâché by hand to create organic, fluid forms that naturally conform to body contours.
For larger, structured pieces, try coiling—roll long material strips and stack them systematically to build substantial walls.
Slab construction offers geometric possibilities; you’ll roll flat pieces and assemble them into three-dimensional shapes that accept intricate detailing.
Don’t limit yourself to traditional materials alone. You can elevate your wearable art by combining these time-tested techniques with modern elements like 3D-printed components or mixed media additions.
Wire Armature Construction for Complex Shapes

You’ll start with a basic wire framework that forms the skeleton of your wearable piece, choosing wire thickness based on your sculpture’s scale and weight requirements.
As your designs become more ambitious, you’ll need to master complex structural support methods that distribute stress points and maintain stability throughout larger forms.
Finally, you’ll integrate these armatures seamlessly into your artistic vision, ensuring they enhance rather than compromise the piece’s aesthetic and functional goals.
Basic Wire Framework Setup
The foundation of any successful 3D wearable art piece starts with constructing a robust wire armature that’ll support your creative vision while maintaining structural integrity.
You’ll want to select 16-20 gauge wire for ideal balance between flexibility and strength. Begin by bending and twisting the wire into your design’s outline, focusing on establishing key structural points that’ll maintain stability throughout the wearing process.
Essential steps for framework success:
- Reinforce critical junctions – Add extra wire segments at intersections and joints where stress concentrations occur.
- Layer strategically – Incorporate multiple wire layers to create depth, volume, and enhanced durability.
- Finish safely – Use pliers and wire cutters to secure loose ends, preventing snags on clothing or skin.
This methodical approach guarantees your wearable sculpture maintains both artistic appeal and functional wearability.
Complex Structural Support Methods
When your wearable art design demands intricate curves, angular projections, or multi-dimensional elements, you’ll need sophisticated armature techniques that go beyond basic wire bending.
Create secondary support networks by connecting aluminum or steel wires at strategic junction points, forming triangular bracing patterns that distribute weight evenly across the structure. You’ll prevent sagging by calculating load distribution before construction begins.
Install flexible joints using wrapped wire connections or small hinges that allow movement while maintaining structural integrity.
Layer your armature with graduated wire gauges—thicker primary supports with thinner detail wires. This approach lets you build complex geometric forms, flowing organic shapes, or asymmetrical designs that’ll conform to body movements while supporting fabric, paper, or cardboard coverings without compromising the piece’s artistic vision.
Armature Integration Techniques
Building upon your structural foundation, integrating wire armatures into complex wearable forms requires strategic attachment points that’ll seamlessly blend engineering with artistry.
You’ll want to use aluminum or galvanized wire as your primary material, combining thicker gauge for main support with thinner wire for intricate detailing. This dual-approach guarantees both structural integrity and design flexibility.
When securing components, hot glue and zip ties become your go-to fasteners, providing stable connections while maintaining movement capability.
Consider these integration strategies:
- Skeletal frameworks – Create bone-like structures that follow natural body contours
- Segmented designs – Build modular sections that articulate independently
- Hybrid attachment points – Combine permanent and removable connections for versatility
Experiment with different armature configurations to enhance both aesthetic appeal and functional performance.
Layering and Dimensional Assembly Methods
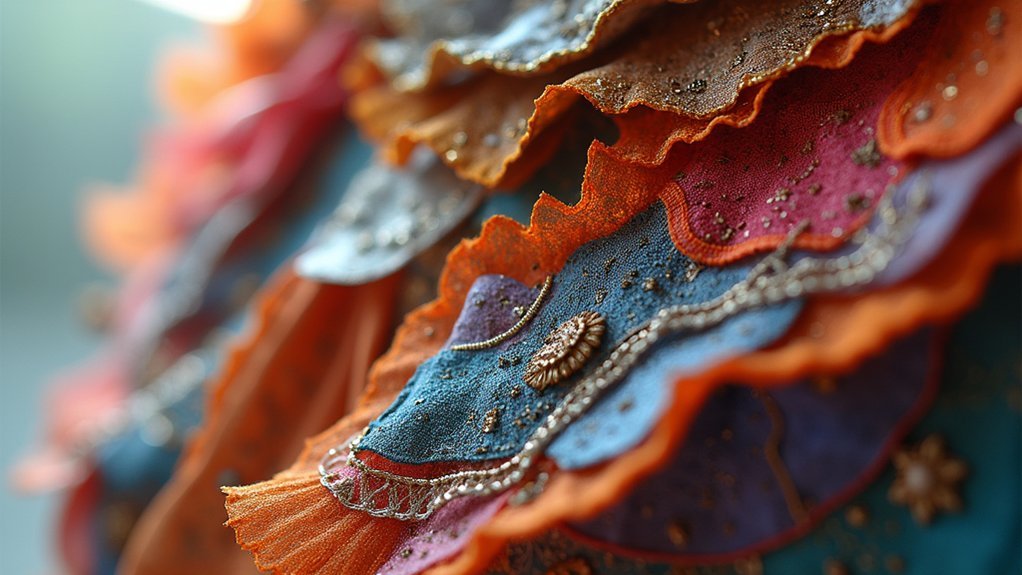
Since wearable art must balance visual impact with physical comfort, layering becomes your primary tool for creating depth without compromising mobility.
Stack lightweight materials like cardboard or fabric to build dimensional forms that won’t weigh you down. Use folding, sculpting, and cutting techniques to manipulate these layers into three-dimensional shapes that move dynamically with your body.
Combine flat and curved surfaces to achieve organic appearances that conform naturally to your form.
Internal frames or harnesses provide structural support while maintaining flexibility. Experiment with varying material thicknesses and textures to create visual contrast and engaging tactile elements.
This approach guarantees your wearable sculpture maintains its intended shape while allowing comfortable movement and interaction between the piece and your body’s natural dynamics.
Surface Texturing and Finishing Approaches
Everything about your wearable art’s final appearance depends on how you approach surface texturing and finishing.
You’ll want to start by creating depth through embossing, debossing, or adding patterns with your 3D pen. These techniques transform flat surfaces into intriguing focal points.
Next, smooth your piece using progressive sanding techniques. Begin with 200-grit sandpaper and work up to 800-grit for ideal surface preparation. This process guarantees paint and sealers adhere properly.
Consider these advanced finishing strategies:
- Heat treatment manipulation – Bend and sculpt certain materials to create unique organic shapes
- Mixed material integration – Combine 3D printed elements with fabric for dynamic textural contrast
- Protective coating application – Apply clear acrylic spray for enhanced durability and vibrant gloss finish
Weight Distribution and Wearability Considerations
While stunning surface finishes draw the eye, your beautiful creation becomes worthless if it’s too heavy or uncomfortable to wear. You’ll need to strategically position heavier components near your body’s center of gravity to prevent strain and maintain balance.
Choose lightweight materials like specialized foams or certain plastics to reduce overall weight without sacrificing structural integrity. Design adjustable straps and supports that distribute weight evenly across different body types.
| Design Element | Benefit |
|---|---|
| Flexible joints/hinges | Adapts to body movement |
| Lightweight materials | Reduces overall burden |
| Adjustable supports | Customizes fit |
| Prototype testing | Identifies comfort issues |
Test your prototypes on various body types during development to identify discomfort areas early. This allows you to make necessary adjustments before finalizing your design, ensuring your wearable art remains both stunning and comfortable.
Joint and Connection Systems for Movement
Movement transforms static art into dynamic expression, and your joint systems determine whether that transformation flows gracefully or fights against the wearer’s natural motion.
Well-designed joints transform rigid sculptures into flowing extensions of the human body, creating harmony between art and movement.
You’ll need to strategically implement connection systems that prioritize both functionality and comfort. Hinges work well for controlled articulation, while flexible joints using rubber or fabric materials offer unrestricted movement.
Consider weight distribution carefully—your joints must support the sculpture’s mass without creating pressure points that strain the wearer’s body.
Essential joint system considerations:
- Material selection – Choose rubber, fabric, or elastic materials that flex without breaking under repeated stress
- Modular design – Create adjustable connections allowing participants to customize fit and modify functionality as needed
- Strategic placement – Position joints at natural body articulation points to work with, not against, human movement patterns
Scale and Proportion in Body-Worn Sculpture
When you’re designing body-worn sculpture, scale becomes your most powerful tool for commanding attention and reshaping how viewers perceive both the artwork and the wearer. You’ll need to carefully balance proportions with your wearer’s anatomy, ensuring the piece enhances rather than overwhelms their natural form.
Consider how different scales create distinct emotional responses. Oversized elements can make bold statements, while miniature details invite closer inspection. Your sculpture’s weight distribution directly affects movement—you can’t sacrifice functionality for visual impact.
| Scale Approach | Visual Effect | Movement Impact |
|---|---|---|
| Oversized | Dramatic presence | Restricted mobility |
| Proportional | Harmonious integration | Natural movement |
| Miniature | Intimate detail | Unrestricted flow |
| Mixed scales | Dynamic contrast | Varied restrictions |
Experiment with exaggerated proportions to challenge fashion conventions and transform your wearer into a living art installation.
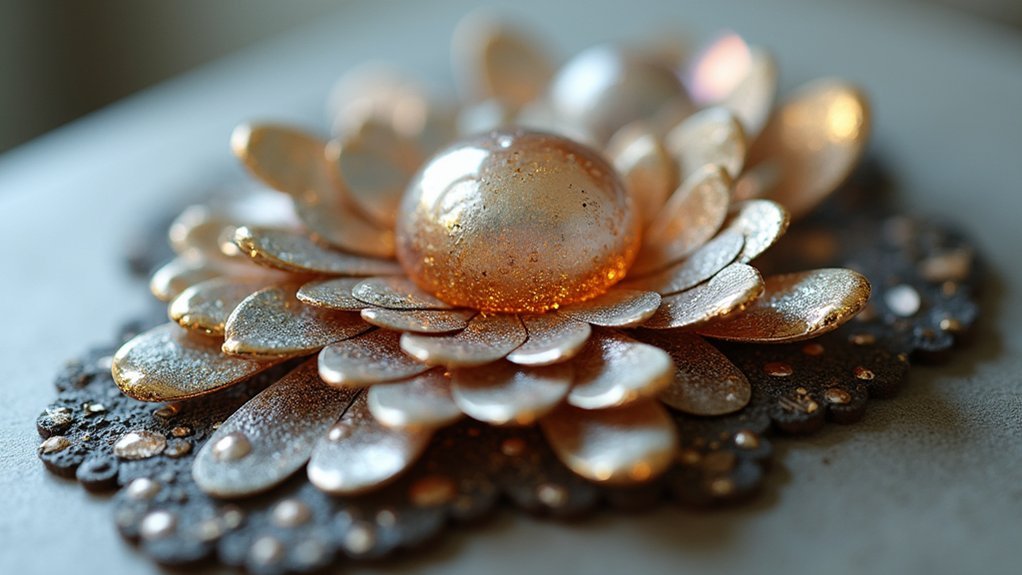
Color and Patina Applications for Visual Impact
Color transforms your wearable sculpture from a mere form into an emotionally charged statement that speaks before words are exchanged.
You’ll achieve stunning visual effects through dyeing, painting, or incorporating colored filaments during creation. Simulate patina effects on metal or plastic surfaces using chemical solutions or heat treatments that add authentic depth and character.
Strategic color choices amplify your piece’s impact:
- Apply color theory principles – Use complementary or analogous schemes to create visually striking combinations that draw attention and enhance aesthetic appeal.
- Layer transparent materials – Incorporate semi-transparent elements where light interacts with multiple color layers, creating dynamic visual depth.
- Balance surface finishes – Choose between matte finishes for sophisticated subtlety or glossy surfaces for enhanced vibrancy and light reflection.
Documentation and Presentation of Finished Pieces
Since your wearable sculpture represents countless hours of creative vision and technical skill, proper documentation becomes essential for preserving both the artistic journey and final achievement.
Document everything from initial sketches through research phases to final assembly. This thorough record showcases your artwork’s complete development. Take high-quality photographs from multiple angles, capturing how the piece integrates with the body during presentation.
| Documentation Phase | Action Required |
|---|---|
| Process Recording | Photograph sketches, research, assembly stages |
| Final Photography | Capture multiple angles and body integration |
| Self-Assessment | Complete reflection quiz analyzing originality and craftsmanship |
Ensure your sculpture’s completely dry and fume-free before presentation day. You’ll present in a parade setting, emphasizing the sculpture-body interaction and overall audience impact. Prepare a self-reflection quiz analyzing artistic components, originality, craftsmanship, and transformation effectiveness.
Frequently Asked Questions
What Are the Techniques of Wearable Art?
You’ll use 3D printing with PLA filament, fabric manipulation through draping and pleating, incorporate recycled materials, apply handcrafting techniques like embroidery, and utilize CAD software for digital prototyping and experimentation.
What Are Examples of Wearable Art?
You’ll find wearable art in Karina Bond’s 3D-printed jewelry, oversized sculptural headpieces, smart Evolve shoes with embedded technology, identity-focused masks from the Thalassic project, and colorful garments created using advanced Stratasys J850 printing techniques.
Who Are the Famous Wearable Art Artists?
You’ll find Marina Abramović challenges body boundaries through performance art, while Iris van Herpen innovates with 3D printing. Nick Cave creates meaningful Soundsuits, Alexander McQueen blurs fashion-art lines, and Anouk Wipprecht integrates interactive technology.
In Summary
You’ve now explored the fundamentals of creating stunning 3D wearable art that bridges jewelry and sculpture. By mastering these techniques—from digital design to hand-building, material selection to finishing—you’ll develop your unique artistic voice. Remember that each piece you create tells a story through form, movement, and color. Don’t be afraid to experiment and push boundaries. Your wearable sculptures will transform both the wearer’s experience and viewers’ perceptions of contemporary art.


Leave a Reply