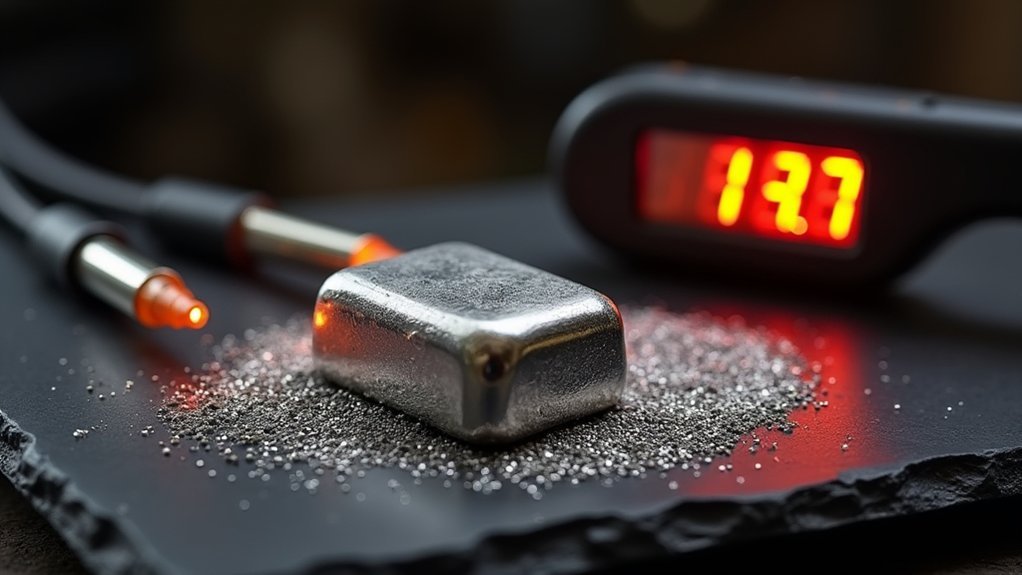
You’ll achieve perfect silver castings by heating your metal to 1,863°F (100°F above melting point) and maintaining flask temperatures between 900°F-950°F for standard work or up to 1,150°F for fine details. Monitor your silver’s shiny, active appearance before pouring, and use vacuum pressure at 29 inches of mercury for 20-30 seconds post-pour. Control your shop environment since ambient temperatures affect cooling rates, and size your sprues to match the heaviest casting section for ideal heat retention. Master these fundamentals and you’ll discover advanced techniques that transform challenging projects into consistent successes.
Understanding Silver’s Melting Point and Flow Characteristics
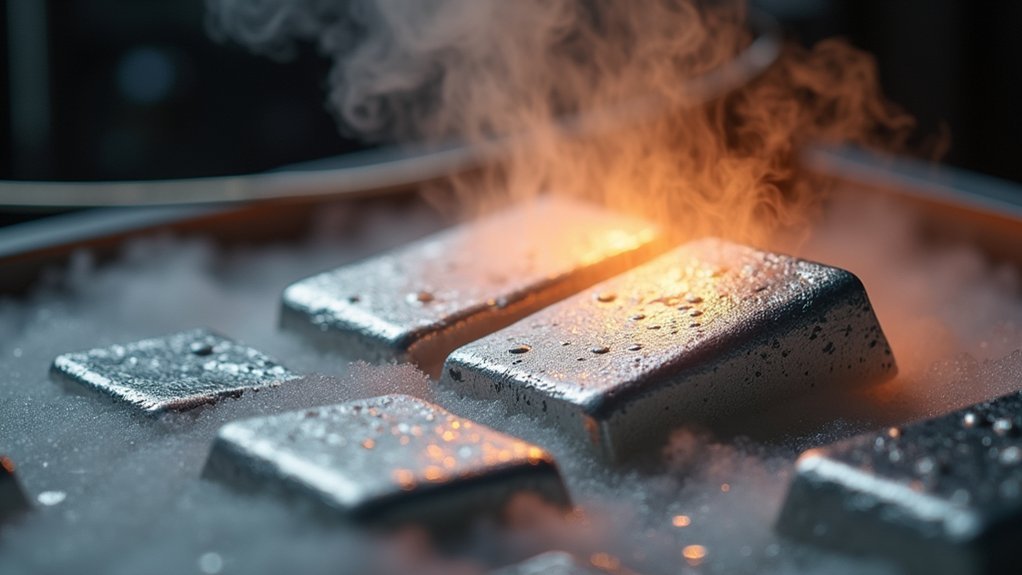
When you’re preparing to cast silver, understanding its fundamental thermal properties will determine whether your project succeeds or fails.
Silver melts at approximately 1,763°F (961.8°C), but you can’t simply pour it at this temperature. You’ll need to heat it 100°F above the melting point to guarantee proper flow into your mold. This ideal casting temperature of around 1,863°F allows the molten metal to move smoothly through intricate details without solidifying prematurely.
The key lies in silver’s flow characteristics. At the correct temperature, it behaves like liquid mercury, filling every crevice of your mold.
However, if you exceed this range, you’ll risk gas porosity and surface defects that’ll ruin your piece’s quality and appearance.
Proper Flask Temperature Settings for Different Casting Methods
Controlling your flask temperature becomes just as important as getting the silver temperature right, since the mold itself directly affects how well the metal flows and sets.
For large plain silver pieces, you’ll want to maintain flask temperature between 800°F and 950°F to guarantee proper metal flow and minimize defects.
Fine detail work requires higher temperatures ranging from 900°F to 1150°F for ideal detail capture.
Higher flask temperatures between 900°F and 1150°F ensure intricate details transfer perfectly from mold to finished silver piece.
When using vacuum casting methods, set your flask temperature 75°F to 100°F hotter than centrifugal casting to maintain metal fluidity.
Specific alloys need adjustment too—Argentium silver performs best around 1,125°F.
Always monitor and adjust based on your shop’s ambient conditions and the particular metal you’re casting to prevent incomplete casts or porosity issues.
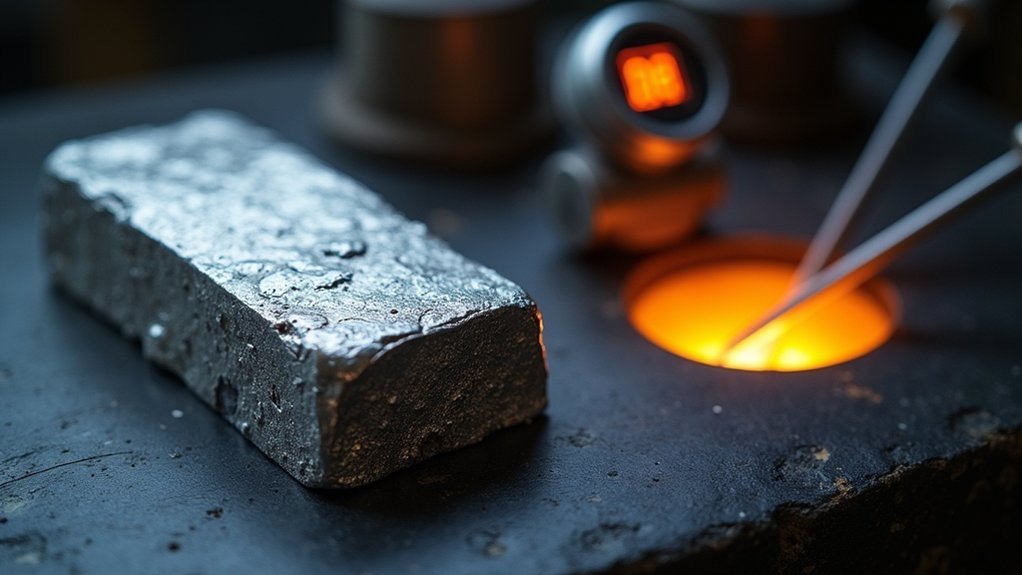
Maintaining Optimal Metal Temperature During the Melting Process
Once your flask reaches the proper temperature, you’ll need to focus on heating your silver to exactly the right point for a successful pour.
Getting your molten metal temperature right is vital for achieving clean, defect-free castings.
Follow these essential steps for ideal metal temperature control:
- Heat 100°F above melting point – This guarantees proper liquefaction and smooth flow into your mold.
- Watch for visual cues – Your silver should appear shiny and active when it’s ready for pouring.
- Protect against oxidation – Use inert gas or flux during melting to maintain metal quality.
- Cast immediately – Don’t let overheating occur, as prolonged high temperatures cause porosity and other defects.
Monitor temperature closely throughout the entire melting process.
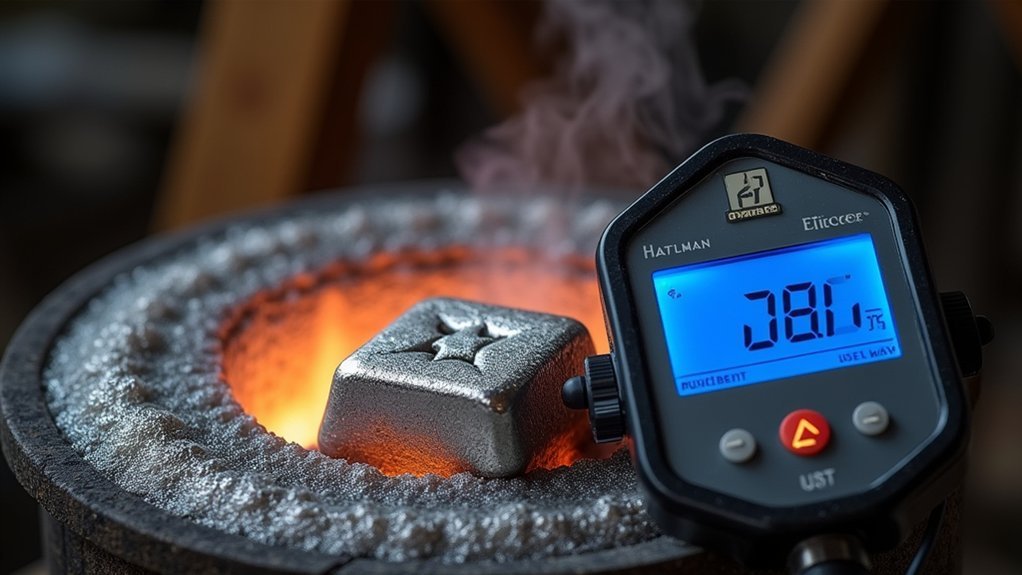
Temperature Control Techniques for Vacuum Casting Applications
Vacuum casting systems require precise temperature coordination between your molten silver and casting flask to achieve professional results.
You’ll need to maintain your flask between 900°F to 1150°F depending on your casting’s detail requirements. Set your vacuum pressure to 29 inches of mercury, but adjust for elevation—especially important in high-altitude locations like Santa Fe.
Heat your silver to 100°F above its melting point to prevent porosity issues. You must shift quickly from flask to vacuum caster to preserve the molten metal’s temperature and prevent premature solidification.
Use a programmable burnout oven to control heating rates, which prevents cracking and guarantees complete wax burnout. Monitor your metal’s temperature closely during liquefaction for consistent, professional casting results.
Preventing Porosity Through Precise Temperature Management
While proper vacuum pressure sets the foundation for quality casting, preventing porosity demands meticulous attention to your silver’s temperature throughout the entire process.
Gas and shrinkage porosity can ruin your castings, but precise temperature management eliminates these defects.
Precise temperature control is your weapon against porosity defects that destroy otherwise perfect silver castings.
Follow these critical temperature guidelines:
- Heat your silver to exactly 100°F above its melting point – this prevents gas porosity without introducing excess gases from overheating.
- Maintain flask temperatures between 900°F to 1,000°F for delicate pieces to guarantee proper metal flow and minimize shrinkage.
- Monitor metal temperature constantly during pouring – cold metal freezes prematurely while excessive heat causes shrinkage porosity.
- Use sprues weighing at least as much as your heaviest casting section to provide adequate metal supply before solidification occurs.
Sprue Design Considerations for Temperature Retention
Your sprue design directly impacts how well molten silver maintains its temperature as it flows into your mold.
You’ll need to size your sprues to match the weight of your casting’s heaviest section, ensuring adequate heat flow throughout the pour.
Don’t forget to flare your attachment points, as this simple modification prevents heat loss and eliminates flow restrictions that cause premature cooling.
Sizing for Heat Flow
Proper sprue sizing serves as the foundation for maintaining ideal heat flow during silver casting, directly impacting your casting’s success.
When you design your sprue system, you’re controlling how efficiently heat transfers through the molten metal and into your mold cavities.
Follow these critical sizing principles for peak metal flow:
- Match sprue weight to your heaviest casting section – This prevents premature solidification in thinner areas while maintaining heat in substantial sections.
- Maintain uniform thickness throughout – Avoid large tapered sections that create temperature inconsistencies and flow disruptions.
- Flare attachment points – This reduces turbulence and temperature drops as metal enters the mold.
- Design straight flow paths – Minimize turns and directional changes that impede heat retention and cause cooling.
Attachment Point Flaring
Flared attachment points create the smooth shift zones your silver casting needs to maintain consistent temperatures throughout the pouring process.
When you’re implementing attachment point flaring, you’re establishing uniform metal flow that prevents premature solidification at critical junctions. This design prevents temperature drops that could compromise your casting quality.
You’ll want to guarantee your sprue weighs at least as much as your casting’s heaviest section. This ratio compensates for heat loss during pouring and maintains adequate metal supply.
Design your sprue with uniform thickness to eliminate flow restrictions that cause incomplete mold filling. Proper sprue angles enhance molten silver flow, guaranteeing it reaches all cavities while retaining necessary temperatures.
For delicate pieces, set your flask temperature around 900°F and incorporate flared designs for ideal thermal retention during pouring for correct casting results.
Equipment Setup for Consistent Temperature Monitoring

Five critical components form the foundation of reliable silver casting temperature control. Your casting machine’s performance depends entirely on proper equipment calibration and monitoring systems working in perfect harmony.
Perfect temperature control requires five essential components working together to ensure your silver casting machine delivers consistent, professional-grade results every time.
Essential equipment for temperature consistency includes:
- Programmable burnout oven – Maintains consistent temperature profiles throughout burnout and casting processes.
- Digital thermometer or pyrometer – Monitors metal temperatures accurately, targeting 100°F above silver’s melting point.
- Calibrated melting equipment – Prevents temperature fluctuations during the casting process.
- Foot-actuated vacuum valve – Controls vacuum pressure precisely at 29 inches of mercury for peak metal flow.
You’ll need to maintain flask temperatures between 900°F to 950°F for standard castings, though Argentium silver requires higher temperatures.
This equipment setup guarantees you’ll achieve professional-quality results consistently.
Adjusting Temperatures Based on Model Complexity and Detail
While basic temperature guidelines provide a starting point, you’ll need to adjust your flask and metal temperatures based on your model’s complexity and detail requirements.
For large, plain pieces, maintain flask temperatures between 800°F and 950°F to guarantee proper metal flow and solidification. However, fine detail pieces demand higher temperatures—ideally between 900°F and 1150°F—to prevent incomplete fills and capture intricate details for good casting results.
Your metal temperature should be at least 100°F above silver’s melting point to maintain fluidity and minimize shrinkage porosity.
When using Argentium silver, aim for flask temperatures around 1,125°F for best results.
Cooling Rate Management for Quality Results
You’ll need to master flask temperature control methods to prevent your silver from cooling too rapidly during the pour.
Your ambient environment directly impacts how quickly heat dissipates from both the flask and molten metal, so consider factors like room temperature and air circulation.
Post-pour vacuum timing becomes critical since you’re working against the clock as your flask cools at approximately 100°F per minute.
Flask Temperature Control Methods
When managing flask temperatures for silver casting, you’ll need to master cooling rate control to achieve professional-quality results. Effective flask temperature control methods guarantee consistent casting quality and prevent common defects like incomplete fills or poor surface detail.
Here are four essential flask temperature control methods:
- Maintain ideal range: Keep flask temperatures between 900°F and 1000°F for standard pieces, adjusting based on design complexity.
- Monitor cooling rates: Track the typical 100°F per minute temperature drop after oven removal to time your pours correctly.
- Limit temperature variations: Restrict adjustments to 50°F maximum to maintain casting consistency.
- Account for ambient conditions: Adjust for shop temperature fluctuations that affect cooling rates and overall flask performance during casting operations.
Ambient Environment Impact Factors
Because ambient conditions directly influence cooling rates and metal flow dynamics, understanding environmental impact factors becomes essential for achieving consistent casting results. Your shop’s temperature dramatically affects how quickly both your flask and metal cool after you melt the metal, requiring temperature adjustments for ideal outcomes.
High-altitude locations like Santa Fe present unique challenges with lower vacuum pressure that impacts your casting process. You’ll need to monitor flask cooling rates of approximately 100°F per minute while moving quickly to your vacuum caster to prevent shrinkage porosity.
| Environmental Factor | Impact on Casting | Recommended Action |
|---|---|---|
| High Shop Temperature | Overheats wax models | Control environment |
| Low Ambient Temperature | Faster cooling rates | Increase casting temperature |
| High Altitude | Reduced vacuum pressure | Adjust vacuum settings |
| Humidity Changes | Affects flask moisture | Monitor flask preparation |
| Air Circulation | Uneven cooling patterns | Control airflow direction |
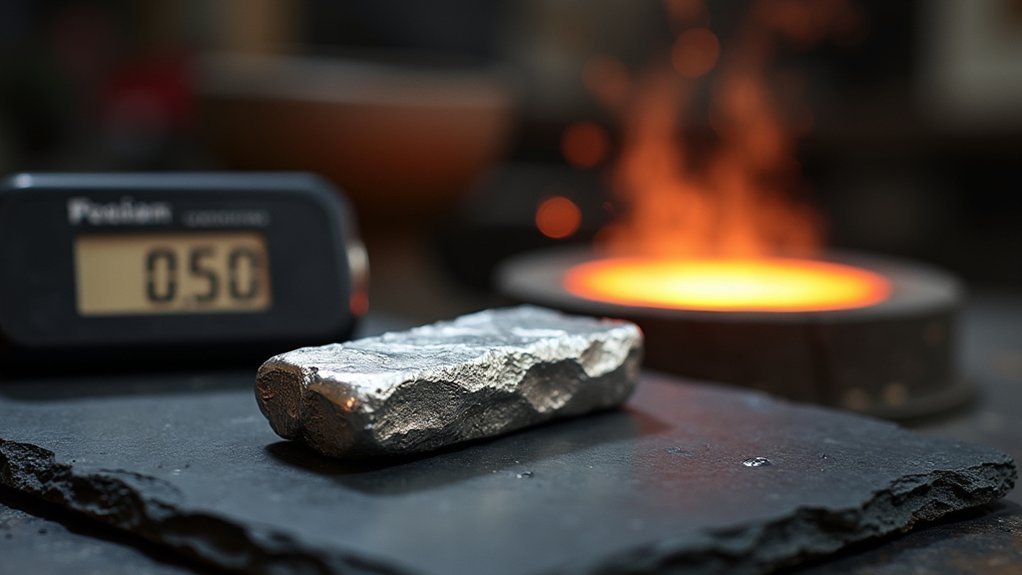
Post-Pour Vacuum Timing
After pouring molten silver into your flask, maintaining vacuum pressure for 20-30 seconds becomes critical for achieving defect-free castings.
Post-pour vacuum timing directly impacts metal flow and porosity reduction, making this phase essential for quality results.
Your timing strategy should include these key elements:
- Transition speed – Move quickly from flask to vacuum caster to retain metal temperature and prevent premature solidification.
- Pressure monitoring – Maintain approximately 29 inches of mercury, adjusting for your elevation.
- Temperature awareness – Account for the flask’s 100°F per minute cooling rate during solidification.
- Metal-specific timing – Adjust vacuum duration based on your silver type, with Argentium requiring flask temperatures around 1,125°F.
Proper post-pour vacuum timing guarantees complete mold filling while minimizing casting defects.
Troubleshooting Temperature-Related Casting Defects
Although silver casting appears straightforward, temperature-related defects can quickly derail your project if you don’t recognize the warning signs early.
When you notice jagged edges or holes in your cast pieces, you’re dealing with incomplete burnout—increase your flask temperature to the 900-1,000°F range.
If porosity and pitting appear, you’ve overheated your silver; reduce the temperature next time.
Cold metal creates incomplete fills, so make sure your silver’s at least 100°F above its flow point.
Watch for premature sprue solidification that cuts off metal supply—this indicates your sprue’s too thin.
Whether using centrifugal casting or vacuum methods, proper temperature control prevents these common defects from ruining your work.
Frequently Asked Questions
What Temperature Do You Cast Silver At?
You’ll cast silver at approximately 1,863°F, which is 100°F above sterling silver’s melting point. Set your flask temperature between 900-1,000°F for standard pieces, or 1,125°F for Argentium silver casting.
What Temperature Do You Weld Silver?
You’ll need to heat silver to approximately 1,300°F to 1,500°F when welding. Maintain temperatures about 100°F above silver’s melting point for ideal flow and fusion, using an acetylene torch for best results.
What Is the Best Casting Temperature?
You should cast silver at approximately 1,863°F, which is 100°F above its melting point. For Argentium silver, you’ll need around 1,125°F, while delicate items require 900-1,000°F for best results.
What Temperature to Refine Silver?
You’ll want to heat silver to approximately 1,800°F when refining it. This temperature guarantees you’re well above the melting point, allowing proper flow and complete liquefaction for effective removal of impurities.
In Summary
You’ve learned the essential temperature control techniques for achieving flawless silver castings. Don’t overlook the importance of monitoring both metal and flask temperatures throughout your process. Remember to adjust your settings based on your specific casting method and piece complexity. With consistent temperature management, you’ll eliminate common defects like porosity and incomplete fills. Practice these techniques regularly, and you’ll master the art of precision silver casting through proper thermal control.


Leave a Reply