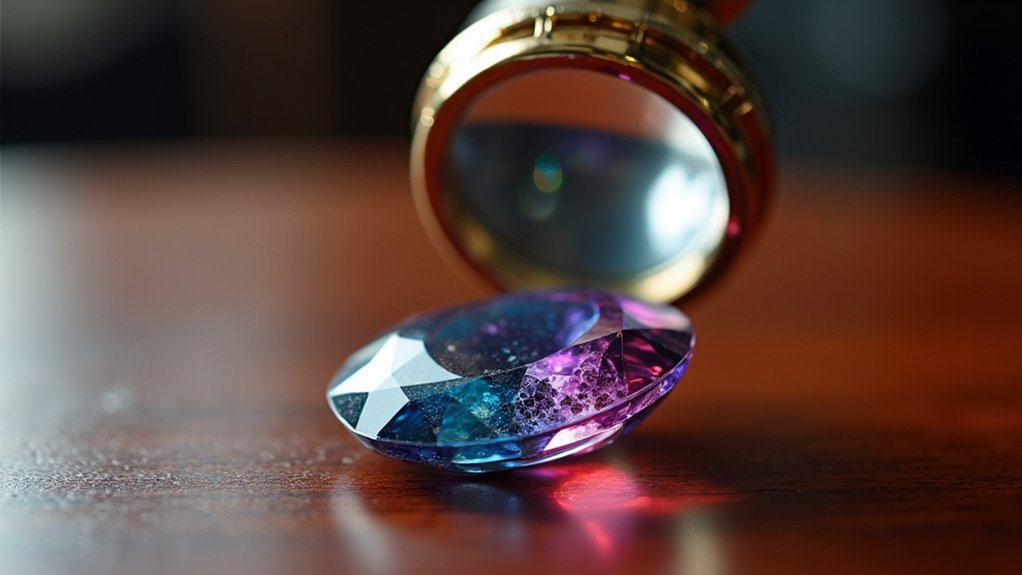
Mastering gem examination requires a quality triplet loupe (10x magnification) and proper technique. Hold the loupe an inch from your eye, keep both eyes open, and bring the gem to the lens. Use varied lighting to assess polish quality, internal features, and color distribution. Look for surface imperfections by rotating the stone and examine for inclusions that affect clarity. These inspection skills will transform your ability to evaluate gemstones like a professional.
Essential Types of Jeweler’s Loupes for Gemstone Analysis

When examining gemstones professionally, you’ll need the right tools to accurately assess their quality and authenticity. In the jewelry industry, the triplet loupe represents the gold standard, featuring three lenses that deliver sharp, color-corrected images essential for detailed gemstone identification.
While singlet loupes offer an inexpensive entry point, their single-lens design creates distortion that compromises accurate evaluation. Dublet loupes provide a middle ground with two lenses, improving clarity for casual inspections.
Economical singlet loupes introduce distortion, while dublet designs balance affordability with improved visual clarity for non-professional use.
For specialized examinations, consider higher magnification options (20x-30x), though be prepared for reduced field of view and increased distortion.
LED-integrated loupes have revolutionized gemstone assessment by providing consistent illumination, making inclusions and quality characteristics more visible regardless of ambient lighting conditions.
Proper Loupe Handling Techniques for Optimal Viewing
Three fundamental techniques separate amateur from professional gem examination when using a loupe.
First, position the loupe no more than an inch from your eye, stabilizing it by resting your thumb against your cheek. This creates a solid foundation for precise gem identification.
Second, keep both eyes open during loupe handling. This reduces strain and enhances your focus on minute details that determine a gemstone’s authenticity and quality.
Finally, instead of moving the loupe, bring the jewelry closer to the lens while maintaining your stable hand position. Proper light management is equally essential—adjust your light source to illuminate the specimen without creating distracting reflections.
Master these techniques, and you’ll achieve the steady, clear view needed for accurate gem analysis.
Illumination Methods to Enhance Gem Inspection
When examining gemstones, you’ll need to master different lighting angles that reveal critical features—try positioning your light source above for cut evaluation or behind for inclusion detection.
Your inspection should balance natural daylight, which shows true color, with specialized artificial lighting that highlights specific characteristics like fluorescence or color zoning.
Creating controlled shadows through strategic light positioning can expose surface irregularities, facet junctions, and internal features that might otherwise remain invisible during your assessment.
Light Angle Techniques
The strategic manipulation of light serves as the cornerstone of effective gem examination. When evaluating a gem’s cut and polish, position your light source directly above the stone while viewing through your 10x loupe. This overhead illumination reveals surface details with striking clarity.
To inspect internal features, switch to backlighting by placing the light source behind the gemstone. This technique illuminates inclusions and internal characteristics that might otherwise remain hidden.
You’ll need to adjust light angles frequently to minimize glare that can obscure important details. Consider investing in a loupe with integrated LED lighting for consistent, shadow-free illumination during your inspections.
Don’t limit yourself to white light—experiment with UV illumination to discover fluorescence and distinctive properties that conventional lighting might miss.
Natural vs. Artificial
Despite what many beginners assume, choosing between natural and artificial light sources dramatically affects your ability to detect a gem’s true characteristics. Your jeweler’s loupe with integrated LED lights reveals details that natural light might miss, especially in dim environments.
| Light Source | Best For | Limitations |
|---|---|---|
| Natural Sunlight | Color accuracy | Weather dependent |
| LED Loupe Light | Detail examination | Can distort colors |
| UV Light | Fluorescence detection | Only works on specific gems |
When seeking inclusions, position your light source behind the stone to illuminate internal features. For surface examinations, attach a diffuser ring to your loupe to minimize glare. Don’t limit yourself to one method—experiment with both natural daylight and artificial illumination, including UV light. Each approach highlights different aspects, giving you thorough insight into your gem’s true nature.
Shadow-Revealing Methods
Mastering illumination techniques transforms your ability to detect a gem’s hidden features through strategic shadow manipulation.
When examining cut quality, direct your light source downward onto the stone to highlight surface imperfections that might otherwise remain invisible to your magnifying glass.
To identify gemstones’ internal characteristics, position your light behind the specimen, allowing illumination to penetrate the gem and reveal inclusions.
LED-equipped loupes provide consistent lighting that minimizes glare while maximizing detail visibility.
For particularly reflective specimens, attach a diffuser ring to your loupe to soften harsh light and reduce unwanted reflections.
Don’t limit yourself to white light—alternating between standard and UV illumination can expose fluorescent properties that are vital diagnostic features in gem identification.
These lighting variations create revealing shadows that expose what the untrained eye might miss.
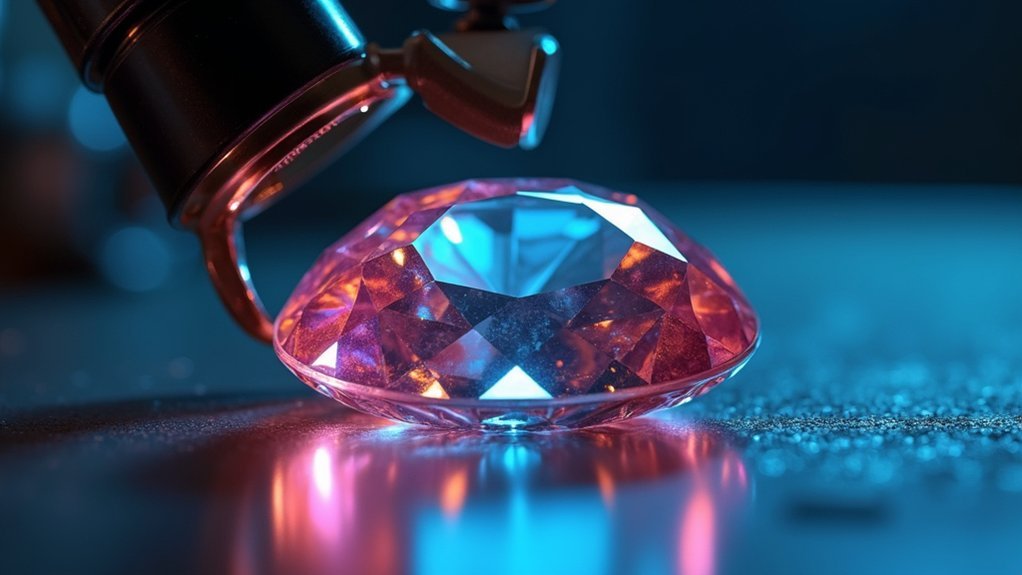
Examining Surface Characteristics and Polish Quality
Look carefully at your gem’s surface to detect tiny pits or scratches that can diminish its brilliance, remembering that many flaws aren’t visible without proper magnification.
You’ll need to rotate the stone while examining it, which helps distinguish between surface imperfections and internal inclusions.
Check that the polish creates a glass-like surface with even light reflection, paying special attention to the girdle, as an unpolished edge often indicates rushed craftsmanship that affects the gem’s overall quality.
Surface Flaws Detection
A jeweler’s trained eye identifies surface imperfections that can dramatically impact a gem’s value and brilliance. When conducting surface flaws detection with your 10x loupe, rotate the gem slowly under good lighting to distinguish between superficial marks and internal inclusions.
| Flaw Type | Visual Indicator | Value Impact |
|---|---|---|
| Polish marks | Small pits or scratches | Minimal if not visible to naked eye |
| Unpolished girdle | Frosted appearance | Suggests rushed cutting |
| Facet meets | Misaligned junctions | Reduces brilliance |
| Cabochon scratches | Linear marks on dome | Decreases value considerably |
| Contour irregularities | Uneven surface curves | Indicates poor craftsmanship |
Remember that sharp facet meets indicate quality cutting, while variations in alignment suggest inferior workmanship. For cabochons, examine from multiple angles to thoroughly assess surface evenness and polish quality.
Polish Quality Assessment
Polish quality assessment builds upon surface flaw detection by focusing specifically on the finish that transforms a rough stone into a gleaming gem.
With your 10x loupe, examine the gem’s surface carefully for any small pits or scratches that might diminish its brilliance. A perfect polish creates a smooth, glass-like surface that maximizes the gem’s overall appearance.
When evaluating a cabochon, check for evenness in the contour by viewing it from multiple angles. Pay close attention to the girdle—an unpolished one often indicates rushed cutting and lower quality.
For faceted stones, look for sharp facet meets and consistent alignment. Remember, even minor imperfections visible only under your loupe can greatly impact a gem’s value and aesthetic appeal.
Your careful polish quality assessment reveals the cutter’s skill and attention to detail.
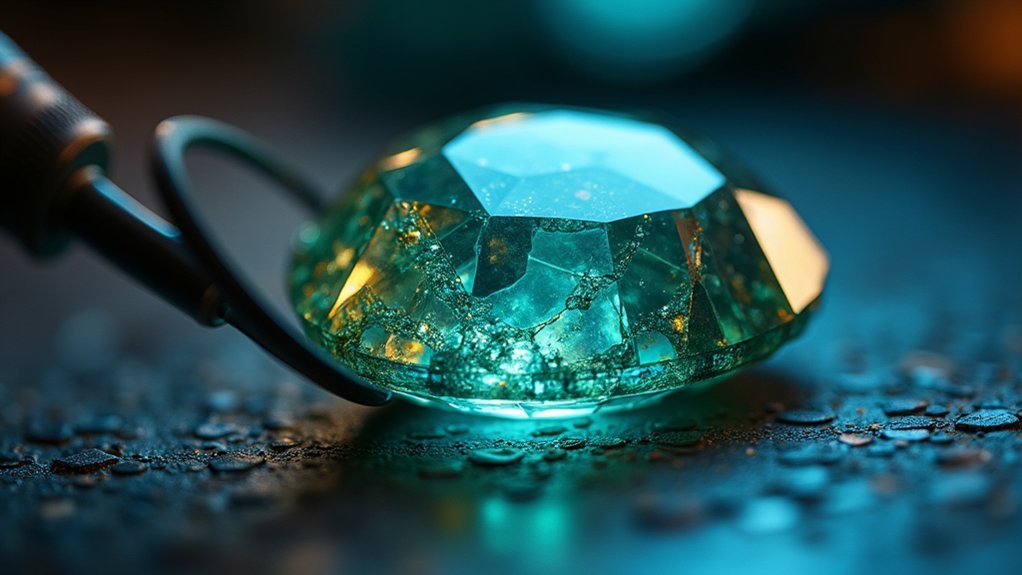
Identifying Internal Features and Inclusions
Five critical internal features demand your attention when examining gemstones. When using your loupe, you’ll need to identify fractures, mineral inclusions, silk inclusions, color zoning, and opaque inclusions—all of which affect a gem’s value and durability.
Internal fractures that don’t reach the surface typically pose minimal risk, but be wary of those near thin edges. Mineral inclusions add character but may reduce clarity depending on their visibility.
- Check for silk inclusions—thread-like crystals that can diminish brilliance or create asterism in star sapphires.
- Evaluate color distribution, noting uneven zoning in amethysts and sapphires.
- Assess opaque inclusions like carbon spots in diamonds.
- Determine how inclusions affect light passage through the gem.
Your careful examination of these internal features will reveal the true quality and uniqueness of each stone.
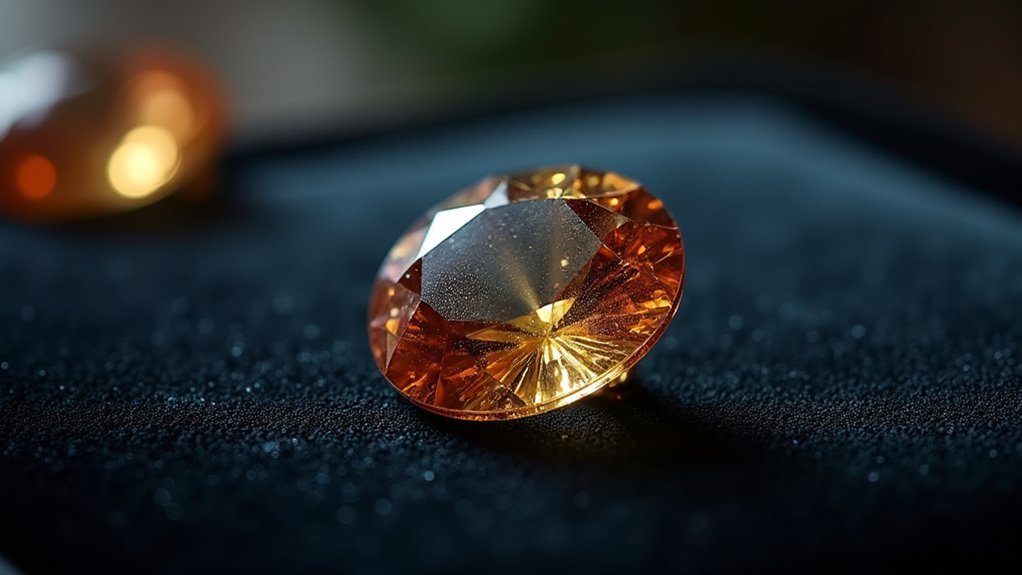
Evaluating Color Distribution and Zoning Patterns
Moving from the identification of internal features, let’s examine how color spreads throughout the gemstone itself. When evaluating color distribution with your loupe, you’ll notice gemstones rarely display perfectly uniform coloration. This variation greatly impacts both value and beauty.
Rotate the stone while observing through your loupe to distinguish natural zoning patterns from potential treatments. In amethyst, look for areas where deep purple patches shift to lighter shades—these zoning patterns can dramatically affect value if visible from the top view.
Similarly, sapphires often exhibit straight-line color variations requiring careful assessment. Your thorough examination of these color characteristics not only helps authenticate the gem but also reveals its true quality.
The presence and visibility of zoning patterns provide vital insights that inform both appreciation and commercial valuation.
Advanced Loupe Selection Considerations for Gemologists
After mastering basic examination techniques, your choice of loupe becomes increasingly critical for accurate gem evaluation. When upgrading your equipment, prioritize a triplet design that minimizes distortion and provides essential color correction for diamond grading.
Professional gemologists should consider:
- Magnification level – A 10x loupe offers ideal balance between detail visibility and field of view.
- Lens quality – Premium glass delivers superior clarity for identifying minute inclusions.
- Body color – Black-bodied loupes reduce reflections and prevent color interference.
- Budget allocation – Invest appropriately in quality rather than seeking the cheapest option.
While higher-magnification options exist, the standard 10x loupe remains the industry benchmark for its versatility and reliability in gem assessment.
The timeless 10x loupe persists as gemology’s gold standard, balancing practical utility with exceptional precision in stone evaluation.
Your selection directly impacts your grading accuracy and professional development.
Frequently Asked Questions
How to Tell if a Diamond Is Real With a Jewelers Loupe?
You’ll see inclusions, feather fractures, and color variations in real diamonds through your 10X loupe. Look for natural imperfections, as synthetics appear too perfect. Genuine stones also display distinctive light reflection patterns.
What Can You See With a Jewelers Loupe?
You’ll see inclusions, fractures, and color zoning in gems that aren’t visible to the naked eye. You can identify internal features, evaluate cutting quality, and assess polish—all details that determine a gem’s authenticity and value.
What Magnification Is Best for a Jewelers Loupe?
10X magnification is best for your jeweler’s loupe as it provides ideal clarity for viewing inclusions while maintaining good field of view. You’ll find it’s the industry standard for diamond and gemstone grading.
How to Use a Jeweler’s Loupe?
You’ll hold the loupe against your eye, keeping both eyes open. Move the gem close to the lens, not vice versa. Adjust lighting to examine surfaces and inclusions while maintaining a steady position.
In Summary
You’ll discover that mastering gem examination with a loupe is both an art and science. With practice, you’ll identify inclusions, assess color distribution, and evaluate polish quality with increasing confidence. Remember, your success depends on proper technique, adequate lighting, and choosing the right loupe for your needs. Continue refining these skills, and you’ll soon develop the trained eye of a professional gemologist.


Leave a Reply