You’ll master lost wax casting repairs by using bronze plug methods to fill gaps, applying hot wax techniques for seamless model fixes, and restoring vulcanized rubber molds with compatible compounds. Clean investment material with toothbrush scrubbing and vinegar soaking, reinforce sprues with heating pens, and remove oxide layers through controlled surface grinding. Apply matching textures with chisels and stamps, then build patina depth gradually with multiple layers. These proven foundry methods will transform your repair capabilities completely.
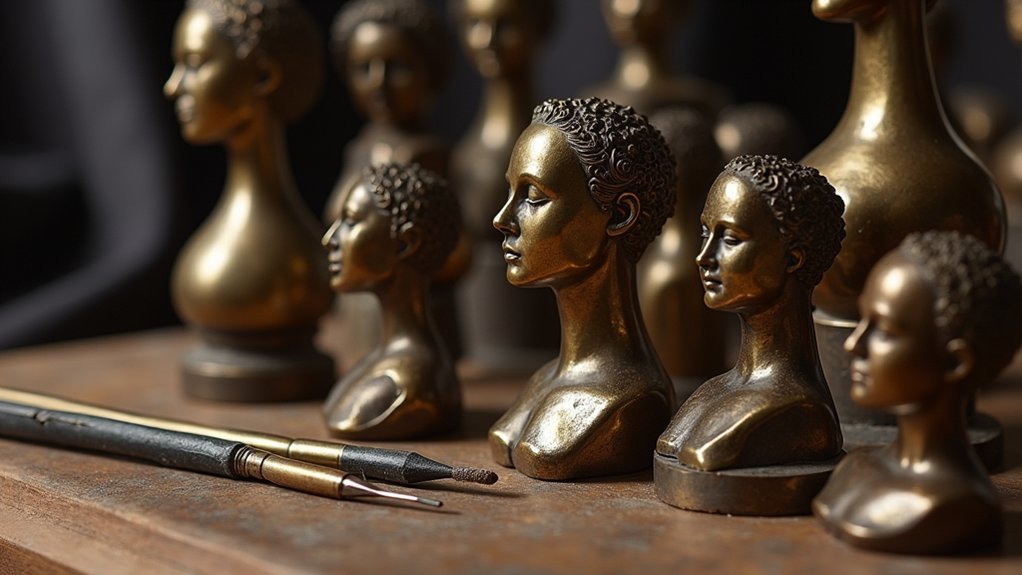
Assessing Bronze Sculpture Damage Before Repair
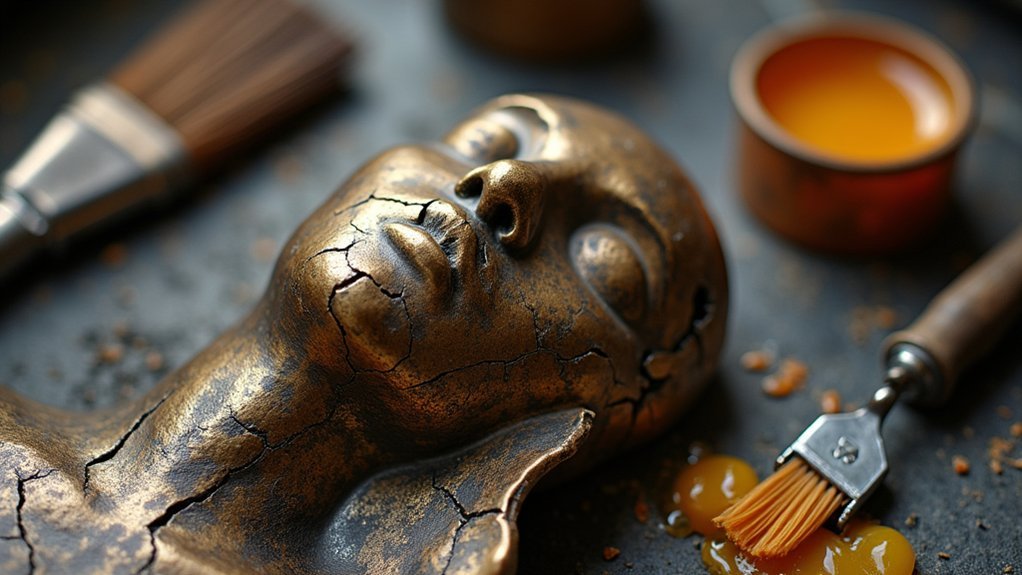
Before attempting any repair on a bronze sculpture, you’ll need to conduct a thorough damage assessment that reveals both visible and hidden structural issues.
Start by visually inspecting the sculpture for cracks, missing pieces, or surface deterioration that could compromise its integrity and aesthetic appeal.
Use X-ray imaging to identify internal fractures and assess the bronze’s structural condition. This step helps determine damage extent before proceeding with repairs.
You’ll also want to evaluate the original casting technique, as understanding whether the sculpture used direct or indirect lost-wax casting methods influences your repair approach.
Document all damage with high-resolution photographs and detailed notes.
Consider the patina and surface finish carefully, ensuring any repairs match the original appearance for seamless restoration.
Using Bronze Plugs to Fill Gaps and Flaws
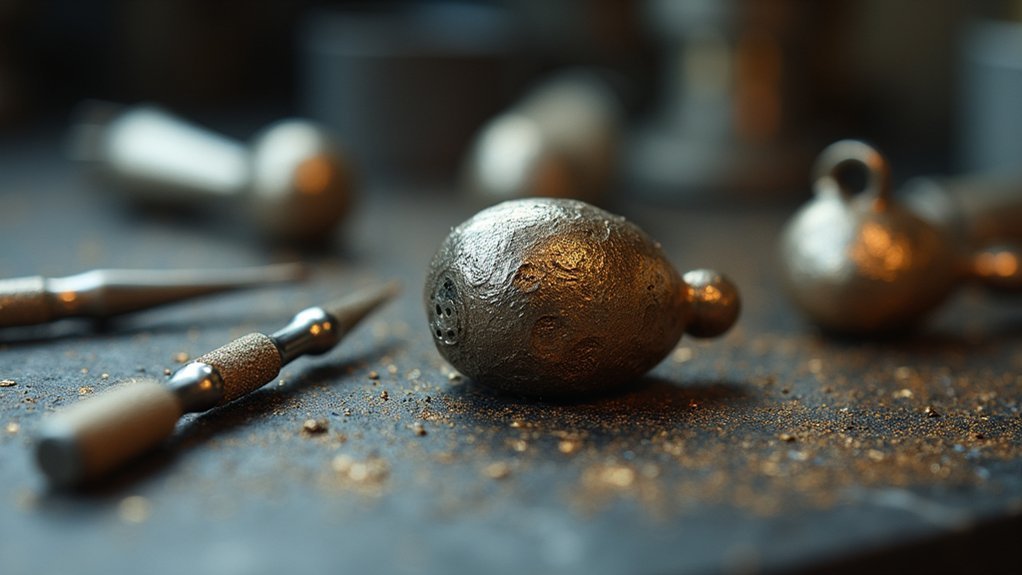
When dealing with considerable gaps or structural flaws in bronze sculptures, you’ll find that bronze plugs offer the most reliable repair solution for maintaining both aesthetic integrity and structural soundness.
Start by thoroughly cleaning the damaged area and removing any debris or oxidation. Shape your bronze plug to fit snugly into the defect, ensuring proper contact with surrounding metal.
Apply controlled heat to fuse the plug seamlessly with the existing bronze, creating a strong metallurgical bond. This prevents weak points that could compromise the sculpture’s stability.
Once the bronze plugs cool, you’ll need to chase and polish the repair area to match the original surface texture and patina.
This method not only eliminates visible flaws but considerably strengthens the overall structure while preserving the artwork’s value.
Removing Oxide Layers for Smooth Surface Preparation
After filling gaps with bronze plugs, you’ll need to remove oxide layers that form during casting and repair work.
You can tackle this surface preparation through chemical etching solutions that dissolve oxides, mechanical abrasion techniques that physically strip them away, or heat treatment methods that alter the oxide structure.
Each approach offers distinct advantages depending on your bronze’s composition and the finish you’re targeting.
Chemical Etching Solutions
Since oxide layers can considerably compromise the quality of your bronze casting’s final finish, chemical etching solutions offer a precise method for achieving the smooth surface preparation you need.
Ferric chloride and hydrochloric acid effectively dissolve the oxidized layer while preserving your sculpture’s underlying metal integrity. These solutions selectively target oxidation without damaging the bronze beneath.
You’ll need to monitor the etching process carefully, as excessive exposure can cause unwanted thinning or surface pitting.
Once you’ve achieved the desired results, thoroughly rinse your pieces with water to neutralize residual chemicals and prevent future oxidation.
Always wear gloves and eye protection when handling chemical etching solutions to avoid skin and eye irritation during this critical surface preparation stage.
Mechanical Abrasion Techniques
Mechanical abrasion provides you with direct physical control over oxide removal, allowing you to precisely target problem areas on your bronze casting’s surface. You’ll start with coarser grits like #80 or #120 to eliminate major imperfections, then progress to finer #400 grits for polished results. Don’t apply excessive pressure during abrasion—this prevents material removal and new defects in your casting.
| Grit Level | Purpose | Emotional Impact |
|---|---|---|
| #80-#120 | Heavy oxide removal | Relief from stubborn defects |
| #220-#320 | Intermediate smoothing | Growing confidence in progress |
| #400+ | Final polishing | Pride in flawless finish |
Clean your surface regularly to remove debris that causes scratches. Rotary tools with abrasive attachments enhance efficiency when addressing intricate casting details, giving you professional-quality results.
Heat Treatment Methods
While mechanical abrasion gives you physical control over oxide removal, heat treatment methods offer a complementary approach that makes stubborn oxidation layers brittle and easier to eliminate.
Annealing effectively removes oxide layers from bronze castings by applying controlled heat that causes oxidation to scale off naturally. You’ll find the brittle oxide layers break away easily with simple brushing or light tool work after heat treatment.
Temperature control proves essential during this process—overheating can warp or damage your casting permanently.
You’ll achieve best results by combining heat treatment with mechanical methods like sandblasting for particularly stubborn areas.
Once you’ve completed the heat treatment process, apply a protective coating immediately to prevent re-oxidation and maintain your bronze piece’s smooth, polished finish.
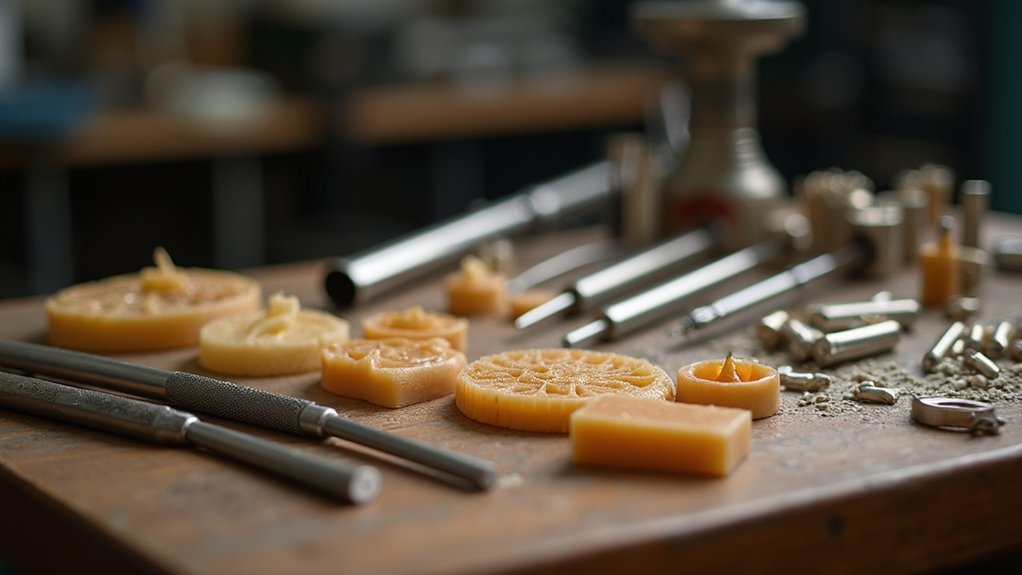
Repairing Wax Models With Hot Wax Application
You’ll need to master proper wax pen heating techniques to achieve seamless repairs on your wax models.
Heat the pen’s tip to the ideal temperature that allows smooth wax flow without overheating, which can damage existing areas.
Apply contrasting colored wax during repairs so you can easily identify modified sections and guarantee complete coverage of problem areas.
Wax Pen Heating Techniques
When precision matters most in wax model repairs, the wax pen heating technique offers unmatched control for adding material exactly where you need it. Your wax pen’s heated tip melts wax on contact, enabling precise application and seamless repairs to damaged sections.
Keep your wax pen tip clean throughout the process to prevent contamination and guarantee strong adhesion between old and new material. You’ll find using different colored wax helpful for visibility, making it easier to identify repair areas and guarantee complete coverage.
Apply hot wax gradually rather than all at once. This approach allows proper bonding while letting you adjust thickness without compromising your original wax model’s integrity.
Once you’ve completed repairs, smooth the surface using wax-carving files or emery paper for a seamless finish before proceeding to investment.
Color Contrast Application Methods
Since visibility drives successful repairs, applying contrasting colored wax transforms your repair process from guesswork into precision work. You’ll immediately spot areas requiring attention when using distinctly different wax colors from your original model. This technique eliminates missed spots and guarantees thorough coverage during repairs.
When applying hot wax with your wax pen, choose colors that create maximum visual contrast. If your model’s light-colored, use darker repair wax; for dark models, select lighter alternatives. Clean your pen’s tip thoroughly before switching colors to prevent contamination.
Apply the contrasting hot wax from multiple angles, building thickness gradually. The color difference helps you track progress and identify weak spots before they become casting defects.
After completing repairs, smooth areas with wax-carving files and #400 grit emery paper for uniform integration.
Vulcanized Rubber Mold Restoration Techniques
Although vulcanized rubber molds deteriorate over time from repeated use and exposure to heat, you can restore them to maintain their precision and extend their lifespan.
Start by carefully cleaning all debris and old wax residue from the mold cavity using appropriate solvents. Inspect the mold material for cracks, tears, or worn areas that could affect casting quality.
When you discover damaged sections, apply thin layers of compatible rubber compound to fill gaps and restore smooth surfaces. Pay special attention to detail areas where the wax layer makes contact, as these zones experience the most stress.
Sand restored areas gently once cured, then test with a practice pour. You’ll find that properly restored molds continue producing accurate reproductions for many additional casting cycles.
Surface Grinding and Filing Methods
After your cast metal pieces emerge from the investment mold, surface grinding and filing become essential steps for achieving professional-quality results.
Surface grinding uses a flat grinding wheel to remove imperfections and create smooth finishes on your cast metal surfaces. Filing provides manual control for shaping and smoothing, especially when addressing small defects in intricate casting areas.
Surface grinding and filing work together to eliminate casting imperfections and achieve the smooth, professional finishes your metalwork demands.
Your surface preparation strategy should include:
- Start with coarse emery paper and progress to fine grits for ideal texture refinement
- Use wax-carving files for precise detailing and smooth shifts before casting
- Inspect surfaces regularly during grinding and filing to catch defects early
This systematic approach minimizes pinholes, guarantees even finishes, and prevents defects from advancing through your finishing process, ultimately delivering polished final products.
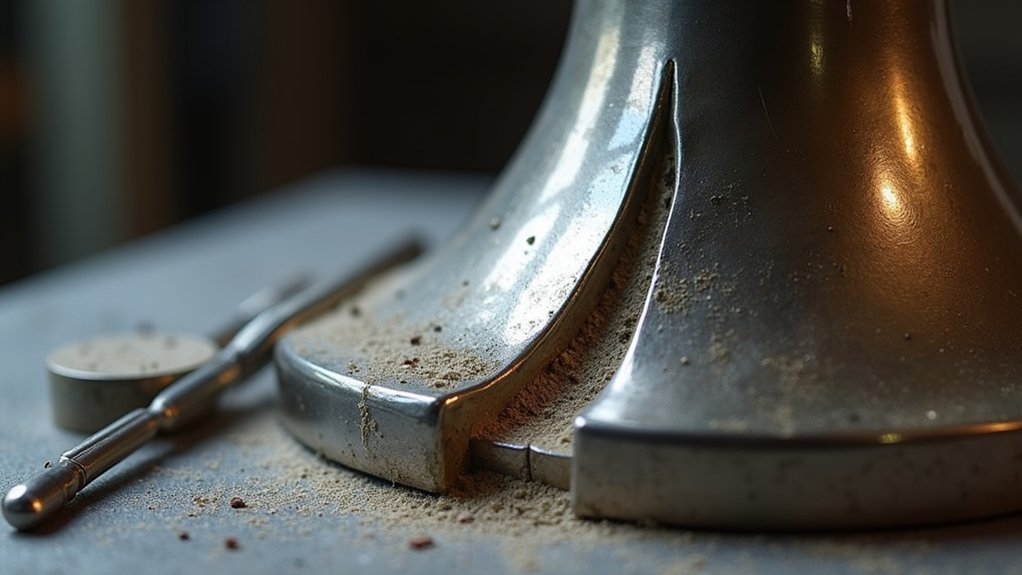
Investment Material Cleaning and Removal
After casting, you’ll need to remove investment material that’s clinging to your piece’s surface.
Start by using a toothbrush to scrub away the bulk investment material from accessible areas.
For stubborn residue and intricate details, you’ll want to soak your casting in vinegar to dissolve what the toothbrush couldn’t reach.
Toothbrush Investment Removal
Once your casting has cooled and you’ve broken away the investment shell, you’ll need to remove the remaining investment material clinging to your piece’s surface. A toothbrush becomes your most reliable tool for this essential cleaning phase. The gentle bristles effectively scrub rough casting surfaces without damaging the metal underneath.
Here’s your toothbrush cleaning approach:
- Gentle scrubbing: Use circular motions to work the bristles into textured areas where investment particles hide
- Vinegar soaking: Dip your toothbrush in vinegar while scrubbing to help dissolve stubborn residues
- Detail work: Focus extra attention on intricate design elements where investment material commonly gets trapped
Vinegar Soaking Techniques
While toothbrush scrubbing handles most surface investment, stubborn residues require a more aggressive approach through vinegar soaking. These vinegar soaking techniques dissolve investment material effectively when mechanical removal isn’t sufficient.
| Soaking Duration | Investment Type | Expected Results |
|---|---|---|
| 2-4 hours | Light residue | Softened debris |
| 6-8 hours | Medium buildup | Loosened material |
| Overnight | Heavy deposits | Complete dissolution |
| 12-24 hours | Detailed areas | Thorough cleaning |
| Multiple cycles | Stubborn residue | Full removal |
You’ll need to inspect your castings regularly during soaking to monitor progress. For intricate designs, overnight soaking guarantees complete investment material removal from hard-to-reach areas. This inexpensive method serves as an excellent alternative to ultrasonic cleaners while delivering professional results.
Sprue Repair and Reinforcement Strategies
Since sprue attachment directly determines whether molten metal flows smoothly into your mold, you’ll need to master proper repair and reinforcement techniques to prevent costly casting failures.
When you discover damaged sprues, immediately assess the sprue base for structural integrity. Use a wax-heating pen to repair any detachment points, as this tool provides precise control without damaging your main wax model.
Focus on these critical repair strategies:
- Position sprues to avoid sharp angles and excessive length that restrict metal flow
- Reinforce inside sprues with additional wax layers for multiple casting projects
- Inspect all connections thoroughly before beginning the investment process
Always check for weakness signs before proceeding. Proper sprue placement facilitates ideal metal flow, while reinforcement guarantees structural integrity throughout casting.
These preventive measures greatly enhance your final casting quality and success rates.
Texture Application to Disguise Repair Marks
After completing structural repairs on your cast piece, you’ll need to skillfully apply texture to eliminate visible repair marks and achieve a seamless surface finish.
Use specialized tools like chisels, stamps, or brushes to replicate your original piece’s surface pattern. Match the scale and design carefully, ensuring repairs complement rather than detract from the overall aesthetic.
Precision in tool selection and technique ensures seamless texture replication that preserves your artwork’s original character and visual continuity.
Before working on your actual piece, experiment with different texturing techniques on scrap metal. This prevents accidental damage while helping you perfect the desired effect.
Apply patinas to enhance your texture application and create color variations that blend repaired areas with surrounding surfaces.
The key is matching the original texture precisely, making your repairs virtually invisible to maintain your piece’s artistic integrity.
Patina Application for Final Protection and Aesthetics
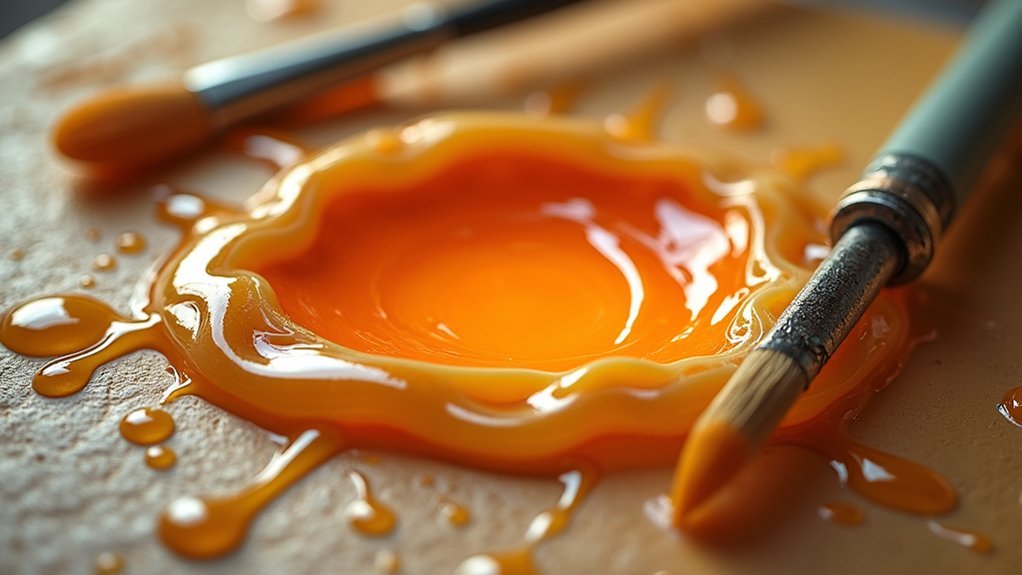
Once you’ve perfected your texture work, patina application becomes your final opportunity to transform raw metal into a professional-quality finish that protects and beautifies your piece.
This vital step creates a protective barrier against oxidation while achieving stunning visual effects.
Your patina application process requires careful preparation and technique:
- Clean the sculpture thoroughly to remove all residues before applying any patina solution
- Build color depth gradually using multiple layers, allowing proper drying and buffing between applications
- Experiment with various acid and salt formulations to achieve desired colors ranging from rich greens to deep browns
The patina application creates both protection and aesthetic appeal.
Complete your work with final sealing using clear wax or lacquer, which preserves the patina’s appearance while adding visual depth that’ll last for years.
Frequently Asked Questions
What Is the Lost Wax Process the Most Common Method For?
You’ll find the lost wax process is the most common method for casting detailed metal sculptures, including artworks and jewelry, because it captures intricate designs and fine details better than other techniques.
Which Culture Perfected the Technique of Lost Wax Casting?
You’ll find that multiple cultures perfected lost-wax casting rather than just one. The Indus Valley civilization, ancient Egyptians, Benin kingdom, and South Asian Gupta-Chola periods each achieved remarkable mastery of this technique.
What Are the Mistakes in Casting Lost Wax?
You’ll encounter problems with improper sprue placement blocking metal flow, skipping vacuum mixing that traps air bubbles, inadequate wax cleaning introducing debris, poor quenching timing causing warping, and insufficient investment removal obscuring details.
What Is the Name of the Casting Technique That Is Referred to as Lost Wax?
You’ll find the casting technique called “lost wax” is also known by its French name “cire perdue.” Both terms describe the same ancient process where you melt wax away to create casting molds.
In Summary
You’ve now mastered the essential repair techniques that’ll restore your lost wax castings to their original glory. Don’t rush through the damage assessment—it’s your foundation for success. Remember to match your repair method to the specific problem you’re facing, whether it’s filling gaps with bronze plugs or restoring texture. With practice, you’ll develop the skills needed to make seamless repairs that preserve your sculpture’s artistic integrity.


Leave a Reply