You can repair your broken gold chain at home with basic jewelry tools like needle nose pliers, wire cutters, and jump rings. Start by identifying the break point, then use 20-gauge jump rings to reconnect severed links or replace damaged clasps with matching replacements. For complex breaks, create custom figure-eight links using thick wire and round nose pliers. Always test your repairs by gently tugging the chain to guarantee secure connections. Master these fundamental techniques to restore your jewelry’s integrity.
Essential Tools for Gold Chain Repairs
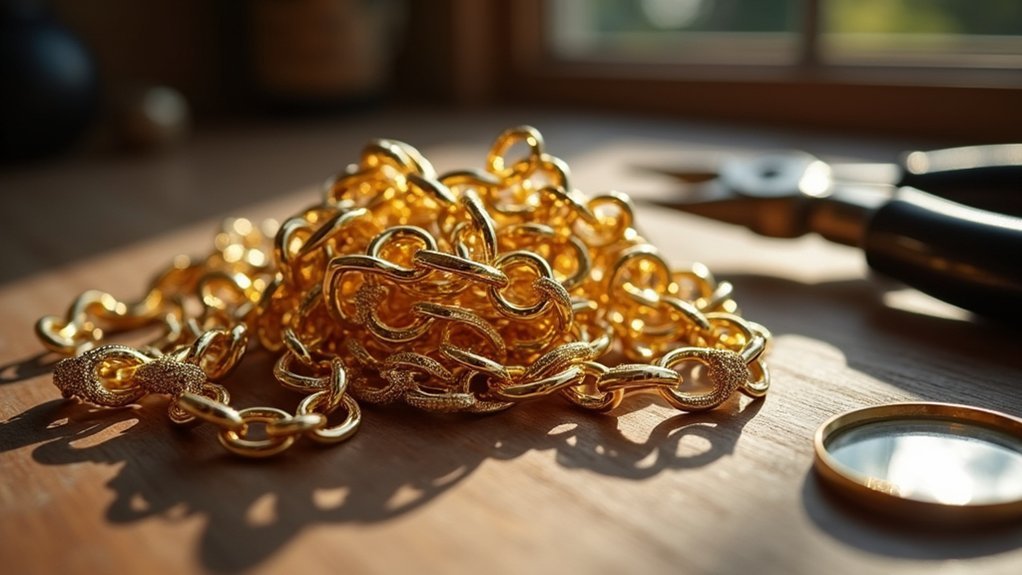
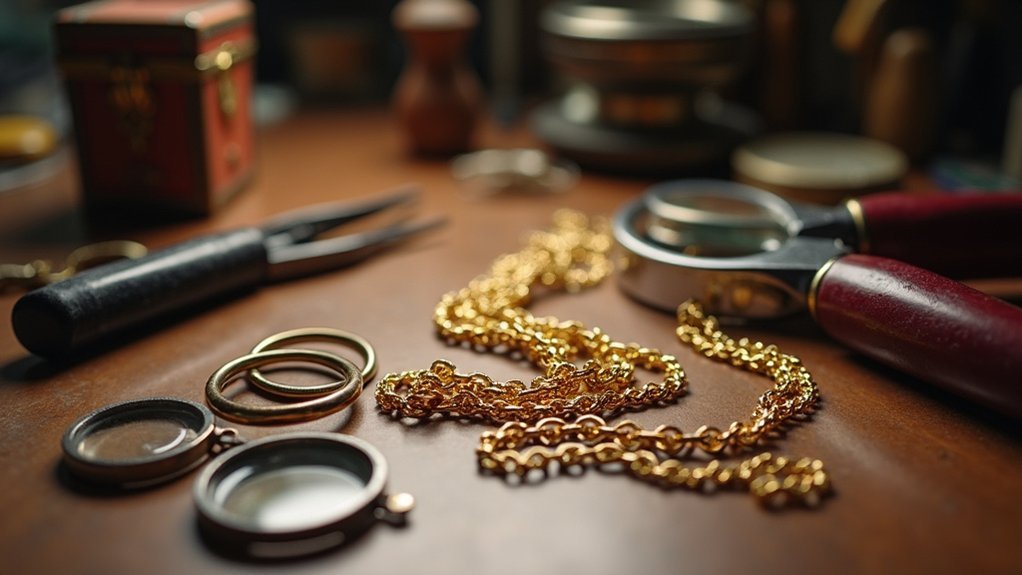
Success in gold chain repairs depends entirely on having the right tools at your disposal.
The foundation of any successful jewelry repair lies in assembling the proper professional-grade tools before beginning work.
You’ll need needle nose pliers, bent chain nose pliers, round nose pliers, and wire cutters to effectively work with delicate gold materials. These tools give you the precision required for intricate repairs.
For connections, you’ll need to make smart choices with your hardware.
Use 20 gauge or thicker jump rings (18, 16 gauge) to guarantee durability and secure attachments. Consider split rings for even more security than traditional jump rings offer.
Keep various jump ring sizes on hand – 4mm, 6mm, and 8mm – for versatile repairs across different chain designs.
Additionally, stock 26 gauge wire in 5-inch pieces for creating coiled eye pins that help secure components during repairs.
Identifying Common Chain Break Points
While having proper tools sets the foundation for repairs, knowing where chains typically fail helps you work more efficiently and prevents future breaks.
You’ll find most damage occurs near clasps, where constant stress from opening and closing creates weak points. Links that’ve been twisted or stretched excessively are prime candidates for failure.
Your chain’s design matters greatly. Cable chains typically break at soldered connections, while snake chains often fail when their delicate internal structure collapses. Box chains can break when individual links get crushed or bent.
Regular inspection is essential. Look for fraying, kinks, or discoloration that signals metal fatigue. Even strong soldered links weaken over time with repeated bending.
Check areas where you frequently grab or adjust your chain – these spots endure the most stress.
Using Jump Rings to Reconnect Broken Links
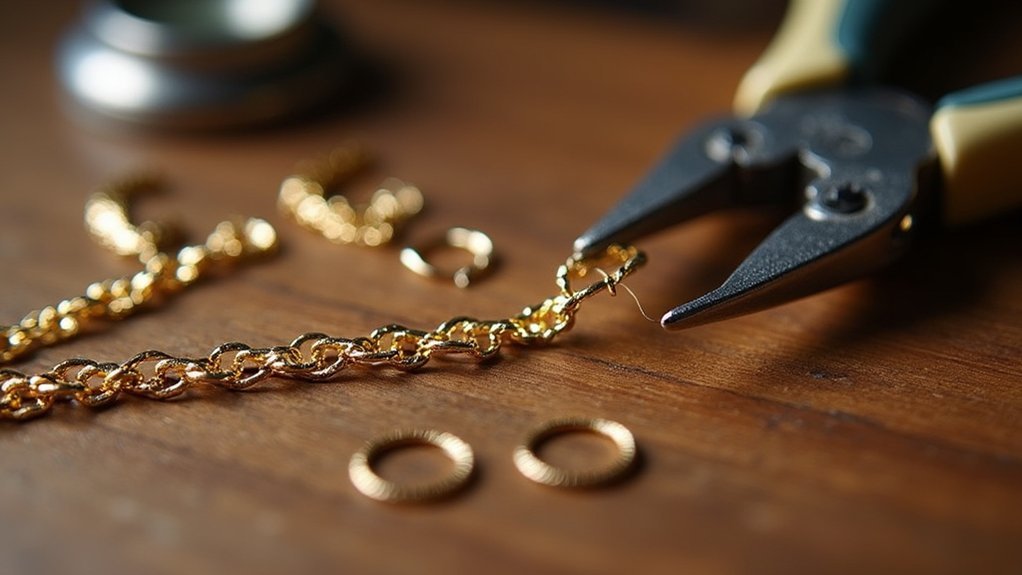
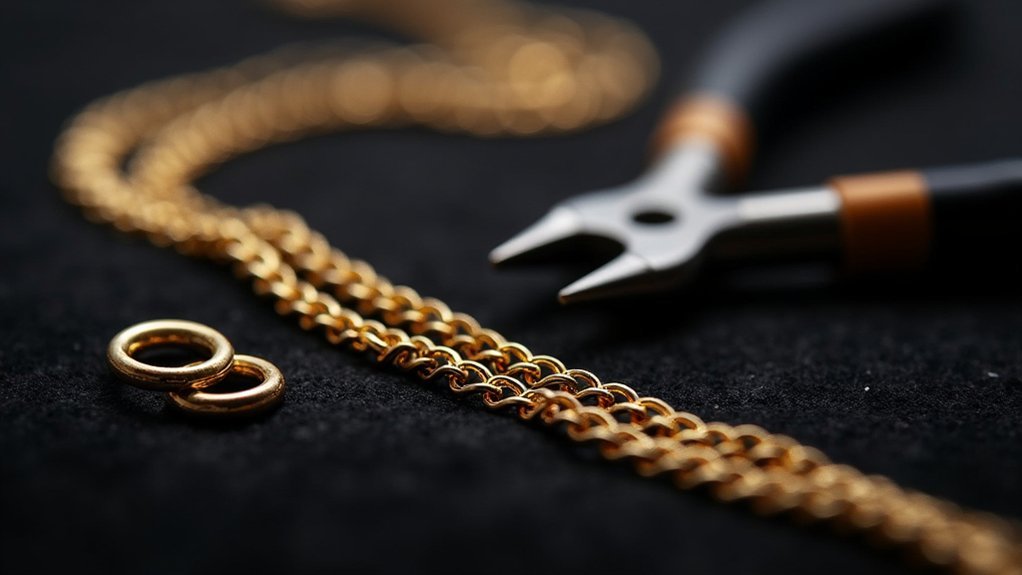
Jump rings offer one of the most effective methods for reconnecting broken chain links, providing a secure solution that doesn’t require soldering equipment.
You’ll need jump rings that are at least 20 gauge or thicker to guarantee durability and prevent future breaks. To attach them properly, gently open the jump ring with pliers, thread it through both ends of your broken chain, then close it securely.
Use 20 gauge or thicker jump rings and close securely with pliers to ensure a durable chain repair.
It’s essential that you tightly close the jump ring after attachment to maintain the chain’s integrity. For added security, consider using split rings instead of traditional jump rings.
Split rings resemble keychain rings and provide superior attachment strength, making them an excellent choice for valuable gold chains that need reliable repairs.
Replacing Damaged Lobster Clasps
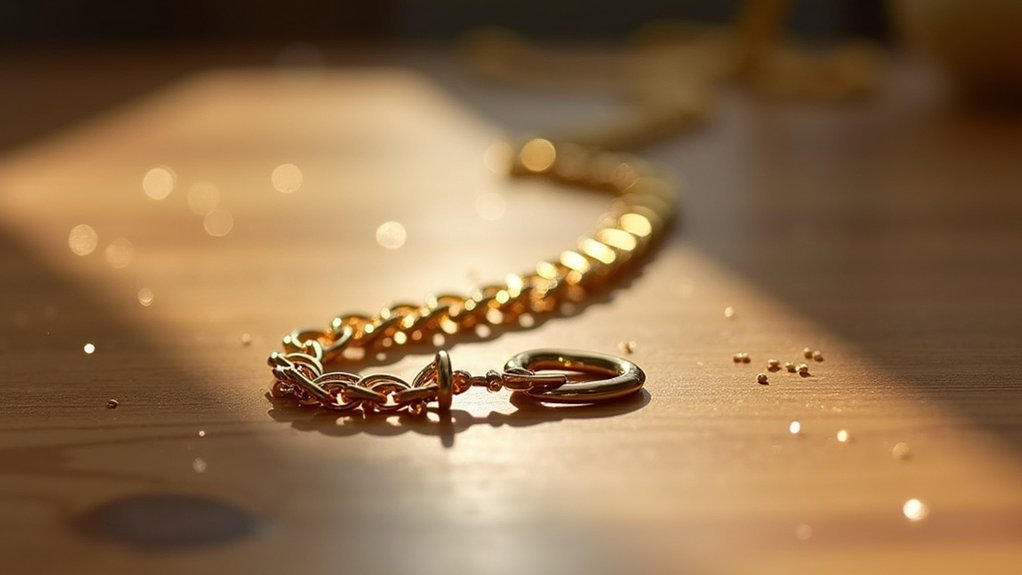
Lobster clasps frequently break or malfunction, making chain replacement necessary for proper functionality.
You’ll need to remove the damaged clasp by cutting close to the connection point with wire cutters. Select a replacement clasp that matches your chain’s size and style, ensuring it accommodates the chain’s gauge (20 gauge or thicker works best).
Use bent chain nose pliers to open a jump ring and slide the new lobster clasp onto it. Then attach the ring back to your chain segment.
- Squeeze the jump ring tightly with pliers until no gaps remain
- Consider double looping the jump ring for enhanced security
- Use split rings instead of jump rings for maximum clasp stability
Proper closure prevents the clasp from detaching during wear, ensuring your chain stays secure.
Creating Custom Figure-Eight Links
When your gold chain needs a custom repair link, you’ll start by preparing 20 gauge or thicker wire to match your chain’s proportions.
You’ll then form precise loop connections using round nose pliers to create the distinctive figure-eight shape that provides both strength and flexibility.
Finally, you’ll secure the wire ends with tight twists and proper attachment points to guarantee your custom link integrates seamlessly with the existing chain structure.
Wire Preparation Techniques
Creating custom figure-eight links requires precise wire preparation that’ll guarantee your gold chain repair holds securely over time. Start with a 5-inch piece of 26 gauge wire, which provides the perfect balance of flexibility for shaping while maintaining strength for securing loops.
Proper wire preparation involves these essential steps:
- Cut accurately – Measure exactly 5 inches to affirm you’ll have enough material for both loops and wrapping
- Clean the wire – Remove any oxidation or debris that could weaken connection points
- Straighten carefully – Use pliers to eliminate kinks without creating stress points in the metal
Use round nose pliers to bend the wire into your initial loop, affirming tight formation. The 26 gauge thickness allows easy manipulation while providing durability for your figure-eight links.
Forming Loop Connections
With your wire properly prepared, you’re ready to form the actual figure-eight connections that’ll bridge broken chain sections.
Start with a 5-inch piece of 26 gauge wire and use round nose pliers to create two loops at each end. Form these loops in a figure-eight pattern, ensuring they connect seamlessly.
You’ll want to coil the loops tightly around themselves – this enhances stability and prevents breakage during wear. Once you’ve formed both loops, use wire cutters to trim excess wire for a clean, professional finish.
For personalization, thread beads onto the wire before forming loops. Practice creating multiple figure-eight links to build confidence and prepare yourself for more complex jewelry repairs.
Securing Final Attachments
Before you complete your gold chain repair, you’ll need to guarantee the final attachments using custom figure-eight links that provide maximum durability.
These specialized connectors offer superior strength compared to standard jump rings and create seamless repairs that blend with your chain’s original design.
Cut your 20-gauge wire to the desired length, then use round nose pliers to carefully shape it into a figure-eight configuration.
Ensure both loops are tightly closed to prevent gaps that could weaken the connection.
Key steps for securing your figure-eight links:
- Thread the link through existing chain segments or attach using jump rings for extra security
- Test the connection by gently tugging to verify it holds firm
- Double-check all closures before wearing to prevent future breakage
Working With Split Rings for Secure Attachments
Split rings offer superior security compared to standard jump rings when you’re repairing gold chains or attaching pendants. They function like miniature keychain rings, preventing accidental openings that could cause you to lose valuable jewelry pieces.
You’ll need to use your nails or pliers to open split rings since they’re designed for security. Choose the appropriate size based on your specific repair project – larger rings for heavier pendants, smaller ones for delicate work.
Thread your wire or attachment through the ring at least twice to maximize security. This technique is particularly valuable when repairing delicate gold chains or attaching heavier pendants where standard jump rings might fail.
Split rings reduce breakage risk and provide long-lasting, reliable connections.
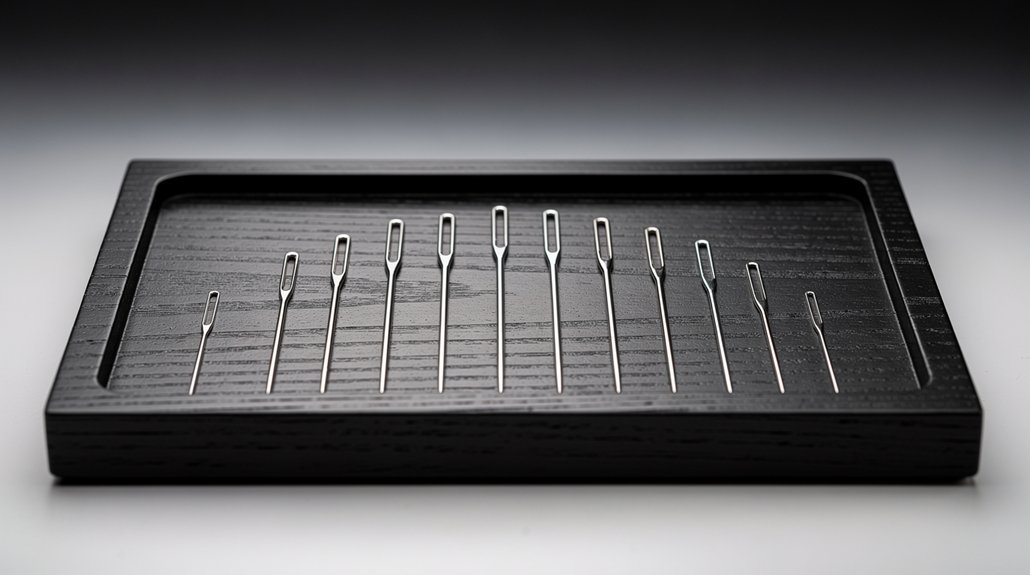
Making Coiled Eye Pins for Delicate Chains
When you’re creating coiled eye pins for fragile gold chains, start by selecting 26-gauge wire since it’s flexible enough to work with yet strong enough to hold connections.
You’ll form the initial loop using round nose pliers, gripping the wire end and bending it into a clean circle.
The key lies in your coiling technique—wrap the wire tightly around itself multiple times, keeping each coil snug against the main wire to prevent the connection from loosening over time.
Wire Gauge Selection
Delicate gold chains require careful wire gauge selection, and you’ll find that 26 gauge wire offers the ideal balance of flexibility and strength for creating coiled eye pins. This gauge won’t overwhelm fine chains while providing sufficient durability for secure connections.
When selecting wire for your repair project, consider these key factors:
- Flexibility: 26 gauge wire bends easily without breaking, making it perfect for intricate coiling work.
- Strength: Despite its thinness, this gauge maintains structural integrity under normal chain stress.
- Compatibility: The wire’s diameter matches delicate chain proportions without creating bulky connections.
Using 5-inch pieces gives you enough material to work with while minimizing waste. This gauge seamlessly integrates with your gold chain’s existing links, creating repairs that look professional and maintain the chain’s original aesthetic appeal.
Loop Formation Technique
Now that you’ve selected the proper 26 gauge wire, you’re ready to create the coiled eye pin that’ll restore your chain’s connection. Start by cutting a 5-inch piece of wire, giving you enough material to work with while maintaining control.
Grip your round nose pliers and form a tight loop at one end of the wire by bending it carefully. The loop must be secure since it’ll bear the chain’s weight.
Next, coil the remaining wire around itself, keeping each wrap close to the loop’s base for maximum stability.
If you’re adding decorative beads, slide them onto the wire before closing. Complete your eye pin by double looping if necessary, ensuring the connection won’t fail under stress.
Secure Coiling Method
The foundation of any reliable chain repair lies in mastering the coiled eye pin technique, which creates stronger connections than simple loops alone.
Once you’ve formed your initial loop with round nose pliers, you’ll wrap the wire around itself to build a secure foundation that won’t fail under stress.
Your coiling technique determines repair longevity:
- Wrap the wire tightly against the longer piece, eliminating gaps that weaken the connection
- Create 2-3 consistent coils for ideal strength without adding unnecessary bulk
- Maintain even tension throughout each wrap to prevent wire kinking or breaking
For delicate gold chains requiring closures, double loop your wire when attaching lobster clasps.
This extra security prevents failure at stress points, ensuring your repair withstands daily wear while maintaining the chain’s original elegance and functionality.
Repairing Fine Chains With Raw Wire Techniques
When standard jump rings prove too small or fragile for your delicate gold chain repair, 26 gauge raw wire offers a versatile solution for creating custom connections.
You’ll grip the wire with round nose pliers and bend it into the desired loop shape. Coil the wire around itself to establish stability in your connection point.
Position tight coils directly against the longer wire section to secure your loop and prevent disassembly during wear. When you’re attaching closures like lobster clasps, verify your loops close completely to maintain repair integrity.
Secure tight coils against the wire section to prevent loop disassembly and ensure complete closure for lasting repair integrity.
Consider double looping the wire for enhanced security, which prevents accidental detachment of your chain closure. This technique provides reliable connections for fine chain repairs.
Proper Jump Ring Closing Methods
You’ll need to master the twist and close technique when working with jump rings to maintain your gold chain’s integrity.
Grasp the jump ring with two pliers and twist the ends toward each other rather than pulling them apart to preserve the ring’s circular shape and strength.
Always check visually for any gaps after closing, as even tiny openings can cause your chain or pendant to detach unexpectedly.
Twist and Close Technique
Master the twist and close technique to guarantee your jump ring repairs hold securely for years to come. This method preserves the ring’s circular shape while creating the strongest possible connection for your gold chain.
Hold the jump ring with two pairs of pliers, gripping each side of the opening. Instead of pulling the ends apart, twist them in opposite directions to open. After threading your chain or pendant through, reverse the motion to close.
- Use 20 gauge or thicker jump rings for maximum durability during regular wear
- Twist ends until they meet perfectly with absolutely no gaps remaining visible
- Check closure tightness regularly to prevent losing valuable charms or pendants
Consider upgrading to split rings for enhanced security on frequently worn pieces.
Ensuring Tight Closure
Since a poorly closed jump ring will inevitably fail and cause you to lose your jewelry, achieving a perfectly tight closure requires meticulous attention to detail and proper technique. You’ll need to twist the ends toward each other rather than pulling them apart, which deforms the ring and weakens the connection.
| Step | Action | Tool Required |
|---|---|---|
| 1 | Grip ring firmly | Needle nose pliers |
| 2 | Twist ends together | Pliers + fingers |
| 3 | Visual gap inspection | Eyes |
| 4 | Gentle tug test | Hands |
| 5 | Final security check | Complete assessment |
After closing, you must visually inspect for gaps and gently tug to confirm the connection holds firm. Consider upgrading to split rings for maximum security.
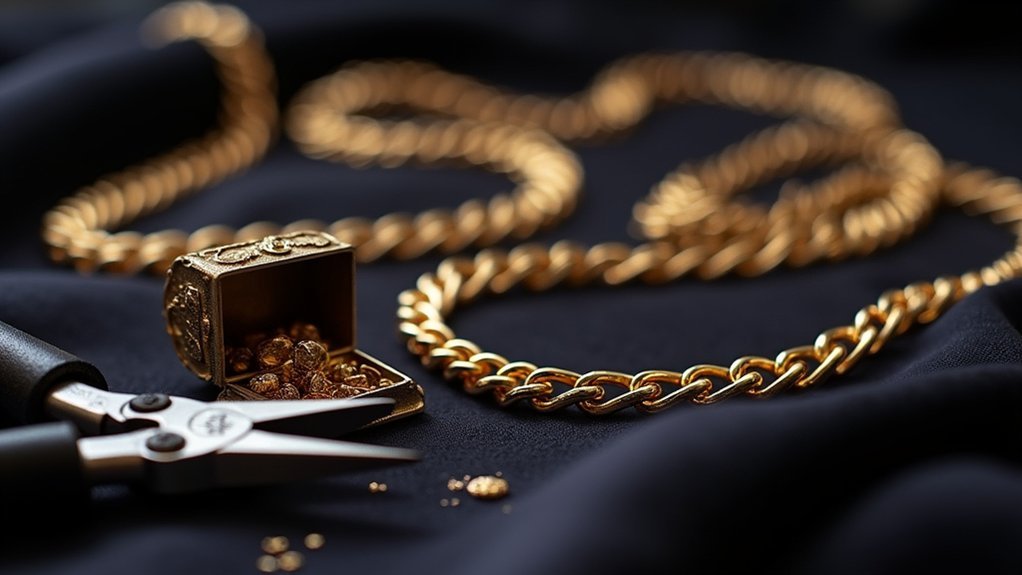
Testing Chain Strength After Repairs
After completing your gold chain repair, testing the strength becomes your next critical step to confirm the fix will hold under normal wear.
You’ll want to verify that your repair work can withstand daily use and prevent future breakage.
Start by gently tugging on the chain to test repaired sections, making certain all jump rings and clasps close securely.
Begin with gentle tugging to test repaired sections, ensuring all jump rings and clasps close securely without gaps.
Next, conduct a thorough visual inspection to spot any misaligned links or weak points needing reinforcement.
For extensive strength assessment, consider these testing methods:
- Weight test – Hang a small, known weight from the chain to assess load-bearing capacity
- Stress point examination – Focus on previously broken areas and connection points
- Documentation – Record repair methods and test results for future reference
Regular testing builds confidence in your repair skills and guarantees chain longevity.
Frequently Asked Questions
How Do You Fix a Real Gold Chain?
You’ll identify the broken section, then use needle nose pliers with 20-gauge jump rings. Close connections tightly, consider split rings for security, and attach lobster clasps ensuring all loops remain secure.
How Do You Make a Gold Chain Sparkle Again?
You’ll restore your gold chain’s sparkle by gently cleaning it with warm soapy water and a soft brush. Rinse thoroughly, dry with lint-free cloth, then polish using a jewelry cloth designed for gold.
Are Repaired Gold Chains Strong?
You’ll find repaired gold chains can be quite strong when you use proper techniques and quality materials. If you’re careful with jump rings and regularly check the repairs, they’ll hold up well for everyday wear.
How Long Does It Take to Fix a Gold Chain Link?
You’ll need 10-30 minutes to fix a gold chain link. Simple repairs like replacing jump rings take under 15 minutes, while complex soldering work requires 20-30 minutes depending on damage severity.
In Summary
You’ve mastered the fundamentals of gold chain repair. Don’t rush through testing your work—a properly repaired chain should feel as secure as the original. Remember to keep your workspace organized and your tools clean for future repairs. Practice these techniques on less valuable pieces first, and you’ll soon handle even your most precious chains with confidence. Your jewelry box will thank you for bringing those forgotten pieces back to life.

Leave a Reply