You’ll master jewelry soldering with three essential techniques: proper heat control, effective solder flow, and quality joint inspection. Set your soldering iron between 600-700°F and apply steady pressure with the flat edge against the joint. Introduce fresh solder directly onto heated surfaces, ensuring it flows evenly around both components. Check for smooth, shiny surfaces that indicate proper adhesion, and look for that telltale volcano shape showing adequate solder coverage. These fundamentals will reveal advanced soldering methods.
Essential Tools and Safety Preparation for Jewelry Soldering
Success in jewelry soldering starts with assembling the right tools and establishing proper safety protocols.
You’ll need a quality soldering iron, rosin-core solder with flux in the solder, and a brass sponge to clean the tip effectively. Don’t forget helping hands to stabilize delicate pieces during work.
Safety preparation is non-negotiable. Wear protective goggles to shield your eyes from flux fumes and solder splashes. Work in a well-ventilated area to minimize harmful substance inhalation. Set up heat-resistant surfaces like soldering blocks to protect your workspace and prevent burns.
Before beginning, verify all components fit snugly and are free from oxidation or contaminants.
Clean surfaces guarantee reliable connections and ideal joint quality. Proper preparation sets the foundation for successful soldering results.
Proper Heat Application and Solder Flow Techniques
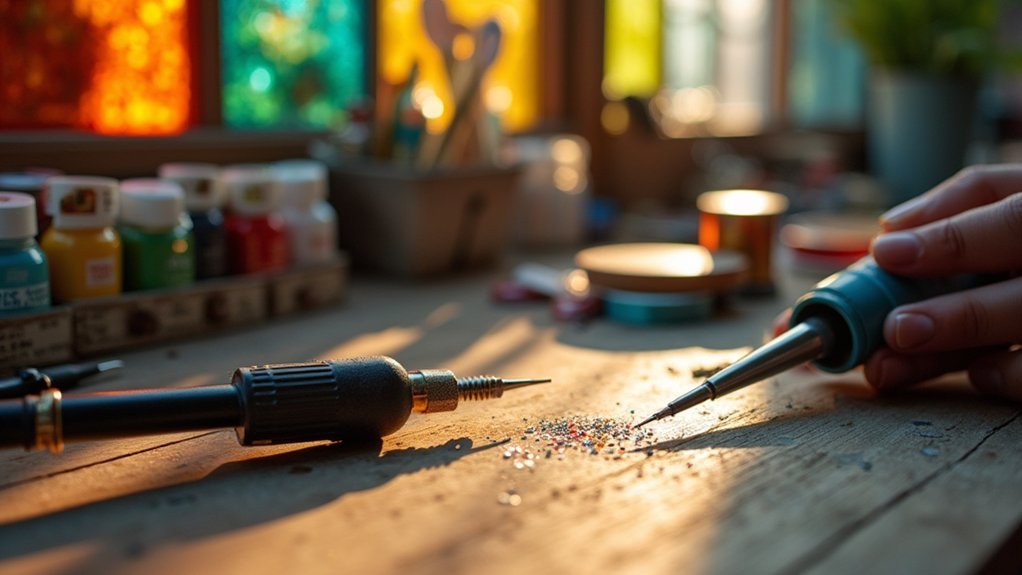
With your workspace prepared and tools ready, mastering heat application becomes your next priority for creating strong solder joints. Set your soldering iron between 600-700°F for ideal results.
Use the flat edge against the joint for better heat transfer, eliminating any air gap between iron and components. Keep the iron stationary and centered while applying gentle pressure.
Introduce fresh solder directly onto the joint, not the iron tip—this proper soldering technique guarantees effective flow into the connection.
Heat both the component and joint evenly so solder melts uniformly throughout. Maintain steady contact until solder flows completely, then remove the iron while keeping components still.
Allow the joint to cool undisturbed for several seconds to prevent weakness from premature movement.
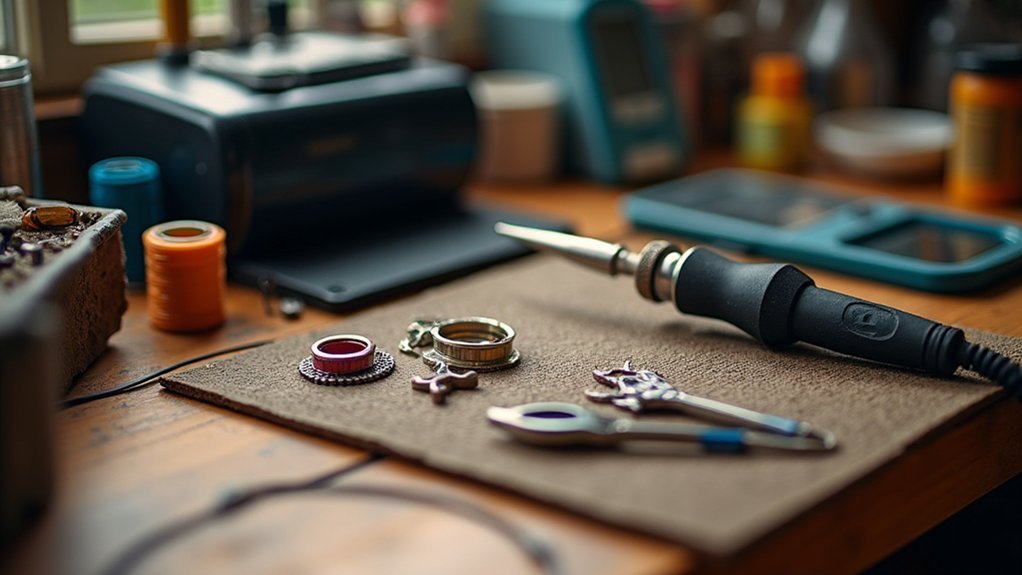
Joint Inspection and Finishing Methods
Once your solder joint cools completely, examine it carefully for quality indicators that reveal whether you’ve achieved a proper connection. Look for a smooth, shiny surface that demonstrates proper heat application from the tip of the iron. The solder should fully wet both surfaces, wrapping around wire strands effectively.
A quality solder joint displays a smooth, shiny surface with complete wetting around all contact points.
A quality joint displays these characteristics:
- Volcano shape – Proper solder amount without excess solder pooling
- Complete wetting – Solder flows around all contact surfaces
- Shiny appearance – Indicates adequate heat and timing
- No bridging – Clear separation between adjacent joints
Without flux, joints often appear dull or rough, signaling poor adhesion.
After inspection, trim excess leads with a flat edge cutter, maintaining clearance from nearby components to prevent short circuits.
Frequently Asked Questions
How to Start Soldering for Beginners?
You’ll need a soldering iron, solder, and wire. Set your iron to 600-700°F, secure components with helping hands, clean the tip frequently, and practice applying solder directly to joints for strong connections.
What Is the Golden Rule of Soldering?
You’ll follow the golden rule by heating both components before applying solder. This guarantees proper flow and adhesion. Don’t heat just the iron – warm the actual joint first for strong, reliable connections.
What Are the 7 Steps of Soldering?
You’ll prepare components, clean your iron tip, heat the joint, apply solder to the connection, let it cool completely, inspect for quality, and trim excess leads for safety.
What Are the 5 Soldering Steps?
You’ll prepare components, heat the joint with a clean iron, apply solder directly to the heated connection, let it cool completely undisturbed, then inspect for smoothness and proper coverage.
In Summary
You’ve now mastered three fundamental soldering techniques that’ll serve as your foundation for jewelry making. Remember, practice makes perfect—don’t get discouraged if your first attempts aren’t flawless. Keep your workspace organized, maintain proper ventilation, and always prioritize safety. Start with simple projects and gradually work your way up to more complex pieces. With these skills, you’re ready to create beautiful, professionally-finished jewelry that’ll last for years.

Leave a Reply