You’ll transform your jewelry photography with three essential techniques. First, master your lighting by positioning softbox lights at 45-degree angles to eliminate harsh shadows and enhance sparkle. Second, choose clean, solid backgrounds like white or light gray while applying the rule of thirds for dynamic composition. Third, use a DSLR with a 50mm lens, shoot in RAW format, and maintain low ISO settings for crystal-clear images. These fundamentals will elevate your product photos from amateur to professional quality instantly.
Master Your Lighting Setup for Brilliant Jewelry Shots
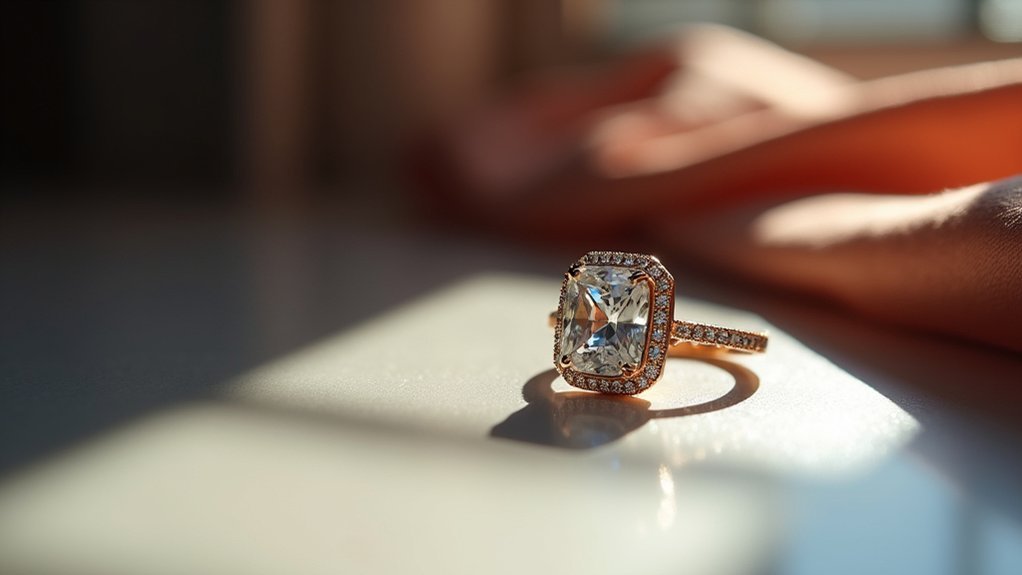
When photographing jewelry, your lighting setup makes the difference between amateur snapshots and professional-quality images that sell. Use a softbox to diffuse harsh light and eliminate unwanted reflections on metallic surfaces.
Position your artificial light at a 45-degree angle to highlight intricate details while minimizing shadows. Combine natural light with daylight-balanced bulbs for accurate color representation in your photo studio.
Deploy reflectors strategically to bounce light onto your jewelry, enhancing sparkle and reducing dark areas in complex designs. This technique creates high-quality images that showcase every facet and finish.
Always conduct test shots before your final captures, adjusting your setup until gemstones shine brilliantly without glare or overexposure. Proper lighting transforms ordinary jewelry photography into compelling product images.
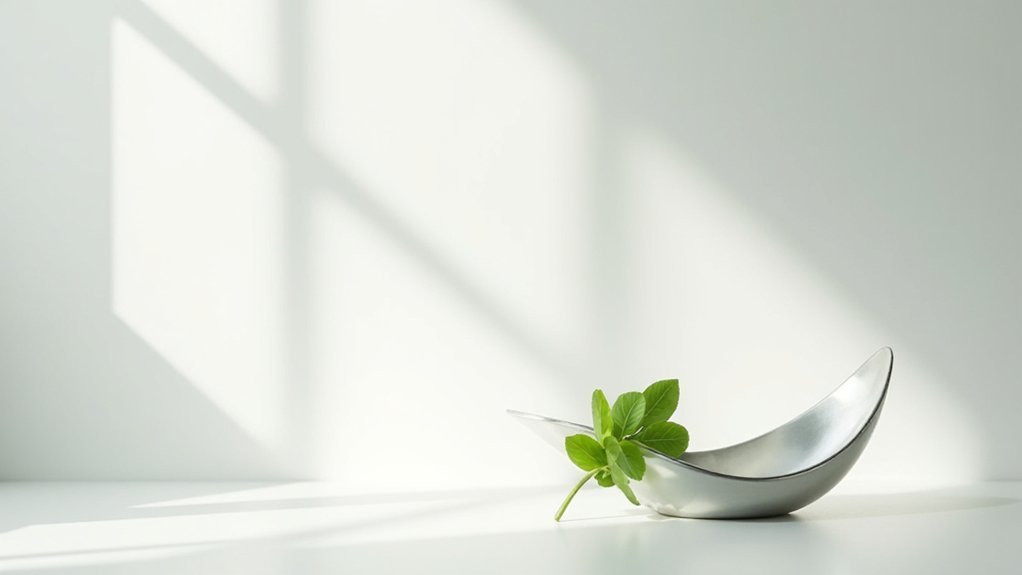
Choose the Perfect Background and Composition for Your Pieces
After perfecting your lighting, the background and composition you choose will determine whether your product commands attention or gets lost in visual clutter.
Select a clean, solid color like white or light gray to maintain focus on your jewelry without distractions. Don’t center your pieces—use the rule of thirds to create dynamic product photos that draw viewers’ eyes naturally.
Experiment with different angles like three-quarter views or flat lays to showcase intricate details and enhance visual appeal. Add props sparingly to provide context while ensuring they don’t overshadow your main piece.
Maintain consistency across your entire portfolio by using similar backgrounds and composition styles. This cohesive approach reinforces your brand identity and creates a professional, polished look that builds trust with potential customers.
Essential Camera Settings and Equipment for Professional Results
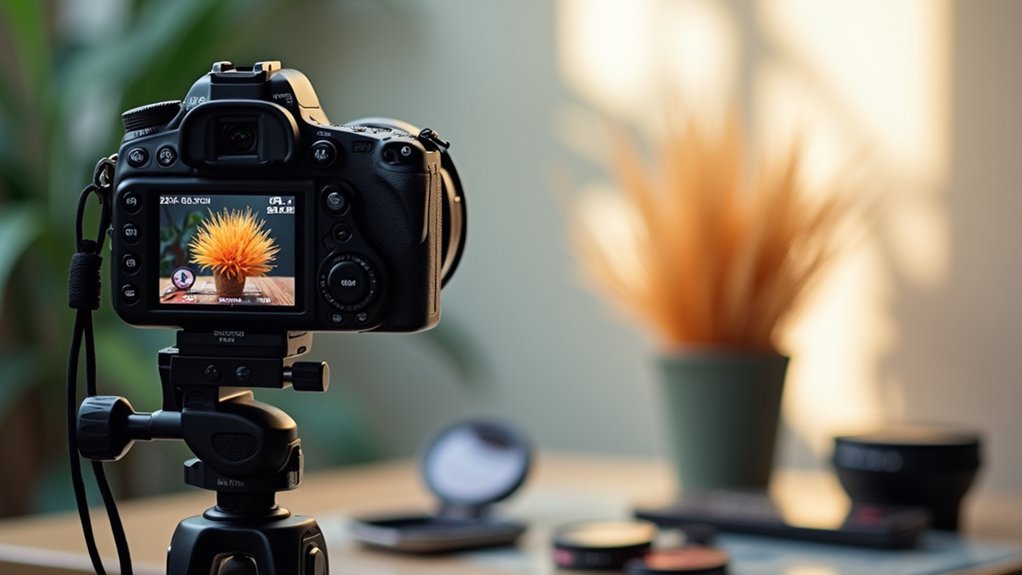
Three key equipment choices will transform your jewelry photography from amateur snapshots to professional-grade images that sell.
First, invest in a DSLR camera with a 50mm lens for your product photography setup. This combination delivers exceptional clarity and control over depth of field for high-quality product shots.
Second, use a sturdy tripod to eliminate camera shake and maintain consistent composition. You’ll achieve sharper images with better manual focus precision.
Third, configure your essential camera settings properly. Shoot in RAW format for maximum editing flexibility. Set a wider aperture (lower f-stop) to blur backgrounds and emphasize your products.
Keep ISO low to minimize noise while maintaining proper exposure. Adjust shutter speed according to your studio lighting conditions.
This equipment for product photography foundation guarantees professional results every time.
Frequently Asked Questions
What Makes a Stunning Photo?
You’ll create stunning photos by using clean backgrounds, natural lighting, and consistent color palettes. Apply the rule of thirds for dynamic composition, and capture multiple angles with close-ups to showcase every detail effectively.
How to Make Product Pictures Look Professional?
You’ll achieve professional product photos by investing in quality equipment, using soft diffused lighting, choosing clean neutral backgrounds, applying composition rules like thirds, and post-processing images for consistent brightness and color balance.
How Do You Make a Picture Stunning?
You’ll create stunning pictures by mastering composition with the rule of thirds, perfecting your lighting setup, choosing compelling subjects, and enhancing colors through thoughtful post-processing that brings your vision to life.
What Makes a Good Product Image?
You’ll create excellent product images by using clean white backgrounds, soft diffused lighting, and high-resolution cameras. Frame your shots thoughtfully, then enhance brightness, contrast, and colors during post-editing for maximum appeal.
In Summary
You’ve got the tools to transform your jewelry photography from amateur to professional. Don’t let poor lighting ruin your shots – invest time in perfecting your setup. You’ll see immediate improvements when you apply these background and composition techniques. Remember, your camera settings make or break the final image, so practice until they become second nature. Start implementing these tips today and watch your product photos captivate customers like never before.


Leave a Reply