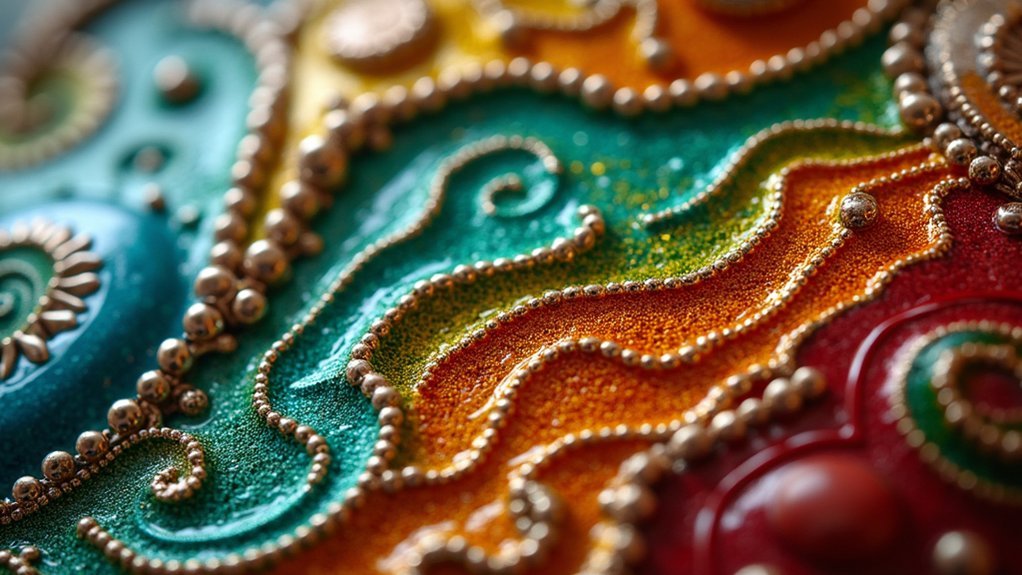
Enamel colors blend when glass particles containing inorganic pigments fuse together at temperatures between 1,400-1,650°F. You’ll see chemical interactions occur during firing as the enamel melts, creating seamless color shifts. Strategic layering of transparent and opaque enamels affects light transmission, while precise temperature control prevents muddy results or unwanted gaps. The firing process allows glass particles to merge into stunning gradients through controlled heat application. Mastering these techniques reveals extraordinary color depth possibilities.
The Science Behind Enamel Color Fusion
When you apply powdered glass layers to create enamel jewelry, you’re engaging in a precise scientific process where each layer’s opacity and transparency greatly affects your final color outcome.
Your enamel powder contains inorganic pigments and additives that determine how light passes through or reflects off each layer.
The inorganic pigments and specialized additives in your enamel powder control light transmission and reflection through each applied layer.
During firing, you’ll heat your piece between 1,400 to 1,650 degrees Fahrenheit, causing the powdered glass to melt and fuse.
At these firing temperatures, different colored enamels interact chemically, creating unique gradients and color fusion effects.
The order you apply colors matters greatly—transparent layers over opaque ones produce different results than the reverse.
Each coat changes intensity and visual depth, requiring careful experimentation to achieve your desired aesthetic complexity.
Heat’s Role in Creating Seamless Color Transitions
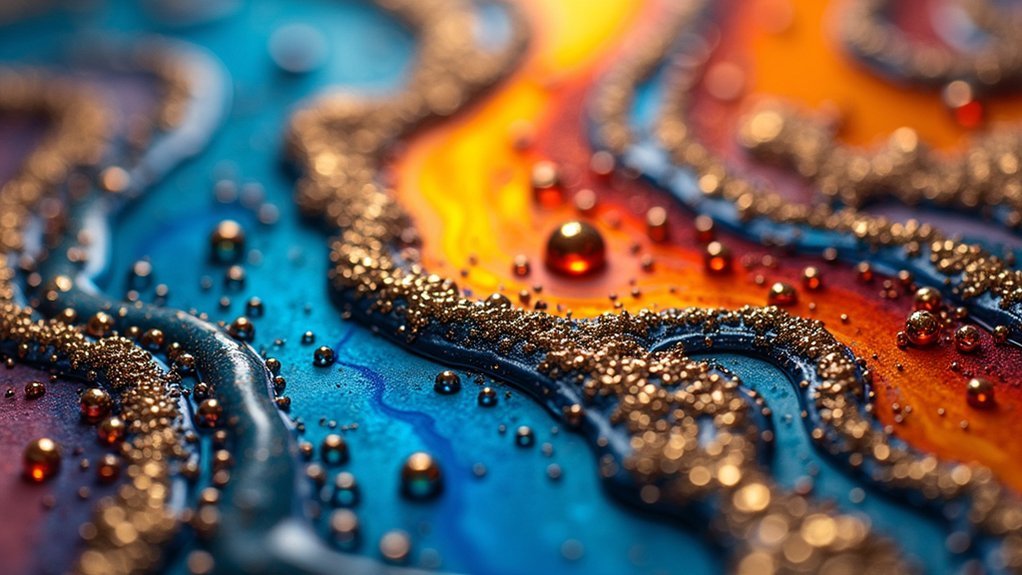
As temperatures climb beyond 1,400 degrees Fahrenheit in your kiln, the powdered glass transforms into a molten state that enables colors to flow and merge naturally at their boundaries. Heat’s role becomes critical as you reach the ideal firing range of 1,400 to 1,650 degrees Fahrenheit, where blended colors achieve their smoothest shifts.
| Temperature Range | Color Behavior | Your Achievement |
|---|---|---|
| Below 1,400°F | Colors remain separate | Frustrating gaps |
| 1,400-1,650°F | Perfect fusion occurs | Stunning gradients |
| Above 1,650°F | Colors become muddy | Disappointing results |
You’ll need to adjust heating times based on your specific color combinations, as different pigments interact uniquely during firing. Multiple enamel coats enhance blending when each layer melts into the previous one. Don’t open your kiln door prematurely—this disrupts heat distribution and ruins your carefully planned color shifts.
Layering Techniques for Dynamic Color Effects
Building upon the foundation of proper heat control, you’ll discover that strategic layering transforms simple enamel applications into complex, luminous artworks.
Through carefully orchestrated layering techniques, you’ll build depth that single coats can’t achieve. Your application order matters critically—always place opaque layers first, then transparent enamel on top to maximize vibrancy and translucency.
Each layer demands specific firing times, ranging from under a minute to three minutes in your kiln. This experimental process lets you create bespoke colourways impossible through conventional methods.
- Watch colors dance and shift beneath transparent layers like captured sunlight
- Feel the thrill of discovering unexpected color combinations through bold experimentation
- Experience the satisfaction of achieving gradient effects that mesmerize viewers
- Create one-of-a-kind pieces that reflect your artistic vision
- Transform ordinary metal into extraordinary wearable art
Transparent Vs Opaque Enamel Properties
Understanding the fundamental differences between transparent enamels and opaque enamels will revolutionize your approach to color composition.
Transparent enamels allow light to pass through, creating incredible depth while revealing underlying colors and textures. You’ll achieve rich, complex visual effects by layering these over opaque bases.
In contrast, opaque enamels completely block light, delivering solid, uniform color finishes that work perfectly for bold applications.
You’ll find transparent enamels excel at creating gradients and subtle variations, while opaque enamels provide consistent coverage.
When blending both types, you must carefully consider firing times and temperatures, as these factors directly impact color clarity.
Remember that application order matters—transparent layers can dramatically alter the appearance of opaque enamels beneath them.
Glass Particle Interaction During Firing
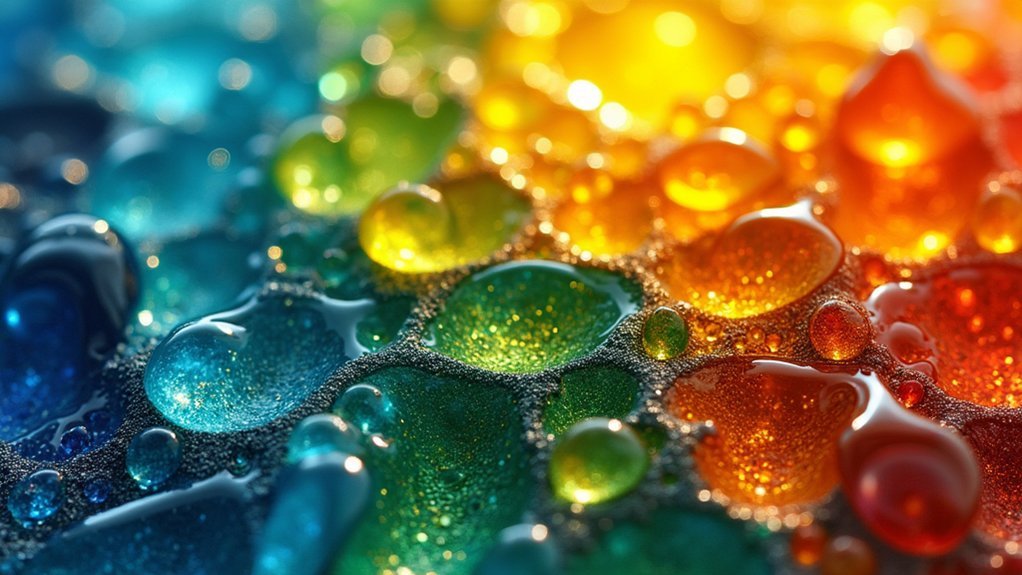
When you fire enamel jewelry, the glass particles undergo a fascinating transformation that directly controls your color results. At firing temperatures between 1,450 to 1,500 degrees Fahrenheit, these particles expand and soften, creating a magical dance of color fusion.
As they flow and intermingle, overlapping particles blend to create entirely new hues that transform your original design vision.
Each layer you’ve applied interacts with underlying colors during this heating process, building intensity and depth. The firing time you choose determines how extensively these glass particles fuse together, giving you control over the final appearance.
- Watch your artistic vision come alive as particles flow like liquid paint
- Feel the excitement of discovering unexpected color combinations
- Experience the thrill of creating one-of-a-kind masterpieces
- Embrace the magic happening inside your kiln
- Celebrate each unique result that emerges
Temperature Control for Optimal Color Blending
Since precise temperature control determines whether your enamel colors blend beautifully or become muddy disasters, mastering your kiln’s heat settings becomes your most critical skill.
You’ll need to maintain temperatures between 1,450-1,500°F for ideal results. Different enamel types demand specific firing time adjustments to achieve perfect blending.
| Enamel Type | Temperature Range | Firing Time | Color Result |
|---|---|---|---|
| Transparent | 1,450-1,475°F | 2-3 minutes | Vibrant blends |
| Opaque | 1,475-1,500°F | 3-4 minutes | Rich coverage |
| Counter-enamel | 1,480-1,500°F | 4-5 minutes | Strong base |
Monitor your kiln constantly—transparent enamels become dull when over-fired, while insufficient heat prevents proper color fusion. The layering order you’ve chosen affects how colors interact, making consistent temperature control essential for achieving your desired blending effects.
Kiln Firing Methods That Enhance Color Harmony
You’ll achieve stunning color harmony in enamel jewelry by mastering precise temperature control techniques that optimize glass fusion at 1,450-1,500°F.
Your firing duration directly impacts color intensity—shorter sessions preserve brightness while extended heating deepens hues for richer tones.
You can create exceptional color blends by experimenting with multiple firings and varying your kiln’s atmosphere to reveal unique textures and harmonies.
Temperature Control Techniques
Although achieving vibrant colors in enamel jewelry depends on multiple factors, temperature control stands as the most critical element in your firing process.
Mastering temperature control and firing techniques requires precision between 1,450 to 1,500 degrees Fahrenheit for ideal color blending and metal adhesion.
You’ll need to keep your kiln door closed throughout firing to maintain consistent temperatures that allow colors to interact harmoniously.
Different enamel colors demand varying heating durations—some need under a minute while others require up to three minutes.
Experimenting with temperature variations and firing duration creates unique color outcomes that’ll define your signature style.
- Feel the rush of discovering unexpected color combinations through temperature experimentation
- Experience the satisfaction of achieving perfect metal-enamel adhesion at ideal temperatures
- Embrace the excitement of developing your own signature color blends
- Discover the joy of consistent results through precise temperature maintenance
- Celebrate the artistry of harmonious colors emerging from controlled firing techniques
Firing Duration Impact
When you master firing duration, you reveal the secret to achieving stunning color harmony in your enamel jewelry pieces. Different enamels require specific heating times ranging from under one minute to three minutes for ideal results.
Longer firing durations create uniform color blends as enamels melt and fuse together, producing smooth shifts between shades. Shorter firing times preserve distinct color boundaries, perfect when you want clear separation between hues.
You’ll need precise temperature control during the entire process. Overheating darkens or muddies colors, while under-firing creates incomplete fusion and inconsistent coloration.
Experimentation is essential for mastering this technique. You’ll discover that achieving perfect blends requires adjusting both firing durations and temperature to suit your specific color combinations and design goals.
Professional Tools for Color Application
Mastering color application in enamel jewelry requires specialized tools that give you precise control over your artistic vision.
You’ll need quills from swan, peacock, goose, or turkey feathers to apply colored glass grains with unmatched accuracy. These professional tools allow you to dip into powdered enamel and create intricate designs that showcase your artistic expertise.
When you apply enamel using proper techniques, you can blend multiple colors seamlessly to achieve stunning colorways.
Remember to layer opaque coats before transparent ones for enhanced intensity.
- Transform ordinary metal into breathtaking wearable art
- Express your unique creative vision through precise color placement
- Master techniques passed down through generations of artisans
- Create one-of-a-kind pieces that capture hearts and memories
- Achieve professional-quality results that rival museum collections
Creating Custom Colourways Through Blending
You’ll discover that creating custom colourways through blending requires systematic experimentation with different color combinations and application sequences.
Start building your personal color library by making test beads for each blend you create, documenting the exact ratios and layering order used.
This approach lets you replicate successful combinations and reference them when developing custom pieces for specific themes or client requests.
Experimental Blending Techniques
The art of experimental blending transforms standard enamel colors into completely unique colorways that reflect your personal artistic vision.
You’ll discover that combining different powdered enamel colors opens endless possibilities for personalization in your enamel jewelry creations.
The application order and number of coats dramatically impact your final results, making experimentation essential. You can achieve remarkable depth by layering opaque and transparent enamels strategically.
Don’t expect perfection immediately—trial and error are fundamental to mastering these techniques.
- Watch vibrant colors merge into breathtaking new hues before your eyes
- Feel the excitement of discovering unexpected color combinations through happy accidents
- Experience the satisfaction of creating something entirely your own
- Build confidence as your color library grows with each successful experiment
- Embrace the meditative process of patient experimentation and artistic growth
Personal Color Libraries
Building on your blending experiments, you’ll want to systematically document every color combination you create to build an extensive personal reference system. Create test beads for each glass powder blend you experiment with, establishing a thorough color library that’ll serve as your go-to reference for future projects.
| Storage Method | Benefits | Best For |
|---|---|---|
| Craft Mates boxes | Individual compartments prevent mixing | Active experimentation |
| Semi-transparent containers | Quick color family identification | Large collections |
| Labeled samples | Easy tracking of successful combinations | Professional documentation |
| Digital photos | Backup reference system | Sharing with others |
Document both successful and unsuccessful trials in your color library. This systematic approach enhances your understanding of how different hues interact, fostering creativity and skill growth in your enamel work.
Powder Grain Size Impact on Color Distribution
How does the size of your enamel powder grains affect the final appearance of your jewelry? The grain size of your powdered glass dramatically influences color distribution and blending.
When you use finer grains, you’ll achieve smoother color shifts and more uniform blending. Conversely, larger grains create textured surfaces with distinct color patches and less seamless gradations.
Your grain size choice also impacts melting behavior. Smaller particles fuse faster, intensifying colors and improving clarity. For predictable results, maintain consistent grain sizes across different colors in your piece.
- Watch fine grains create silky, professional-looking color flows that captivate viewers
- Feel the excitement as larger grains produce bold, dramatic textures
- Experience the magic when mixed grain sizes create stunning speckled effects
- Discover how proper grain selection transforms amateur work into masterpieces
- Embrace the confidence that comes from understanding this fundamental technique
Multiple Firing Rounds for Complex Color Schemes
When you layer multiple enamel coats through successive firing rounds, you’ll reveal extraordinary color depth and complexity that single applications can’t match.
Each firing session opens new possibilities for color blending, as you strategically apply transparent layers over opaque bases to create dimensional effects.
You’ll need to master timing, since each enamel layer requires specific firing durations—from under a minute to three minutes depending on your materials.
The sequence matters tremendously; changing your application order dramatically alters color intensity and final appearance.
Through experimentation with multiple firing rounds, you’ll discover how coat quantity directly impacts vibrancy.
Skilled artisans use this technique to achieve unique shades impossible through single applications, building rich, complex color schemes that transform ordinary jewelry into extraordinary pieces.
Light Refraction Through Blended Enamel Surfaces
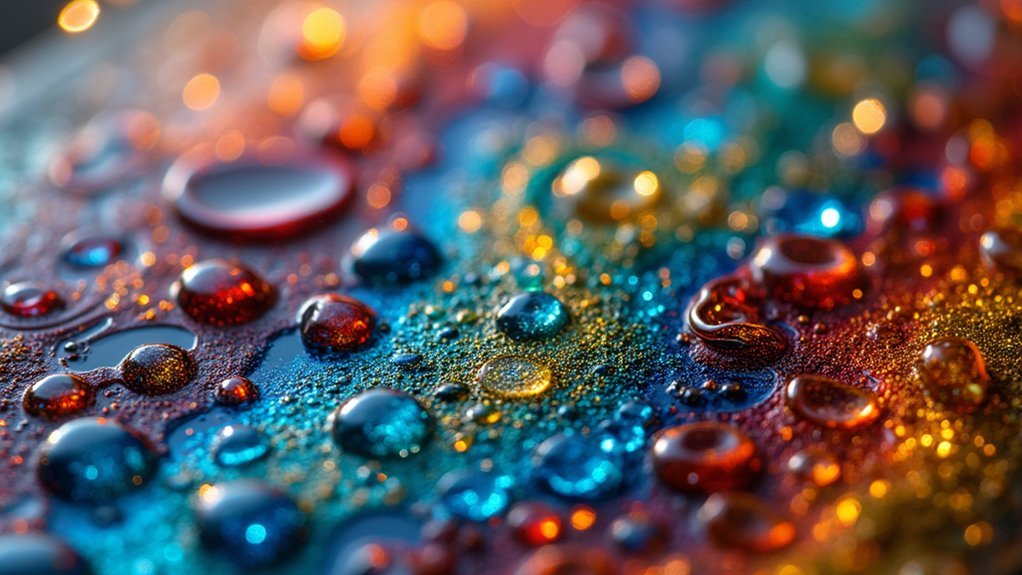
When you blend enamel colors, you’re creating a complex optical system where light behaves like it’s passing through layered glass crystals, bending and shifting as it moves through each transparent or translucent layer.
The surface texture you achieve during firing dramatically affects how light reflects and refracts across your piece, with smoother finishes creating more predictable light patterns while textured surfaces scatter light in multiple directions.
You’ll discover that multiple enamel layers interact with light simultaneously, allowing deeper colors to show through surface layers and creating depth that changes as viewing angles shift.
Glass Crystal Light Behavior
Something magical happens when light encounters the blended enamel surfaces of your jewelry—it doesn’t simply bounce off but travels through multiple layers, bending and shifting as it moves.
This glass crystal structure creates extraordinary optical phenomena through light refraction, where each transparent layer interacts uniquely with incoming light rays.
The powdered glass composition allows light to penetrate varying depths, reflecting off internal surfaces while bending at different angles.
Your enamel’s refractive index determines how dramatically these light rays shift direction, creating the brilliant color variations you observe.
As you move your jewelry, the viewing angle changes, revealing new color combinations that weren’t visible moments before.
- Watch colors dance and shimmer as light travels through crystalline enamel layers
- Experience breathtaking color shifts that change with every movement
- Discover hidden hues emerging from transparent glass depths
- Feel mesmerized by the jewel-like brilliance of refracted light
- Witness the magical transformation of simple glass into living color
Surface Texture Effects
The texture of your enamel’s surface acts as a conductor, orchestrating how these refracted light rays perform their colorful symphony. When you apply different techniques like sifting and layering, you’re creating varied surface textures that dramatically influence light refraction patterns.
These textural variations determine whether light bounces off sharply or penetrates deeply into your enamel layers. Your surface texture choices control the dynamic interplay between opaque and transparent sections.
Smooth surfaces produce clean reflections, while textured areas scatter light in multiple directions, creating shimmering effects. When you layer transparent enamels over textured opaque bases, light refraction amplifies color richness as rays penetrate and bounce between layers.
This texture-driven light behavior generates visual depth and luminosity, transforming static colors into vibrant, ever-changing displays that shift with viewing angles.
Multiple Layer Interactions
As you stack multiple enamel layers, each transparent coating transforms into an optical lens that bends and redirects light through your piece’s depth.
These multiple layer interactions create stunning visual complexity as underlying colors influence what you see on the surface. Your transparent coats work together, intensifying saturation while revealing hidden depths that shift with viewing angles.
The order matters considerably – you’ll need opaque bases before transparent applications to control how light travels through your work.
Each additional layer changes the refraction pattern, allowing you to build rich, dimensional colors that capture and hold light in extraordinary ways.
- Watch colors dance and shimmer with every movement
- Feel the satisfaction of creating impossible depth in metal
- Experience the magic of light bending through your artistic vision
- Discover hidden hues emerging from careful layering
- Achieve breathtaking luminosity that captivates every viewer
Traditional Feather Quill Application Methods
When you’re working with traditional feather quill application methods, you’ll discover one of enamel jewelry’s most precise and delicate techniques.
You’ll use quills from swans, peacocks, geese, or turkeys to carefully apply powdered glass onto metal surfaces. By dipping your chosen quill into colored glass, you can sprinkle grains exactly where needed, achieving remarkable color placement precision.
You’ll find that each type of quill offers different application characteristics, so you’ll likely develop a preference for specific feathers that suit your technique.
Your steady hand becomes vital here, as the amount of enamel you apply directly impacts color intensity and overall design quality.
You can even combine this traditional feather quill method with other techniques to create unique textures and effects in your enamel jewelry pieces.
Color Testing and Development Processes
You’ll need to create extensive test sample libraries that document every color combination you try, including both successful blends and failed attempts.
Your trial and error process should involve systematic experimentation with different application orders, coat numbers, and layering techniques while keeping detailed records of each result.
Don’t discard unsuccessful samples—they’ll become valuable references that prevent you from repeating mistakes and might inspire future color innovations.
Creating Test Sample Libraries
Once you’ve begun experimenting with different enamel colors, you’ll quickly discover that maintaining organized records becomes essential for your artistic development.
Creating a thorough color library transforms your workspace into a reference center where every test sample tells a story of discovery.
You’ll need Craft Mates storage boxes with individual compartments to organize your test samples effectively.
These semi-transparent containers allow quick identification of color families while preventing unwanted mixing during storage.
Document every experiment – both successes and failures provide valuable insights for future projects.
- Watch your confidence soar as you reference proven color combinations during important pieces
- Feel the satisfaction of building something uniquely yours through dedicated experimentation
- Experience the joy of discovering unexpected color interactions that become your signature style
- Embrace the peace of mind knowing your hard work won’t be forgotten
- Celebrate each small victory as your artistic knowledge expands
Trial and Error Methods
Though successful enamel color combinations might appear effortless in finished pieces, they’re actually the result of countless experiments that didn’t go as planned.
You’ll discover that blending colors in enamel requires extensive trial and error, as your initial attempts rarely yield expected outcomes. Each failed experiment teaches valuable lessons about how pigments interact under heat.
Don’t discard unsuccessful trials—they’re vital references for future projects.
You’ll find that varying the number of coats dramatically affects color intensity, so you must experiment with different layering techniques. Your willingness to embrace this experimental process is essential for mastering color blending.
Through persistent testing and documentation, you’ll gradually develop the expertise needed to create unique, personalized color combinations that reflect your artistic vision.
Frequently Asked Questions
Does Enamel Jewelry Change Color?
Your enamel jewelry can change color over time when you expose it to sunlight, heat, or chemicals. You’ll notice variations in luminescent finishes under different lighting, and some colors may fade without proper care.
How Does Enamel Jewelry Work?
You apply powdered glass to metal surfaces, then fire it in a kiln at high temperatures. The glass melts and fuses, creating a durable, colorful coating that’s permanently bonded to your jewelry piece.
Is Enamel Jewelry Good Quality?
You’ll find enamel jewelry offers excellent quality due to its durable glass coating that protects against scratches and tarnishing. High-quality pieces undergo rigorous testing and feature meticulous craftsmanship for lasting beauty.
How Do You Restore Enamel Jewelry?
You’ll restore enamel jewelry by gently cleaning with warm water and mild soap, using anti-tarnish cloths regularly, storing properly in cool places, and consulting professional jewelers for extensive damage repairs.
In Summary
You’ll achieve stunning color blends in your enamel jewelry by mastering heat control and layering techniques. Your transparent enamels will create depth while opaques provide bold foundations. As you fire multiple rounds, glass particles fuse seamlessly, creating those coveted smooth shifts. Don’t forget to test your color combinations first – each firing changes how light refracts through your piece, affecting the final appearance you’re working toward.


Leave a Reply