Start your grisaille enameling with an opaque white base coat using Thompson’s 1030, applied through an 80 mesh sifter for uniform coverage. Fire at 1450°F for 1.5-2 minutes, then build layers gradually with thinner applications than you’d expect. Use 18-20 gauge copper with proper counter-enameling to prevent cracking. Control your firing temperatures between 1350°F-1400°F for ideal clarity and contrast. Master these foundational techniques to reveal the advanced methods that create truly enchanting sculptural jewelry pieces.
Master the Base Coat Application for Optimal Grisaille Results
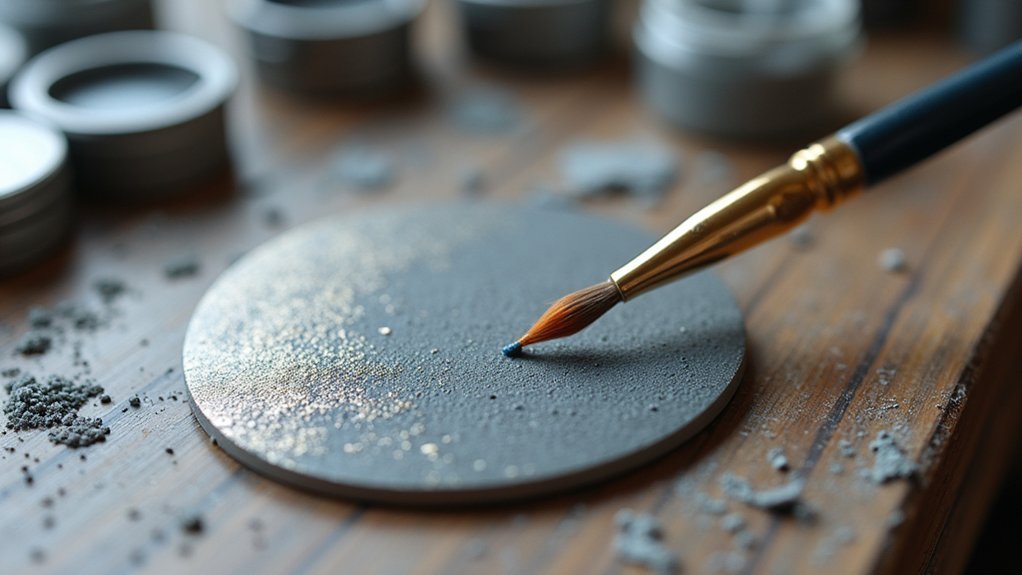
The foundation of exceptional grisaille enameling lies in your base coat application.
You’ll want to start with opaque white enamel like Thompson’s 1030 or 1020A to create maximum contrast for your grisaille layer. Use an 80 mesh sifter and employ careful sifting technique to uniformly apply the enamel, avoiding clumps that’ll ruin your surface texture.
Fire at 1450°F to 1500°F for 1.5 to 2 minutes until properly fired and achieving full fusion.
Let it cool completely before proceeding—this prevents unwanted reactions between layers. Master these layering techniques early, as they’re essential for controlling your firing temperatures later.
Experiment with different timing to develop varied shading effects in your final grisaille work.
Perfect Your White Enamel Layering Technique
Building upon your solid base coat foundation, white enamel layering demands precision and patience to achieve the luminous surface that makes grisaille work truly shine.
You’ll need to apply enamel in controlled stages, starting with a clean metal surface for ideal adhesion. Each layer of enamel should be thinner than your instinct suggests—use a damp brush to create a smooth coating that won’t clump during application.
Fire between 1350°F-1400°F, carefully monitoring your firing time to prevent color shifts.
Multiple firings are essential for building opacity; expect 2-3 applications to reach your desired result.
Experiment with different particle sizes—finer white enamel creates smoother finishes, while coarser particles add subtle texture that enhances the final piece’s visual depth.
Control Temperature and Firing Schedules for Dramatic Contrast
You’ll achieve stunning grisaille contrast by maintaining firing temperatures between 1350°F and 1400°F, which allows proper fusion without destroying your delicate layering work.
Plan your firing schedule around 1 to 2 minute intervals, giving each white layer time to fully fuse before adding the next.
Control your heat application strategically—this temperature precision transforms ordinary enamel into dramatic shadows and highlights that make your jewelry pieces truly enchanting.
Optimal Firing Temperature Range
When firing grisaille enamels, maintaining temperatures between 1350°F and 1400°F gives you the perfect balance of proper fusion and vibrant contrast. This ideal firing temperature range guarantees your grisaille enameling achieves maximum color intensity without compromising the delicate fusion of enamel layers.
You’ll want to implement a slower firing schedule within this range to enhance contrast dramatically. The gradual heat exposure prevents glass expansion issues while allowing deeper color development.
Layering techniques benefit enormously from this controlled approach, as multiple firings at these temperatures build stunning depth in your jewelry pieces.
Experiment with varying firing times to create unique effects. Shorter firings maintain transparency, while longer exposures develop rich opacity.
Monitor your kiln closely and resist opening prematurely—consistent temperatures produce the most predictable and striking results.
Layered Firing Schedule Planning
Strategic layered firing schedules transform ordinary grisaille work into extraordinary pieces with dramatic contrast that captivates viewers.
You’ll achieve excellent results by setting your initial firing temperature between 1350°F to 1400°F for proper white enamel adhesion on black backgrounds. The key lies in preventing thermal shock through gradual temperature increases over ten minutes.
Your layered firing schedule should include:
- Base layer firing with controlled cooling rate to prevent cracking
- Multiple transparent layers requiring 2-3 firings for enhanced depth and luminosity
- Flux between layers application during re-firing process for superior adhesion and clarity
Monitor cooling phase carefully after each firing to maintain stability.
This systematic approach creates dramatic contrast effects while ensuring your enamel layers bond properly without firescale formation between applications.
Contrast Enhancement Through Heat
Temperature precision becomes your most powerful tool for achieving stunning contrast in grisaille enameling, where even slight variations can dramatically affect the visual impact of your finished piece.
Control your firing temperature between 1350°F and 1400°F to maximize contrast enhancement between black enamel and white base layers. Implement a gradual rise in temperature to prevent thermal shock while ensuring even fusion.
You’ll achieve superior results through multiple firings, applying thin black enamel layers over your white base to build depth. Each firing interaction creates unique visual contrast effects.
After completing your grisaille work, apply clear enamel over the finished piece. This creates a glossy finish that dramatically enhances the contrast between matte black and white areas, elevating your jewelry’s overall visual impact.
Select the Right Metal Gauge and Preparation Methods
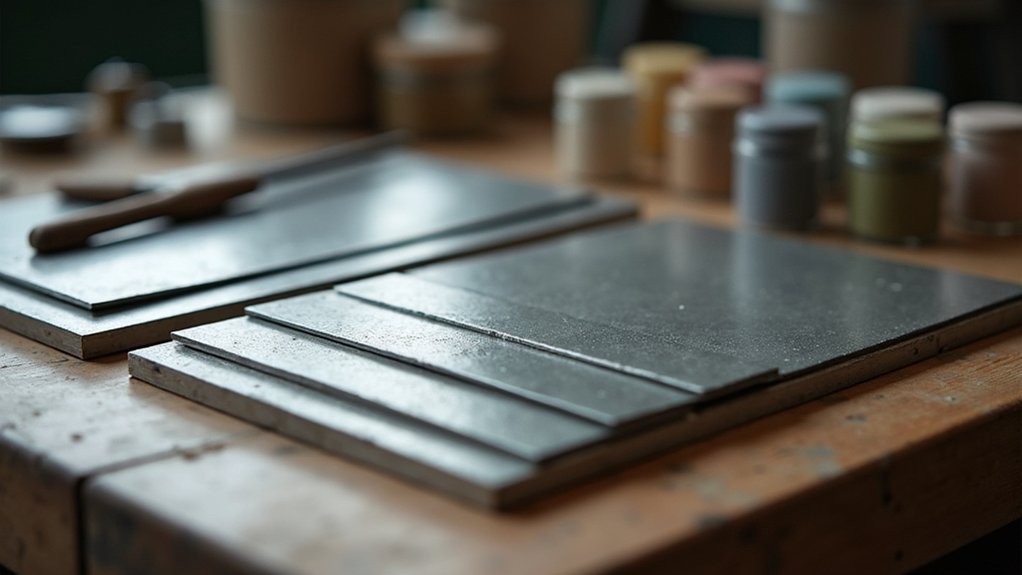
Selecting the proper metal gauge forms the foundation of successful grisaille enameling, and you’ll achieve the finest results with copper sheets ranging from 18 to 20 gauge. This thickness provides adequate strength for detailed work without creating excessive weight that compromises your jewelry design.
Proper metal preparation guarantees peak results:
- Fire your cleaned surface at 1300°F, then pickle to eliminate oxides and contaminants that interfere with enamel adhesion.
- Create your design sketch directly on the metal to guide precise application techniques throughout the grisaille enameling process.
- Apply gum tragacanth in thin layers for better enamel adherence, then add counter-enamel to the reverse side.
Counter-enamel balances thermal expansion during high temperatures, preventing warping that ruins intricate grisaille work.
Develop Brush Techniques for Fine Detail Work
While mastering grisaille enameling requires patience and precision, you’ll find that developing proper brush techniques transforms your ability to create stunning fine detail work.
Select sable or fine hair brushes for maximum control when applying grisaille enamel to your jewelry pieces. Experiment with brush dampness to achieve the perfect consistency for thin applications without excess pooling.
Practice layering techniques by applying multiple thin coats, firing between each layer to build depth.
Maintain a steady hand with light pressure when creating fine lines and intricate detailing—heavy pressure causes bleeding and uneven application.
Use magnifying glasses or light boxes to improve visibility during fine detail work, ensuring accurate application.
These techniques will elevate your grisaille enameling skills greatly.
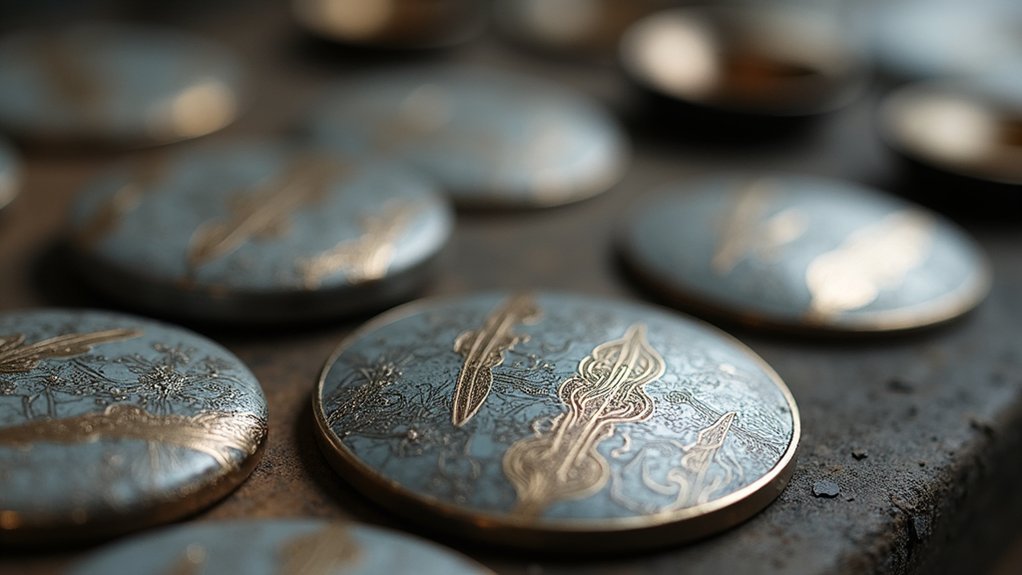
Build Depth Through Strategic Light and Shadow Effects
You’ll achieve stunning three-dimensional effects by strategically layering white enamel to mimic how light naturally falls across surfaces.
Start with your darkest areas as the foundation, then gradually build up lighter tones where light would naturally hit your design.
This layering approach creates dramatic contrast that transforms flat jewelry pieces into sculptural works with convincing depth and dimension.
Layering White Enamel
Although grisaille enameling relies on monochromatic tones, you’ll achieve the most compelling depth through careful layering white enamel rather than applying a single thick coat.
Multiple thin layers create gradual shading that enhances your light and shadow effects dramatically.
When working with transparent enamels over your white base, you’ll amplify depth as underlying colors influence the final appearance.
Strategic application in varying thicknesses simulates texture and dimension, especially when highlighting raised details.
Follow these essential layering principles:
- Control firing times and temperatures – excessive heat causes white enamel to lose clarity and become milky
- Experiment with brush techniques and moisture levels during application for unique gradations
- Build up layers gradually to maintain the intricate nature of the grisaille technique
Master these techniques for professional results.
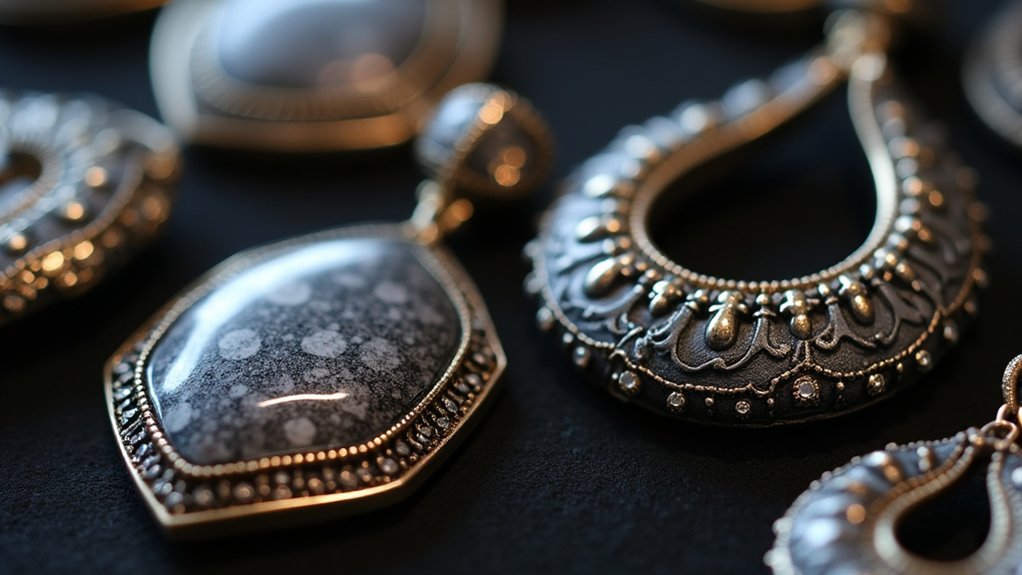
Creating Dramatic Contrast
Beyond mastering layering techniques, the true artistry of grisaille emerges when you harness dramatic contrast to guide the viewer’s eye through your composition. Your black enamel base becomes the foundation for this visual drama, creating deep shadows that make lighter areas pop with intensity.
Control your application by selectively placing white enamel only on raised surfaces, letting the dark background recede naturally.
Experiment with firing times to manipulate texture—shorter firings preserve surface irregularities that catch light differently than smooth, longer-fired areas.
Build depth by adding translucent enamel layers over your white base, creating subtle color shifts while maintaining contrast. Each successive layer amplifies the dramatic interplay between light and shadow, transforming simple jewelry pieces into enchanting sculptural works that command attention.
Troubleshoot Common Grisaille Cracking and Clarity Issues
When grisaille enamel develops cracks or loses its crystal-clear finish, the culprit often lies in foundational preparation mistakes that compound during firing. Grayscale cracking typically stems from inadequate enamel adhesion or improper thickness balance between layers.
To resolve common clarity issues:
- Perfect your metal preparation – Cut recesses 0.03-0.05mm deep for ideal enamel adhesion and apply counter enameling to prevent stress-induced cracking.
- Control your firing temperature – Maintain 1350°F-1400°F to preserve transparency without degrading your transparent enamels through overheating.
- Refine your materials – Grind enamel powder to fine consistency, avoiding larger particles that create milky appearances, and use thoughtful layering techniques with thin applications to maintain underlying design visibility.
Frequently Asked Questions
Which of the Enameling Techniques Is the Most Difficult?
You’ll find grisaille enameling is the most challenging technique because you’re controlling precise firing temperatures through 25-40 cycles while predicting color changes and creating realistic light effects on white-over-dark layers.
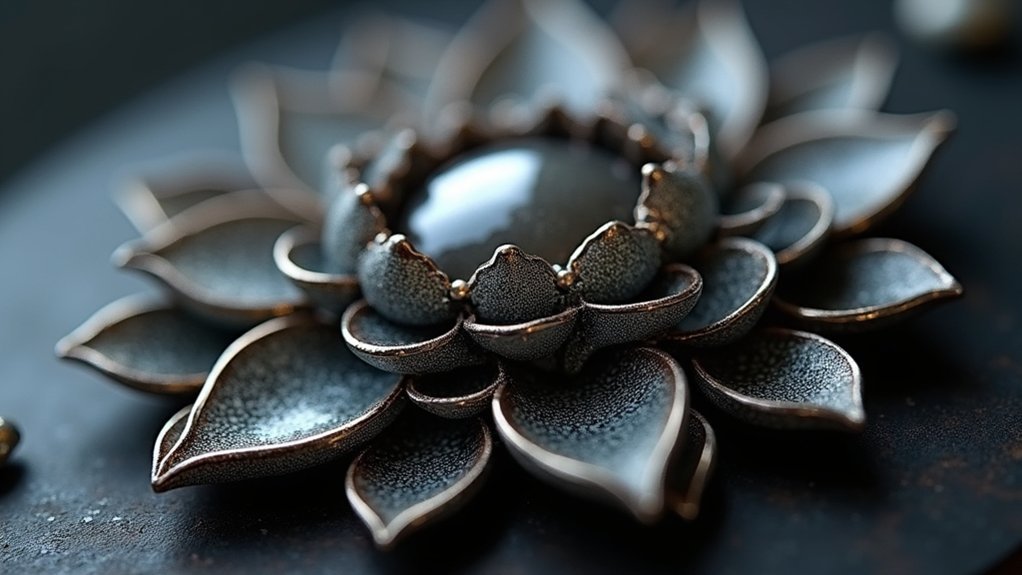
What Is Grisaille Enamel Technique?
You’ll apply white enamel on black backgrounds to create dramatic contrasts and shading effects. You’ll build up thin layers through multiple firings, carefully controlling opacity and texture to achieve dimensional, painterly results in your work.
What Temperature Is Needed for Enamelling?
You’ll need firing temperatures between 1,350°F and 1,500°F for effective enameling. For grisaille specifically, aim for around 1,400°F to achieve proper melting and those distinctive light-and-shade effects you’re creating.
What Is the Limoges Enamel Technique?
You’ll paint with colored enamels on metal bases like copper or silver, creating detailed miniature artwork. You’ll apply multiple layers through several firings at 1400-1450°F, building vibrant colors and intricate designs.
In Summary
You’ve now got the essential techniques to create stunning grisaille enamel pieces. Remember, mastering this art form takes practice, so don’t get discouraged if your first attempts aren’t perfect. Focus on consistent base coats, controlled firing temperatures, and patient layering. Pay attention to your brush techniques and metal preparation—they’ll make or break your results. Keep experimenting with light and shadow effects, and you’ll develop your own distinctive grisaille style that sets your jewelry apart.
Leave a Reply