The 10 essential soldering methods for jewelry makers include pick soldering, sweat soldering, butt joints, proper flux application, heat control techniques, workspace setup, solder type selection, post-soldering cleaning, troubleshooting, and design with multiple solder points. You’ll need a spacious workspace with a heat-resistant block, appropriate tools like reverse action tweezers, and the right flux and solder for your metals. These techniques will transform your jewelry-making process when you master each critical step.
Mastering the Perfect Soldering Setup and Workspace
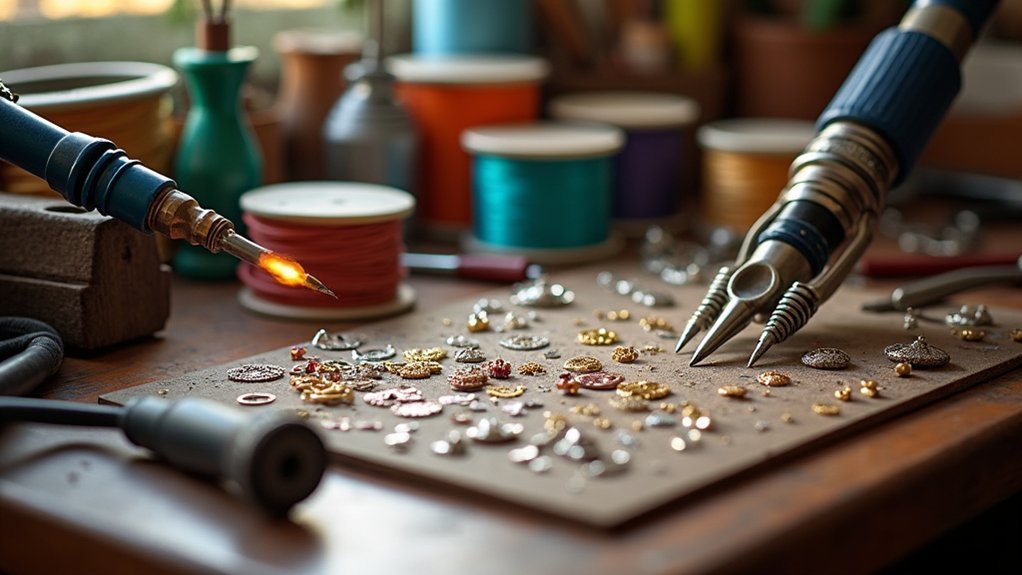
The foundation of successful jewelry soldering begins with a thoughtfully arranged workspace. Set up a spacious workbench-style table that allows you to move freely while maintaining a clear view of your project. This ergonomic approach will improve your soldering techniques and overall results.
Your soldering success starts at your workspace—thoughtful organization creates the foundation for beautiful, precise jewelry connections.
Position your soldering block centrally—whether you’re using lightweight magnesia or charcoal—to provide a heat-resistant surface that supports your work effectively.
Keep essential tools within arm’s reach: reverse action tweezers for hands-free holding, solder picks for precise adjustments, and safety goggles to protect your eyes.
Don’t forget to prepare a quench pot with water for cooling pieces and consider using a slow cooker as a pickle pot for post-soldering cleaning.
An organized workspace with everything accessible will greatly enhance your efficiency and success rate.
Selecting the Right Solder Types for Different Metal Applications
Choosing the right solder for your jewelry project dramatically impacts both the success of your joint and the durability of your finished piece.
Solder types are categorized into Easy, Medium, and Hard grades, with Medium offering an ideal balance for beginners—manageable workability with reliable strength.
When preparing your soldering surfaces, always match your solder to your metal: copper solder for copper pieces, silver solder for silver work.
Silver solder comes in both wire and strip forms, with wire being more user-friendly for precision application.
Color-coded solders simplify your workflow, allowing you to quickly identify the appropriate type for each task.
Remember to check melting points carefully—your solder should melt at a lower temperature than your base metals to prevent damage to your workpiece.
Essential Flux Application Techniques for Clean Joins
Mastering three key flux application techniques will transform your soldering results from amateur to professional. Apply argotect flux mixed with water using a small brush to create a thin, even layer that prevents oxidation and promotes proper solder flow.
Allow your flux to dry completely for at least five minutes before heating to avoid bubbling and guarantee clean solder joints. Remember that less is more—excessive flux creates unwanted residue requiring additional cleanup.
| Technique | Result |
|---|---|
| Even application | Uniform solder flow |
| Proper drying time | Prevents bubbling |
| Minimal amount | Reduces residue |
| Small brush use | Precise placement |
| Safety pickle after | Removes all residue |
After soldering, always use safety pickle to remove flux residue, preparing your piece for that professional, polished finish you’re aiming for.
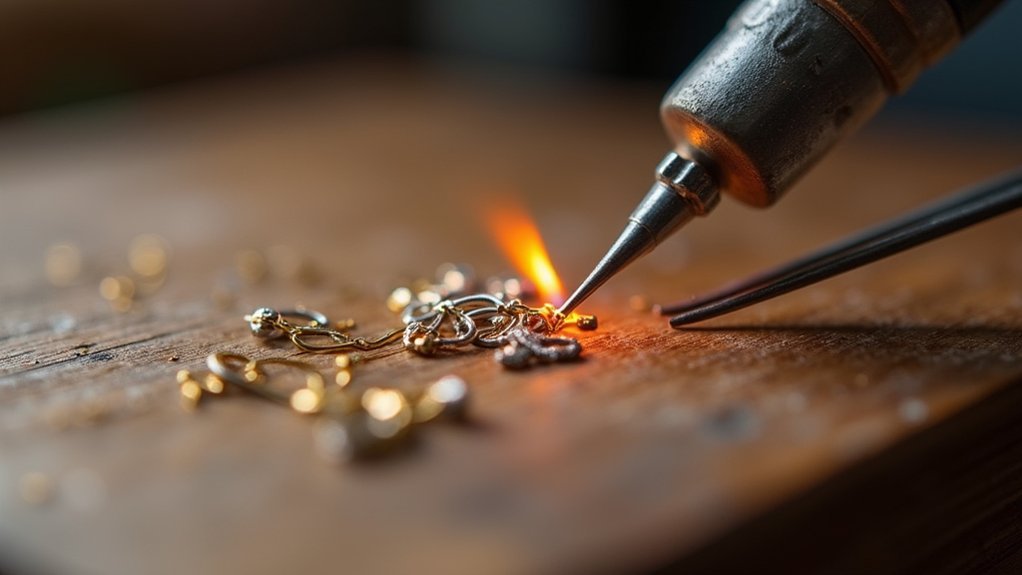
Precision Torch Control for Optimal Heat Management
With proper flux application established, your next challenge lies in handling your torch effectively. Success depends on maintaining your torch at a consistent 1-2 inch distance from the workpiece while holding a steady angle.
Focus the blue cone—the flame’s hottest part—on the metal surrounding your solder joint, not directly on the solder itself. This prevents flux burning while ensuring proper metal heating. Move your torch in circular motions to distribute heat evenly, preventing warping and unwanted melting.
Direct the blue cone of your flame around the joint—never on the solder—to prevent flux burn while maintaining even heat distribution.
Match flame size to your project’s scale—smaller flames for delicate pieces, larger ones for substantial items requiring deeper heat penetration.
As you practice precision torch control, you’ll develop an intuitive feel for how different metals respond to heat, allowing for quick adjustments that produce clean, professional results.
Creating Secure Butt Joints in Metal Jewelry Components
Butt joints, where two pieces of metal meet edge-to-edge, form the foundation of many jewelry designs but require meticulous preparation to achieve structural integrity.
Begin by thoroughly cleaning both metal edges and aligning them perfectly to guarantee maximum contact during the soldering process.
Apply a small amount of flux to the joint area using steel tweezers for precision placement. This critical step helps the solder paste flow evenly throughout the connection.
For most projects, select a medium-grade silver solder that offers an ideal balance of melting point and durability.
When heating, direct your torch flame at the area opposite the solder rather than directly on it.
After achieving your bond, immediately quench the piece in water before pickling to solidify the connection and prepare it for finishing work.
Sweat Soldering Method for Layered Metal Designs
Mastering heat control when sweat soldering requires you to direct your flame primarily toward the thicker metal piece while monitoring the solder’s flow through color changes.
You’ll need to apply flux liberally but precisely, ensuring complete coverage of the joint area without excessive runoff that could create unwanted bonds.
For best results, warm both metals gently before flux application to improve adhesion and prevent the flux from bubbling or popping during the heating process.
Heat Control Techniques
Successful sweat soldering depends primarily on your ability to control heat distribution across metal surfaces. When working with layered designs, you’ll need to heat both pieces evenly and gradually, focusing on the area surrounding the solder rather than directly on it. This patient approach allows the solder to melt naturally as the metal reaches the proper temperature.
Before applying heat, use a solder pick to position your solder precisely between the metal pieces. This guarantees ideal placement for a clean join once melting begins.
Always apply flux to both surfaces first, as it prevents oxidation and promotes smooth solder flow during heating. After soldering, quickly quench your work in water, then place it in pickle solution to remove oxidation and flux residue, revealing a polished finish that showcases your heat control techniques.
Flux Application Secrets
While heat control forms the foundation of sweat soldering, proper flux application truly determines your success with layered metal designs.
Apply a thin layer of flux, such as Argotect, to both metal surfaces using a small brush before joining them. This prevents oxidation and helps solder flow evenly when heat is applied.
For perfect layered designs:
- Place pre-cut solder pallions between metal layers for clean joins
- Direct your flame evenly over both pieces, avoiding direct heat on the solder itself
- Quench your piece after soldering, then place in a pickle (a mild acid solution) to remove flux residue
This flux application technique creates strong bonds between your metal layers while maintaining design integrity.
Remember that careful preparation before heating makes all the difference in achieving professional-quality layered metal jewelry.
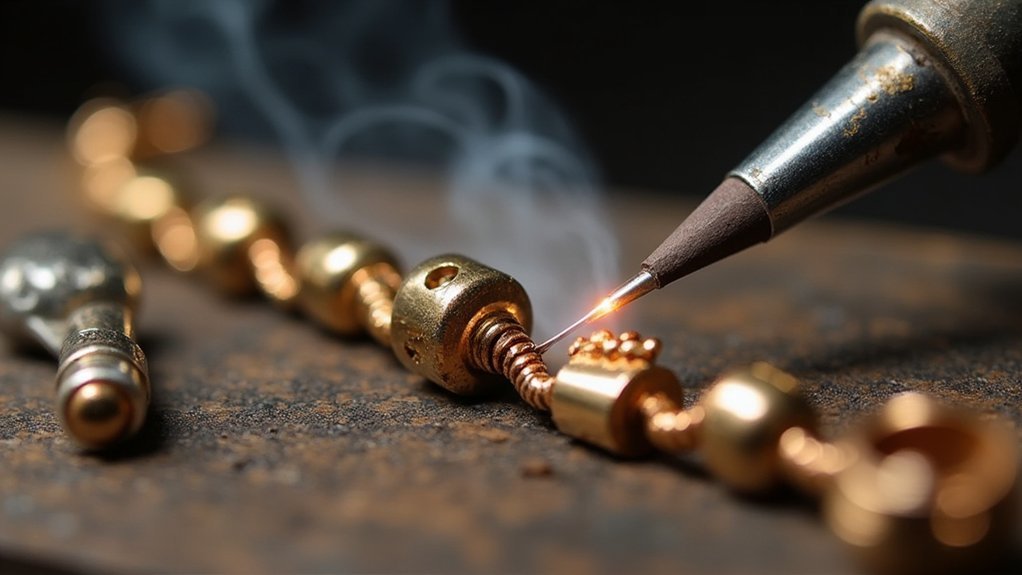
Pick Soldering Technique for Delicate Jewelry Details
When working with intricate jewelry pieces, you’ll need to master pick soldering by placing tiny pallions precisely at joins before applying heat.
You must direct your flame at the metal pieces rather than the solder itself, allowing the heat to draw the solder naturally into the seam without damaging delicate components.
Select thin solder wire, fine-tipped tweezers, and a pencil torch for ideal control when executing this technique on detailed work.
Precise Solder Placement
Three key elements make pick soldering the technique of choice for intricate jewelry work. When you need precise solder placement, a soldering pick allows you to position tiny solder pieces exactly where needed, preventing excess flow that could compromise your design.
You’ll maintain better control than when using brass tweezers, especially for the smallest components.
For successful pick soldering results:
- Apply flux to the joint first, creating a clean surface that helps the solder flow and adhere properly
- Heat the surrounding metal rather than the solder directly, allowing the heat to transfer naturally to the joint
- Practice on scrap pieces before working on valuable items to develop confidence with the technique
This method minimizes the risk of damage to delicate details while ensuring strong, clean connections.
Heat Control Basics
Mastering heat control stands as the cornerstone of successful pick soldering for delicate jewelry work. When executing this precise technique, you’ll need a small butane torch to direct heat accurately to the joint area without damaging surrounding components.
Always apply flux before heating to guarantee even solder flow—particularly vital when working with intricate designs.
Keep your flame moving steadily to prevent overheating the metal. Your goal is to maintain just enough heat for the solder to flow smoothly into place.
Watch carefully as you heat the area surrounding the joint, not the solder itself. This indirect heating approach gives you greater control over delicate connections.
Once your soldering is complete, quench the piece in water and place it in pickle solution to remove flux residue and reveal clean, polished details.
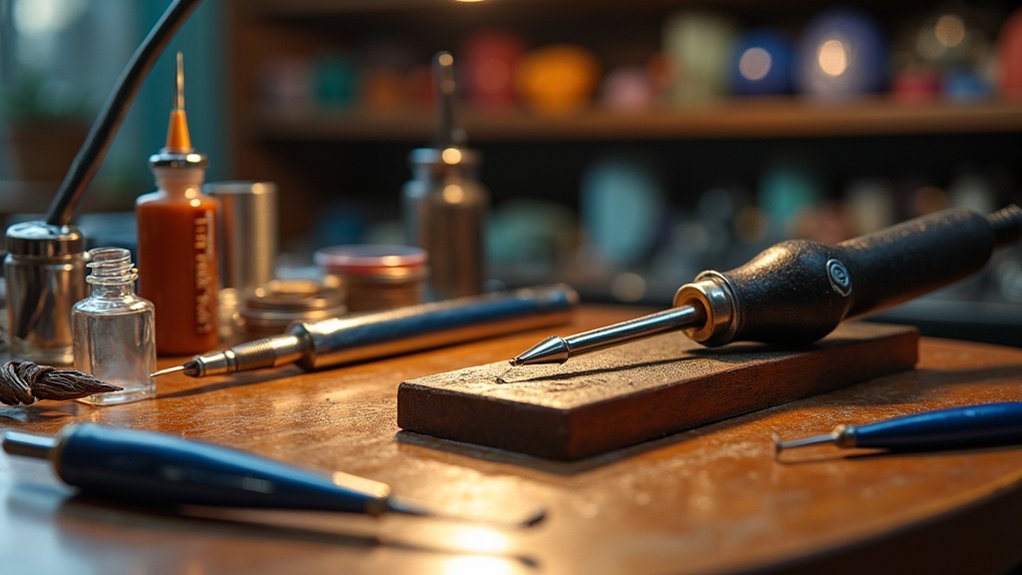
Tool Selection Guide
Now that you understand proper heat control, let’s focus on the tools you’ll need for successful pick soldering of delicate jewelry details.
Your tool selection guide should prioritize precision and stability when working with tiny components.
Reverse action tweezers are an essential piece of kit, keeping small elements secure during heating without requiring constant pressure.
Pair these with a soldering probe for manipulating solder with accuracy.
For the most intricate work, consider:
- A small butane torch for focused heat application
- Binding wire to hold fragile components together
- A lightweight magnesia soldering block for heat-resistant support
These specialized tools allow you to maintain control throughout the process, ensuring your delicate jewelry details remain intact while achieving clean, professional soldering results.
Post-Soldering Cleaning and Finishing Processes
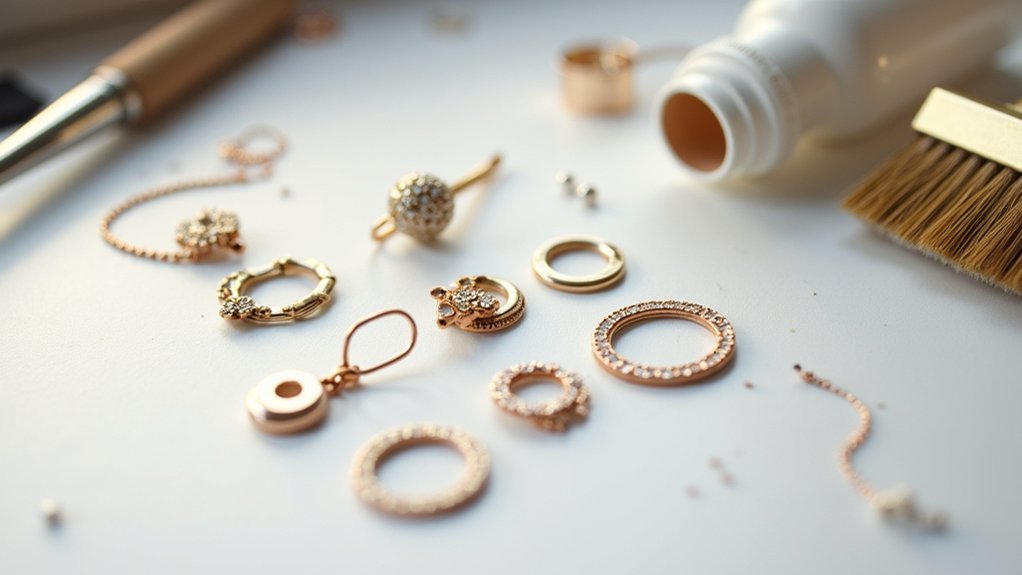
Once you’ve completed the soldering process, proper cleaning and finishing are essential to achieving professional-quality results.
After soldering, quench your piece in water to cool it quickly and prevent warping. This immediate cooling also allows you to inspect your solder join for even flow.
Next, address flux residue and oxidation through post-soldering cleaning in a pickle bath. Submerge your piece for about five minutes, always using copper tweezers to prevent contamination.
After pickling, rinse thoroughly to remove any citric acid that could irritate your skin.
A properly cleaned solder join should appear smooth and shiny, requiring minimal cleanup for your final piece.
With regular practice of these techniques, you’ll develop efficient skills that consistently produce high-quality jewelry finishes.
Troubleshooting Common Soldering Issues and Solutions
When you notice your solder won’t flow properly, check that your metal surfaces are clean and your flux is correctly applied to eliminate oxidation barriers.
Discoloration after heating often results from overheating the piece or using a flame that’s too direct—focus on heating the base metal evenly instead of directing flame at the solder.
Weak joints typically stem from insufficient solder application, poor alignment before soldering, or uneven heating that creates solder balls rather than smooth connections.
Solder Won’t Flow
Despite your best efforts, you’ll occasionally face the frustrating situation where solder refuses to flow into your jewelry joints. This common problem has several solutions you can implement immediately.
Always start by ensuring both surfaces are impeccably clean—even invisible contaminants can prevent proper adhesion.
When solder won’t flow, check these vital factors:
- Flux application must be generous but appropriate—this chemical agent is essential for breaking down oxides and facilitating flow.
- Heat distribution should target the metal, not the solder directly—if using steel tools, they can absorb heat away from your join.
- Temperature control is critical—different alloys require specific melting points to activate proper capillary action.
Remember to match your solder type to your metals, as incompatibility often causes flow issues even when technique seems perfect.
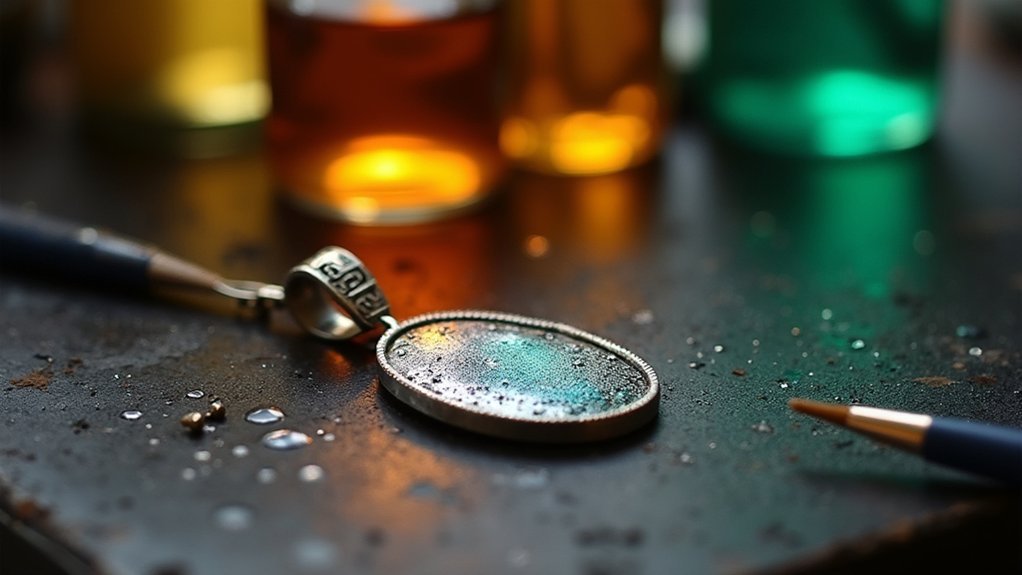
Discoloration After Heating
Even perfect solder joins can lose their appeal when your jewelry emerges with an unexpected rainbow of colors or dull gray surface. This discoloration after heating typically results from oxidation or flux residue, but you can prevent and address it effectively.
| Prevention Method | Solution Effect |
|---|---|
| Apply protective flux | Creates barrier against oxidation |
| Guarantee proper ventilation | Reduces impurity contamination |
| Use higher quality solder | Minimizes impurity-related discoloration |
| Pickle in mild acid | Removes existing oxidation |
| Fine-grit polishing | Restores original appearance |
Before soldering, apply a barrier of flux and guarantee adequate ventilation. If discoloration occurs anyway, soak your piece in a citric acid pickle solution to remove oxidation. Follow with gentle sanding using fine-grit materials to restore shine. Quality solder with fewer impurities will also yield cleaner, more professional results.
Weak Joint Problems
Solder joints can fall apart unexpectedly if you don’t address common causes of weakness during the jewelry-making process. Insufficient heat is often the primary culprit—you must guarantee even heating of the entire joint before applying solder.
Similarly, proper flux application is vital; always use enough to facilitate solder flow across both surfaces.
Clean metal surfaces are non-negotiable for strong joints. Before soldering, thoroughly remove:
- Oxidation that prevents proper adhesion
- Oils from fingerprints that create barriers
- Residue from previous polishing compounds
If you’re experiencing weak joint problems, check your solder selection. Using the appropriate grade (easy, medium, or hard) is easy to use advice that greatly improves results.
When solder doesn’t flow properly, systematically troubleshoot heat application, flux quantity, and surface preparation to resolve these frustrating issues.
Advanced Design Techniques Using Multiple Solder Points
Creating intricate jewelry designs often requires mastering the art of working with multiple solder points. When tackling complex pieces, apply flux to each joint and solder sequentially to maintain control over the heating process.
Use plastic tweezers during jewellery making to manipulate components without transferring excess heat to other areas. Fasten your elements with binding wire before soldering to stabilize the structure and guarantee precise alignment.
Plastic tweezers and binding wire—two essential allies for precise component placement and structural integrity in fine metalwork.
Select appropriate solder types—easy, medium, or hard—based on melting temperatures to protect previously completed joints. Heat your workpiece gradually and evenly, focusing on one joint at a time.
After completion, immerse your piece in a pickle bath to remove oxidation and flux residue. This cleaning step is vital for intricate designs where multiple connection points should showcase your craftsmanship.
Frequently Asked Questions
What Type of Solder Is Best for Jewelry Making?
Silver solder is best for jewelry making, with medium grade being ideal for beginners. You’ll find it offers versatility and reliability. Choose wire form for easy handling when you’re starting your projects.
What Are the 7 Steps of Soldering?
You’ll follow these 7 steps: clean and prepare pieces, align and secure them, apply flux, place solder pallions, heat evenly with torch, observe solder flow, then quench and pickle for cleanup.
What Do You Need for Soldering Jewellery?
You’ll need silver solder (wire form is best), a butane torch, soldering tweezers, flux, a heat-proof surface like charcoal, pickle solution, water for quenching, and safety glasses in a well-ventilated workspace.
What Are the Four Types of Soldering?
You’ll use four types of soldering in jewelry making: hard solder (highest melting point), medium solder (versatile), easy solder (lowest melting point), and solder paste (combines solder and flux for precision).
In Summary
You’ve now explored the essential soldering techniques to elevate your jewelry making. Don’t be discouraged by initial challenges—practice makes perfect. Remember that proper setup, right materials, and controlled heat are your foundations for success. As you master these methods, you’ll find your creative possibilities expanding. Keep experimenting with these techniques to develop your unique jewelry style and craftsmanship.


Leave a Reply