For successful metal pendant etching, choose copper or brass for beginners and stainless steel for intricate designs. Always clean your metal thoroughly with degreaser before sanding. Apply quality resists like StazOn® ink or permanent markers for clean lines. Match your metal to appropriate etchants (ferric chloride for copper). Wear protective gear when handling chemicals. Apply thin layers of sealant to preserve your work. Create contrast with patina techniques. These foundational steps will transform your handcrafted pendants into professional art pieces.
Selecting the Ideal Metal for Your Etched Pendant Design
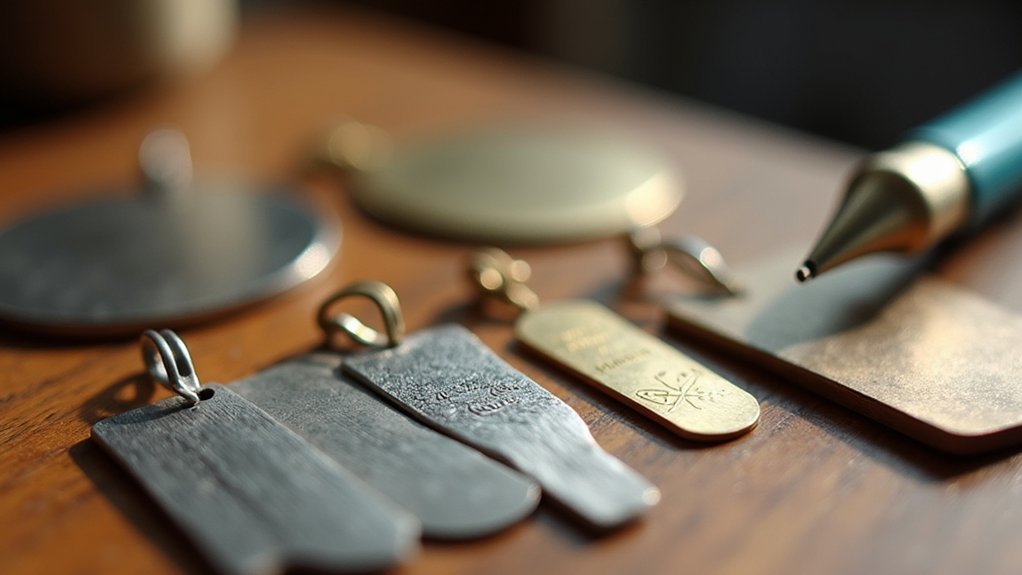
Success in pendant etching begins with choosing the right metal for your project. For detailed designs, opt for 22-gauge or thicker copper or brass blanks that provide sturdy surfaces resistant to warping during the etching process.
Stainless steel offers exceptional durability and works well with intricate patterns due to its lower melting point.
Stainless steel’s low melting point makes it ideal for detailed pendant designs while maintaining impressive durability.
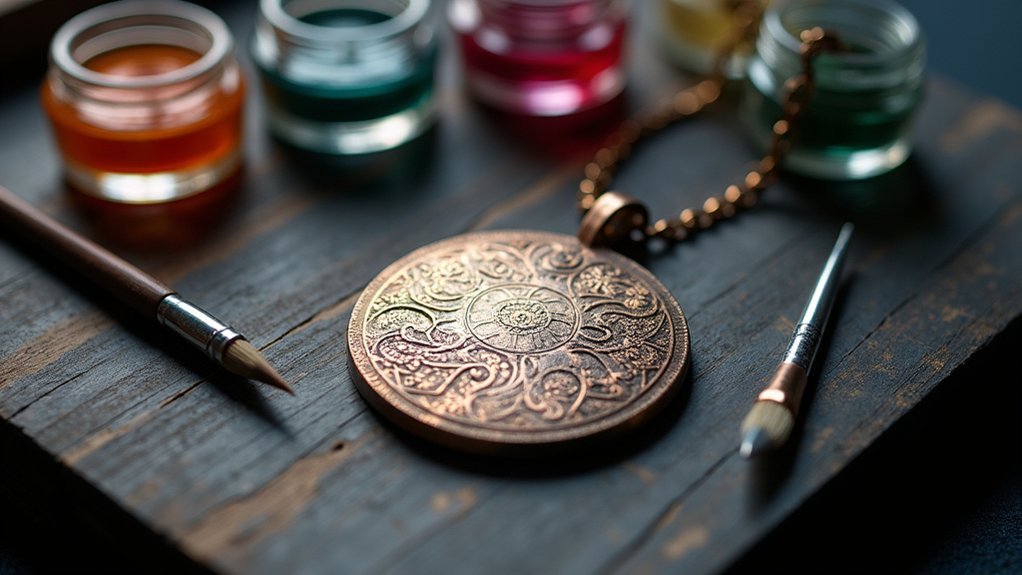
Copper remains a popular choice as it’s easily etched with ferric chloride, producing beautiful results that develop a distinctive patina over time.
If you’re working with silver, remember that fine silver (.999) and sterling silver (.925) require specific etchants like ferric nitrate or nitric acid for clean lines.
Always match your metal to the appropriate etching solution—copper and brass respond well to ferric chloride, while other metals need specialized chemicals for ideal results.
Essential Tools and Materials for Professional Metal Etching
Professional pendant etching requires specific equipment to achieve crisp, detailed results.
You’ll need a quality engraving machine, either manual or electric, to control the precision of your work on the metal surface. When etching a design, select appropriate metals like copper, brass, or stainless steel with a minimum 22-gauge thickness for durability.
The right etchant is essential—ferric chloride works best for copper and brass, while ferric nitrate is necessary for silver pieces.
Don’t overlook safety equipment; always wear protective gloves and goggles when handling these chemicals.
Among your essential tools should be reliable resists such as StazOn® ink, press-n-peel transfer film, or permanent markers to create detailed patterns before applying the etchant.
These materials guarantee your finished pendant displays professional-quality details.
Preparing Your Metal Surface for Optimal Etching Results
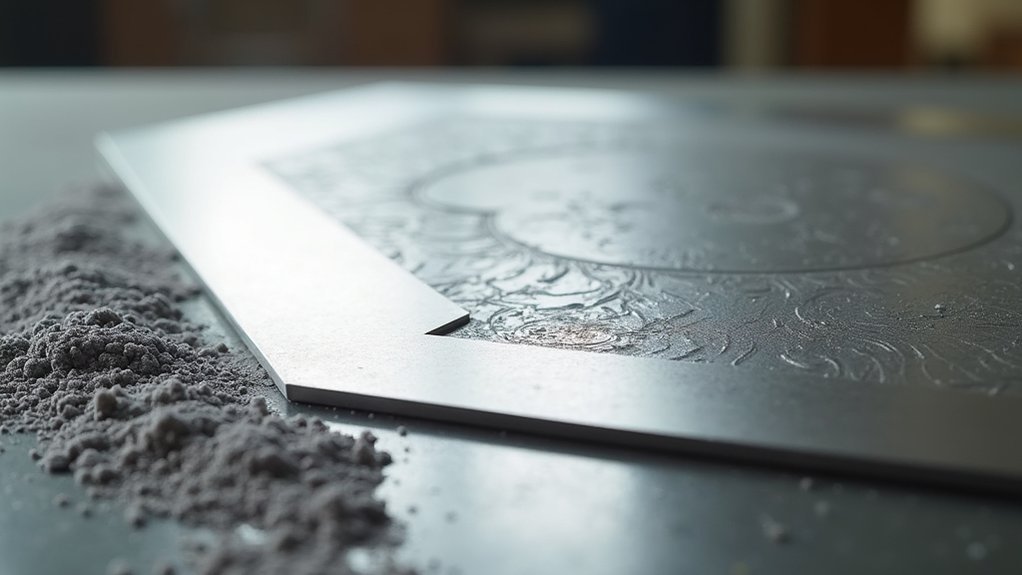
Before you begin etching your custom metal pendant, you’ll need to thoroughly clean the surface using a degreaser or alcohol to remove any oils that could interfere with the process.
Lightly sand the metal with fine-grit sandpaper to create a slightly textured surface that will help your resist material adhere properly and prevent unwanted peeling during etching.
For professional-quality results, make sure your metal is completely free of dust particles, fingerprints, and oxidation before applying any resist materials.
Pre-cleaning the Metal
The quality of your etched pendant hinges on proper surface preparation, which begins with thorough cleaning.
Before you start etching, remove all oils, dirt, and residues from your metal surface using a degreaser or mild soap and water. These contaminants can interfere with the etching process and compromise your final design.
After washing, dry the metal completely with a lint-free cloth or paper towel to prevent moisture from affecting your results.
For copper and brass pendants, consider lightly scuffing the surface with fine-grit sandpaper or a metal polishing cloth to improve resist adhesion.
Inspect your pendant for scratches or imperfections that might impact etching quality.
Avoid harsh chemicals or abrasive cleaners that could damage the metal surface before you’ve even begun the creative process.
Surface Preparation Techniques
Ideal surface preparation goes beyond basic cleaning to create the perfect canvas for your etched designs.
After thoroughly cleaning the metal with a degreaser or mild soap solution, lightly sand the surface with fine-grit sandpaper to create a textured surface that enhances resist adhesion.
Ensure your pendant is completely dry before applying any resist materials—moisture is your enemy in the etching process.
Even a small amount can compromise results and create uneven patterns.
If you’re working with aluminum pendants, select an etching solution specifically formulated for this metal type.
Different metals require different approaches for best results.
Always test your surface preparation techniques on a scrap piece of the same metal first.
This practice run confirms your methods will produce the desired effect before committing to your final design.
Mastering Resist Application Techniques for Precise Designs
When creating custom metal pendants, mastering the resist application process will dramatically impact your final etching results. Choose high-quality materials like StazOn® ink pads or Press-n-Peel Transfer Film to guarantee precise designs during the etching process. Before applying resist, thoroughly clean your metal surface to enhance adhesion and prevent lifting.
| Resist Method | Best For | Difficulty |
|---|---|---|
| Sharpie Industrial | Simple designs | Easy |
| StazOn® Ink | Medium detail | Moderate |
| Press-n-Peel Film | Intricate designs | Advanced |
For complex patterns, consider hand-drawing with resist or creating laser-printed stencils. You’ll achieve better results with industrial markers that provide more opaque coverage. Always test your resist application technique on scrap metal first to perfect your approach before committing to your final pendant piece.
Chemical Etching Methods and Safety Precautions
Three critical chemical etching systems exist for different metals in pendant creation, each requiring specific safety protocols.
For copper and brass pendants, ferric chloride effectively removes unprotected metal areas, creating intricate designs.
When working with silver pieces, you’ll need ferric nitrate solution or nitric acid—the appropriate etchants for both .999 fine and .925 sterling silver.
Aluminum pendants require hydrofluoric acid or Kellers etch, but handle these with extreme caution due to their highly corrosive nature.
Never compromise on protective gear; always wear gloves and goggles to prevent chemical exposure and potential injuries.
Proper ventilation is non-negotiable when using these aggressive chemical etching methods, as inhaling toxic fumes can cause serious health issues.
Your safety precautions should match the potency of the chemicals you’re using.
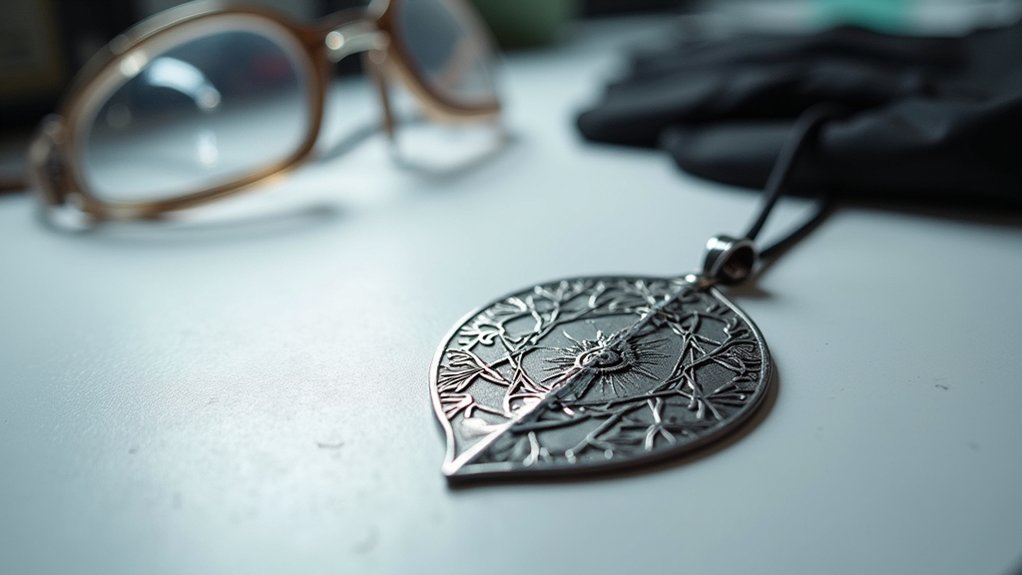
Finishing Techniques to Enhance Your Etched Details
After etching your metal pendant, you’ll want to polish the surface with fine abrasive cloth to heighten the contrast between your design and the surrounding metal.
Applying patinas or blackening solutions creates dramatic color effects that make your etched details pop against the metal’s natural finish.
Finish your piece with a protective clear coating of enamel or lacquer to prevent tarnishing and preserve the crispness of your design for years to come.
Polishing Metal Surfaces
The final polish on your etched metal pendant can mean the difference between an amateur-looking piece and a professional masterpiece.
After etching, take time to properly polish your pendant to enhance the clarity and depth of your design details.
Choose polishing compounds tailored to your desired finish—rouge for a warm glow or diamond paste for high gloss. Always use a buffing wheel or soft cloth to protect the etched areas from scratches while working.
Before polishing, clean the metal surface thoroughly to remove any debris that could interfere with achieving an even finish. This simple step dramatically improves your results.
Once you’re satisfied with the polished appearance, consider applying a protective coating to preserve your work and prevent future tarnishing or oxidation.
Patina Color Effects
Creating a rich patina on your etched metal pendant dramatically transforms its visual impact by adding depth and character to your design.
You’ll find that chemical treatments like liver of sulfur darken the metal and highlight your etched designs with striking contrast. For copper pieces, try applying a saltwater solution to develop gorgeous green hues that make details pop.
- Heat treatment produces unique color spectrums from blues to purples on bronze and copper
- Vinegar or ammonia accelerates the oxidation process for rich, varied tones
- Chemical patinas create dramatic contrast that brings subtle etched details to life
- Natural aging methods yield organic, one-of-a-kind results that tell a story
Remember to seal your finished patina with a protective coating to preserve these beautiful effects and prevent unwanted oxidation over time.
Protective Clear Coatings
Once you’ve established that perfect patina, your next step involves protecting it with a clear coating that will preserve your hard work for years to come.
Polyurethane or acrylic sealants create a shield around your etched details, preventing corrosion while enhancing their visual depth and contrast.
For ideal adhesion, thoroughly clean your pendant’s surface before application. You’ll find best results by applying multiple thin layers rather than one thick coat.
Consider using products with UV inhibitors if your pendant will face regular sun exposure, as these prevent fading and discoloration over time.
Whether you choose spray or brush application, remember that these protective clear coatings don’t just preserve your design—they elevate it, bringing out subtle details and ensuring your pendant remains striking for years to come.
Troubleshooting Common Etching Challenges for Pendants
Despite careful preparation, metal pendant etching projects often encounter obstacles that can frustrate even experienced crafters. When your custom engraved jewelry doesn’t turn out as expected, you’ll need to make necessary adjustments based on the metal used.
Before attempting laser engraving or chemical etching on your final piece, always test on scrap metal of the same type.
- Clean surfaces thoroughly—oils and residues are invisible enemies that cause uneven etching and poor resist adhesion.
- Adjust etching time according to metal thickness—thinner sheets require considerably less exposure to prevent over-etching.
- Use only high-quality resist materials like StazOn® or press-n-peel film for crisp, clean lines.
- If etching depth is insufficient, carefully increase either etchant strength or immersion time while monitoring closely.
Frequently Asked Questions
How Do You Etch Metal Easily?
You can etch metal easily by using ferric chloride etchant on copper or brass. Clean the metal thoroughly, apply a resist material like transfer film or Sharpie, and work in a well-ventilated space with safety gear.
How to Smooth Metal After Engraving?
After engraving, you’ll want to smooth your metal by first using 400-600 grit sandpaper, then polishing with a rotary tool. Don’t forget to clean between steps with a lint-free cloth to prevent scratches.
What Is the Best Way to Engrave Metal?
Laser engraving machines offer the best way to engrave metal. You’ll get high precision and intricate designs without damage. For deep engraving, choose fiber lasers, while CO2 lasers work well for softer metals like aluminum.
What Is the Best Metal for Etching?
For etching, you’ll find copper and brass are your best options as they respond well to the process. Stainless steel offers durability, while aluminum requires less effort. Silver varieties also work effectively with appropriate solutions.
In Summary
You’ve now mastered the essentials of custom metal pendant etching. With the right materials, proper preparation, and careful technique, you’ll create stunning wearable art that showcases your unique vision. Don’t be discouraged by initial challenges—they’re part of the learning process. Keep experimenting with different metals and finishes to develop your signature style. Your handcrafted pendants will soon become treasured keepsakes for years to come.


Leave a Reply