You can create stunning jewelry at home using budget-friendly casting methods that cost under $200. Try lost wax casting with candle wax and plaster, sand casting for larger pieces, or steam casting with a hotplate and flower pot. Build a simple charcoal forge from a paint can, or construct a DIY electric melting setup. Repurpose household items like juice cans as flasks and make your own investment materials with plaster and sand. These techniques will reveal endless creative possibilities.
Lost Wax Casting With Household Materials
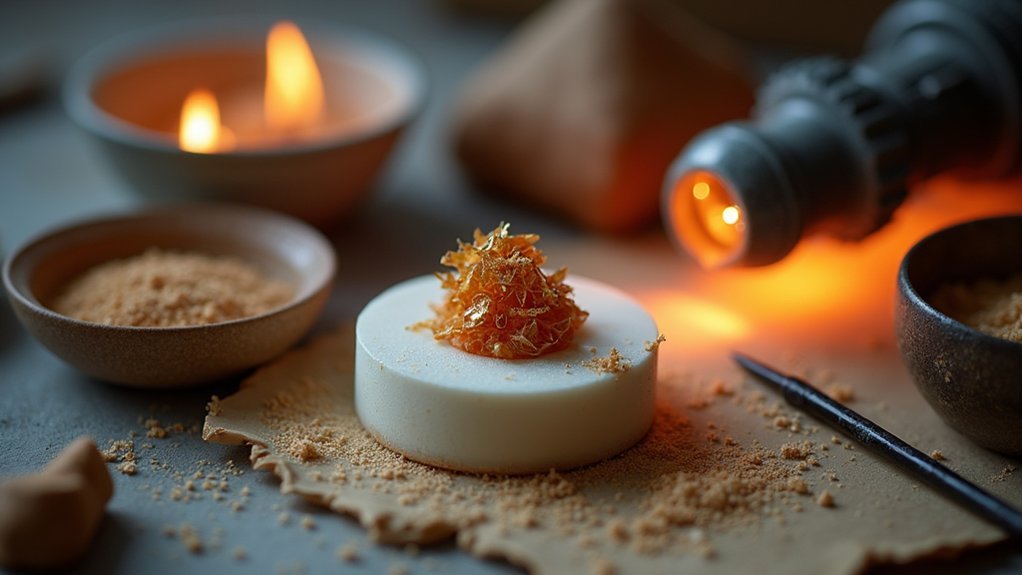
Lost wax casting transforms ordinary household materials into a sophisticated jewelry-making technique that’s been used by artisans for thousands of years.
You’ll start by carving your design from unscented candle wax, which provides excellent detail and easy manipulation. Once your wax model’s complete, encase it in plaster mixed for quick curing – you can even speed this process by microwaving the mold.
For melting metal, construct a DIY furnace using a paint can filled with concrete and a blowtorch channel. This cost-effective solution reaches the temperatures needed for molten metal.
Remember to preheat your mold before pouring to prevent fractures, and maintain proper metal temperature throughout the process. After casting, clean your finished jewelry with vinegar to remove any remaining investment material.
Sand Casting for Larger Jewelry Pieces
When you’re ready to create larger jewelry pieces beyond the typical size limits of lost wax casting, sand casting offers an accessible and cost-effective solution.
You’ll need basic equipment like a flask, sand mixed with binder, and a reliable heat source to get started with this beginner-friendly technique.
The process requires careful attention to mold preparation and metal pouring techniques to achieve professional-quality results in pieces up to 10cm in dimension.
Essential Sand Casting Equipment
While sand casting offers jewelry makers an affordable pathway to creating larger pieces up to 10cm in size, you’ll need specific equipment to get started.
A flask serves as your primary container for holding the mold during casting. You’ll require molding sand with proper binding properties—typically fine sand mixed with clay creates molds that maintain their shape throughout the process.
Your heat source options include a charcoal forge or propane furnace, both constructible from inexpensive materials. These allow you to melt metals to the necessary temperatures for pouring.
Don’t overlook safety equipment: protective gloves and eye protection are essential when handling molten metal during pouring and cooling phases.
This basic setup provides everything needed for successful sand casting without breaking your budget.
Step-by-Step Casting Process
Since you’ve assembled your equipment, you’re ready to tackle the actual casting process that transforms your design concept into solid metal jewelry. Start by pressing your pattern into the molding sand within your flask, creating a clean impression. Include a riser in your mold design to allow proper air escape during pouring.
| Step | Action | Time Required | Key Consideration |
|---|---|---|---|
| 1 | Create mold impression | 15-20 minutes | Guarantee clean pattern removal |
| 2 | Pour molten metal | 2-3 minutes | Steady, controlled flow |
| 3 | Cooling period | 60+ minutes | Don’t rush this stage |
| 4 | Break mold & retrieve piece | 10 minutes | Handle carefully |
After cooling completely, break open your mold to reveal your cast piece. Finish with careful grinding and polishing to remove imperfections and achieve your desired appearance.
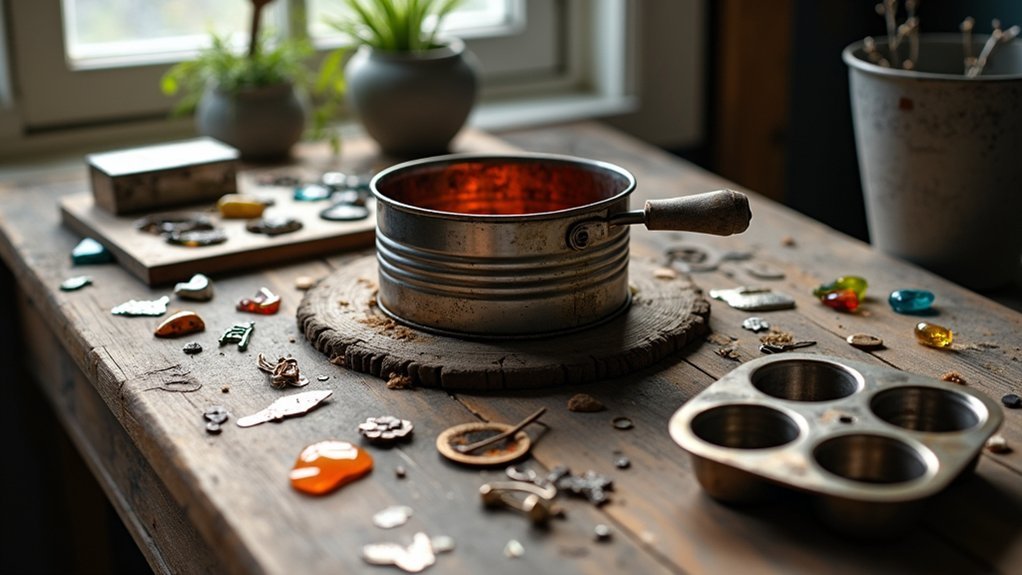
Steam Casting Using Basic Kitchen Equipment
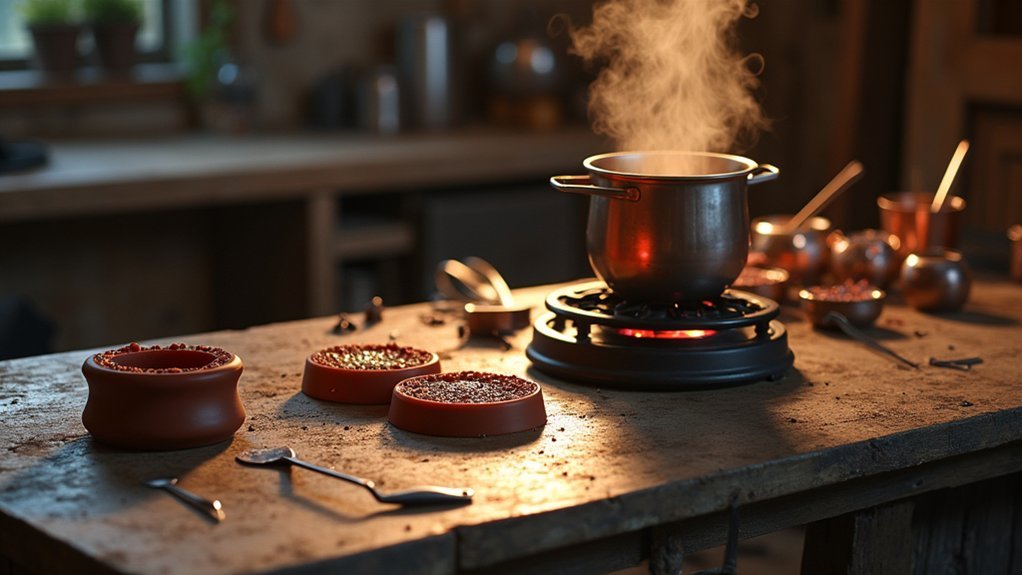
Although professional jewelry casting equipment can cost thousands of dollars, you can achieve impressive results using basic kitchen items you likely already own.
Steam casting requires only a hotplate, flower pot, and small container for your investment material like plaster. Start by carving your design into a wax model, then surround it with investment material, ensuring the wax is securely suspended for proper metal flow.
Heat the flask to remove wax through steam pressure, creating your mold cavity. Always preheat the mold before pouring molten metal to maintain consistent temperature and prevent fractures.
This accessible method lets you create intricate jewelry designs without expensive industrial equipment, making it perfect for beginners exploring metalworking crafts.
Building a Simple Charcoal Forge
Once you’ve mastered steam casting techniques, you’ll need a reliable heat source to melt your metals effectively. Building a simple charcoal forge transforms your workspace into a powerful metal-melting station.
Start with a metal container like a paint can, then fill it with charcoal while creating air holes for proper combustion. Position a blowtorch underneath for consistent heating, and add steel pipes to create airflow channels.
For enhanced efficiency, construct a heat spiral using pipes to circulate hot air around the charcoal, improving temperature control during metal melting.
After curing your concrete casing for two hours, test-fire for thirty minutes to guarantee stability.
- Watch raw metal transform into molten gold before your eyes
- Feel the intense satisfaction of crafting with ancient fire techniques
- Experience the primal power of controlling extreme heat
Always wear safety gear including eye protection and gloves.
Creating Molds With Delft Clay and Basic Torches
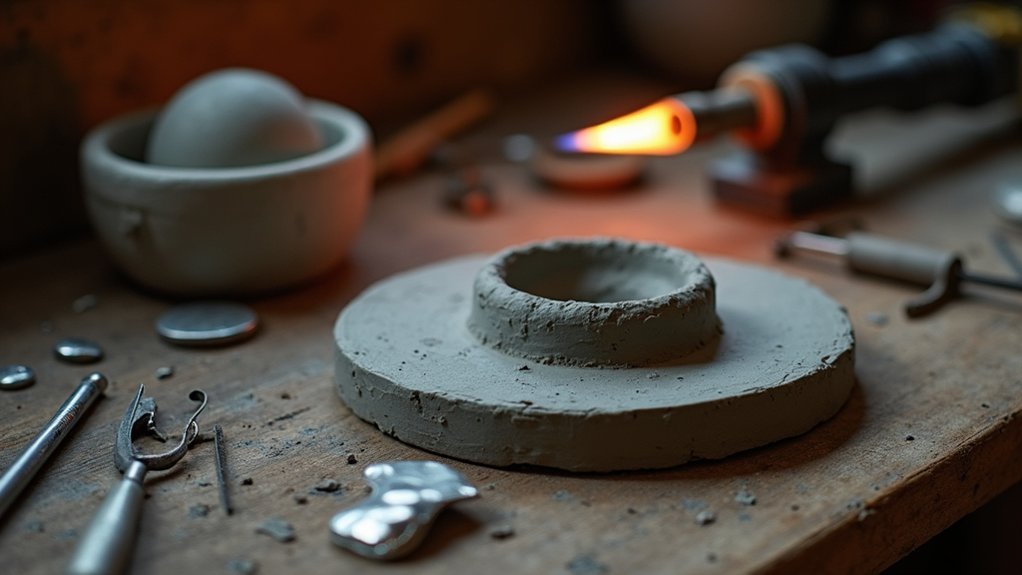
After establishing your forge setup, you’ll discover that Delft clay offers an accessible path to creating professional-quality molds without expensive equipment.
Simply press your wax model into the clay using even pressure to capture intricate details, then allow it to set before removal. This versatile material works perfectly for small to medium-sized jewelry pieces since it withstands higher temperatures while maintaining its shape.
You can effectively melt silver and other metals using basic plumber’s torches with melting tips, eliminating the need for costly kilns.
For superior results, incorporate vacuum or steam casting techniques with your Delft clay molds. This approach minimizes air bubbles and guarantees complete metal flow, producing cleaner castings that require less finishing work.
DIY Electric Melting Setup for Indoor Casting
While torch-based melting works well outdoors, electric melting setups provide superior control and safety for indoor jewelry casting.
Electric melting systems offer jewelers precise temperature control and enhanced safety compared to traditional torch methods for indoor workshops.
You can build an effective system for under $500 using an electric melting furnace as your foundation. A clay flower pot works perfectly as a crucible for smaller quantities of silver and copper.
Set up your workspace with a heat-resistant surface like ceramic tile to protect your workbench. Monitor temperatures precisely with a digital thermometer to guarantee ideal melting points.
Essential safety gear protects you during the process:
- Heat-resistant gloves – Shield your hands from dangerous burns while handling hot materials
- Protective goggles – Guard your eyes from molten metal splatter and intense heat
- Proper ventilation – Breathe safely while avoiding toxic fumes
Repurposing Everyday Items for Casting Equipment
You don’t need expensive equipment to start casting jewelry at home—everyday household items can become essential tools with some creativity.
Paint cans filled with concrete make excellent budget furnaces, while old juice cans transform into perfect flasks for your molds.
Even discarded compressor pumps can be repurposed to provide the airflow needed for consistent heating in your DIY casting setup.
Paint Can Furnaces
When you’re ready to create an affordable casting furnace, repurposing a simple paint can offers an excellent starting point for your DIY jewelry making setup.
You’ll fill the paint can with concrete, leaving a hollow center for maximum heat retention and metal melting efficiency. Insert a 1/2 inch pipe as your blowtorch channel to enhance airflow while keeping air holes unobstructed for proper combustion.
After the concrete cures for at least 2 hours, bake your furnace in an oven to eliminate moisture and prevent stress fractures. This entire setup costs around $150 using readily available materials.
- Feel the satisfaction of melting precious metals in your handmade furnace
- Experience the thrill of creating professional-quality jewelry from recycled materials
- Enjoy the confidence that comes from mastering metalworking fundamentals
Always test with a 30-minute fire before casting and wear eye protection.
Household Flask Alternatives
Building your own furnace opens up exciting possibilities, but you’ll also need proper flasks to complete your casting setup. You don’t need expensive equipment when household items can serve as excellent alternatives for investment casting projects.
| Household Item | Flask Application | Best For |
|---|---|---|
| Juice cans/soda bottles | Sand/investment casting flasks | Small jewelry pieces |
| Small cardboard boxes | Mold boxes | Custom-sized projects |
| Yogurt/cottage cheese cups | Simple investment molds | Basic ring casting |
| Glass jars with lids | Vacuum flasks | Pressure-resistant needs |
| Plastic/metal cups | Investment forming | Smooth surface casting |
These everyday containers work perfectly for creating molds around your wax models. You’ll save money while achieving professional results by repurposing items you already have at home.
Recycled Compressor Pumps
Innovation in jewelry casting doesn’t stop at flasks – recycled compressor pumps offer another brilliant way to upgrade your setup without breaking the bank.
You can repurpose old auto air conditioning compressors as vacuum pumps for your jewelry casting projects. These budget-friendly alternatives are readily available at junkyards or online marketplaces, making professional-grade vacuum pressure accessible to any maker.
Before using recycled compressor pumps, you’ll need to clean them thoroughly and modify the fittings to connect with your casting equipment.
The improved vacuum pressure will dramatically enhance your casting quality while reducing defects in your finished pieces.
- Transform discarded automotive parts into precision casting tools
- Achieve professional results without the professional price tag
- Give new life to equipment destined for the scrapyard
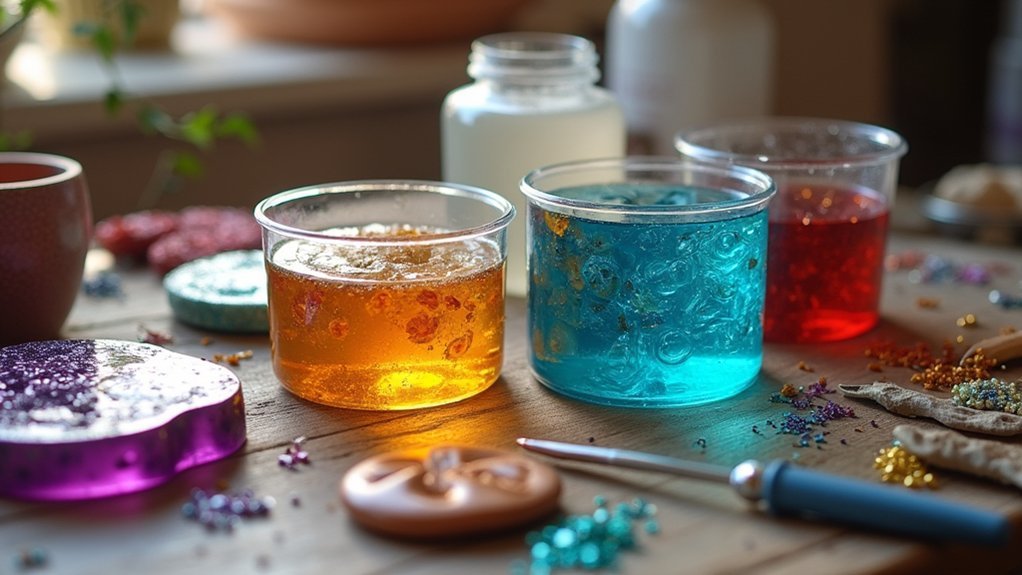
Making Your Own Investment Materials
While commercial investment materials offer convenience, creating your own casting investment can save money and give you complete control over your mold’s properties.
You’ll start with a basic plaster and water mixture at approximately 2:1 ratio by weight for quick-setting strength. Enhance your investment materials by adding fine sand to capture intricate details better. Include a small amount of liquid soap to eliminate air bubbles and improve surface finish.
For budget-conscious casting projects, experiment with ceramic shell or homemade silica-plaster combinations. These alternatives deliver high-quality results without premium costs.
Don’t hesitate to adjust ratios and components based on your specific metal types and casting requirements. Testing different formulations helps you optimize performance while maintaining cost-effectiveness in your jewelry-making process.
Constructing a Paint Can Furnace
You’ll need to build your own furnace structure using a standard paint can filled with concrete and a strategically positioned pipe for the blowtorch channel.
The construction process requires careful attention to airflow, heat distribution, and proper curing techniques to create a functional melting chamber.
Once you’ve completed the build, you must conduct thorough safety testing before attempting any actual casting work.
Building the Structure
Before you can melt metal for casting, you need a reliable furnace that reaches temperatures exceeding 2,000°F.
Start by filling your paint can with concrete, leaving a cylindrical hollow center for proper heat circulation. You’ll need to let the concrete cure for at least two hours before proceeding.
Cut a 1/2 inch pipe to create your blowtorch channel, making sure air holes remain unobstructed for ideal airflow.
Position this pipe at the edge of your hollowed cylinder to create a heat spiral that maintains the high temperatures necessary for melting metal.
- Feel the satisfaction of creating professional-quality jewelry from your own workshop
- Experience the thrill of transforming raw metal into beautiful, personalized pieces
- Enjoy the pride of mastering an ancient craft with modern DIY techniques
Testing and Safety
Once your furnace structure is complete, you must test its performance and prioritize safety protocols before attempting any metal casting. First, verify your concrete has cured for at least 2 hours, then bake it in an oven to eliminate moisture and prevent stress fractures. During testing, always wear eye protection and conduct a 30-minute test firing to verify stability.
| Safety Equipment | Purpose | Requirement |
|---|---|---|
| Eye Protection | Prevent burns/debris | Always required |
| Proper Torch | Achieve melting temps | Plumber’s torch |
| Ventilation | Remove toxic fumes | Well-ventilated area |
Don’t use inadequate equipment like crème brûlée torches – they won’t reach necessary temperatures. Your testing phase determines whether your furnace functions safely and effectively for jewelry casting projects.
Alternative Heating Methods for Small-Scale Casting
While commercial kilns and furnaces offer professional results, several budget-friendly heating methods can achieve the high temperatures needed for small jewelry casting projects.
You’ll find that a charcoal forge provides an inexpensive yet effective solution for melting metals at high temperatures. Propane-based forges require additional components like regulators and tanks but deliver consistent heat throughout your casting process.
For indoor work, electric melting units eliminate open flames and reduce accident risks considerably.
DIY setups can transform everyday items into functional melting environments. You can repurpose a gas barbecue or create a simple setup using a clay flower pot covered with tin foil. A plumber’s torch with a melting tip offers portable, energy-efficient melting without expensive equipment.
Transform your backyard grill or simple clay pot into an effective metal melting station with basic household materials.
- Transform ordinary household items into professional-grade casting equipment
- Achieve studio-quality results without breaking your budget
- Create beautiful jewelry pieces using ingenious homemade solutions
Frequently Asked Questions
What Are the Methods of Casting Jewelry?
You can cast jewelry using lost wax casting for intricate details, sand casting for larger pieces, steam casting with basic equipment, or Delft clay casting for better control and easier management.
How Much Does Jewellery Casting Cost?
You’ll spend $150-800 for basic equipment, depending on your setup choice. Electric units cost more but they’re safer indoors. Materials add $50-100 per project, while free online resources help you learn casting techniques affordably.
How to Make Lost Wax Casting?
You’ll create a wax model with sprue, coat it in investment plaster, heat to melt wax out, pour molten metal into the cavity, cool completely, then break away plaster to reveal your cast piece.
Can You Do Silver Casting at Home?
You can absolutely do silver casting at home using budget-friendly methods. Create a DIY furnace with a paint can, concrete, and plumber’s torch, or invest in an electric melter for better results.
In Summary
You’ve now got nine proven methods to start casting jewelry without breaking the bank. Don’t let expensive equipment hold you back from creating beautiful pieces. Start with one technique that matches your available materials and workspace. You’ll discover that creativity matters more than costly tools. As you practice these budget-friendly methods, you’ll develop skills that’ll serve you well, whether you’re crafting simple rings or complex pendants.

Leave a Reply