You’ll start by selecting affordable practice stones like quartz, then evaluate them for inclusions and ideal cutting orientation. Secure your rough gemstone to a dop stick and use a faceting machine with varying grit lap discs to shape and cut precise facets according to your chosen diagram. Begin with coarse 260 grit for initial shaping, progress to 600 grit for refinement, then polish each facet individually while maintaining exact angles. Master these fundamental techniques to reveal the secrets of creating professionally brilliant gemstones.
Selecting and Evaluating Raw Gemstone Material
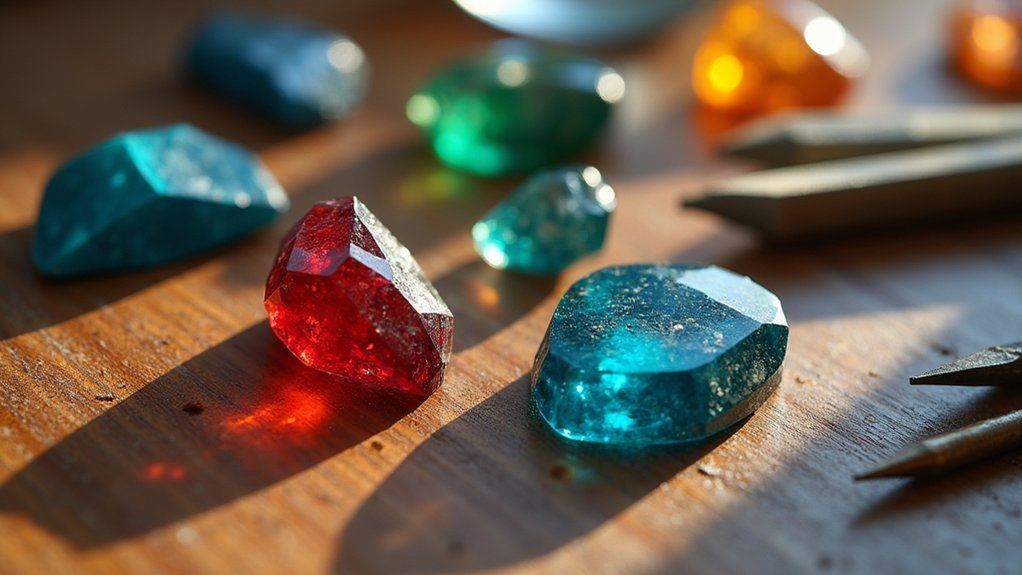
When you’re starting your gemstone cutting journey, you’ll want to choose raw materials wisely to build your skills without breaking the bank.
Prioritize abundant, affordable stones like quartz or fluorite for practice. These materials let you learn techniques without costly mistakes.
Carefully evaluate each rough gemstone’s shape and size, as these factors determine your cutting approach and waste reduction.
Look for inclusions, color zoning, and visible flaws that could impact your finished stone’s quality and value.
Research faceting diagrams that complement your rough’s characteristics. This planning maximizes beauty and brilliance in your final cut.
Source materials from reputable dealers at gem fairs or established online retailers to guarantee authenticity and quality.
Smart selection sets the foundation for successful gemstone cutting.
Essential Tools and Equipment for Gemstone Cutting
Before you can transform rough stones into brilliant gems, you’ll need to invest in the right equipment to secure precise, professional results.
Faceting machines form the foundation of gem cutting, enabling you to create symmetrical facets with exact angles for maximum brilliance.
Your essential toolkit should include:
- Dop sticks – Secure rough gemstones during cutting for stability and control
- Lap discs with varying grits – Coarse grits for initial shaping, fine grits for polishing
- Microfiber cloths – Clean stones between steps to prevent contamination
- Optional adhesives – Superglue or cyanoacrylate for heat-sensitive gems
- Precision angle guides – Guarantee consistent facet placement and geometry
Quality equipment directly impacts your finished stones’ appearance and value, making careful selection vital for successful lapidary work.
Choosing the Right Faceting Diagram
How do you select the perfect faceting diagram to reveal your gemstone’s full potential?
Faceting diagrams function as essential blueprints for gemstone cutting, dictating specific angles and facet arrangements that determine your stone’s final brilliance and light return. You’ll find these diagrams available for free online or through lapidary supply stores, giving you flexibility to choose designs that match your specific gemstone type.
Faceting diagrams serve as crucial blueprints that dictate angles and arrangements to maximize your gemstone’s brilliance and light performance.
Your diagram selection directly impacts the stone’s optical performance, so consider your rough material’s characteristics carefully. Some shapes require thorough cleaning or preforming before cutting begins.
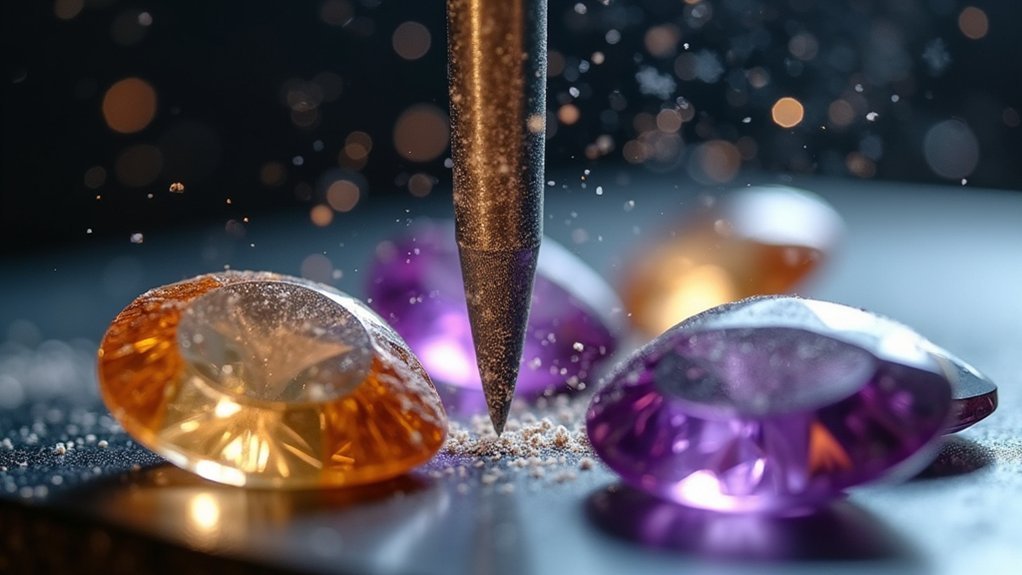
For instance, when working with amethyst crystals, you’ll need to clean the stone completely before starting the faceting process. Proper diagram alignment guarantees ideal facet placement, maximizing your gemstone’s brilliance and overall visual appeal.
Planning Your Cut and Orientation
Once you’ve selected your faceting diagram, you’ll need to conduct a thorough examination of your rough gemstone to determine the best cutting orientation.
Planning your cut requires careful analysis of your rough stone’s characteristics to maximize both beauty and yield.
Key factors to evaluate when planning your cut orientation:
- Inclusions mapping – Identify internal flaws that must be removed or positioned strategically
- Color zoning assessment – Locate areas of best color saturation for ideal face-up appearance
- Structural evaluation – Examine the rough stone’s shape and natural fractures
- Clarity optimization – Position cuts to eliminate cloudy or heavily included areas
- Yield calculation – Balance quality against maximum carat weight retention
You may need to slice or grind sections of your rough stone for accurate assessment before finalizing your orientation decisions.
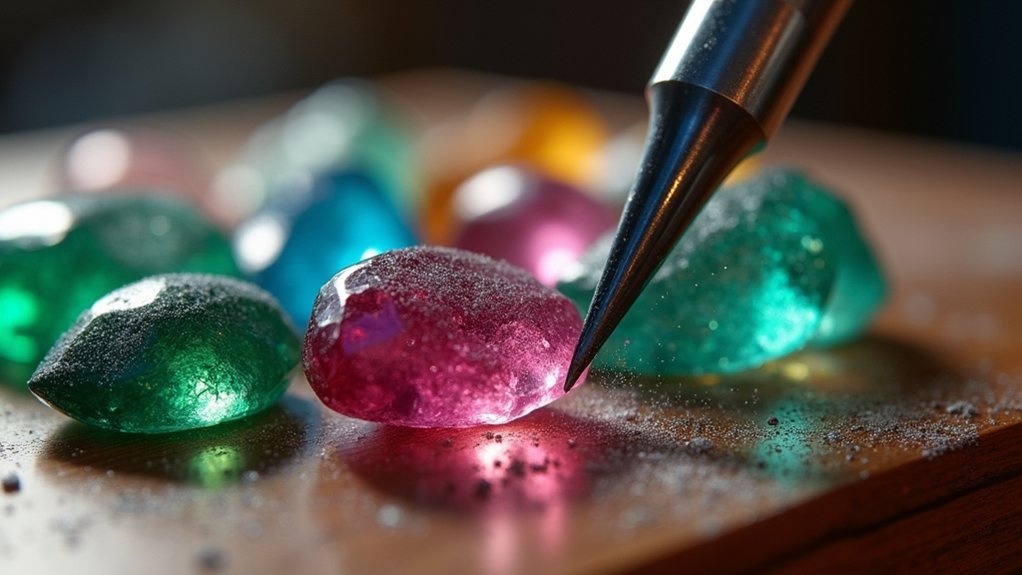
Preforming and Initial Shaping Techniques
You’ll start performing by carefully examining your rough stone to identify any inclusions and determine the ideal orientation for your final cut.
Once you’ve assessed the material, heat your dop stick and coat it with wax to securely attach the stone, ensuring it won’t shift during the grinding process.
Begin creating your initial shape using a 260 grit diamond lap with water, removing significant inclusions while establishing the basic outline that’ll guide your subsequent faceting work.
Rough Stone Assessment
Before you can transform a rough gemstone into a brilliant finished piece, you must carefully assess its quality and potential. This evaluation determines how you’ll approach the cutting process and what final shape you can achieve.
During assessment, you’ll examine the stone’s internal structure, identifying inclusions and imperfections that could affect the finished gem’s beauty and value.
Key assessment considerations include:
- Inclusion mapping – Document the location and severity of internal flaws
- Structural integrity – Check for fractures or weak points in the rough material
- Color distribution – Evaluate how color zones will affect the final design
- Optimal orientation – Determine the best cutting direction for maximum brilliance
- Size limitations – Calculate potential finished dimensions after removing bad inclusions
This thorough evaluation guarantees you’ll remove problematic areas before proceeding with cutting.
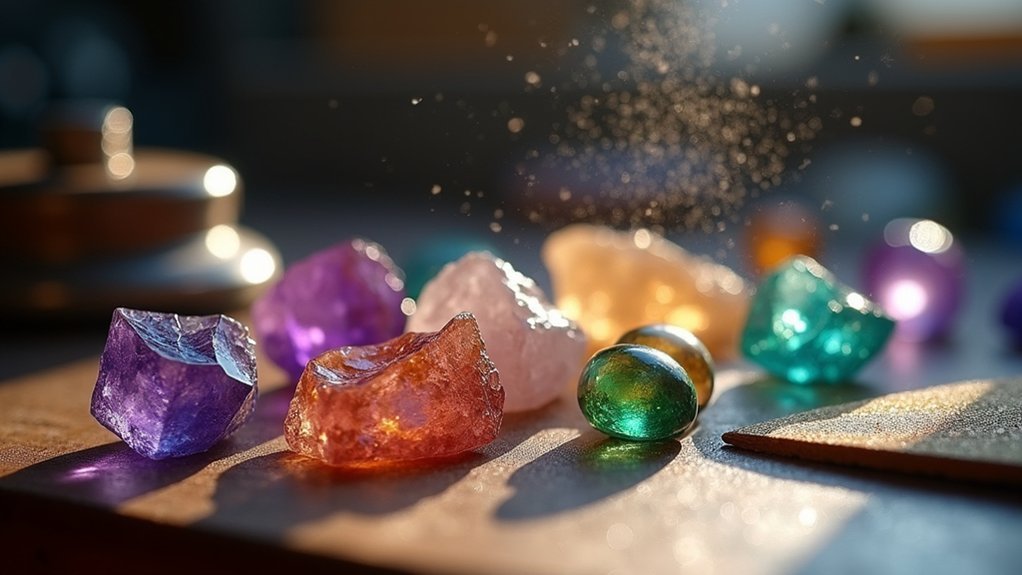
Initial Shape Creation
After completing your rough stone assessment, you’ll begin preforming by grinding the gemstone into a basic shape using a 260 grit diamond lap.
This preforming process transforms your rough gem into an oval or geometric form that minimizes waste while preparing it for faceting. You’ll need water throughout to enhance cutting efficiency and prevent heat damage to the stone.
Assess your rough gem’s existing form to determine the best preformed shape. During this stage, identify and remove any visible inclusions or imperfections to guarantee higher quality results.
Once you’ve established the basic shape, switch to a 600 grit lap for refinement. This precise shaping technique gives you better control and accuracy, creating the foundation you’ll need before moving on to the detailed facet cutting stage.
Dopping the Stone for Secure Handling
You’ll need to master proper wax application techniques to create a strong bond between your gemstone and the dop stick.
Your choice of dop stick matters greatly – beginners should start with tapered-end sticks that provide better stability during cutting operations.
The key is heating your dopping wax to the right temperature so it flows smoothly around the stone without overheating the gem itself.
Wax Application Techniques
Three essential steps form the foundation of successful dopping: preparing the wax, creating the bond, and securing the attachment.
You’ll need to heat your dopping wax until it becomes pliable enough to bond effectively with both surfaces.
The most reliable technique involves heating your dop stick first, then pressing it firmly against the heated wax surface on your gemstone. This creates maximum contact and guarantees a strong hold during cutting operations.
Essential wax application techniques include:
- Heat the dop stick before making contact with the wax
- Press firmly to eliminate air bubbles between surfaces
- Maintain steady pressure while the initial bond forms
- Cool rapidly by dipping into cold water for quick solidification
- Test bond strength gently before beginning cutting work
Dop Stick Selection
Since proper dop stick selection determines the stability and precision of your entire cutting operation, choosing the right size and material becomes your first critical decision.
You’ll find dop sticks available in metal or wood, with metal options providing superior heat conductivity for wax melting. Select the diameter carefully—it must match your gemstone’s size and weight. A stick that’s too thick creates handling difficulties, while one that’s too thin won’t provide adequate support during cutting.
Experienced gem cutters recommend measuring your stone’s base before choosing.
For delicate or heat-sensitive stones, you’ll need specialized heat-sensitive adhesives instead of traditional dopping wax. This prevents thermal damage while maintaining the secure bond essential for precision cutting work.
Cutting Crown Facets With Precision
When cutting crown facets, precision becomes your greatest ally in transforming a rough stone into a brilliant gem.
You’ll need to establish a level girdle foundation before proceeding, as this guarantees proper facet alignment and ideal light reflection. Your faceting machine becomes essential for maintaining consistency throughout the process.
To cut gem crown facets effectively, follow these critical steps:
- Set precise angles based on your gemstone’s refractive index to maximize brilliance
- Use a 45-degree adapter dop for accurate table cuts and better control
- Employ a 600 grit lap to refine the preformed shape before cutting main facets
- Regularly check star facet alignment with main crown facets during polishing
- Maintain symmetry throughout to enhance the gemstone’s overall aesthetic appeal
Creating Perfect Pavilion Angles
When you’re cutting pavilion facets, you’ll need to calculate the critical angle based on your gemstone’s refractive index to prevent light leakage through the bottom.
Each stone type has a unique refractive index that determines the ideal pavilion angle—diamonds require around 40.75 degrees while sapphires need approximately 43 degrees.
You can’t simply copy angles from one gemstone type to another, as using incorrect calculations will result in a dull, lifeless stone that won’t achieve maximum brilliance.
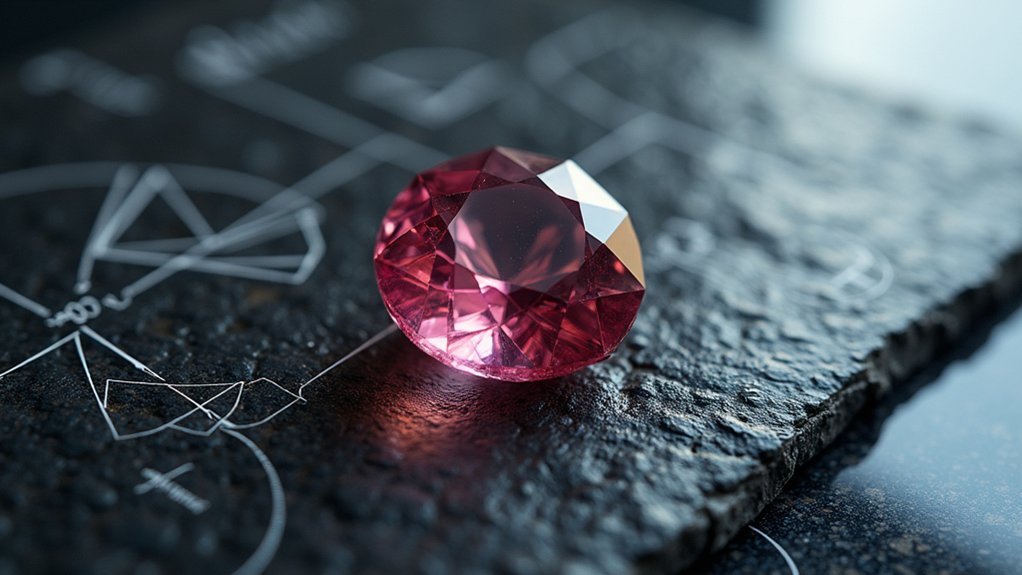
Critical Angle Calculations
Why do some gemstones sparkle brilliantly while others appear lifeless and dull? The answer lies in understanding critical angle calculations. You’ll need to master this concept to achieve ideal light return in your cuts.
Use Snell’s Law to determine your gemstone’s critical angle: sine(C) = n1/n2, where n1 is your gem’s refractive index and n2 is air’s index (1.0). For diamond cutting, you’re working with a critical angle of 24.5 degrees.
Essential critical angle considerations:
- Calculate pavilion angles between 40-43 degrees for ideal light return
- Match facet angles to your specific gemstone’s refractive index
- Prevent light leakage through proper angle adherence
- Avoid windowing effects from improper calculations
- Test angles before final cutting commitment
Refractive Index Considerations
Your gemstone’s refractive index directly determines the pavilion angles you’ll cut to achieve maximum light return. Each gemstone material has a unique refractive index that dictates how light bends when entering the stone.
You’ll need to know your specific gemstone’s RI before beginning any faceting work, as this measurement guides your critical angle calculations.
When you’re cutting pavilion facets, you must stay below the critical angle to prevent light leakage. Diamonds with their 2.42 refractive index require different pavilion angles than emeralds or sapphires.
You’ll find faceting diagrams specify these angle measurements based on each material’s optical properties.
Properly matching your pavilion angles to the refractive index maximizes brilliance and sparkle while minimizing light loss through the pavilion facets.
Polishing Individual Facets for Maximum Brilliance
After you’ve completed the initial cutting phases, polishing individual facets becomes the critical step that transforms your rough gemstone into a brilliant jewel.
Polishing transforms raw stone into brilliance, requiring precision and patience to unlock each facet’s light-catching potential.
You’ll need a finer polishing lap, typically primed with diamond powder, to achieve the lustrous surface that maximizes light reflection. Most faceting classes emphasize following your original cutting sequence during polishing.
Here’s your polishing workflow:
- Start with crown facets, then proceed to pavilion facets for consistency
- Maintain precise alignment between facets to prevent light leakage
- Polish each facet individually to achieve maximum brilliance
- Clean your gem regularly between stages to remove residual grit
- Use a high-sheen finish on every surface for ideal light reflection
This methodical approach guarantees your gemstone achieves its full aesthetic potential.
Final Polishing and Surface Refinement
Once you’ve polished all individual facets, final polishing and surface refinement will elevate your gemstone to professional standards. Use 50,000 grit diamond powder on a fine polishing lap to achieve maximum brilliance and luster. Each facet requires individual attention to eliminate imperfections and prevent light leakage that compromises beauty.
| Component | Tool | Grit/Material |
|---|---|---|
| Crown facets | Copper lap | 50,000 grit diamond |
| Girdle facets | Standard lap | 8,000 grit paste |
| Problem areas | Wet sandpaper | Variable grit |
Throughout final polishing, regularly assess your gemstone’s smoothness. If you discover rough spots, address them with appropriate wet sandpaper before continuing. This meticulous approach guarantees your finished gemstone displays ideal light return and professional-quality brilliance that’ll captivate anyone who sees it.
Quality Assessment and Light Performance Testing
Before declaring your gemstone complete, thorough quality assessment and light performance testing will reveal whether your cutting efforts have achieved their intended brilliance.
You’ll need to examine your stone systematically to guarantee ideal results. Use an immersion tank to visualize any remaining inclusions and assess overall clarity.
Check for color zoning that might affect the stone’s appearance under different lighting conditions. Light performance testing involves analyzing brilliance, dispersion, and scintillation to confirm your faceting precision.
Key evaluation criteria include:
- Refractive index measurements to verify ideal cutting angles for maximum light return
- Inclusion mapping using magnification to identify internal characteristics
- Light leakage assessment to guarantee minimal brilliance loss
- Color consistency evaluation across different viewing angles
- Surface quality inspection for polishing imperfections
Removing and Finishing Your Cut Gemstone
Your gemstone’s journey from rough material to polished beauty reaches its final stage when you carefully remove it from the dop stick and complete the finishing process.
Begin by gently warming the wax to detach your stone without causing damage during removal. Once free, inspect every surface for rough spots or imperfections that need addressing with wet sandpaper.
Gentle heat releases your gemstone safely from its wax mount, revealing surfaces ready for careful inspection and refinement.
Next, use a polishing lap primed with metal polish to create a brilliant sheen. Polish each facet individually to guarantee uniformity across your finished gemstone.
Thoroughly rinse away all polishing compound residue, then dry with a clean cloth.
Finally, evaluate your completed gem for light leakage or overlooked flaws that could diminish its brilliance and overall aesthetic appeal.
Frequently Asked Questions
What Tool Do You Use to Cut Gemstones?
You’ll use a faceting machine for hard gemstones, which employs rotating laps and diamond-tipped disks for precision cutting. For softer stones, you can use hand-cutting tools like trim saws or cabochon machines instead.
What Is the Hardest Gemstone to Cut?
You’ll find diamond is the hardest gemstone to cut, rating 10 on the Mohs scale. You’ll need specialized diamond-tipped tools and expert techniques since it’s extremely resistant to scratching and prone to cleavage.
How to Cut Gemstones in Lapidary?
You’ll secure your rough gemstone to a dop stick, use a faceting machine with diamond laps to grind precise angles, then polish each facet individually with diamond powder for maximum brilliance.
Can You Use a Dremel to Cut Gemstones?
Yes, you can use a Dremel to cut gemstones. You’ll need diamond-tipped bits and should work at low speeds to prevent overheating. It’s affordable for beginners but won’t match faceting machine precision.
In Summary
You’ve now mastered the fundamental steps of gemstone cutting, from selecting raw material to creating a finished gem. Remember that practice makes perfect—each stone you cut will improve your technique and eye for quality. Don’t get discouraged by initial mistakes; they’re part of the learning process. Keep experimenting with different cuts and materials to develop your unique style. Your patience and attention to detail will reward you with stunning, professionally-cut gemstones.


Leave a Reply