You’ll need basic supplies like beading foundation, size 12-13 needles, and quality seed beads to create stunning accessories. Start with the two-seed-bead backstitch technique for clean lines, then master peyote stitch bezels to frame focal pieces like cabochons. Add beaded bails to make your pieces wearable and incorporate embellishment stitches like picot edges for texture. Choose Japanese glass beads for uniformity and use strong thread like Nymo for durability. These fundamental techniques will reveal countless creative possibilities.
Essential Supplies and Materials for Bead Embroidery

Successful bead embroidery starts with gathering the right supplies and materials before you begin your first project.
Proper preparation with quality supplies forms the foundation of any beautiful bead embroidery project worth creating.
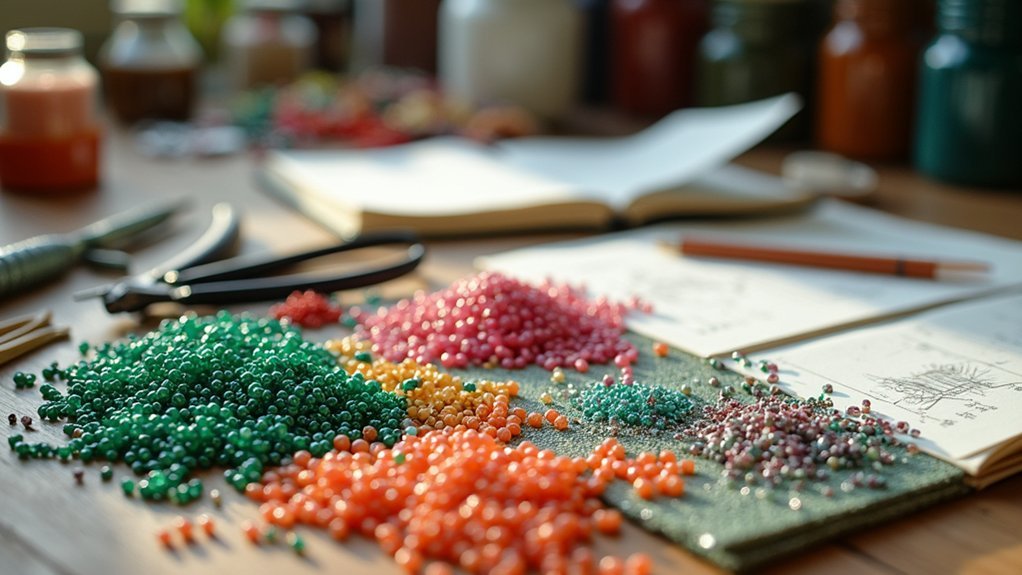
You’ll need a stiff felt-like beading foundation, such as Bead Backing from The BeadSmith, to provide a solid base for your designs. Choose long beading needles in size 12 or 13 for effective threading and stitching.
Stock up on various seed beads in different shapes, styles, and colors, including Czech glass fire-polished beads and bugle beads to add texture and dimension.
Select focal pieces like hand-painted beads, ceramic pendants, and crystal rhinestones to enhance visual appeal.
Don’t forget adhesives such as 5-minute epoxy and Gem-Tac for securing components and ensuring your finished accessories remain durable and stable.
Choosing the Right Beads for Your Project
While your foundation and tools set the stage, selecting the right beads determines your project’s final impact and success.
Consider bead types carefully—seed beads excel for intricate designs, while bugle beads add length and texture. Size matters considerably: size 11 seed beads work perfectly for detailed embroidery, whereas larger size 6 beads create bold statements.
Match your beads to needle compatibility. Size 10 needles accommodate larger beads, while sizes 12 or 13 suit smaller varieties.
Invest in high-quality options like glass or Japanese beads, which offer uniform sizing and exceptional durability for long-lasting wear.
Don’t hesitate to experiment with different colors and shapes. Combining various bead types enhances texture and visual appeal, transforming simple embroidery into stunning, professional-looking accessories.
Needle and Thread Selection Guide

Your needle and thread choices directly impact your bead embroidery’s success and durability.
You’ll need to match needle sizes to your beads—use a size 10 embroidery needle for larger beads and a size 12 for very small ones.
Strong thread options like Nymo or doubled cotton thread will give you the foundation for professional-quality results.
Needle Size Compatibility
The foundation of any bead embroidery project rests on selecting the right needle and thread combination that’ll work seamlessly with your chosen beads.
Understanding needle size compatibility guarantees smooth stitching and prevents frustrating delays. For larger beads, you’ll want size 10 needles, while size 12 needles work best with smaller beads. Long beading needles in sizes 12 or 13 accommodate thicker threads for enhanced durability.
When working with tiny seed beads, straw or milliner’s needles offer superior threading since their eyes match the needle shaft width. Your thread choice also impacts needle selection – Nymo thread provides excellent strength for beading, while cotton thread may need doubling.
Always discard beads that won’t fit over your chosen needle to maintain workflow efficiency.
Thread Strength Options
Once you’ve matched your needle size to your beads, selecting the right thread becomes equally important for project success. Your thread strength options directly impact your embroidery’s durability and appearance.
Here are four effective thread strength options for bead embroidery:
- Nymo thread – A synthetic thread specifically designed for beadwork, offering excellent strength and available in multiple colors to match your project perfectly.
- Double-strand cotton – Use two strands of regular sewing cotton together to increase strength, but verify the combined thickness fits through your needle’s eye and bead holes.
- Waxed thread – Apply beeswax to any thread type to reduce friction, preventing tangling while creating smoother stitching motion.
- Heavy-duty polyester – Provides maximum strength for projects requiring extra durability and frequent handling.
Two-Seed-Bead Backstitch Technique
You’ll master the two-seed-bead backstitch by threading two beads at once and securing them with consistent tension for clean, even lines.
This versatile technique creates beautiful curved outlines that perfectly frame cabochons, crystals, and other focal elements in your embroidery work.
It’s an essential foundation stitch that you can combine with other techniques to build complex, dimensional designs.
Basic Stitch Foundation
Mastering one fundamental technique can transform your bead embroidery from amateur to professional-looking artwork. The two-seed-bead backstitch creates the perfect foundation for stunning accessories, allowing you to frame focal pieces while crafting elegant curves and shapes.
Follow these essential steps for success:
- Thread your needle with matching thread, ensuring the needle size accommodates your chosen seed beads.
- Bring the needle up through your fabric, slide two seed beads down the thread toward the fabric.
- Insert the needle back down through the fabric to secure both beads firmly in place.
- Maintain consistent tension throughout your stitching process to achieve an even, polished appearance.
You’ll find this versatile technique adapts beautifully to various bead sizes and colors, making it indispensable for creating professional-quality bead embroidery pieces.
Framing Focal Elements
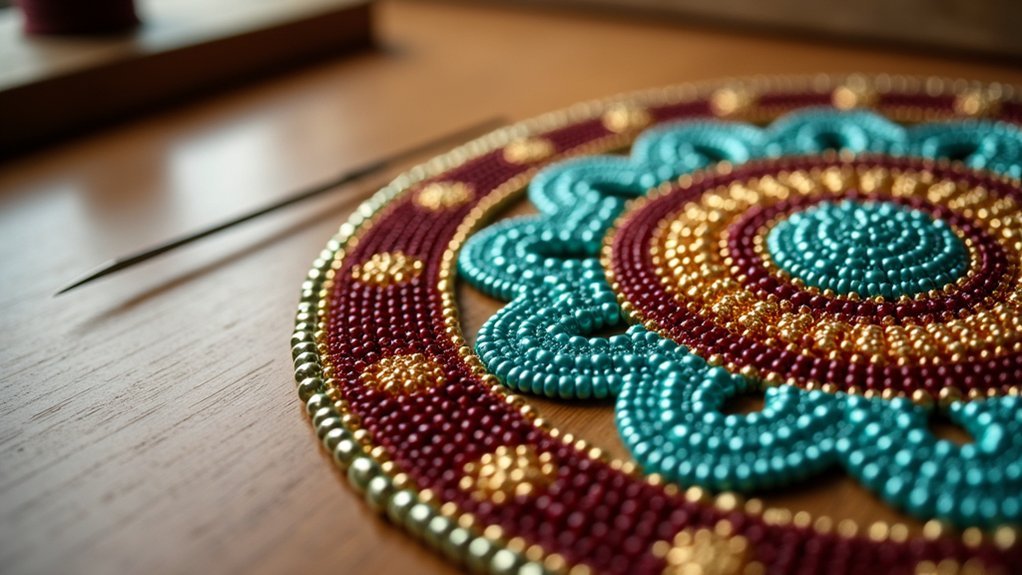
Nothing elevates a centerpiece bead or cabochon quite like a carefully crafted frame using the two-seed-bead backstitch technique. This method transforms your beaded embroidery by stitching two seed beads simultaneously around focal pieces, enhancing their visibility and creating stunning prominence.
Start by securing your thread and bringing the needle up through fabric. Slide two seed beads down the thread, then stitch back down to secure them. You’ll create curving lines and dynamic shapes that add visual depth to your design.
Combine this technique with peyote stitch bezels for intricate, stable frames. Throughout your work, maintain consistent tension so beads sit evenly against fabric.
This attention to detail guarantees your beaded embroidery achieves that polished, professional appearance you’re seeking.
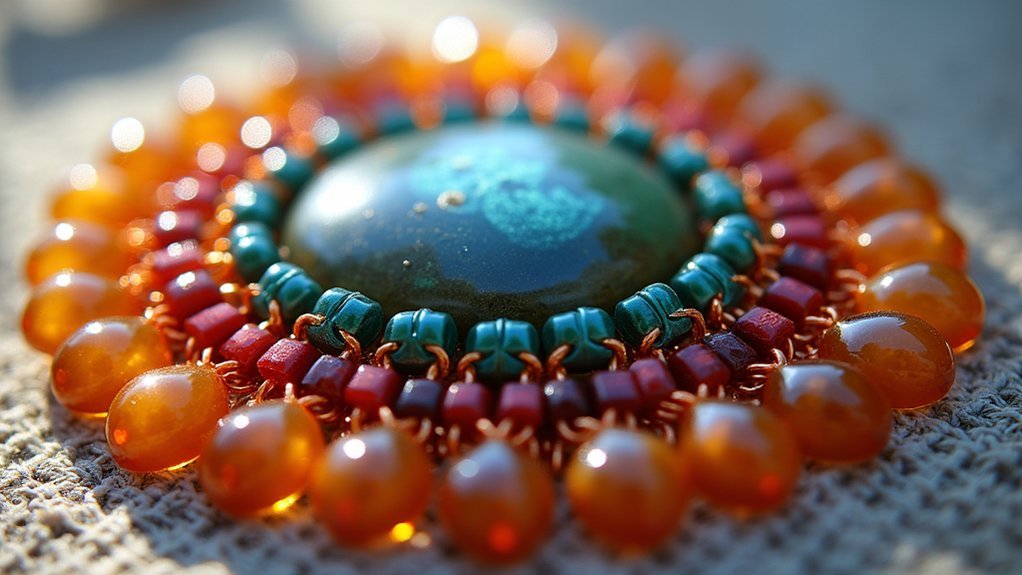
Creating Peyote Stitch Bezels for Focal Points

The elegance of a well-crafted peyote stitch bezel transforms any focal piece into a professional-looking centerpiece for your embroidery work.
This technique creates a secure, decorative frame using seed beads that’ll showcase your cabochons, stones, or buttons beautifully.
- Start your foundation – Thread your needle with quality beading thread and pick up an odd number of seed beads, then stitch through the last bead to form a loop.
- Build alternating rows – Add beads in a staggered pattern, alternating between even and odd counts to create the bezel’s height.
- Maintain consistent tension – Keep steady pressure throughout to guarantee proper shape and snug fit.
- Secure to backing – Attach the completed bezel to your foundation material for durability.
Mastering the Brick Stitch Edge Finish
You’ll transform rough bead backing edges into professional-looking borders by mastering the brick stitch edge finish.
Start with proper setup techniques that anchor your first beads securely, then work systematically to create consistently clean edges around your entire piece.
Focus on maintaining even tension and spacing while applying key finishing techniques that’ll give your bead embroidery projects a polished, gallery-worthy appearance.
Basic Brick Stitch Setup
Several essential steps form the foundation of a proper brick stitch edge finish, transforming rough fabric edges into polished, professional-looking borders.
You’ll need to prepare your materials and establish the correct technique before beginning your embroidery project.
Here’s how to set up your basic brick stitch:
- Thread your needle – Use beading thread and tie a secure knot to anchor it to your backing material.
- Create the foundation row – Pick up a bead, bring the needle down through fabric, and back up to form a loop.
- Build subsequent rows – Weave down through the previous row’s last bead and up through the current row’s first bead.
- Maintain consistent tension – Keep even pressure throughout to guarantee professional results.
Creating Clean Edges
Once you’ve mastered the basic brick stitch setup, achieving clean, professional edges becomes your next priority. The Brick Stitch Edge technique transforms rough cut edges of bead backing into polished finishes for your bead embroidery projects.
Thread your needle with strong beading thread and secure the first bead to your backing’s edge. Continue adding beads in a staggered, interlocking pattern that creates perfectly straight lines. This systematic approach frames focal pieces beautifully while securing your work’s perimeter.
Maintain consistent tension throughout the process—this guarantees beads sit evenly and keeps edges flat. The interlocking structure you’re creating not only looks professional but greatly enhances your beadwork’s durability.
Whether you’re crafting necklaces, brooches, or decorative embellishments, this finishing technique elevates your accessories from amateur to expert quality.
Finishing Techniques Tips
When perfecting your brick stitch edge finish, selecting the right bead size creates the foundation for professional results. This technique transforms raw bead backing edges into polished, professional-looking accessories while securing your focal pieces firmly in place.
To master the brick stitch edge finish, follow these essential tips:
- Maintain consistent tension throughout your stitching to prevent puckering and guarantee beads sit evenly along the edge.
- Secure your thread properly at the bead backing edge before beginning your first stitch.
- Create interconnected beads by stringing one bead, then taking your needle back down through the backing.
- Experiment with different bead shapes and sizes to add unique textures and visual interest to your finished piece.
Adding Beaded Bails for Wearable Pieces
The shift from flat bead embroidery to wearable jewelry requires adding a functional bail that’ll securely connect your focal piece to chains, cords, or stringing materials.
Beaded bails offer an elegant solution using the brick stitch edge technique, which finishes cut edges while providing secure attachment points.
Start by creating a seed bead loop that accommodates your chosen stringing material, ensuring smooth movement and flexibility.
Consider your focal piece’s size and shape when determining bail width and length for proper support.
You can enhance visual appeal by adding picot edges or fringe embellishments that create texture and dimension.
Experiment with different bead colors and shapes to create personalized touches that complement your piece’s overall aesthetic, transforming flat embroidery into stunning wearable accessories.
Embellishment Stitches for Texture and Detail

Surface texture transforms flat bead embroidery into enthralling dimensional art through strategic embellishment stitches that add visual depth and tactile interest.
You’ll discover that these specialized techniques elevate your accessories from simple to sophisticated.
Embellishment stitches offer endless creative possibilities for enhancing your beadwork:
- Picot edge stitching creates elegant scalloped borders that frame your designs with graceful curves.
- Seed bead fringe adds movement and length to edges, making your accessories flow beautifully with wear.
- Coraling technique incorporates beads in circular patterns, building rich texture and dimensional depth.
- Mixed bead combinations using various shapes and sizes creates character and visual complexity.
You can combine multiple embellishment stitches within single projects to achieve unique effects and express your personal creativity through intricate, layered designs.
Design Tips and Color Coordination
Mastering embellishment stitches sets the foundation for your next creative challenge: building harmonious color schemes that make your beadwork truly enchanting.
Use a color wheel to select bead colors that create visual harmony through complementary or analogous combinations. Mix different bead shapes like seed beads and bugle beads to add compelling texture and depth to your accessories.
Create a striking focal point by incorporating one contrasting bead that draws the eye inward. Keep your palette limited to three or four bead colors for cohesive results while varying sizes and textures for visual interest.
Follow established design patterns or themes—floral, geometric, or abstract motifs—to guide your color coordination and bead placement, ensuring your finished piece looks polished and professionally crafted.
Caring for Your Finished Beaded Accessories

Your exquisite beaded accessories deserve proper care to maintain their beauty and craftsmanship for years to come.
Caring for your finished beaded accessories requires attention to detail, much like threading through the eye of the needle during creation.
Follow these essential care guidelines:
- Store properly – Keep accessories in cool, dry places away from direct sunlight to prevent fading and material deterioration.
- Inspect regularly – Check for loose beads or frayed threads, performing prompt repairs to maintain structural integrity.
- Clean gently – Use soft, dry cloths to wipe away dust; avoid water immersion that damages bead adhesives.
- Protect from chemicals – Keep away from perfumes and cleaning products that can tarnish or degrade materials.
For travel, use padded pouches preventing tangles and damage.
Frequently Asked Questions
What Is the Best Backing for Beaded Embroidery?
You’ll want a stiff felt-like material or specialized beading foundation like Bead Backing from The BeadSmith. These provide stability and support, preventing beads from shifting while maintaining your design’s integrity.
What Is the Difference Between Embroidery and Beading?
You’ll find embroidery uses only thread to create patterns on fabric, while beading incorporates beads into stitching. Beading adds three-dimensional texture, sparkle, and depth that traditional thread-only embroidery can’t achieve.
What Is the Best Thread for Beading Embroidery?
You’ll find Nymo thread works best for bead embroidery since it’s strong and comes in many colors. You can also use embroidery cotton, but make sure it fits through your needle and beads easily.
How to Attach Bead Embroidery to Fabric?
First, you’ll secure your beading foundation to fabric using strong adhesive like epoxy. Then stitch through both layers using backstitch technique, ensuring you’re creating stable attachment points throughout your embroidered design.
In Summary
You’ve now mastered the fundamental techniques that’ll transform ordinary fabric into stunning beaded accessories. Don’t be afraid to experiment with different bead combinations and stitches—that’s how you’ll develop your unique style. Remember to take breaks while stitching to avoid eye strain, and always secure your thread properly. With practice, you’ll create gorgeous earrings, pendants, and brooches that showcase your creativity and skill.


Leave a Reply