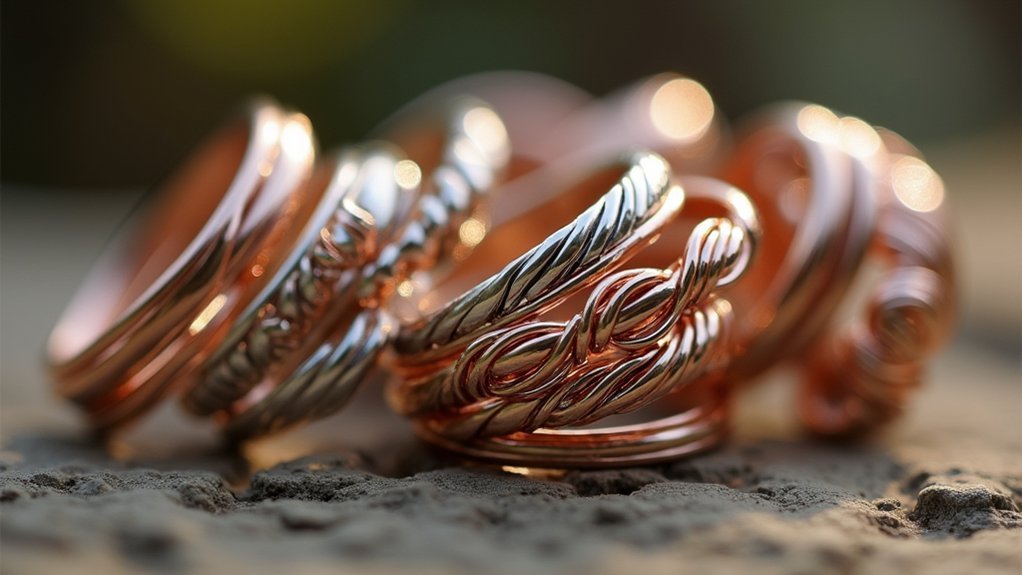
Wire wrapped rings without solder are handcrafted jewelry pieces created entirely through mechanical techniques like twisting, weaving, and wrapping wire around gemstones or beads. You’ll use tools like pliers and wire cutters to manipulate 22-gauge square wire into ring foundations, securing decorative elements with half-round binding wire. This solderless method relies on tension and proper wrapping techniques to create durable, adjustable rings without heat or chemical bonding. Master these fundamental techniques to reveal endless creative possibilities.
Understanding Wire Wrapping Fundamentals

When you’re creating wire wrapped rings, you’re mastering an ancient jewelry-making technique that transforms simple wire into stunning wearable art without any soldering. This fundamental approach relies entirely on your skill to weave and twist wire around central beads or stones, creating secure connections through precise manipulation alone.
Wire wrapping requires specific tools including pliers, wire cutters, and a ring mandrel for accurate shaping.
Essential wire wrapping tools include precision pliers, quality wire cutters, and a properly sized ring mandrel for professional shaping results.
You’ll typically work with jewelry-grade materials like copper or bronze, which offer the flexibility needed for intricate designs.
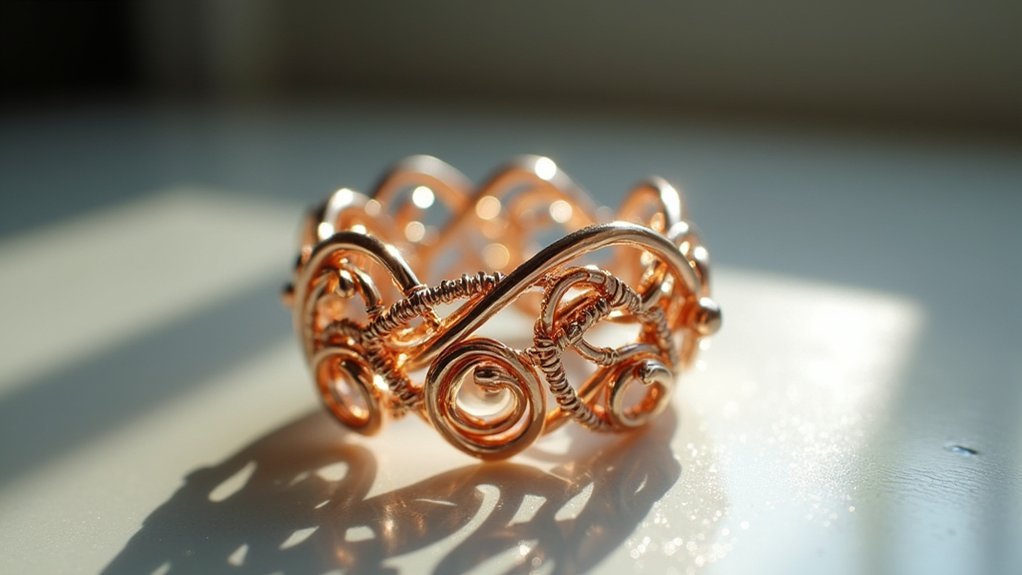
The beauty of wire wrapping lies in its customization potential—you can incorporate different beads and decorative elements to craft unique pieces. This technique emphasizes creating aesthetically pleasing, secure wraps while maintaining adjustable sizing capabilities in your finished rings.
Essential Tools and Materials for Solderless Rings
You’ll need specific wire types and gauges to create durable solderless rings that maintain their shape over time.
Your toolkit must include the right pliers and cutting tools to manipulate wire effectively without causing damage or leaving rough edges.
Don’t overlook finishing and polishing supplies, as they’re essential for transforming your raw wire work into professional-looking jewelry that’s comfortable to wear.
Wire Types and Gauges
Two fundamental wire types form the backbone of any successful wire wrapped ring project.
You’ll need 5 feet of 22 gauge square wire as your primary structural component, providing the strength and foundation for your ring’s base. This square profile grips better during wrapping and creates clean, professional-looking coils.
Complement this with 2 feet of 21 or 22 gauge half round wire, which serves as your binding element. The flat side lies flush against your base wire while the rounded side creates smooth, decorative wrapping that won’t snag.
For beginners, copper and bronze are your best choices. They’re jewelry-grade materials that offer forgiveness during learning while maintaining durability.
These metals bend easily without breaking, letting you practice techniques without frustration.
Pliers and Cutting Tools
Having quality wire sets up your success, but the right tools make all the difference in executing clean, professional results. You’ll need three essential pliers to manipulate wire effectively and achieve polished outcomes.
| Tool | Primary Function |
|---|---|
| Chain Nose Pliers | Gripping and bending wire at precise angles |
| Round Nose Pliers | Creating loops and curved wire elements |
| Flat Nose Pliers | Securing wraps and flattening wire ends |
| Wire Cutters | Making clean cuts without damaging wire structure |
Chain nose pliers provide the control you need for tight grips and sharp bends. Round nose pliers create smooth curves and loops essential for decorative elements. Flat nose pliers guarantee your wire wraps stay secure and produce neat finishes. Quality wire cutters prevent crushing or fraying, maintaining your wire’s integrity throughout the crafting process.
Finishing and Polishing Supplies
After completing your wire wrapping work, finishing supplies transform your handcrafted ring from rough construction into a polished, professional piece.
You’ll need a file to smooth rough edges and eliminate sharp points that could catch on clothing or skin. A large needle proves invaluable for creating precise holes or making fine adjustments to wire positioning.
Wire cutters handle trimming excess material cleanly. For achieving that coveted high shine, apply Maas Polishing Creme with circular motions.
If you prefer an antiqued look, liver of sulfur creates beautiful patina effects that add depth to your design.
Don’t forget metal lacquer—it’s your ring’s shield against tarnishing and wear.
For decorative elements, use a gas-burner with borax powder to create stunning wire balls that elevate your ring’s aesthetic appeal.
Wire Selection and Preparation Techniques
You’ll need to select the right wire types and gauges before starting your ring project, with 22-gauge square wire and 21/22-gauge half round wire providing the ideal combination of workability and strength.
Your measuring technique determines the final fit, so you’ll wrap string around the intended finger and add three inches to that length for accurate wire cutting.
Once you’ve cut six square wire strands and five 1.5-inch half round pieces, you’ll assemble these components into organized bundles ready for wrapping.
Wire Types and Gauges
When selecting wire for your ring project, copper and bronze offer the perfect combination of affordability and workability for beginners.
These jewelry-grade materials provide the durability you need while remaining easy to manipulate during construction.
For best results, you’ll want 22 gauge square wire as your primary material. This thickness strikes the ideal balance between strength and flexibility.
Complement this with 21 or 22 gauge half round wire for decorative elements and securing connections.
Plan for approximately 5 feet of square wire and 2 feet of half round wire per ring. This generous allocation guarantees you have sufficient material for the ring’s structure plus decorative wrapping elements.
Having extra wire prevents project delays and allows for design adjustments as you work.
Measuring and Cutting Methods
Proper measuring forms the foundation of any successful wire wrapped ring, starting with an accurate finger measurement using string or flexible measuring tape.
Once you’ve determined your ring size, add three inches to that length for accurate wire cutting. You’ll need specific materials: five feet of 22 gauge square wire and two feet of 21/22 gauge half round wire work best for beginners using copper or bronze.
Cut six strands of square wire based on your measured length, then create five pieces of half round wire, each measuring 1.5 inches long.
Always cut longer than needed to prevent interruptions during wrapping. If you’re incorporating twisted wire for decorative elements, plan this during your initial cutting phase according to your design vision.
Bundle Assembly Process
After gathering your cut wire pieces, begin the bundle assembly by laying the six square wire strands parallel to each other on your work surface.
You’ll create a flat strip by securing these wires at five evenly spaced points using your half round wire pieces. Before wrapping, bend 3-4 mm of each half round wire piece to establish a secure starting point that won’t slip during assembly.
Work systematically from one end to the other, wrapping each half round wire piece tightly around the bundle. Use flat nose pliers to maintain proper tension and guarantee each wrap sits at the correct angle for a professional appearance.
Keep the square wires aligned and parallel throughout this process. The resulting flat strip should feel stable and secure, ready for shaping on your ring mandrel.
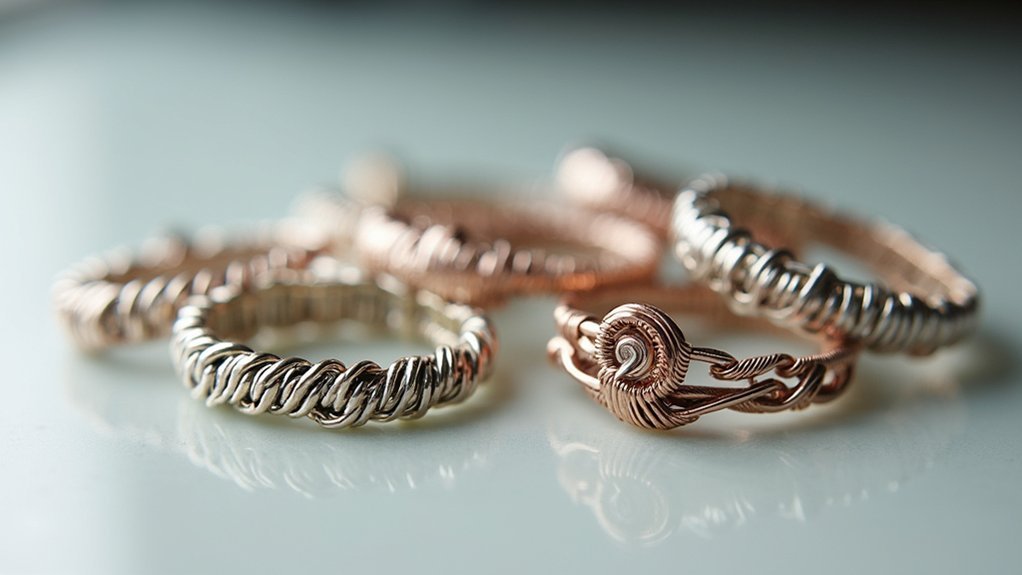
Basic Weaving and Bundling Methods
Six strands of 22-gauge square wire form the foundation of your wire wrapped ring, bundled together with 21 or 22-gauge half round wire to create a flat, stable strip.
You’ll secure this bundle at multiple strategic points to maintain its shape throughout the design process. The half round wire acts as your binding agent, wrapping around the square wire strands to create structural integrity.
Your basic bundling technique involves these essential steps:
- Cut precise lengths according to your intended ring size, guaranteeing adequate material for crafting.
- Wrap systematically using half round wire to bind the square wires into a cohesive unit.
- Secure at intervals to prevent shifting during manipulation and shaping.
- Smooth all ends properly to eliminate sharp edges and guarantee comfort.
Shaping and Sizing Your Wire Ring
Transformation begins once you’ve created your secure wire bundle and you’re ready to shape it into a wearable ring.
Start by measuring your finger size using a string, then add 3 inches to guarantee sufficient wire length for wrapping when cutting your six square wire strands.
Wrap the wire bundle around a ring mandrel, gently bending the sides to achieve your desired size and form. Use flat nose pliers to secure the half round wire wraps around the square wire bundle, maintaining a consistent angle for an even shape throughout the process.
Fan out the wires after initial shaping to visualize your design better and plan any artistic embellishments you’d like to add.
Finalize your ring by trimming and filing rough spots for a smooth, comfortable finish.
Adding Decorative Elements and Beads
Once you’ve shaped your wire ring to fit comfortably, you can enhance its visual appeal by incorporating beads and decorative wire elements.
The weaving techniques used in solderless wire wrapping create secure attachment points for embellishments while maintaining the ring’s adjustable nature.
You’ll want to select beads that are 4mm or larger to guarantee they’re compatible with your wire structure and create meaningful visual impact.
Here are four ways to add decorative elements:
- Thread beads onto the wire before completing your weaving pattern
- Create twisted wire accents by spiraling excess wire around itself
- Form small loops and rosettes using leftover wire ends
- Use half round wire to wrap around your square wire bundle, securing decorative elements in place
Experiment with different bead types and wire formations to create personalized jewelry pieces.
Finishing Techniques for Professional Results
After completing your decorative work, you’ll need to focus on finishing touches that transform your wire wrapped ring from a craft project into professional-quality jewelry.
Start by trimming excess wire and filing sharp edges to create a smooth, comfortable surface. Tuck all wire ends securely to prevent snagging and maintain a polished appearance.
Proper wire trimming and edge filing creates smooth, comfortable surfaces while securing wire ends prevents snagging for a professional finish.
Enhance your ring’s shine using polishing techniques like Maas Polishing Creme or apply metal lacquer to protect against tarnishing.
For a unique aesthetic, incorporate liver of sulfur to create an antiqued effect that adds character to your design.
These finishing steps guarantee your wire wrapped ring meets professional standards while providing lasting durability and visual appeal.
Troubleshooting Common Wire Wrapping Challenges
Even experienced wire wrappers encounter challenges that can turn an enjoyable crafting session into a frustrating experience.
However, with the right techniques, you can overcome these common obstacles and create professional-looking rings.
1. Loose wraps sliding around – Use flat nose pliers to grip and tighten each wrap firmly.
Apply consistent pressure while wrapping to prevent gaps that allow movement.
2. Uneven wire spacing – When working with multiple strands, maintain equal distances by securing each wire at regular intervals.
Check alignment frequently during construction.
3. Sharp wire ends – File rough edges smooth to prevent cuts and improve the ring’s finish.
This also prevents snagging on clothing.
4. Poor design execution – Plan your layout completely before starting.
Sketch bead placements and wire paths to avoid mid-project complications.
Frequently Asked Questions
Is There a Way to Keep Rings Together Without Soldering?
You can secure rings together using wire weaving techniques that interlace multiple wire strands. Wrap half round wire around square wire cores, add decorative elements like rosettes, and properly finish ends to prevent unraveling.
Is Wire Wrapping an Alternative to Soldering?
You can use wire wrapping instead of soldering when making jewelry. You’ll twist and weave metal wire to create designs without heat, completing projects faster while maintaining strength and allowing size adjustments.
What Is Wire Wrapped Jewelry?
You’ll create jewelry using wire to hold beads and stones together without soldering. This technique lets you craft unique, customizable pieces through weaving methods that provide strength for everyday wear.
How Old Is Wire Wrapped Jewelry?
You’ll find wire wrapped jewelry dates back over 2000 years to ancient Egyptian and Roman civilizations. It’s gained popularity through Victorian times, the 20th century craft movement, and remains trendy today.
In Summary
You’ve mastered the art of creating stunning wire wrapped rings without needing solder or specialized equipment. With practice, you’ll develop your own signature style and techniques. Remember that each ring you create becomes more refined as you gain experience. Don’t hesitate to experiment with different wire gauges, bead combinations, and wrapping patterns. Your handcrafted rings will showcase unique beauty that can’t be replicated by machine-made jewelry.


Leave a Reply