Master copper soldering with these three essential tips: First, meticulously clean your copper surfaces by sanding away oxidation and applying flux generously to both pieces before heating. Second, control your heat by positioning the torch at the bottom and moving it consistently around the joint until solder flows smoothly. Third, allow proper cooling time and inspect for gaps or voids. Follow these fundamentals and you’ll discover advanced techniques that elevate your metalworking skills.
Essential Tools and Materials for Copper Jewelry Soldering

Before you begin your first copper soldering project, you’ll need to gather several essential tools and materials that will determine your success.
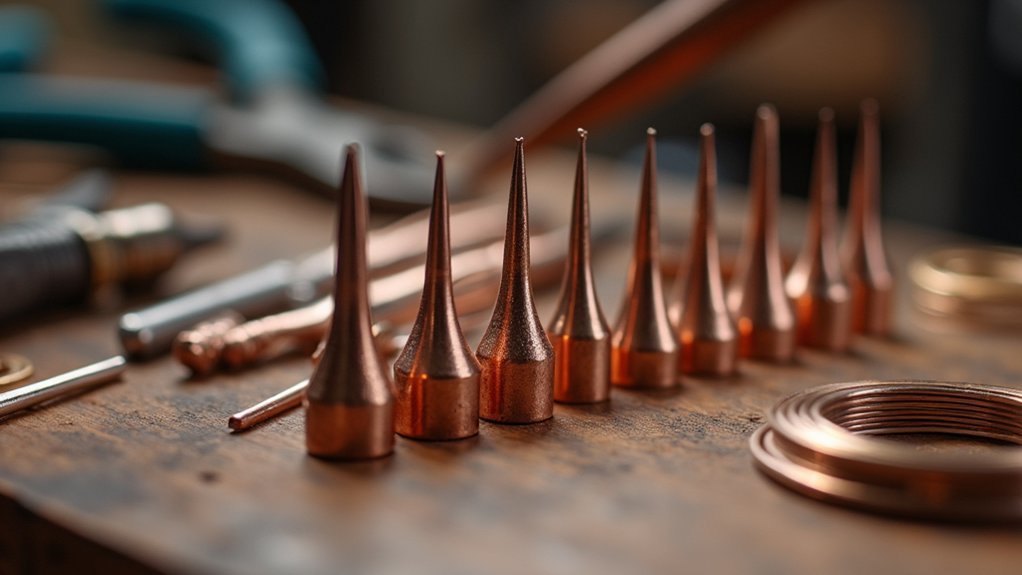
Start with a quality soldering iron or soldering station with adjustable temperature control. You’ll need lead-free solder for safety and flux to prevent oxidation during heating. Don’t forget protective eyewear and gloves to shield yourself from burns and harmful fumes.
A cleaning brush is crucial for preparing copper surfaces before soldering. Make certain to tin the tip of your soldering iron regularly for peak heat transfer.
Consider adding a heat shield to protect delicate components from damage. Clean your copper surfaces thoroughly with sandpaper or brushes to guarantee proper solder adhesion and create strong, reliable joints.
Proper Surface Preparation and Flux Application Techniques
Once you’ve assembled your tools and materials, the foundation of any successful copper solder joint lies in meticulous surface preparation.
Start by sanding your copper pipe until it’s completely free of oxidization and spotting. This clean surface is essential for ideal solder adhesion.
Clean copper surfaces are absolutely critical—even microscopic oxidation will prevent proper solder flow and create weak, unreliable joints.
Next, use a dedicated brush to clean the fitting’s interior, even if it appears spotless. This roughens the surface for better bonding.
Apply flux generously to both the pipe and fitting, covering all contact areas. Proper flux application prevents oxidation and enhances capillary action, which draws solder into the joint.
You’ll want to flux both surfaces immediately before soldering, as air exposure can cause oxidization that compromises joint integrity.
Heat Control and Joint Finishing Methods

After applying flux, position your torch to heat the joint from the bottom, allowing the flame’s heat to rise naturally through the fitting.
Keep the flame moving around the joint to maintain consistent temperature – you’ll know it’s hot enough to melt solder when it flows smoothly into the connection.
Apply a thin layer of solder around the joint, letting capillary action draw it into the fitting.
Don’t overheat, as fittings can turn black and weaken.
Make sure you allow adequate amount of time for cooling before handling.
Once cooled, inspect solder joints for gaps or voids that indicate incomplete coverage.
Remove excess flux with a damp cloth to prevent corrosion.
These basics of soldering will help you create reliable connections.
Note that a soldering iron tip won’t provide sufficient heat for plumbing applications.
Frequently Asked Questions
What Is the Number 1 Rule of Soldering?
You must guarantee both surfaces you’re joining are completely clean and free of oxidation. This critical step determines whether you’ll achieve a strong, leak-free joint or face frustrating failures later.
What Do You Put on Copper Before Soldering?
You’ll put flux on copper before soldering. Clean the pipe and fitting surfaces first with sandpaper, then apply non-corrosive, lead-free flux generously to both surfaces to prevent oxidation and promote proper solder flow.
What Is the Trick to Soldering Copper Pipe?
You’ll want to thoroughly clean both surfaces, apply flux generously, heat from the bottom up, and let capillary action draw the solder into the joint naturally for best results.
How Do You Start Soldering for Beginners?
You’ll start by gathering essential tools like a soldering iron, solder, and flux. Heat your iron to 750°F, clean the tip regularly, practice tinning, and begin with simple wire connections.
In Summary
You’ve now got the fundamentals to start copper jewelry soldering confidently. Remember, you’ll improve with practice, so don’t expect perfection on your first attempts. Keep your workspace organized, maintain steady heat control, and always clean your joints thoroughly. Start with simple projects and gradually tackle more complex designs. Your patience and attention to detail will pay off as you develop this rewarding skill.


Leave a Reply