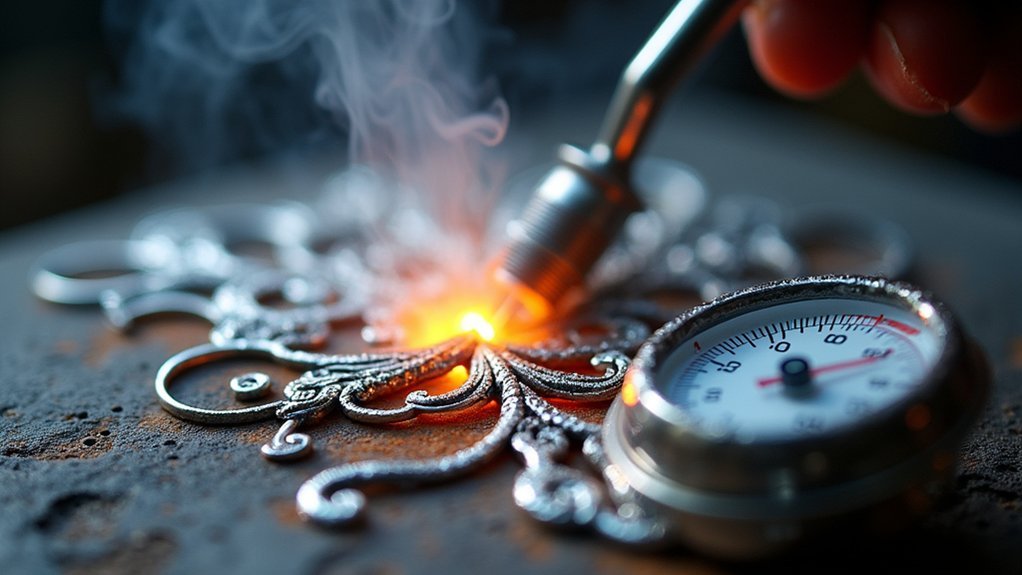
Sterling silver soldering temperature matters because you’re working within a narrow window between solder flow and base metal melting. You’ll ruin your piece if you exceed sterling silver’s solidus temperature of 893°F, causing the metal itself to melt. Different solder types flow at specific temperatures—hard solder at 1,450°F, easy at 1,325°F—and choosing the wrong one creates weak joints or destroys your work. Master these temperature relationships to transform your silversmithing results.
Understanding Sterling Silver’s Melting Properties
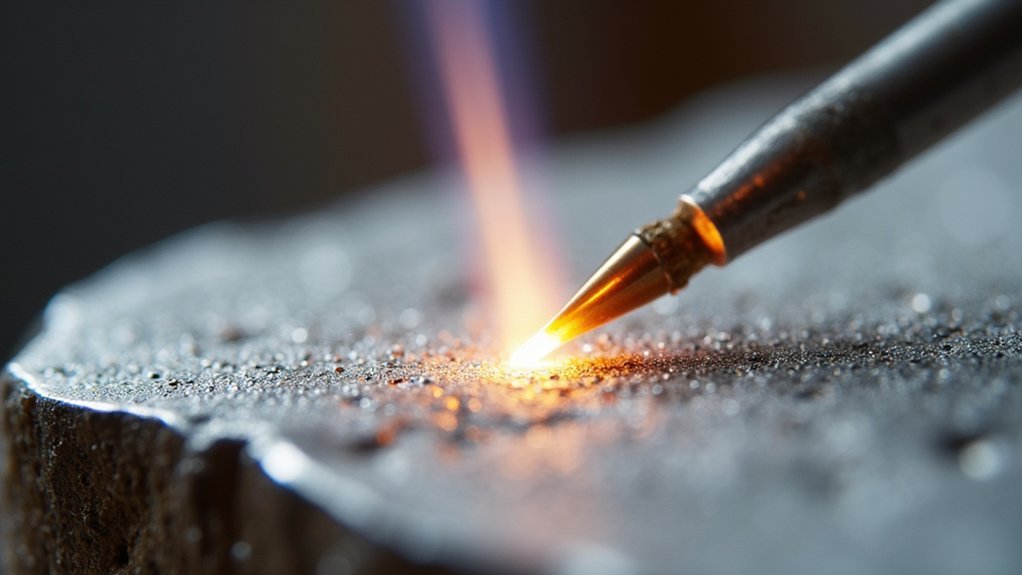
When you’re working with sterling silver, understanding its melting properties becomes essential for successful soldering.
Sterling silver has a solidus temperature of approximately 893°F (480°C), which means your solder must flow below this point to prevent melting the base metal. The liquidus temperature sits around 1,000°F (538°C), where the silver becomes fully molten and can cause serious damage to your piece.
You’ll need to select silver solder with alloying metals like copper that create a lower melting temperature than sterling silver’s solidus.
If you use solder with a melting point too close to or above 893°F, you’ll risk compromising your piece’s structural integrity and potentially ruining your work entirely.
How Solder Temperature Affects Joint Strength
When you select the ideal solder temperature, you’re directly influencing how well your joint will hold up over time.
Your temperature choice affects how evenly heat distributes across the connection, which determines whether the solder flows properly and bonds completely with the sterling silver.
You’ll find that consistent temperature control creates the difference between joints that last decades and those that fail under stress.
Optimal Temperature Selection
Three critical factors determine whether your sterling silver solder joint will hold strong or fail under pressure: the temperature you select, how well that temperature matches your specific solder type, and maintaining precise control throughout the heating process.
You’ll need to match your torch’s heat to your solder’s melting temperature—Extra Easy flows at 1,270°F while Hard requires 1,450°F.
Don’t exceed these ranges, as overheating weakens joints and risks melting your sterling silver at 1,700°F. Under-heating prevents proper flow and creates weak bonds.
Each soldering operation raises subsequent melt points due to alloy mixing, so plan your assembly sequence carefully.
Work in proper ventilation and use temperature-indicating flux to gauge heat accurately. This precision guarantees strong, lasting joints.
Joint Durability Factors
Since temperature directly controls how deeply solder penetrates and bonds with sterling silver, you’ll achieve dramatically different joint strengths depending on your heat application. When you maintain proper melting temperature, solder flow creates complete penetration that forms metallurgical bonds with your base metal.
| Temperature Level | Solder Flow Quality | Joint Strength |
|---|---|---|
| Too Low | Poor penetration | Weak, failure-prone |
| Ideal | Complete bonding | Maximum strength |
| Too High | Brittle formation | Compromised integrity |
You’ll notice that underheating leaves gaps where solder can’t properly wet the surface, creating stress points that’ll fail under pressure. Conversely, overheating damages the metal structure and creates brittle joints. Hard solders at 1,450°F provide superior strength when you control temperature precisely, but repeated heating raises melting points through alloying.
Heat Distribution Effects
While even temperature control might seem straightforward, heat distribution patterns dramatically affect how solder bonds form across your sterling silver joint.
Uneven heating creates weak spots that’ll compromise your joint’s structural integrity under stress.
Poor heat distribution during soldering creates several critical issues:
- Localized cold spots prevent solder from flowing properly into gaps between metal pieces.
- Overheated areas form oxides that weaken the bond between solder and parent metal.
- Temperature variations stop complete alloy formation at the interface.
- Inconsistent flow patterns leave voids that become failure points.
You’ll need uniform heat application across the entire joint area to guarantee your soldering temperature reaches at least 1,325°F consistently.
This creates stronger, more durable connections by allowing complete solder penetration.
The Risk of Melting Your Sterling Silver Piece
You’ll face the real possibility of melting your sterling silver piece if you don’t carefully monitor your soldering temperature, since the metal’s solidus point sits at just 1,600°F.
Understanding exactly when your solder flows becomes critical—you need that sweet spot where the solder melts completely without pushing your silver past its danger zone.
You can protect your piece by mastering heat distribution techniques that direct thermal energy precisely where it’s needed while keeping surrounding areas safely below the melting threshold.
Temperature Control Prevents Damage
Although sterling silver’s melting point sits at approximately 1,600°F (871°C), you’re working dangerously close to that threshold when soldering. Proper temperature control becomes your primary defense against costly damage to your precious metal pieces.
Maintaining precise heat levels protects your work through these critical measures:
- Prevent warping and melting by staying well below sterling silver’s melting point
- Avoid dull finishes that result from excessive heat exposure
- Ensure strong joints by applying just enough heat for proper solder flow
- Minimize repeated heating that raises joint melting points over time
A temperature-controlled soldering iron gives you the precision needed to achieve professional results. You’ll maintain consistent heat without crossing into dangerous territory where your sterling silver piece becomes compromised or completely ruined.
Solder Flow Point
Understanding solder flow points becomes even more important when you consider how close these temperatures come to sterling silver’s melting point.
Your sterling silver piece has a solidus temperature around 1,600°F, meaning you must choose solder with melting temperatures well below this threshold. If your solder flow point approaches too closely to 1,600°F, you’ll risk melting your entire piece, causing deformation or complete structural failure.
Hard solder flows at approximately 1,450°F, while easy solder melts around 1,325°F.
This temperature hierarchy allows you to perform multiple soldering operations without re-melting previous joints. You’ll maintain your piece’s integrity by selecting appropriate solder types that provide sufficient temperature buffers below sterling silver’s solidus point.
Heat Distribution Techniques
When heat concentrates in one area during soldering, you’re setting yourself up for disaster—localized hot spots can push temperatures beyond sterling silver’s 1,600°F solidus point, causing irreversible melting and structural damage.
Proper heat distribution prevents this catastrophe by maintaining controlled temperatures across your workpiece.
You’ll need strategic techniques to avoid melting your precious metal:
- Focus heat directly on the solder application area while keeping surrounding metal cooler
- Use a mini torch for precise control rather than broad flame coverage
- Ensure tight-fitting joints to minimize heat loss and improve efficiency
- Work on a proper soldering block to facilitate even thermal conductivity
These heat distribution methods protect your sterling silver’s integrity while creating strong, reliable joints that won’t compromise your finished piece.
Different Silver Solder Types and Their Temperature Ranges
Silver solders come in three distinct categories based on their melting temperatures, each serving specific purposes in jewelry making and metalwork. Understanding these temperature ranges is essential for successful soldering without damaging your sterling silver pieces.
| Solder Type | Melting Temperature |
|---|---|
| Hard Solder | 1,450°F |
| Medium Solder | 1,360°F |
| Easy Solder | 1,325°F |
You’ll want to start with Hard Solder for multi-joint assemblies to prevent remelting previous connections. Medium Solder works best for general silver soldering tasks due to its balanced temperature. Easy Solder’s lower melting point makes it ideal for final joints or delicate work. Always mark your solders with colored permanent markers—Red for Hard, Black for Medium, and Green for Easy—ensuring you’ll select the right type every time.
Why Hard Solder Should Come First in Multi-Joint Projects
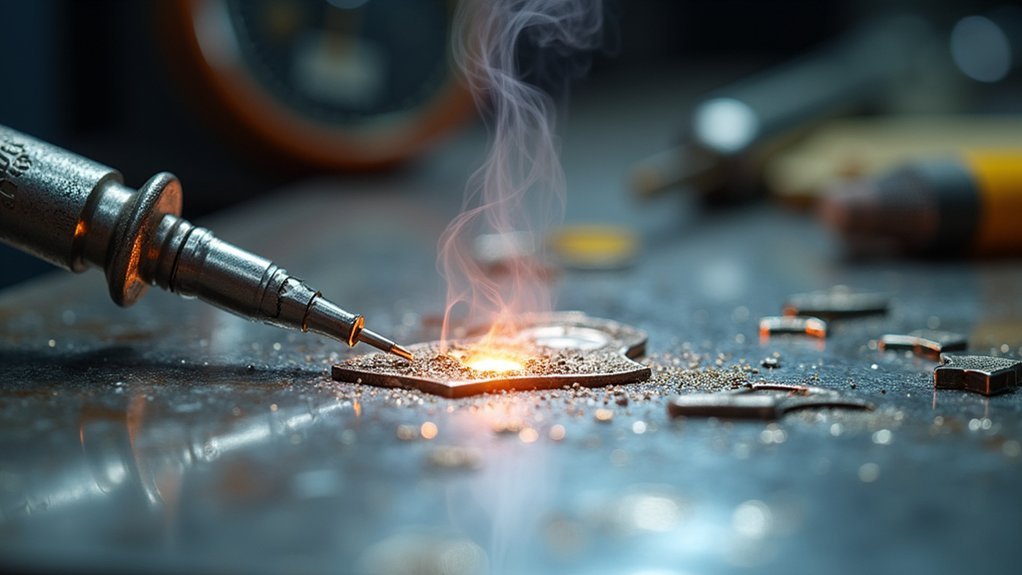
When you’re tackling multi-joint silver projects, you’ll want to start with hard solder because its high melting temperature creates a foundation that won’t remelt during subsequent soldering steps.
This temperature hierarchy strategy guarantees you’re building maximum joint strength first, giving your piece structural integrity from the ground up.
You’ll then work sequentially through medium and easy solders, maintaining control over your assembly process while preserving the joints you’ve already completed.
Temperature Hierarchy Prevents Remelting
Because multiple joints require different solder applications, you’ll need to work with hard solder first to establish a temperature hierarchy that prevents remelting. This systematic approach protects your completed joints from disruption when adding subsequent connections.
The temperature sequence guarantees ideal results:
- Hard Solder (1,450°F) – Creates initial joints with the highest flow point
- Medium Solder (1,360°F) – Handles intermediate connections without affecting hard solder joints
- Easy Solder (1,325°F) – Completes final adjustments safely below previous temperatures
- Careful Temperature Management – Prevents solder alloys from forming unwanted connections
When you follow this hierarchy, each joint maintains its integrity while you add new ones. The controlled temperature progression allows you to build complex pieces systematically, guaranteeing stronger connections and cleaner results throughout your sterling silver project.
Maximum Joint Strength First
Structural integrity depends on your strongest joints bearing the greatest stress, which is why hard solder must establish your project’s foundation. When you start with hard solder at 1,450°F, you’re creating maximum joint strength that won’t compromise during subsequent heating cycles. This high-temperature alloy forms the most durable bond with your sterling silver, ensuring your initial connections can withstand additional soldering operations.
| Solder Type | Temperature | Joint Strength |
|---|---|---|
| Hard | 1,450°F | Maximum |
| Medium | 1,390°F | Moderate |
| Easy | 1,325°F | Standard |
Each joint combines with the parent metal to create a new alloy, so beginning with hard solder maximizes this metallurgical advantage. You’ll maintain structural integrity throughout your entire multi-joint project by establishing the strongest foundation first.
Sequential Assembly Strategy
Since each subsequent heating cycle threatens to remelt your previous joints, you’ll need a strategic approach that protects completed connections while adding new ones.
Starting with hard silver solder at 1,450°F guarantees your initial joints survive later heating cycles. This strategic sequence prevents catastrophic failures where earlier connections dissolve.
Your multi-joint assembly requires this methodical approach:
- First joints – Use hard silver solder for maximum temperature resistance
- Second joints – Apply medium solder at 1,360°F without affecting hard solder connections
- Final joints – Complete with easy solder at 1,325°F for detailed work
- Quality control – Each step preserves previous joint integrity
When deciding which solder to use, always work from highest to lowest melting temperatures.
This sequential strategy maintains structural integrity throughout your project.
The Science Behind Solder Flow and Metal Bonding
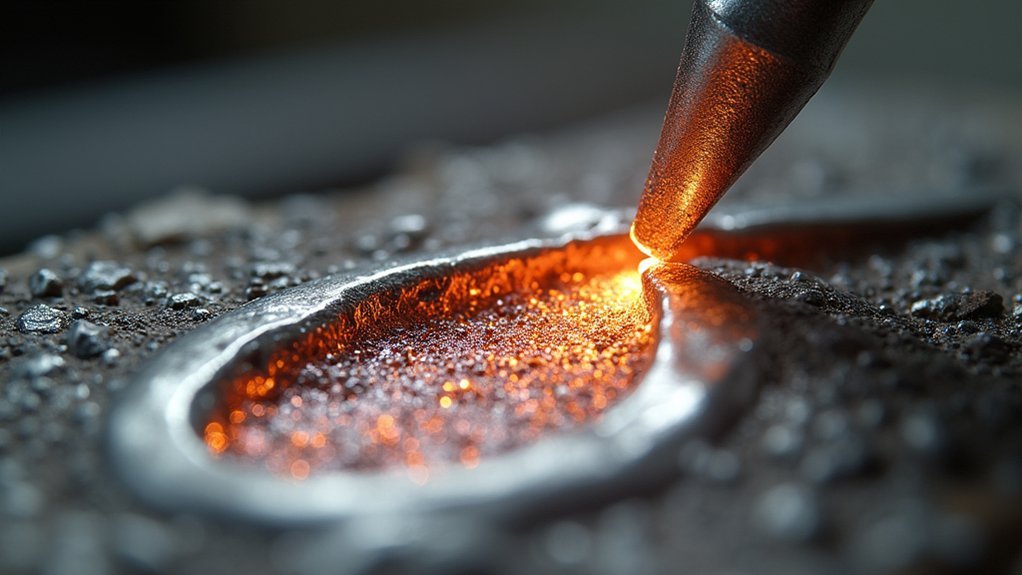
| Temperature Range | Solder Type | Flow Characteristics | Bond Strength | Applications |
|---|---|---|---|---|
| 1,325°F-1,365°F | Hard | Excellent flow | Maximum | First joints |
| 1,280°F-1,325°F | Medium | Good flow | High | Secondary joints |
| 1,200°F-1,280°F | Easy | Moderate flow | Good | Final assembly |
| 1,100°F-1,200°F | Extra Easy | Limited flow | Adequate | Repairs |
| Below 1,100°F | No flow | Solid state | None | Ineffective |
Understanding this relationship prevents overheating while ensuring proper metallurgical bonding between your workpieces.
Temperature Control Prevents Visible Seam Lines
Temperature control directly impacts whether your soldered joints remain invisible or become glaring flaws in your finished piece. When you overheat sterling silver, you’ll create excessive solder flow that produces unsightly seam lines. Conversely, insufficient heat prevents proper bonding, leaving weak joints that compromise both strength and appearance.
Strategic temperature management involves these key principles:
- Use Easy Solder with lower melting points (approximately 1,325°F) for areas where previous soldering occurred.
- Apply precise heat to avoid oxidation that creates visible discoloration.
- Control solder flow to prevent spreading beyond the intended joint area.
- Maintain consistent temperature throughout the soldering process.
You’ll achieve seamless solder joints by matching your temperature to the specific solder type and joint requirements. This precision eliminates visible seams while maintaining the structural integrity that makes your sterling silver pieces both beautiful and durable.
How Repeated Heating Changes Solder Properties
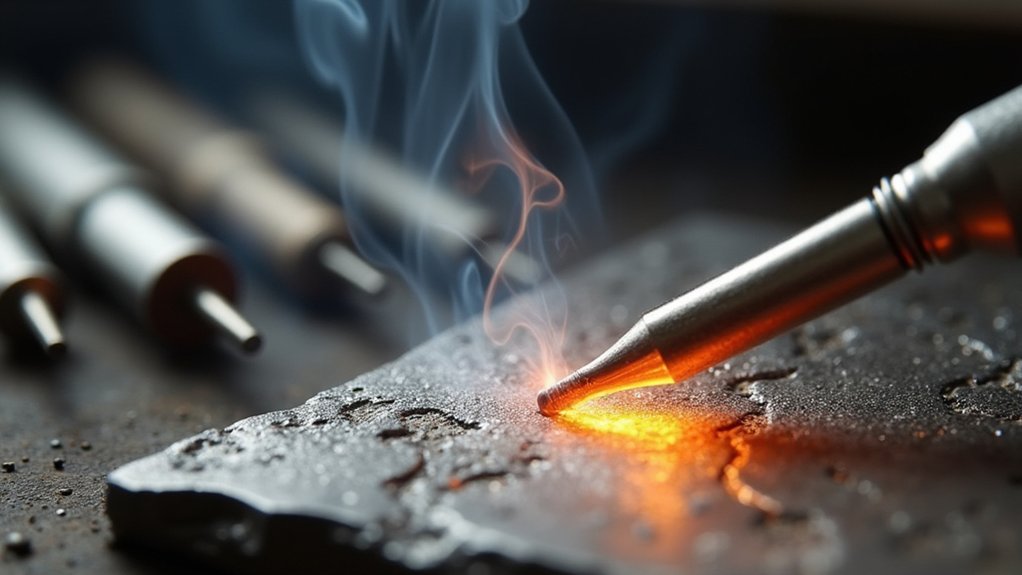
When you repeatedly heat solder, you’re actually changing its fundamental properties through alloy formation with the parent metal.
Each heating cycle raises the solder’s melting point, making it progressively harder to achieve proper flow in subsequent soldering operations.
While this process can strengthen your joints, it also creates challenges that you’ll need to account for in multi-step soldering projects.
Rising Melting Points
As you repeatedly heat solder during the soldering process, you’ll discover that its melting point gradually rises due to alloying with the parent metal. This transformation occurs every time you melt and use the same solder, creating a stronger but less workable joint.
The repeat heating fundamentally changes the solder’s composition, elevating its melting temperature with each application.
This cumulative effect presents several challenges:
- Flow difficulties – Higher melting temperature makes achieving proper solder flow increasingly difficult.
- Joint complications – The new alloy formed often has a melting point exceeding the original solder.
- Repair challenges – Future soldering efforts become more complex due to elevated melting points.
- Temperature requirements – You’ll need higher temperature solders for subsequent repairs.
Understanding these changes prevents damage to previously soldered joints.
Alloy Formation Process
Solder doesn’t simply melt and re-solidify during the heating process—it actively bonds with your sterling silver at the molecular level. This creates a localized alloy where the solder and parent metal merge, fundamentally changing the joint’s composition.
Each time you heat the same area, this alloying process deepens, causing melting temperatures to rise progressively.
You’ll notice that what started as easy-flow solder gradually behaves like medium or even hard solder after repeated heating cycles. The newly formed alloy typically melts at higher temperatures than your original solder, creating challenges for future work.
This cumulative effect means you must plan your soldering sequence carefully, starting with high-temperature operations and working down to lower melting temperatures to maintain joint integrity throughout your project.
Joint Strength Changes
Beyond temperature changes, repeated heating cycles fundamentally alter your joint’s mechanical properties and overall structural integrity.
When solders come into contact with sterling silver repeatedly, they create increasingly complex metallurgical bonds that compromise your work’s reliability.
Each heating cycle affects joint performance through:
- Compositional drift – Your solder’s original formulation changes as it alloys with base metal
- Hardness variations – Repeated thermal cycles create inconsistent mechanical properties throughout the joint
- Stress concentration – Multiple heating creates weak points where cracks can initiate
- Flow degradation – Changed composition affects how smoothly your solder spreads
These escalating melting temperatures make future repairs progressively more difficult.
You’ll find that what once flowed easily now requires excessive heat, potentially damaging surrounding areas and creating a cascade of repair challenges.
Matching Solder Temperature to Project Complexity

When you’re planning a sterling silver project, selecting the right solder temperature isn’t just about getting the metal to flow—it’s about creating a strategic sequence that builds durability without compromising your work.
For complex pieces with multiple components, you’ll want to start with Hard Solder at 1,450°F to establish strong foundational joints. As you progress, Medium Solder at 1,360°F handles general soldering tasks while protecting existing connections.
Easy Solder at 1,325°F works perfectly for final steps and repairs on previously soldered pieces. This temperature hierarchy prevents remelting earlier joints during subsequent operations.
Understanding these melting temperatures relative to your project’s complexity guarantees ideal joint strength, prevents weak bonds, and maintains professional aesthetic appearance throughout your sterling silver work.
The Role of Parent Metal Solidus in Temperature Selection
Understanding sterling silver’s solidus temperature of 1,600°F gives you the critical baseline for all solder selection decisions. This temperature represents the threshold where your parent metal begins to melt, making it essential to choose solders that flow well below this point.
Sterling silver’s 1,600°F solidus temperature is your critical baseline—choose solders that flow well below this melting threshold.
The relationship between solidus temperature and solder flow determines your project’s success:
- Hard solders (1365°F) provide maximum strength while maintaining safe temperature margins.
- Medium solders (1275°F) offer versatility for most general applications.
- Soft solders (1145°F) enable delicate work on previously soldered pieces.
- Extra-soft solders (1050°F) allow final assembly without disturbing existing joints.
You’ll prevent catastrophic melting by maintaining at least 200°F difference between your solder’s flow point and sterling silver’s solidus temperature, ensuring clean joints without compromising your piece’s integrity.
When Temperature Mistakes Lead to Structural Failure
Temperature mistakes in sterling silver soldering create cascading failures that can destroy hours of meticulous work in seconds.
When you exceed proper soldering temperatures of 1,325°F to 1,450°F, you’ll cause your base metal to melt, leading to immediate structural failure. Each soldering operation raises your solder’s melting point through alloying, forcing you to use progressively higher temperatures that risk overheating.
Poor temperature control creates weak joints with incomplete solder penetration that’ll fail under stress.
You’ll recognize overheating through burnt flux and distorted metal—clear indicators of compromised joint integrity.
These temperature errors don’t just affect appearance; they fundamentally undermine your piece’s strength and durability, turning what should be reliable connections into potential failure points that’ll compromise your entire project’s structural integrity.
How Proper Temperature Maintains Silver Content Standards
Beyond the immediate structural damage from overheating, improper soldering temperatures threaten sterling silver’s fundamental composition standards.
You’re working with material that must maintain .925 silver content, and excessive heat can compromise this critical requirement.
When soldering temperatures exceed safe limits, you risk:
- Melting the sterling silver itself, reducing overall silver content below acceptable levels
- Creating localized alloys at joints that alter expected silver percentages
- Using solder with melting point above 800 degrees, which can melt surrounding metal and dilute silver content
- Requiring costly lab testing to verify compliance when heat damage occurs
Proper temperature control guarantees your solder flows effectively without affecting the original metal’s integrity, preserving the sterling silver’s essential composition standards.
Temperature Effects on Oxidation and Firescale Formation
When soldering sterling silver, you’ll notice that excessive heat creates visible surface problems that go far beyond structural concerns. High temperatures accelerate oxidation on your silver’s surface, requiring extensive cleaning and finishing work afterward.
More problematically, firescale develops as dark discoloration when you exceed ideal temperature ranges. Since sterling silver melts around 1,780°F, approaching this threshold dramatically increases firescale formation and compromises your metal’s integrity.
You can minimize these issues by choosing lower temperature solders that require less heat to flow effectively. Additionally, proper flux application creates a protective barrier during soldering, preventing oxidation and reducing firescale development.
Temperature control isn’t just about joining metals—it’s essential for maintaining your piece’s visual quality and preventing costly repair work.
Achieving Professional Results Through Temperature Mastery
Although technique and tools matter greatly in silversmithing, your ability to master soldering temperatures will ultimately determine whether your work achieves professional-grade results.
Temperature control separates amateur work from polished, commercial-quality pieces.
Precise temperature control is the defining factor that elevates silversmithing from hobby-level crafting to professional-grade artistry.
Professional temperature mastery requires understanding these critical elements:
- Solder Selection – Match Easy Solder’s 1,325°F melting temperature for delicate work and Hard Solder’s 1,450°F for structural joints.
- Heat Management – Use minimum effective soldering temperatures to prevent remelting previous joints during multi-step assemblies.
- Flow Monitoring – Achieve ideal solder flow without overheating that burns flux or damages parent metal.
- Consistency Control – Maintain steady temperatures throughout the process to guarantee uniform joint quality and prevent defects.
You’ll consistently produce strong, visually appealing joints that meet professional standards through disciplined temperature control.
Frequently Asked Questions
What Temperature Do You Solder Sterling Silver?
You’ll solder sterling silver between 1,325°F and 1,450°F depending on your solder type. Use Easy solder at lower temperatures for final joints, Medium for intermediate work, and Hard solder for initial connections requiring highest heat.
How Does Temperature Affect Soldering?
Temperature directly controls your solder’s flow and bond strength. Too little heat creates weak joints, while excessive heat warps metal, causes discoloration, or melts your piece entirely, ruining your work.
What Temperature Does 45% Silver Solder Melt At?
You’ll find that 45% silver solder melts at approximately 1,300°F (704°C). This lower melting point makes it perfect for final soldering stages and delicate jewelry work where you don’t want to damage previous joints.
How Hot Does Sterling Silver Have to Be to Melt?
You’ll need to heat sterling silver to approximately 1,600°F (871°C) to reach its solidus temperature where it begins melting. Beyond this point, your sterling silver piece will start deforming and losing its structural integrity.
In Summary
You’ll achieve consistently strong, professional joints when you master sterling silver soldering temperatures. Don’t risk melting your precious pieces or compromising structural integrity—choose the right solder type and temperature for each stage of your project. Start with hard solder for multi-joint work, then progress to medium and easy. You’ll maintain silver content standards, minimize oxidation, and create lasting jewelry that won’t fail under stress.

Leave a Reply