You’ll achieve successful chain soldering repairs by mastering proper heat management, selecting the right solder for your specific chain type, and maintaining meticulous documentation throughout the entire process. Start with thorough damage assessment to determine if you’re dealing with clean breaks, kinked links, or twisted sections. Choose easy solder for delicate chains and standard gold solder for heavy-duty repairs. Prepare a clutter-free workspace with proper ventilation and safety gear. The techniques below will transform your repair success rate.
Understanding Different Types of Chain Breaks and Repair Requirements

When you discover a broken chain, you’ll need to assess the specific type of damage before selecting your repair approach.
Proper damage assessment is the foundation of any successful chain repair project.
Chain repair success depends on identifying whether you’re dealing with a clean break, kinked links, or twisted sections in your broken gold chain. Different chain styles like box, curb, and herringbone chains each have unique vulnerabilities that affect which soldering techniques you’ll use.
You must examine if the break involves manufacturing defects, wear patterns, or accidental damage to determine the most effective repair process. Document the chain’s condition thoroughly, noting material thickness and overall integrity.
This assessment directly influences your choice of solder melting points and heat management strategies for these delicate jewelry pieces.
Essential Tools and Materials for Professional Chain Soldering
You’ll need the right solder types, proper heat management equipment, and essential safety gear to achieve professional chain soldering results.
Your solder selection directly impacts the repair’s strength and appearance, while controlled heat application prevents damage to surrounding links.
Don’t overlook safety requirements – protecting yourself from high temperatures and molten metal isn’t optional when working with soldering torches and heated materials.
Solder Types and Selection
While selecting the right solder determines the success of your chain repair, you’ll need to understand the specific properties of each type available.
Gold solder comes in multiple forms including wire, sheets, and chips, incorporating low melting point metals like silver and zinc that make it perfect for jewelry applications.
Easy solder offers lower melting temperatures, making it your go-to choice for delicate chain soldering projects where you can’t risk damaging surrounding metal.
When choosing between these tools and materials, consider your chain’s composition and the repair’s complexity.
Easy solder minimizes heat exposure, protecting fragile links, while standard gold solder provides stronger joints for heavy-duty repairs requiring maximum durability.
Heat Management Equipment
Proper heat management equipment forms the backbone of successful chain soldering, as controlling temperature precisely means the difference between a seamless repair and a ruined piece.
You’ll need a reliable soldering torch—whether butane or oxy-acetylene—to melt your gold solder with pinpoint accuracy. A quality soldering block distributes heat evenly while maintaining the temperature your repair demands.
Don’t forget flux to clean metal surfaces and guarantee proper adhesion. Safety gear protects you from burns and injuries during delicate work.
Essential heat management equipment for professional results:
- Precision soldering torch – Your lifeline for controlled, accurate heat application
- Heat-resistant soldering block – The foundation that prevents temperature fluctuations
- Quality flux – Your insurance against failed bonds and discolored joints
- Comprehensive safety gear – Protection that lets you focus completely on craftsmanship
Safety Gear Requirements
When heat and molten metal become your working companions, extensive safety gear transforms from optional equipment into non-negotiable protection that safeguards both your well-being and your craft.
You’ll need protective goggles to shield your eyes from dangerous solder splatter and intense heat generated by your soldering torch. Heat-resistant gloves prevent painful burns while handling hot materials and metals during repairs.
Don’t overlook wearing a protective apron that shields your clothing from hot solder and potentially harmful chemicals.
Your workspace requires a soldering brick for stable heat distribution and fire prevention. Keep flux nearby to clean metal surfaces and guarantee proper solder adhesion.
Most importantly, maintain a well-stocked first aid kit within arm’s reach for immediate response to any accidents or injuries during your soldering work.
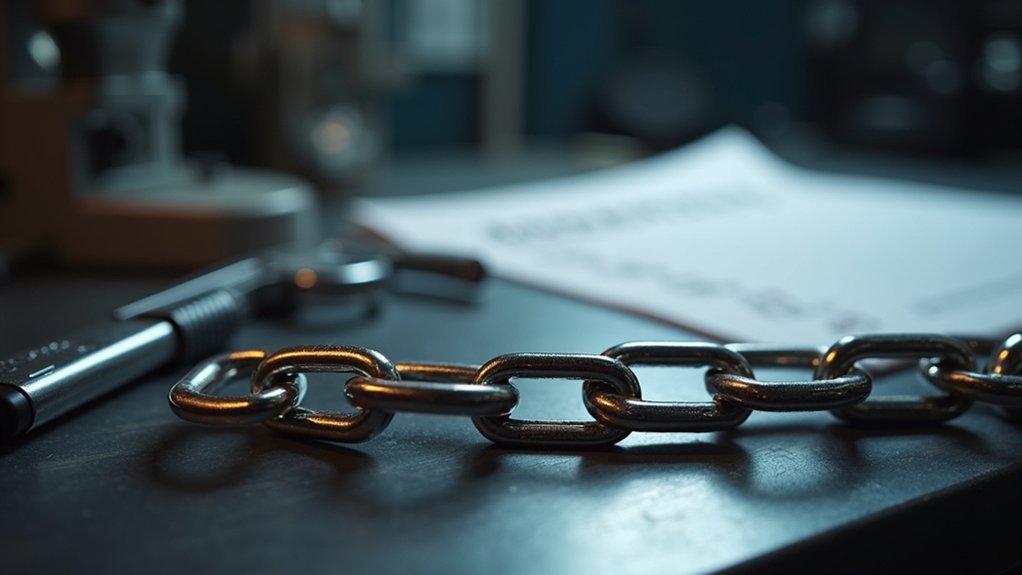
Proper Documentation and Customer Communication Before Repairs
You’ll establish credibility and protect your business by implementing thorough photographic evidence methods that capture every detail of the chain’s condition before you begin repairs.
Your transparent take-in process should include weighing the piece, counting links, and documenting any existing damage while the customer watches.
This upfront documentation prevents disputes and builds the trust that’s essential for successful long-term customer relationships.
Photographic Evidence Methods
Before starting any chain soldering repair, establish a thorough documentation system that protects both you and your customer through detailed photographic evidence.
Take time-and-date-stamped photos from multiple angles showing the jewelry’s original condition. This prevents disputes and creates accountability throughout the repair process.
Weigh the item in front of customers while discussing pre-existing issues. Document link counts through photocopies for clear evidence. Your transparency builds trust and demonstrates professionalism.
Clear communication about repair steps enhances customer satisfaction. Visual references help both parties understand changes made during work.
- Peace of mind knowing your craftsmanship is protected
- Trust building through complete transparency with customers
- Professional confidence backed by thorough documenting practices
- Dispute prevention through extensive photographic evidence
Transparent Take-In Process
Building on your photographic documentation foundation, the transparent take-in process transforms how customers perceive your professionalism and expertise. You’ll weigh the chain and count links directly in front of customers, creating immediate trust. Clearly explain the repair process, detailing techniques and materials you’ll use. During your assessment, identify additional issues to manage customer expectations thoroughly.
| Customer Fear | Your Transparent Action | Customer Relief |
|---|---|---|
| “Will they lose my chain?” | Weigh and count links together | “They’re so careful!” |
| “What if they damage it more?” | Explain repair techniques clearly | “I understand the process” |
| “Are there hidden problems?” | Document all issues upfront | “No surprise costs later” |
Document everything with detailed notes, ensuring both parties understand the chain’s condition fully.
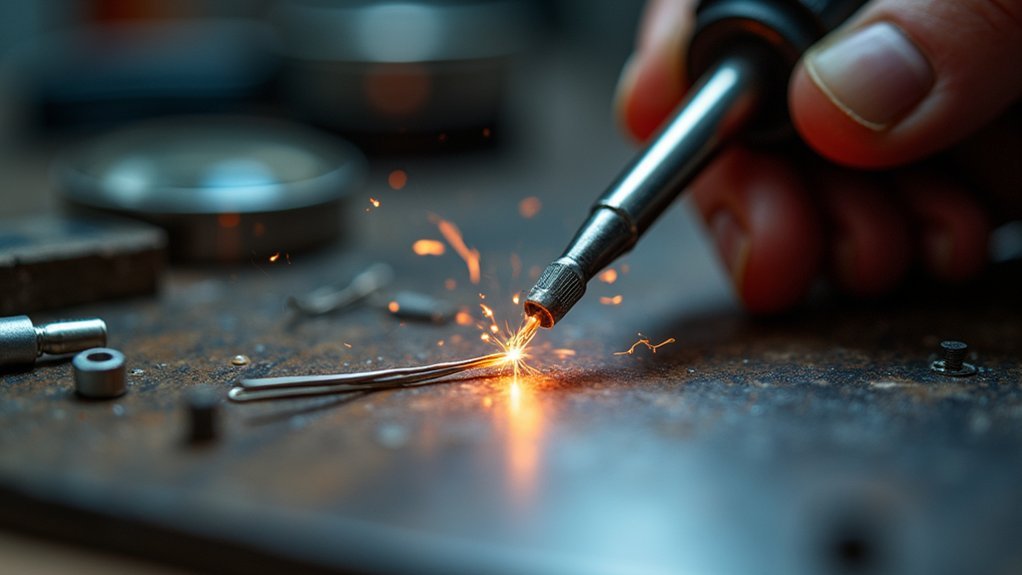
Heat Management Techniques for Delicate Chain Links
When working with delicate chain links, mastering heat control becomes your most critical skill for preventing costly damage. Start with an under-heated flame and gradually build temperature by monitoring oxygen levels throughout the process. This approach gives you precise control when you solder to repair fragile links.
Effective heat management for delicate chain links requires strategic preparation:
- Position titanium strips around the repair area to contain heat and protect surrounding links from unwanted thermal damage.
- Apply water-based correction fluid to control solder flow and minimize messy cleanup afterward.
- Choose thinner solder to prevent flooding that could destroy nearby chain components.
- Maintain lower flame aggression while carefully adjusting oxygen levels to achieve ideal soldering temperatures.
These techniques guarantee you’ll complete professional repairs without compromising the chain’s integrity or appearance.
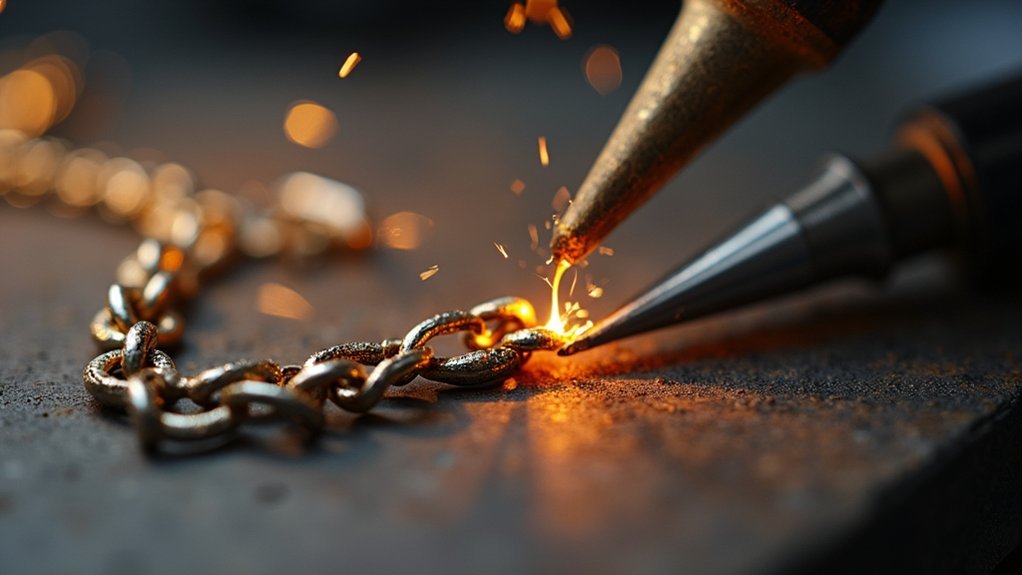
Solder Selection and Application Methods for Different Chain Types
Beyond proper heat control, your choice of solder and application technique directly determines repair success across different chain styles. Easy solder with lower melting temperatures prevents damage to delicate chains during repairs.
Box, curb, and rope chains each demand specific soldering techniques due to their unique structural vulnerabilities. You’ll achieve precision through fine-tip torch application, minimizing solder flooding on adjacent links.
Proper flux application cleans metal surfaces and prevents discoloration while enhancing adhesion during heating. Different chain types require adapted approaches—rope chains need careful gap management while box chains demand precise temperature control.
Effective heat management using titanium strips frames your repair area, controlling heat distribution throughout the process. Your solder selection must match the chain’s composition and your skill level for best results.
Workspace Preparation and Safety Protocols for Chain Repairs
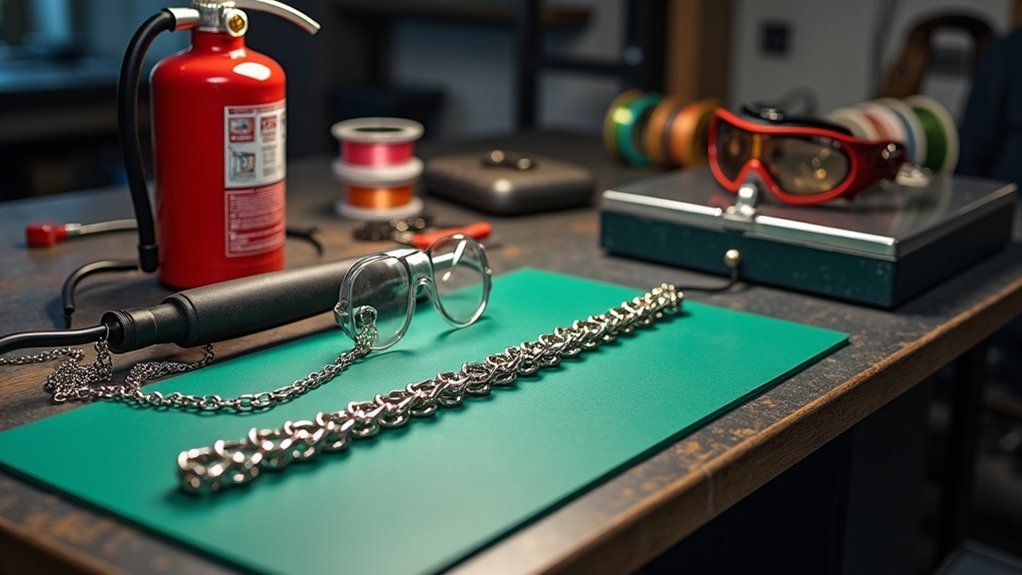
Since successful chain soldering depends equally on technique and environment, you must establish a meticulously organized workspace before heating your first link.
Workspace preparation involves clearing clutter that can cause dangerous distractions during the soldering process. Your safety protocols should include essential protective solids like goggles, gloves, and an apron to shield against burns and injuries.
A clutter-free workspace with proper safety gear prevents dangerous distractions and protects against burns during chain soldering operations.
Prepare your tools and materials in advance—solder, flux, and tweezers must be within easy reach. Confirm adequate ventilation to disperse harmful fumes from the workspace. Position your soldering brick for ideal heat distribution and temperature control.
- Protect your vision – One spark could permanently damage your eyesight
- Secure proper ventilation – Toxic fumes can cause serious respiratory harm
- Organize everything first – Chaos leads to costly mistakes and injuries
- Never skip protective gear – Burns heal slowly and leave lasting scars
Step-by-Step Process for Executing Clean Solder Joints
Five essential steps separate amateur chain repairs from professional-quality results, and mastering each one determines whether your solder joint will hold for decades or fail within months.
First, thoroughly clean the chain links to remove dirt and oxidation that prevents proper adhesion.
Second, apply flux to the joint area—this vital step cleans metal surfaces and guarantees ideal solder flow.
Third, use a fine-tip torch to heat the flux and surrounding area evenly, watching carefully for the solder’s melting point without overheating adjacent links.
Fourth, position small solder pieces directly at the joint, allowing proper flow.
Finally, cool gradually before pickle bathing to remove fire scale.
Whether using gold solders or other materials, these techniques guarantee professional jewelry repair results and clean solder joints.
Post-Repair Finishing and Quality Control Inspection
Once you’ve completed the soldering process, your chain requires professional finishing and rigorous inspection to guarantee it meets jewelry industry standards.
Post-repair finishing involves carefully polishing the chain to eliminate oxidation and discoloration from soldering, restoring its original luster. Your quality control inspection must examine structural integrity, ensuring the repair withstands daily wear.
- Your treasured jewelry deserves flawless restoration that honors its sentimental value
- Professional documentation protects your investment with transparent before-and-after photography
- Careful tissue paper wrapping prevents heartbreaking scratches during transportation
- Personal follow-up calls demonstrate genuine care for your precious pieces
Proper documentation helps resolve disputes while maintaining transparency.
When you complete repair jobs, wrap pieces in protective tissue before placing them in the jewelry box.
Regular customer follow-up reinforces trust and encourages repeat business.
Frequently Asked Questions
What Is Required for a Successful Soldering Connection?
You’ll need thorough cleaning to remove impurities, proper flux application to prevent oxidation, appropriate solder selection, precise heat control with a fine-tip torch, and proper cooling with pickling for professional results.
Can You Solder a Chain Back Together?
Yes, you can solder a chain back together. You’ll need to clean the cut edges thoroughly, apply flux, use low-temperature solder with a fine-tip torch, then quench in pickle bath afterward.
How to Fix a Popped Necklace Chain?
You’ll need to assess the break location and chain type first. Clean the broken ends thoroughly, then use easy solder with a fine-tip torch. Heat carefully until solder flows, cool, and polish the repair area.
How Much to Solder a Gold Chain?
You’ll pay $20 to $100+ for gold chain soldering, depending on your chain’s complexity and design. Simple repairs cost less, while intricate patterns require more precision and time, increasing the price considerably.
In Summary
You’ll achieve successful chain soldering when you’ve mastered heat control, selected appropriate solder, and maintained consistent technique throughout the process. Don’t rush the work—proper preparation and documentation set you up for success. Always prioritize safety protocols and invest in quality tools. Remember that clean joints and thorough post-repair inspection separate professional results from amateur attempts. Practice these fundamentals consistently, and you’ll build the confidence and skill needed for reliable chain repairs every time.


Leave a Reply