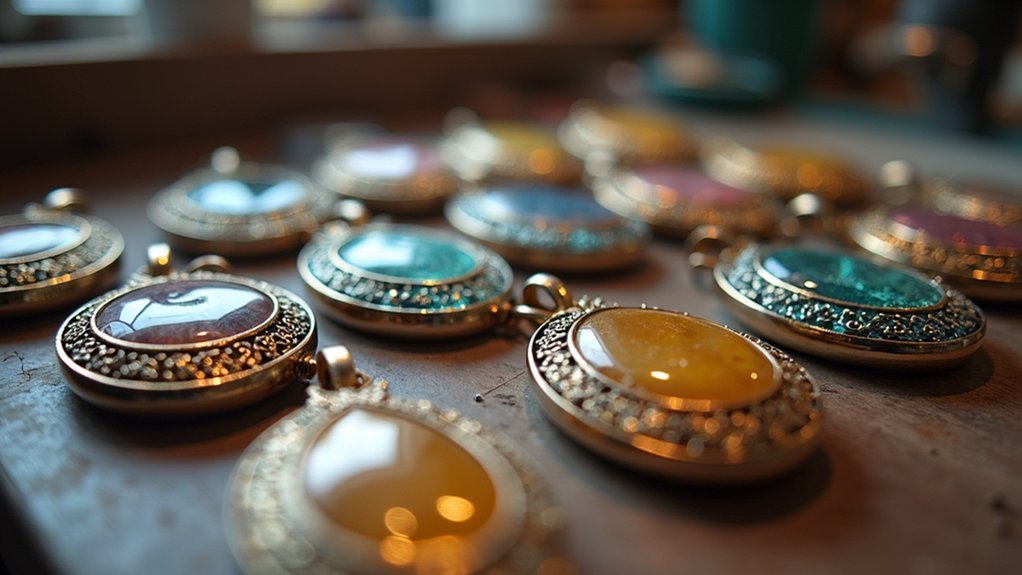
You’ll master pendant creation by using these five essential solder seam methods: standard soldering with hard solder for durable frame joints, pick soldering for precise control on delicate components, sweet soldering that positions material between pieces for controlled placement, stick soldering for accurate wire bail attachment, and soft soldering at lower temperatures for heat-sensitive materials like gemstones or polymer clay. Each technique offers specific advantages depending on your project’s requirements and material sensitivity, ensuring professional results every time you craft.
Standard Soldering Method for Clean Pendant Frames
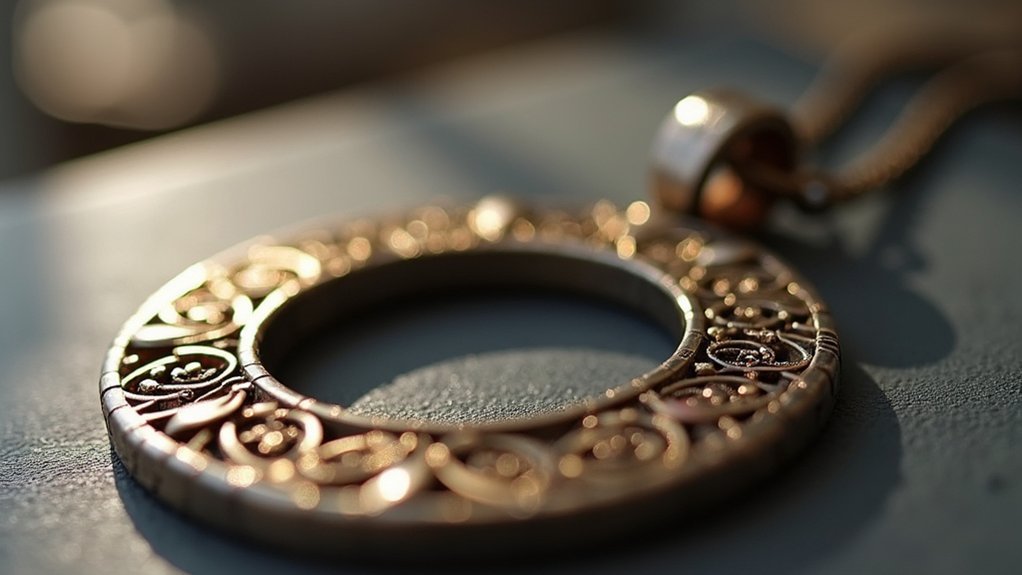
The standard soldering method forms the foundation of pendant construction, offering you a reliable technique for creating clean, durable frame joints.
Master the standard soldering method to create strong, professional pendant frames that stand the test of time.
You’ll lay solder directly above the joint area and apply heat from a torch to melt it. Select hard solder for maximum durability and minimal tarnishing over time.
Before starting, clean your metal surfaces thoroughly and apply flux to enhance solder flow while preventing oxidation. These soldering techniques require precise temperature control—your solder must have a low melting point compared to the base metals.
For sterling silver, guarantee solder flows around 1640°F. After completing the joint, let it cool completely before placing the piece in pickle solution to remove oxidation and achieve a bright, professional finish.
Pick Soldering Technique for Delicate Pendant Components
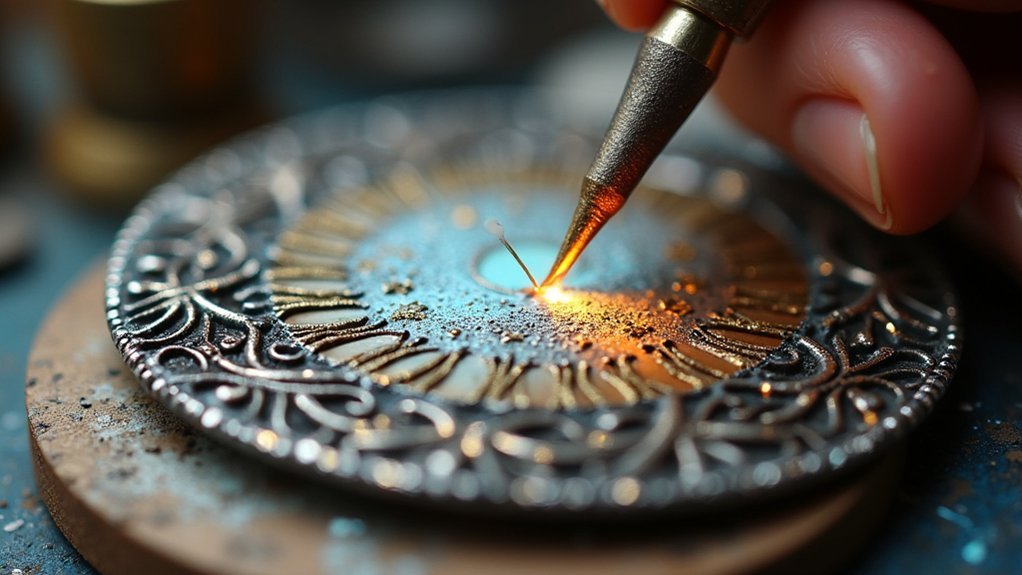
When working with intricate pendant components that require precise control, pick soldering becomes your go-to technique for achieving flawless seams without compromising delicate elements.
This method uses a solder pick to apply small amounts of melted solder exactly where you need it, giving you superior control over solder flow while minimizing heat exposure to sensitive areas.
You’ll want to use pallion chips or paste solder for the most accurate placement during this delicate joining process.
Heat your metal piece evenly with a torch to prevent localized overheating that could damage delicate components.
The pick technique reduces the risk of solder spilling onto unwanted areas, ensuring clean, professional seams.
Practice on scrap materials first to develop the necessary skills for seamless joins in your finest pendant designs.
Sweet Soldering Approach for Controlled Join Placement
Sweet soldering offers unmatched precision by positioning your solder between metal pieces before applying heat, giving you complete control over where joints form. This technique prevents unwanted solder flows into areas where you don’t want connections, making it perfect for pendant creation where aesthetics matter most.
Cut your soft solder into small pallions that you’ll place strategically before heating. Temperature control becomes critical—you’ll melt the solder just below your metal’s melting point to avoid distortion. This approach creates clean solder seams without excess overflow, delivering seamless appearances in decorative pendant work.
- Precise positioning: Place pallions exactly where you need joints before heating
- Clean aesthetics: Prevents solder overflow for professional-looking finishes
- Delicate work: Ideal for intricate pendant components requiring careful control
Stick Soldering Method for Wire Bail Attachment
Stick soldering transforms wire bail attachment into a straightforward process where you’ll apply heated solder directly from your soldering iron tip to create strong, precise bonds. This stick soldering method works exceptionally well for smaller pendant pieces, giving you complete control over solder placement while preventing heat damage to surrounding materials.
You’ll need to prepare clean surfaces on both your wire bail and pendant before starting. Remove any oxides or oils that could interfere with proper adhesion. Keep your soldering iron tip clean and adequately heated for ideal results.
| Step | Action |
|---|---|
| 1 | Clean all surfaces thoroughly |
| 2 | Heat soldering iron to proper temperature |
| 3 | Apply small solder amounts at joint |
| 4 | Allow solder to flow into seam |
| 5 | Hold iron steady until bond forms |
Soft Soldering Technique for Heat-Sensitive Materials

Soft soldering offers an entirely different approach when you’re working with delicate materials that can’t withstand the higher temperatures required for traditional soldering methods. This technique operates at much lower temperatures, making it perfect for jewelry making projects that incorporate polymer clay, gemstones, or other heat-sensitive materials.
When you’re practicing soft soldering, you’ll want to use lead-free solder with 20-gauge wire for most pendant projects. The lower melting point prevents damage to delicate components while still creating strong, durable connections.
- Use the dot method and sponge technique to control solder application precisely
- Practice on scrap materials first to build confidence with intricate designs
- Choose lead-free options for safety and long-lasting jewelry pieces
Frequently Asked Questions
What Type of Solder Is Best for Jewelry Making?
You’ll want hard solder containing 75% pure silver for jewelry making. It creates strong, durable seams that won’t tarnish. Avoid soft tin-lead solder since it’s weak and unsuitable for wearable pieces you’ll treasure.
What Is the Best Soldering Tool for Jewelry Making?
You’ll want a temperature-controlled soldering iron, preferably 100-watt, for consistent heat management. Choose smaller tips for detailed work and larger tips for decorative techniques. Keep your tips clean to guarantee proper solder bonding.
How to Solder Jump Rings to Pendants?
Position your jump ring on the pendant and secure it with tweezers. Apply hard solder to the seam, heat until it flows, then quench in water and pickle to remove oxidation.
What Is the Best Flux for Soldering Jewelry?
You’ll want borax-based flux or commercial options like Handy Flux for jewelry soldering. Apply it generously to clean metal surfaces, remove oxides, and guarantee your solder flows smoothly at high temperatures.
In Summary
You’ve now learned five essential solder seam methods that’ll transform your pendant-making skills. Whether you’re working with delicate components, heat-sensitive materials, or need precise control over your joins, you’ve got the right technique for every situation. Don’t be afraid to experiment with each method until you find what works best for your style. With practice, you’ll master these techniques and create professional-quality pendants every time.


Leave a Reply