You’ll achieve professional enamel polishing results by starting with thorough surface cleaning using jeweler’s quality brass brushes, then progressing through abrasive grits from 400 to 1200+ for ideal shine. Flash fire at 1550°F for 45-60 seconds to create glass-like finishes, and always allow oil-based enamels to cure for 30 days before polishing. Use silicon-free cream polish with gentle circular motions, and test techniques on practice pieces first to perfect your approach.
Start With Proper Surface Preparation and Cleaning
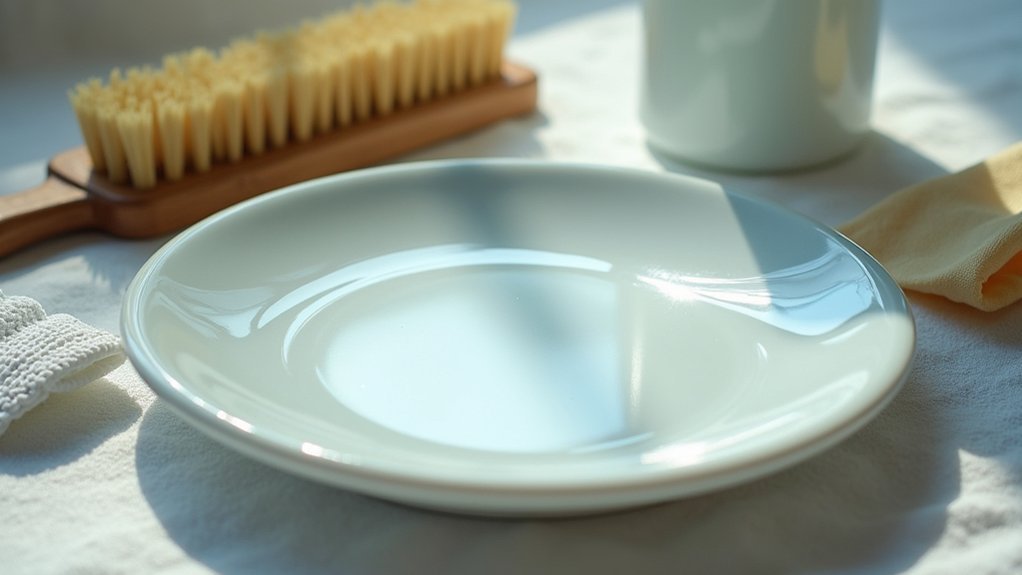
Before you begin polishing your enamel pieces, you’ll need to establish a clean foundation that guarantees ideal results.
Start by thoroughly cleaning the enamel surface using a jeweler’s quality brass brush under running water with liquid soap. This removes dirt, fine dust, and particles that could interfere with polishing.
Thorough cleaning with a quality brass brush under running water removes contaminants that compromise polishing results.
Follow up with a glass brush underwater to eliminate any remaining film or residue. If you’ve got access to an ultrasonic cleaner, use it for deep cleaning without scratching the enamel.
Ascertain the surface is completely dry and free of contaminants before polishing begins. This preparation creates a smooth surface that’s essential for achieving good results and maintaining your enamel’s longevity.
Use the Flash Firing Method for Glass-Like Finishes
When you’re ready to achieve that coveted glass-like finish on your enamel pieces, flash firing delivers exceptional results through a quick, high-temperature process. This technique fires your enamel at approximately 1550°F for just 45 seconds to one minute, creating a stunning high gloss surface.
| Step | Temperature | Duration | Tool Required | Result |
|---|---|---|---|---|
| Clean | Room temp | 5-10 min | Glass brush/ammonia | Pristine surface |
| Preheat | 1550°F | 2-3 min | Kiln | Ready firing chamber |
| Flash fire | 1550°F | 45-60 sec | Kiln | Glass-like finish |
| Cool | Decreasing | 10-15 min | Natural air | Stable enamel |
| Inspect | Room temp | 1-2 min | Visual check | Quality control |
Flash firing maintains your piece’s shape while preventing sinking, making it perfect for detailed work.
Master Progressive Wet Sanding Techniques
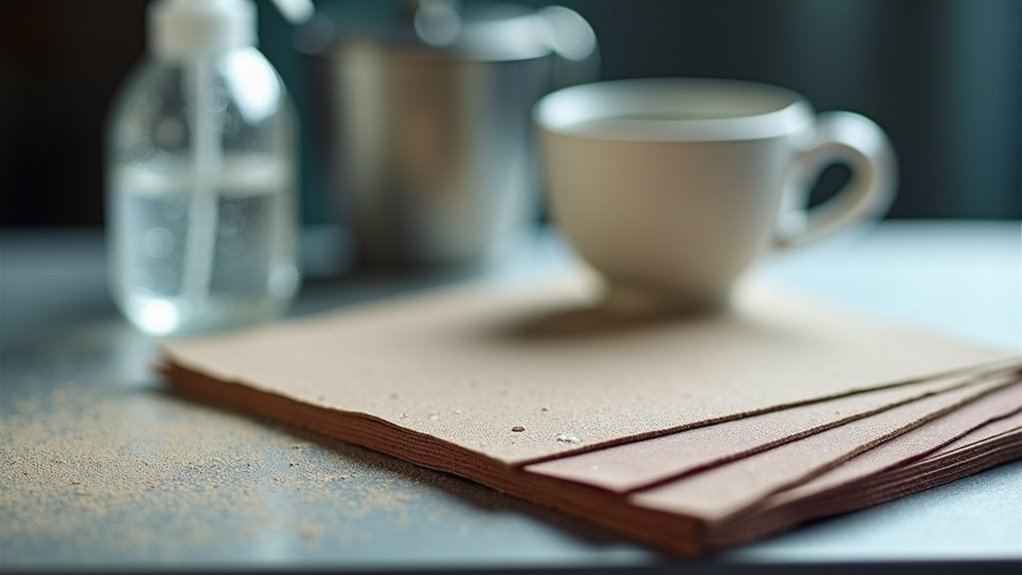
You’ll achieve professional results by starting with 400-600 grit sandpaper and progressively moving through finer grits up to 2000.
Always keep your surface wet during sanding to prevent heat damage and maintain smooth, controlled movements in circular or back-and-forth patterns.
This methodical progression eliminates scratches while building up to a mirror-like surface that’s ready for final polishing.
Start Coarse, Finish Fine
Although it might seem counterintuitive, achieving a flawless finish on enamel pieces requires starting with relatively coarse sandpaper before progressing to ultra-fine grits. This methodical approach guarantees you’ll eliminate imperfections efficiently while building toward that coveted mirror-like shine.
Your wet sanding progression should follow this pattern:
- Begin with 400-600 grit to remove major imperfections and establish your base surface.
- Advance through 800, 1000, and 1500 grit while maintaining consistent circular motions and frequent rinsing.
- Finish with 2000 grit before applying polishing compound with a soft cloth.
Keep your work surface constantly wet throughout the process to prevent scratching. Rinse frequently between grit changes to assess surface quality improvements.
This patient progression from coarse to fine creates the foundation for exceptional results.
Wet Sand With Water
Since water serves as both lubricant and coolant during the sanding process, you’ll need to maintain a steady flow throughout each stage of wet sanding.
Start with 400-600 grit sandpaper to eliminate imperfections, keeping your enamel piece constantly wet. Progress methodically through finer grits—800, 1000, up to 2000—never allowing the surface to dry out.
Apply light, even pressure to prevent grooves or scratches that’ll compromise your polishing results. The water flow prevents heat buildup that could damage delicate enamel surfaces, similar to techniques used with epoxy resin projects.
After completing your wet sanding sequence, clean thoroughly with a glass brush underwater. This removes all residual particles before polishing.
Always test your technique on spare pieces first—this prevents costly mistakes on finished work.
Progress to 2000 Grit
When shifting to 2000 grit sandpaper, you’re entering the final stage of wet sanding that’ll determine your enamel’s ultimate surface quality. This finer grit is an excellent choice for achieving that coveted mirror-like finish you’ve been working toward.
Follow these critical steps for ideal results:
- Maintain consistent moisture – Keep both the surface and sandpaper continuously wet to prevent scratching and reduce friction during the wet sanding process.
- Apply gentle, even pressure – Use light, consistent strokes to avoid creating grooves or uneven areas that could compromise your finish.
- Clean frequently – Remove debris and particles regularly from both the surface and sandpaper to prevent additional scratches.
The 2000 grit stage transforms your enamel’s texture, preparing it perfectly for the final buffing step.
Allow Adequate Curing Time Before Polishing
Before you reach for your polishing compounds, you must allow your oil-based enamel finish to cure for a full 30 days. This waiting period isn’t optional—it’s crucial for achieving ideal hardness and durability. Rushing this process leads to smudging, uneven sheen, and surface damage that’ll ruin your work.
During curing, the enamel fully sets, creating the perfect foundation for polishing. You’ll get better shine and fewer imperfections when you’re patient. Test your polishing techniques on spare boards after the full curing period to avoid costly mistakes on final pieces.
Whether you’re restoring antique furniture or creating new enamel work, proper curing reduces dust retention and guarantees professional results.
Resources like Ganoksin are best viewed with JavaScript for detailed guidance.
Choose the Right Polishing Compounds and Tools
You’ll need to select silicon-free cream polish to protect your enamel’s surface during the polishing process.
Choose diamond pads with the appropriate grit levels for your specific project requirements.
Start with coarser abrasive grits and progressively move to finer ones to achieve that professional, high-gloss finish you’re after.
Silicon-Free Cream Polish
Silicon-free cream polishes represent the gold standard for achieving professional results on enamel pieces without compromising future coating applications.
These specialized formulations enhance enamel’s natural shine while avoiding residue buildup that can interfere with subsequent coatings.
When selecting silicon-free options, consider these top choices:
- Mohawk aerosol cream polish – Specifically designed for enamel enhancement with peak shine results
- 3M Rubbing Compound – Delivers effective smoothing capabilities for specific enamel finishes
- Finesse-it products – Provides professional-grade polishing for various enamel applications
You’ll want to apply these polishes using gentle, swirling motions similar to car waxing techniques.
This approach prevents scuff marks while maintaining a professional finish.
Always test your chosen polish on sample boards first to verify compatibility and prevent potential damage to your final enamel pieces.
Diamond Pads Selection
While silicon-free polishes excel at final enhancement, diamond pads tackle the fundamental smoothing work that creates the foundation for professional enamel finishes. You’ll need small diamond pads designed specifically for enamel work – they provide rapid, clean abrasion while requiring water cooling to prevent overheating your piece’s surface.
| Grit Level | Surface Condition | Application Purpose |
|---|---|---|
| 220-400 | Initial roughness | Heavy material removal |
| 600-800 | Moderate scratches | General smoothing |
| 1000-1500 | Fine imperfections | Pre-polish preparation |
| 2000-3000 | Minor blemishes | Final smoothing |
| 4000+ | Near-perfect surface | Ultra-fine finishing |
Choose consistent thickness pads and progress through finer grits systematically. Always test on an inconspicuous area first, especially near cloisonné wires where even surfaces matter most.
Abrasive Grits Progression
After selecting your diamond pads, the systematic progression through abrasive grits becomes your roadmap to achieving professional enamel finishes.
You’ll need to follow a methodical approach that builds upon each previous step.
Here’s your progression strategy:
- Start coarse: Begin with 400 or 600 grit to eliminate major imperfections, then advance through intermediate grits like 800 and 1000.
- Clean thoroughly: Remove all residue between each grit change to prevent scratches that’ll compromise your finish.
- Finish fine: Use 1200+ grit with light pressure to achieve that coveted high shine without etching.
You’ll want to incorporate mechanical finishing tools like cotton mops or silicone wheels with compounds such as Tripoli or rouge.
Always test your technique on sample pieces first to guarantee compatibility with your specific enamel.
Apply Gentle Hand-Rubbing Motions for Best Results
Transform your enamel pieces into gleaming works of art by mastering the technique of gentle hand-rubbing motions. Use clean cotton rags or felt pads to remove dust and debris without introducing scratches. Apply minimal pressure with a light touch—heavy-handed rubbing can etch or wear down the delicate enamel surface.
| Motion Type | Pressure Level |
|---|---|
| Circular patterns | Feather-light |
| Car-waxing technique | Minimal contact |
| Even coverage strokes | Gentle pressure |
| Dust removal passes | Barely touching |
Work in circular motions similar to waxing a car, ensuring even gloss distribution across the entire surface. Keep your polishing area spotless and contaminant-free throughout the process. This prevents unwanted marks and maintains finish quality. Remember, patience and gentle movements yield superior results compared to aggressive techniques.
Utilize Specialized Brushes for Delicate Cleaning
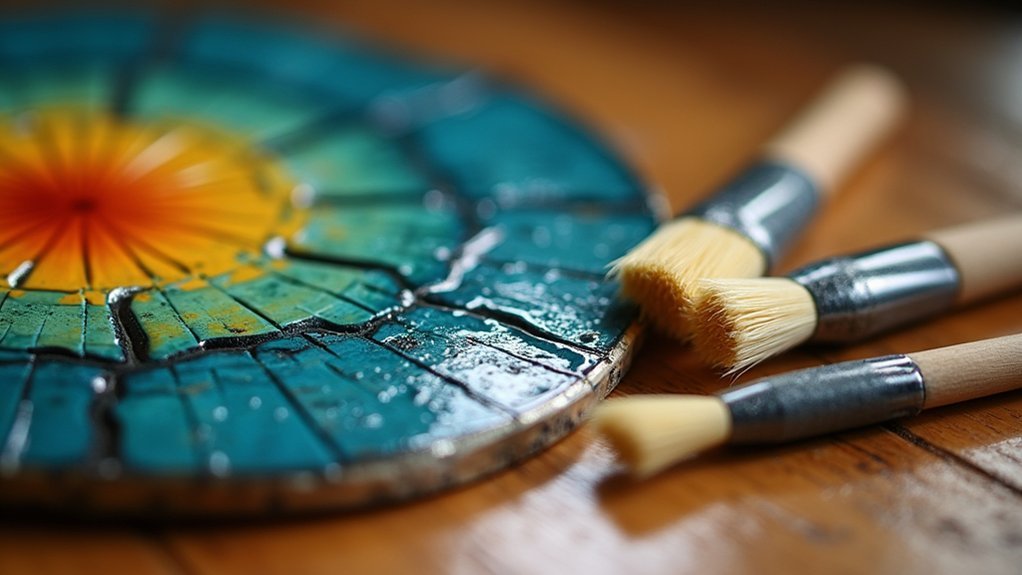
Beyond gentle hand-rubbing techniques, specialized brushes offer precision cleaning that reaches areas your cloth can’t access effectively.
You’ll need the right tools to maintain your enamel’s pristine finish without causing damage.
Here are three essential brush types for delicate enamel cleaning:
- Jeweler’s quality brass brushes – These provide effective cleaning while being gentle enough to prevent etching your enamel surface.
- Glass brushes used underwater – Perfect for lifting film and residue without scratching delicate enamel pieces.
- Fine Garryflex blocks – Achieve a beautiful satin finish through non-abrasive polishing action.
Avoid coarse retail store brushes that’ll leave unwanted marks on your work.
Remember to regularly clean and maintain your brushes, preventing material buildup that could scratch or dull your enamel during the polishing process.
Avoid Common Mistakes That Damage Enamel Surfaces
You’ll ruin your enamel pieces if you don’t recognize the critical mistakes that cause permanent damage.
Wrong temperature flash firing can crack or discolor your work, while coarse abrasives will scratch surfaces beyond repair.
Skipping proper cleaning before polishing leads to cloudy, dull finishes that can’t be corrected.
Wrong Temperature Flash Firing
While flash firing can create that coveted smooth, glassy finish on your enamel pieces, getting the temperature wrong will quickly turn your careful work into a disappointing mess.
You’ll want to maintain around 1550°F for 45 seconds to one minute. Going too hot causes your enamel to sink and lose its shape, while temperatures that are too low won’t achieve that glassy surface you’re after.
Here’s what you must do to nail the temperature every time:
- Monitor your kiln constantly – Don’t walk away during flash firing
- Clean thoroughly beforehand – Any residues will cause clouding and imperfections
- Ensure even heating – Inconsistent temperatures create surface issues around cloisonné wires
Prolonged exposure ruins everything, so stick to those time limits religiously.
Coarse Abrasives Scratch Surfaces
Even the finest enamel work can be ruined in seconds if you reach for coarse abrasives during polishing. These aggressive materials create deep scratches that penetrate enamel surfaces, often requiring complete refinishing to repair.
| Grit Level | Surface Effect | Best Use |
|---|---|---|
| 80-220 | Deep scratches, surface damage | Never use on enamel |
| 400-800 | Light scratches, removes shine | Emergency repairs only |
| 1000+ | Smooth finish, maintains gloss | Safe polishing range |
Start with finer grits and progress methodically. Clean pieces thoroughly before polishing to prevent embedded particles. When using diamond pads or silicone wheels, apply minimal pressure. Consider glass brushes underwater for maintaining gloss without scratch risk. Shift carefully between grits to avoid leaving groove marks.
Inadequate Cleaning Before Polishing
Before you begin polishing, microscopic dust particles and debris will transform your careful work into a scratched nightmare.
You’ll create permanent damage that’s impossible to reverse once the polishing compound grinds contaminants into your enamel’s surface. Proper cleaning removes these hidden threats before they become costly mistakes.
Here’s your essential pre-polishing cleaning protocol:
- Use a glass brush underwater with ammonia solution to gently dislodge particles without scratching.
- Deploy an ultrasonic cleaner for thorough contaminant removal from intricate details and crevices.
- Apply jeweler’s quality brass brushes for final surface preparation while avoiding abrasive materials.
You’ll prevent clouding and etching by maintaining gentle cleaning methods throughout.
Regular maintenance stops patina buildup that complicates future polishing sessions, keeping your enamel pieces pristine.
Select Appropriate Equipment for Different Enamel Types
Three fundamental types of brushes form the backbone of enamel polishing equipment selection. You’ll need jeweler’s quality brass brushes for removing debris without etching enamel surfaces. Glass brushes work underwater during final cleaning to prevent damage while ensuring thoroughness. For mechanical polishing, cotton mops with Tripoli or rouge on flex shafts deliver smooth, shiny finishes.
| Equipment Type | Application | Best For |
|---|---|---|
| Brass Brushes | Debris removal | All enamel surfaces |
| Glass Brushes | Final cleaning (underwater) | Delicate pieces |
| Cotton Mops + Compounds | Mechanical polishing | Shine enhancement |
| Garryflex Blocks | Satin finishing | Scratch-sensitive work |
Fine Garryflex blocks create satin finishes without scratching delicate pieces. Experiment with silicon and styrene-free polishing creams to find ideal results for your specific enamel type.
Test Your Technique on Practice Pieces First
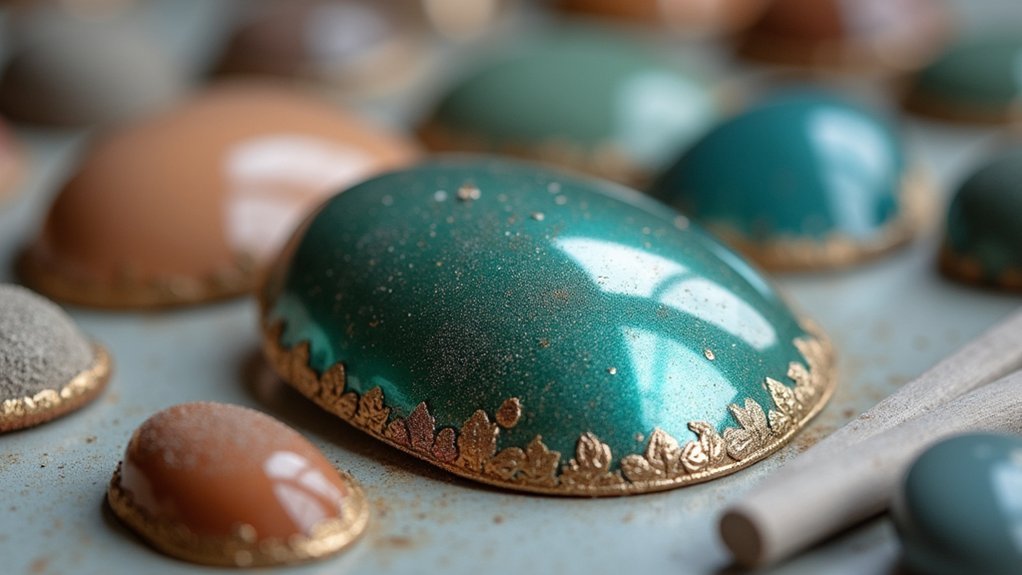
While selecting proper equipment sets the foundation for successful enamel polishing, you’ll achieve far better results by testing your chosen techniques on practice pieces before working on finished projects.
Practice sessions let you experiment with different polishing compounds to determine which yields the best results without risking damage to your valuable pieces.
Practice runs with different compounds protect your finished work while revealing which materials deliver optimal enamel polish results.
You’ll want to test various abrasives like silicon carbide papers and felt pads to see how different grits affect your enamel finish.
Here’s what to focus on during practice:
- Test multiple polishing compounds on spare boards to identify the best performers
- Experiment with different abrasive grits to understand their impact on surface quality
- Practice with your specific buffing machine or flex shaft to refine control techniques
Document your results to create a reference guide for future projects.
Frequently Asked Questions
How Do You Polish Enamel?
Clean the enamel surface with soap and water, then wet sand with progressively finer grits up to 2000. Apply polishing compound using circular motions with a felt pad, then wipe clean.
How Long to Wait Before Polishing Enamel Paint?
You should wait at least 30 days before polishing oil-based enamel paint. This guarantees complete curing and solvent evaporation, preventing smudging and achieving a smoother, more durable polished finish.
Can You Tumble Enamel?
You can tumble enameled pieces, but it’s not recommended since tumbling action often chips or damages the enamel surface. If you try it, use gentle plastic media and test first.
How to Clean Enamel Jewelry at Home?
You’ll want to gently clean your enamel jewelry with a brass brush under running water using mild soap. Follow with a glass brush underwater to remove any remaining film without scratching.
In Summary
You’ll achieve professional-quality results by following these essential polishing techniques. Don’t rush the process—proper preparation and curing time are vital for success. Always test your methods on practice pieces before working on valuable items. Remember that different enamel types require specific approaches, so you’ll need to adapt your technique accordingly. With patience and the right tools, you’ll transform your enamel pieces into stunning, glass-like finished works.



Leave a Reply