You’ll solder silver chains like a pro by selecting the right solder grade—hard for strength, medium for versatility, easy for delicate repairs. Apply flux to prevent oxidation, use a butane torch with precise heat control, and work on a hard charcoal surface. Cut links with surgical precision using a jeweler’s saw, heat evenly around joints, and watch for solder to flow bright. Quench immediately in water, then clean with pickle solution. Master these fundamentals to access advanced professional techniques.
Essential Tools and Equipment for Silver Chain Soldering
Five essential tools form the foundation of successful silver chain soldering.
You’ll need a butane torch as your primary heat source, providing the precise temperature control necessary for melting solder without damaging delicate chain links.
Soldering tweezers are indispensable for handling small components with accuracy and keeping your fingers safely away from heat.
A hard charcoal soldering surface withstands high temperatures while protecting your workbench from damage.
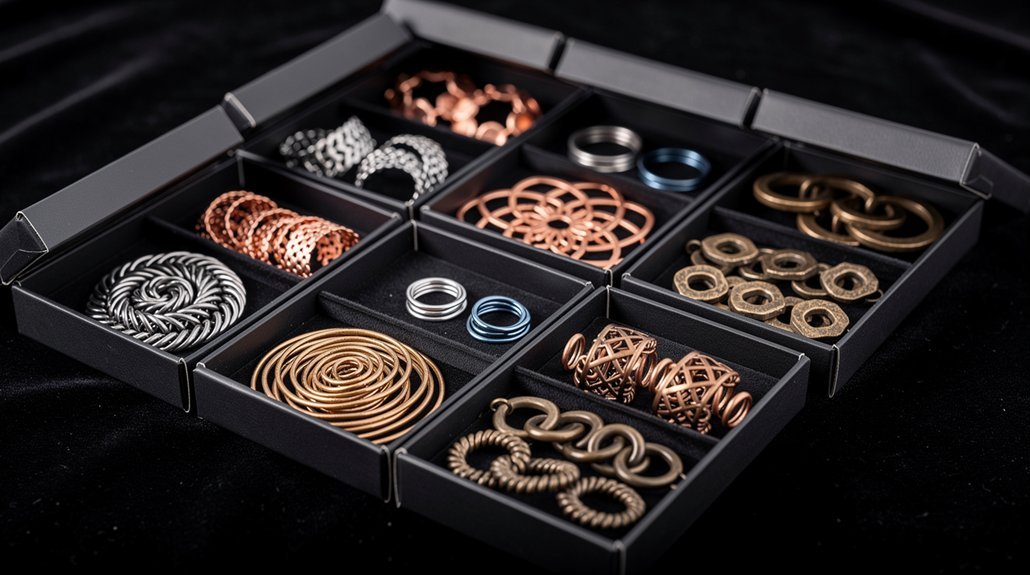
Silver solder wire comes in three grades—hard, medium, and easy—so choose the appropriate type based on your chain’s specific requirements.
Flux prevents oxidation during the soldering process, ensuring cleaner joints and better solder adhesion.
Finally, you’ll need a pickle solution made from citric acid to clean your finished work, removing flux residues and oxidation for a professional-quality finish.
Selecting the Right Solder Grade for Chain Links
When you’re soldering silver chains, you’ll need to choose between hard, medium, and easy solder grades based on your specific project requirements.
Hard solder offers superior strength and durability but requires higher temperatures, while medium grade provides an excellent balance for most sterling silver chain work.
Easy solder melts at lower temperatures for delicate repairs, though it won’t provide the same joint strength as harder grades.
Hard Solder Benefits
Durability becomes your primary concern when selecting solder for chain links that’ll endure daily wear. Hard solder delivers the highest melting temperature among all solder grades, creating exceptionally strong connections that maintain integrity under stress.
You’ll want to use hard solder for your initial chain link joins, establishing robust foundations before applying softer solders for subsequent connections if needed.
However, hard solder requires precise heating and careful application since it flows less easily than medium or easy alternatives. You’ll need to master your torch technique to achieve clean, effective joints.
Consider color coding your hard solder with sharpies for quick identification during work sessions. This guarantees you’re always using the correct grade for maximum durability in your chain links.
Medium Grade Applications
Medium solder strikes the ideal balance between workability and strength, making it your go-to choice for most chain link connections. This medium grade solder melts at approximately 1,100°F (593°C), giving you excellent control while creating secure joints that won’t compromise your chain’s integrity.
| Advantage | Benefit |
|---|---|
| Ideal Flow | Connects links without excessive cleanup |
| Efficient Heating | Reduces risk of oxidation |
| Balanced Strength | Maintains chain durability |
| Quick Identification | Color coding streamlines workflow |
You’ll appreciate how medium solder requires less heating time, minimizing oxidation risks. Use thin pieces sized appropriately for your chain links—too large creates messy cleanup, while too small weakens joints. Color-code your medium grade solder with a sharpie to distinguish it from hard and easy varieties during your soldering process.
Easy Solder Considerations
Although easy solder provides the lowest melting point at approximately 1,050°F (566°C), you’ll need to contemplate its reduced strength when deciding if it’s appropriate for your chain links.
Easy solder works best for delicate sterling silver chains where heat damage poses a greater risk than joint strength. Since it’s the most forgiving of the solder grades, you can safely use it on thin-gauge links without warping or melting the metal.
Choose wire solder form for precise application on chain joints. Color-code your easy solder with a sharpie to prevent confusion with other grades during your project.
Cut small pieces that fit exactly at the joint connection. Easy solder creates reliable bonds for lightweight chains that won’t experience heavy stress or frequent manipulation.
Setting Up Your Workspace and Safety Measures
Before you begin soldering silver chains, you’ll need to establish a safe workspace that protects both you and your surroundings.
Start by setting up on a heat-resistant surface like a hard charcoal block, ensuring proper ventilation to prevent fume inhalation, and keeping a fire extinguisher within easy reach.
Don’t forget essential safety equipment including protective eyewear, soldering tweezers, and a water bowl for quenching hot metal.
Essential Safety Equipment
Safety forms the foundation of successful silver chain soldering, protecting both you and your workspace from potential hazards.
You’ll need proper eye protection first—invest in quality safety glasses or Craft Optics to shield your eyes from bright flames and flying debris that can cause serious injury.
Keep a fire extinguisher within arm’s reach to quickly address unexpected fires or accidents during your soldering session.
Choose a durable heat-proof surface like hard charcoal for your setup, which protects your workbench from heat damage while providing excellent support for your work.
Ensure proper ventilation in your workspace to prevent inhaling harmful fumes.
Gather essential tools including soldering tweezers, a water bowl for quenching, and pickle solution for cleaning your soldered pieces effectively.
Workspace Ventilation Requirements
Why risk your health when proper ventilation can easily protect you from dangerous soldering fumes? Your workspace needs adequate airflow to prevent toxic gas buildup from heated flux and metals.
Position yourself near an open window or install an exhaust fan to create proper air circulation. You’ll want at least six air exchanges per hour to maintain safe air quality during soldering sessions.
Never work in enclosed spaces without adequate ventilation – this creates hazardous conditions. Consider adding an air purifier with HEPA filtration to capture smoke and particulate matter effectively.
Before starting any soldering project, check that ventilation pathways aren’t blocked. This guarantees continuous fresh air flow while you’re working.
Proper workspace ventilation isn’t optional – it’s essential for safe soldering practices.
Heat-Resistant Surface Selection
When selecting your soldering surface, you’ll need a material that can withstand extreme heat without cracking or releasing toxic fumes. A hard charcoal block stands as the professional’s choice, offering exceptional durability and effective heat insulation throughout the soldering process.
This reliable surface guarantees consistent heat distribution while protecting your workbench from damage.
Essential heat-resistant surface setup requirements:
- Place a heat-proof surface beneath your charcoal block to shield your workbench from thermal damage
- Position a fire extinguisher within arm’s reach for immediate access during emergencies
- Choose hard charcoal blocks over soft alternatives for superior heat resistance and longevity
- Confirm your surface remains stable and level to prevent silver chains from shifting during work
- Keep flammable materials away from your designated soldering area
Understanding Flux Application for Chain Soldering
Anyone who’s attempted to solder silver chains without flux quickly discovers the frustration of oxidized metal and failed joints.
Flux is essential for successful soldering because it prevents oxidation during heating, ensuring clean connections.
Apply a thin, even layer of flux to both ends of your chain link before beginning the soldering process. Use sterling silver-compatible flux like borax or commercial silver solder flux for ideal results.
You’ll want to let the flux dry for approximately five minutes before applying heat – this enhances its effectiveness considerably.
Make sure the flux contacts both sides of your solder joint. This creates stronger bonds and prevents gaps that could compromise your connection’s integrity.
Proper flux application transforms challenging silver chain repairs into manageable tasks.
Preparing Chain Links for Perfect Joints
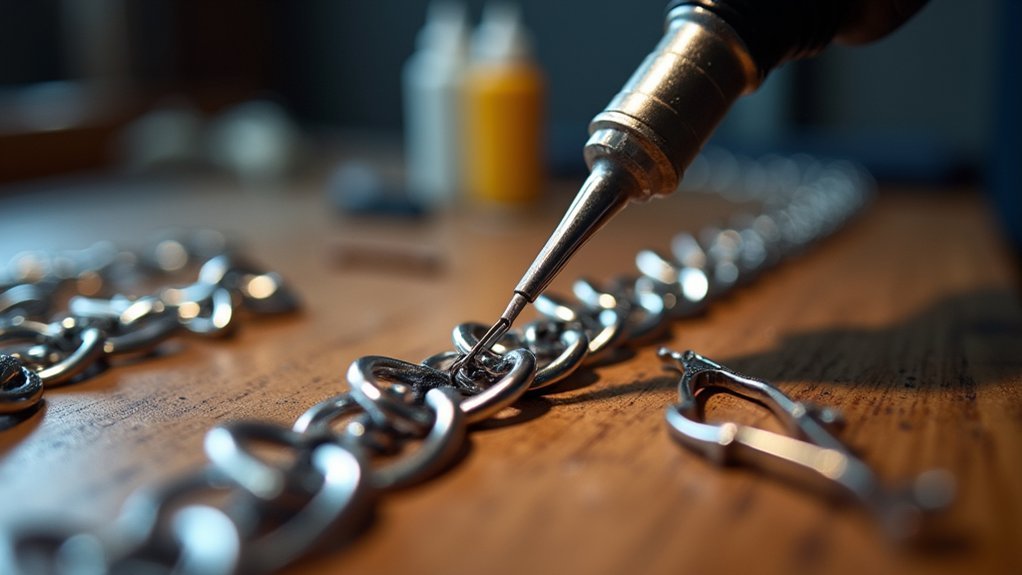
You’ll need to cut your chain links with surgical precision using a jeweler’s saw to create flush ends that eliminate gaps completely.
Once you’ve made clean cuts, align the link ends so they overlap slightly – this creates the tight fit that’s essential for a strong solder joint.
Proper alignment prevents weak spots and guarantees your soldered connection won’t fail under normal wear.
Cutting Chain Gaps Properly
One critical step determines the success of your entire silver chain soldering project: cutting precise gaps in your chain links. Proper cutting chain gaps requires careful attention to technique and tools to achieve professional results.
Before starting, secure your chain link with masking tape to prevent unwanted movement during the cutting process. Use a jeweler’s saw equipped with a fine blade for clean, precise cuts. Always cut from the inside of the link outwards to maintain structural integrity and reduce injury risk.
Here’s your essential cutting checklist:
- Create a 1/16 inch overlap when cutting for stronger joints
- Use masking tape to stabilize the link during cutting
- Cut from inside outwards for safety and precision
- Inspect cut edges for burrs or irregularities
- Verify smooth, clean edges for ideal solder adhesion
Aligning Links Precisely
After achieving clean, precise cuts in your chain links, the next step focuses on positioning those links for ideal solder adhesion. You’ll need to guarantee the ends of each link overlap slightly, creating the foundation for a secure joint.
The clean cut you made earlier allows for precise alignment between both sides of the chain link. Position the overlapping ends carefully, then secure them with masking tape to prevent movement during soldering. This tape holds everything in place while you work.
Perfect alignment is essential – avoid any gaps that could weaken your solder joints. Before applying solder, test the fit by gently twisting the links. They should feel tightly aligned with no loose areas.
Proper aligning links technique at this stage determines your final joint strength.
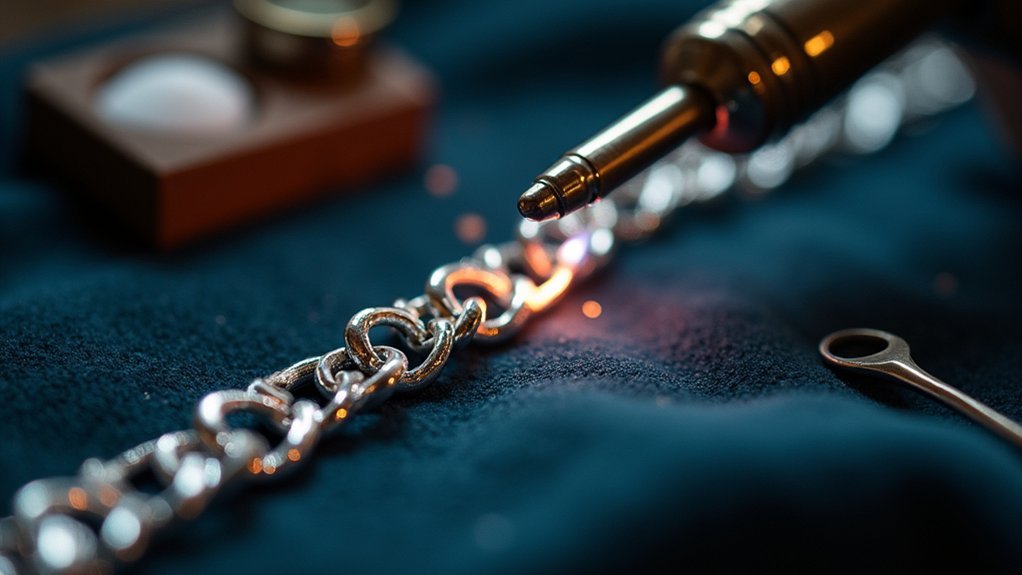
Mastering Butane Torch Operation and Flame Control
Proper butane torch operation forms the foundation of successful silver chain soldering, requiring precise control over both fuel delivery and flame characteristics.
You’ll need to master several key techniques to achieve professional results with your butane torch.
Fill your torch with butane while it’s turned off and upside down to prevent gas leaks. Light by turning the red knob and clicking the igniter, then adjust gas flow counterclockwise for ideal flame size.
Target the hottest part—the tip of the inner blue cone—for maximum heat transfer.
- Fill torch upside down while turned off to prevent leaks
- Use red knob and igniter to light, adjust counterclockwise for flame control
- Focus heat at inner blue cone tip for maximum temperature
- Direct flame at ring, not solder, for proper heat distribution
- Maintain straight flame direction to avoid uneven heating
Identifying the Optimal Heat Zone for Chain Work
You’ll find the most effective heat for soldering chain links at the tip of your torch’s inner blue cone, which creates the precise “sweet spot” needed for proper solder flow.
Control your distance carefully since heat dissipates rapidly just millimeters from the flame tip, making positioning essential for success.
Position each chain link so the blue cone’s hottest point targets the joint area while maintaining steady flame control throughout the process.
Blue Cone Sweet Spot
Anyone can master the art of precise soldering by understanding the flame’s anatomy and locating its most efficient heating zone.
The blue cone’s sweet spot sits just behind the hottest tip, providing controlled heat that’s essential for delicate silver chain work. You’ll achieve better results by directing this flame zone onto the metal rather than the solder itself.
Key techniques for blue cone mastery:
- Focus heat just behind the inner blue cone tip – this sweet spot delivers ideal temperature control
- Apply flame directly to the metal surface – let heat transfer naturally to the solder
- Avoid overheating by maintaining proper distance – prevents unnecessary solder melting
- Practice flame positioning on scrap pieces – builds muscle memory for precise control
- Watch for proper solder flow indicators – guarantees joints reach required temperatures
Heat Distance Control
While mastering flame anatomy provides the foundation for successful soldering, controlling your distance from the heat source determines whether you’ll create strong, clean joints or damage your delicate silver chains.
Proper heat distance control requires positioning your torch 1/8 to 1/4 inch from the inner blue cone’s tip. This sweet spot delivers ideal heat transfer without overheating the metal.
Direct your flame onto the chain links themselves, not the solder. This technique promotes better flow and adhesion while preventing joint failure.
Move your torch in consistent circular motions to distribute heat evenly across the connection point. This prevents localized overheating that can weaken or discolor your silver chains.
Understanding these distance fundamentals transforms amateur soldering into professional-quality results with clean, durable joints.
Chain Link Positioning
Once you’ve mastered heat distance control, positioning your chain links correctly becomes the next critical factor in achieving professional soldering results.
Proper chain link orientation guarantees effective heat distribution and prevents common mistakes that can ruin your work.
Position each chain link with the joint facing upward for easy flame access. This orientation allows you to direct heat precisely where it’s needed most.
Place the link securely on a heat-proof surface to maintain stability throughout the process.
- Position the joint facing upward for maximum flame accessibility
- Secure the chain link firmly on a heat-proof surface
- Apply flux to the joint area before heating begins
- Start heating from the side opposite the joint
- Use the hottest flame zone just behind the inner blue cone
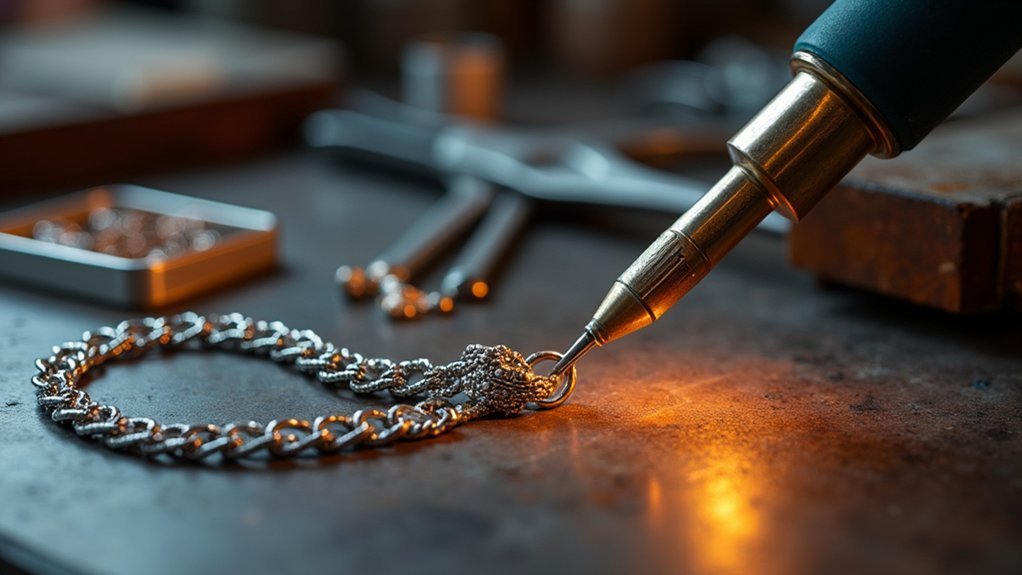
Step-by-Step Chain Link Soldering Process
Five essential steps will guide you through the chain link soldering process with precision and control.
Start by opening the chain link slightly with pliers, creating a small gap for soldering. Clean the link thoroughly to remove any oxidation that could interfere with the bond.
Apply flux to the joint area before positioning a tiny piece of solder so it contacts both sides of the link.
Heat the link evenly with your butane torch, directing the flame around the joint rather than directly at the solder. This prevents overheating and distortion.
When the solder flows into the joint, immediately remove the flame. Cool the chain in water, then clean residual flux using pickle solution for a polished finish.
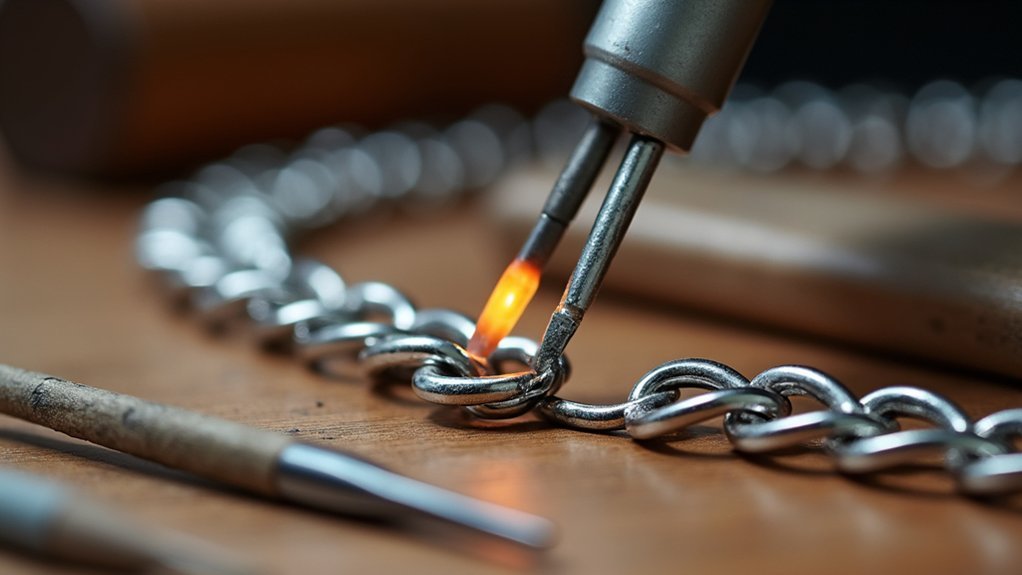
Heating Techniques for Even Heat Distribution
Proper heat distribution makes the difference between a strong, invisible joint and a failed repair that weakens your entire chain. Start heating from your silver chain’s thickest section, then gradually work toward the solder joint. This prevents thermal shock and guarantees even heating throughout the metal.
Use the hottest part of your flame – the tip of the inner blue cone – for maximum efficiency. Don’t aim directly at the solder; instead, heat the surrounding metal first to create proper flow conditions.
- Position your flame a few millimeters away to prevent overheating
- Rotate the chain continuously for uniform heat distribution
- Heat thickest areas first, then move to thinner sections
- Focus on surrounding metal before heating the actual solder
- Use the inner blue cone tip for concentrated, controlled heat
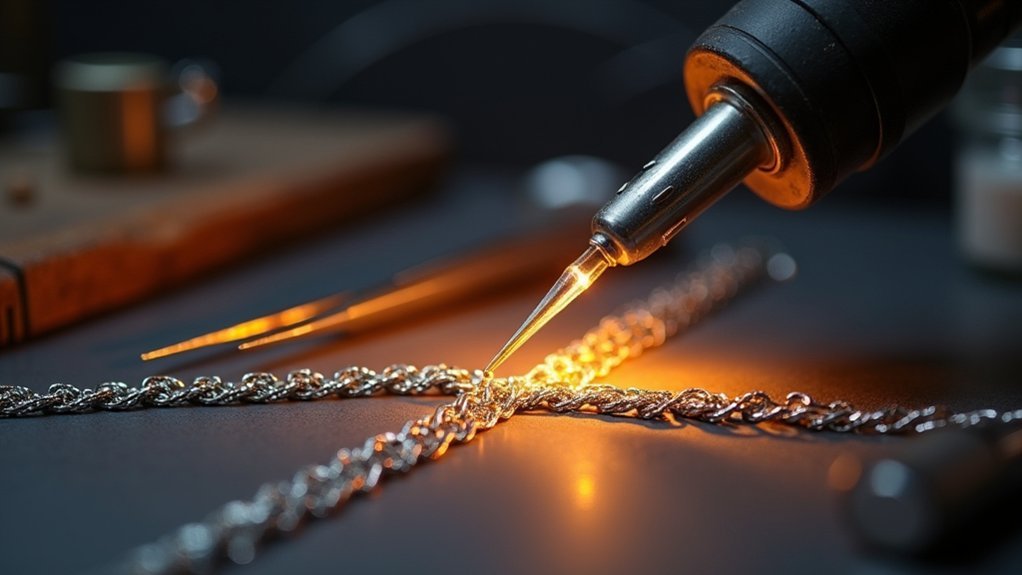
Timing and Visual Cues for Successful Solder Flow
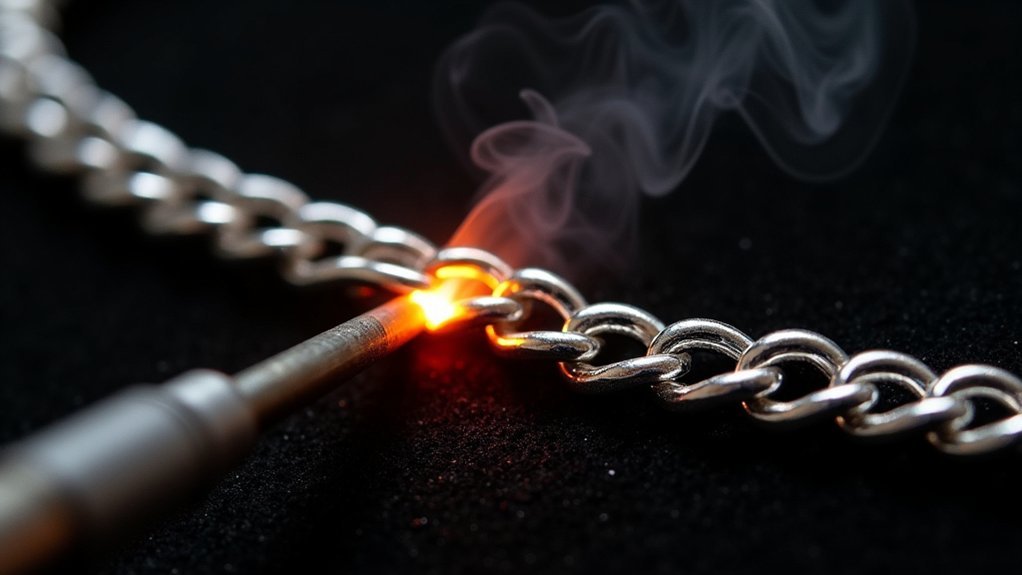
When your silver reaches the correct temperature, you’ll see the solder transform from a dull piece into a bright, liquid bead that flows seamlessly into the joint. This visual transformation happens within seconds of applying your butane torch.
Watch for the telltale solder flash – that’s your cue to remove the flame immediately. The glossy appearance at the joint confirms proper melting and bonding.
Consistent heating is essential for ideal solder flow. If the solder doesn’t move, your metal isn’t hot enough or the solder’s positioned incorrectly. These visual cues guide your timing perfectly.
Post-Soldering Quenching and Inspection Methods
Once your solder reaches that perfect molten state and flows into the joint, you’ll need to act quickly to maintain the integrity of your work.
Immediately quench the silver chain by plunging it into a bowl of water to rapidly cool the metal and prevent further melting or deformation.
Next, carefully inspect each soldered joint for quality:
- Check for even solder flow and smooth finish across all connections
- Look for excess blobs or gaps that indicate weak bonding
- Clean residual flux and oxidation using warm pickle solution
- Handle the chain with copper tweezers when removing from pickle to prevent copper plating
- Rinse thoroughly with water to eliminate acid residue and restore shine
This systematic approach guarantees professional-quality results.
Using Pickle Solution for Chain Cleaning
After completing the initial quenching and inspection, pickle solution becomes your essential tool for achieving that professional, clean finish on your soldered silver chain. This citric acid-based solution effectively removes flux residues and oxidation from your metal’s surface.
Heat your pickle solution slightly to accelerate the cleaning process and boost effectiveness. Always use copper, wooden, or plastic tweezers when handling your chain – metal tweezers cause unwanted copper plating. Submerge your silver chain for approximately five minutes, allowing the solution to work thoroughly.
Remember that citric acid can cause skin irritation, so wear protective gloves throughout the process.
After the soaking period, rinse your chain completely with clean water to remove all pickle residue and reveal your professionally clean silver chains.
Troubleshooting Common Chain Soldering Problems
Even experienced jewelers encounter challenges when soldering silver chains, but understanding the most common problems helps you identify and correct issues quickly.
Poor solder flow typically stems from gaps between chain links or insufficient flux application. When heating doesn’t produce proper results, focus on the hottest part of your flame just behind the inner blue cone.
Common chain soldering issues include:
- Gap alignment problems – Tightly align chain links with no spaces at the joint
- Insufficient flux coverage – Apply proper flux amounts to prevent oxidation
- Uneven heating distribution – Heat metal first before introducing solder
- Solder splashing or poor adhesion – Avoid overheating solder directly
- Blob formation – Quench immediately in water to stop the process and inspect joints
Finishing Techniques for Professional Chain Results
Professional finishing transforms a functional chain repair into an invisible, durable restoration that matches the original craftsmanship. You’ll achieve this by properly preparing surfaces with flux before soldering, ensuring no gaps exist between connections.
Meticulous surface preparation with proper flux application creates seamless solder joints that blend invisibly with your chain’s original metalwork.
After completing your solder joins, immediately quench the chain in water, then submerge it in pickle solution to eliminate flux residues and oxidation that compromise appearance.
Handle your chain with copper or wooden tweezers while in pickle—steel tools cause unwanted copper plating. Carefully inspect each connection for smooth, even solder flow without excess blobs. A clean join requires both aesthetic appeal and structural integrity.
Finally, rinse thoroughly after pickling to remove all chemical residues. Remaining pickle solution irritates skin and diminishes your silver’s polished finish.
Frequently Asked Questions
How to Solder a Silver Chain?
Clean your chain links thoroughly, apply flux to the joint, place small solder pieces on the connection, heat with a butane torch until solder flows, then quench in water and pickle clean.
Why Is My Solder Not Sticking to Silver?
Your solder’s not sticking because you’ve got oxidation, insufficient heat, wrong solder grade, gaps in joints, or you’re heating the solder instead of the silver first.
Do You Need Special Flux for Silver Solder?
You don’t need special flux for silver solder, but it’s highly recommended. Silver-specific flux contains activators that prevent oxidation, improve solder flow, and create stronger joints than regular flux.
How to Solder Pure Silver?
You’ll need medium or easy silver solder with flux on clean surfaces. Heat evenly with a butane torch on a charcoal block, then quench in water and pickle to remove residues.
In Summary
You’ve now mastered the fundamental techniques for professional silver chain soldering. Remember to maintain consistent heat control, use proper flux application, and don’t rush the cooling process. Practice these methods regularly to develop muscle memory and confidence. Keep your workspace organized, prioritize safety, and invest in quality tools for better results. With patience and persistence, you’ll create seamless, durable chain joints that rival professional jewelers’ work every time.


Leave a Reply