You can create stunning chainmaille pieces ranging from elegant Byzantine chain bracelets with mixed metal accents to sophisticated Persian 6-in-1 chokers featuring gemstone integration. Historical enthusiasts will appreciate European 4-in-1 coifs for reenactment, while modern crafters can explore Japanese flower earrings using lightweight titanium rings. Dragon scale mail vests with color gradients offer spectacular visual appeal, and Viking knit arm cuffs showcase traditional weaving techniques. These seven projects will transform your metalworking skills into breathtaking wearable art.
Byzantine Chain Bracelet With Mixed Metal Accents
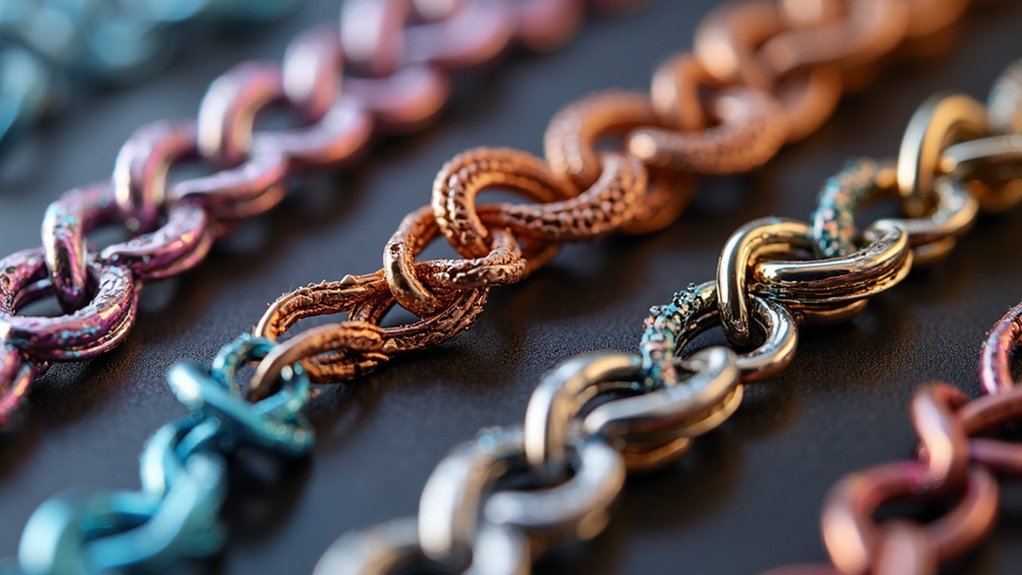
When you combine the timeless elegance of the Byzantine weave with mixed metal accents, you’ll create a bracelet that showcases both traditional craftsmanship and modern aesthetic appeal.
This chainmaille jewelry design uses interlocking rings in a classic pattern that’s both flexible and durable.
You’ll need jump rings with 5/16 inch inner diameter made from 16 or 18 gauge wire for good quality results. A modified Ringinator helps with making jump rings uniformly, which maintains the weave’s integrity.
Consider mixing bright aluminum with bronze or copper accents for visual contrast.
Start your assembly with four base rings, then expand following the specific Byzantine pattern.
The variety of sizes and metals creates stunning depth while preserving the signature interwoven appearance that makes this design so enchanting.
European 4-in-1 Coif for Historical Reenactment
You’ll construct your European 4-in-1 coif using traditional medieval techniques that’ve remained unchanged for centuries, requiring approximately 600-800 rings with 5/8-inch internal diameters made from 14-gauge steel wire.
The authentic four-in-one pattern demands you pass four rings through each single ring before closing, creating the structural integrity medieval warriors relied upon for protection.
Achieving proper fit requires careful measurement of your head circumference and neck length, then adjusting the coif’s expansion pattern to guarantee comfortable coverage without restricting movement during reenactment activities.
Authentic Medieval Construction Techniques
Although modern chainmaille often prioritizes convenience over authenticity, creating a European 4-in-1 coif for historical reenactment demands strict adherence to medieval construction techniques that warriors relied upon for centuries.
When making chainmaille using authentic medieval methods, you’ll master traditional stitching approaches like side stitching or end-to-end connections that guarantee structural integrity. These historical techniques require inserting four rings into one closed ring before securing the structure—exactly as medieval armorers did.
Your chain maille project demands 14-gauge steel rings with 5/8-inch internal diameters, matching period specifications.
You’ll invest roughly 10 hours perfecting the 4-in-1 weave pattern with approximately 200 rings. This methodical approach mirrors how medieval craftsmen prioritized durability over speed, creating armor that protected lives through patient, precise construction rather than shortcuts.
Proper Fitting Methods
Mastering authentic construction techniques means nothing if your coif doesn’t fit properly during combat demonstrations or living history events.
You’ll need to measure your head circumference and adjust the ring count accordingly during assembly. Start by creating a test section with your 14 gauge steel rings to gauge proper dimensions before committing to the full 200-ring structure.
These jewelry making tips guarantee comfort: maintain consistent tension while stitching and check flexibility at the neck opening.
Essential tools to use include calipers for measuring ring gaps and pliers for precise closure.
When making rings, consider that head shapes vary greatly, so test-fit frequently throughout construction.
Proper fitting methods require patience—you can’t rush the adjustment phase without compromising authenticity and wearability.
Japanese Flower Earrings Using Titanium Rings
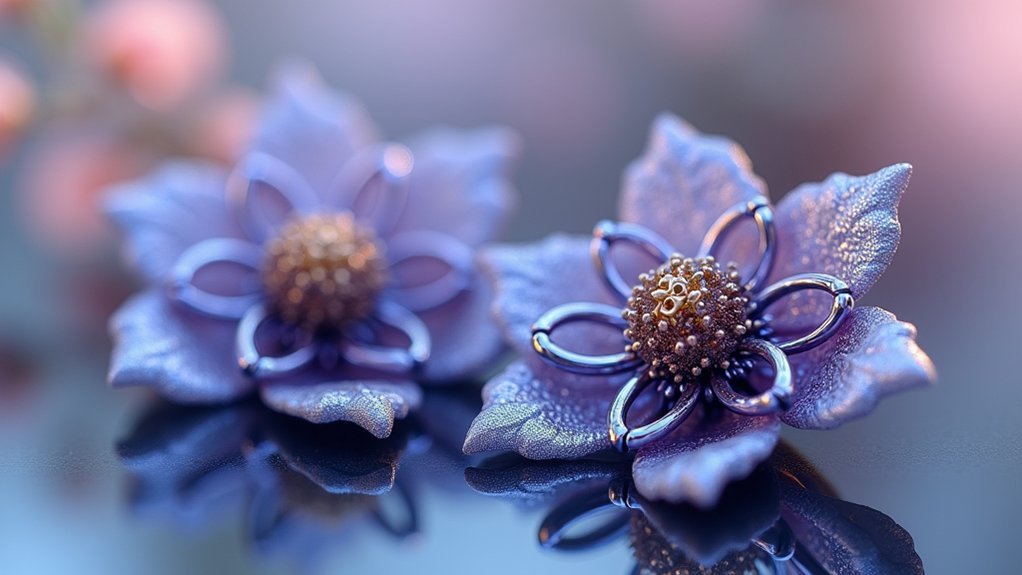
You’ll start your Japanese flower earrings by preparing 40 to 50 titanium rings in varying sizes, ensuring each ring is properly cut and shaped for the intricate floral pattern.
The titanium’s lightweight properties and tarnish resistance make it perfect for jewelry that needs both durability and comfort.
Once you’ve organized your rings by size, you can begin the precise assembly process that transforms simple rings into an elegant flower design using the Japanese 12-in-2 weave pattern.
Titanium Ring Preparation
Sixty titanium rings form the foundation of your Japanese Flower Earrings, but proper preparation determines whether your finished piece displays professional craftsmanship or amateur shortcuts.
Start by cutting titanium wire into perfect rings using a saw-cut technique. This method guarantees clean closures that’ll elevate your chainmaille designs above standard twisted-cut alternatives.
Use 16-gauge titanium wire for peak strength and visual appeal. Each ring’s internal diameter should complement the earrings’ delicate proportions.
Essential preparation steps include:
- Selecting saw-cut rings for seamless closures
- Measuring consistent internal diameters
- Preparing exactly 60 rings total
- Testing ring alignment before assembly
- Organizing rings by opening/closing sequence
Keep needle nose pliers nearby for precise handling. The lightweight yet durable titanium material requires careful manipulation to prevent distortion during opening and closing processes.
Japanese Flower Assembly
With your sixty prepared titanium rings organized and ready, the Japanese Flower assembly begins by creating individual petals that’ll form the complete floral design. Each petal requires six rings arranged in a specific pattern. Start by connecting three rings in a triangle formation, then add the remaining three rings to complete the petal structure.
| Step | Rings Used | Action |
|---|---|---|
| 1 | 2 rings | Form base connection |
| 2 | 1 ring | Add center support |
| 3 | 2 rings | Create outer edges |
| 4 | 1 ring | Complete petal tip |
| 5 | All petals | Join for flower |
When you put together each petal, maintain consistent spacing and alignment. Using wire pliers, guarantee secure connections without damaging the titanium finish. This jewelry piece demands precision—each ring must sit perfectly to achieve the delicate floral appearance that makes this design so appealing.
Dragon Scale Mail Vest With Color Gradients
Since dragon scale mail represents one of chainmaille’s most visually spectacular patterns, creating a vest with color gradients transforms this ancient armor technique into wearable art.
You’ll achieve stunning visual depth by systematically shifting different colored rings together throughout your design. Whether you’re using steel wire or plated wire materials, the overlapping scale texture creates dramatic effects when enhanced with color gradients.
Consider these essential construction elements:
- Use anodized aluminum for lightweight comfort without sacrificing visual impact
- Plan your gradient pattern before linking rings together to guarantee smooth shifts
- Construct each scale with multiple rings for intricate detail work
- Design flexible inner structure for natural movement and wearability
- Allow extra time for assembly since each scale component requires careful attention
Celtic Knot Necklace Incorporating Elf Weave Patterns
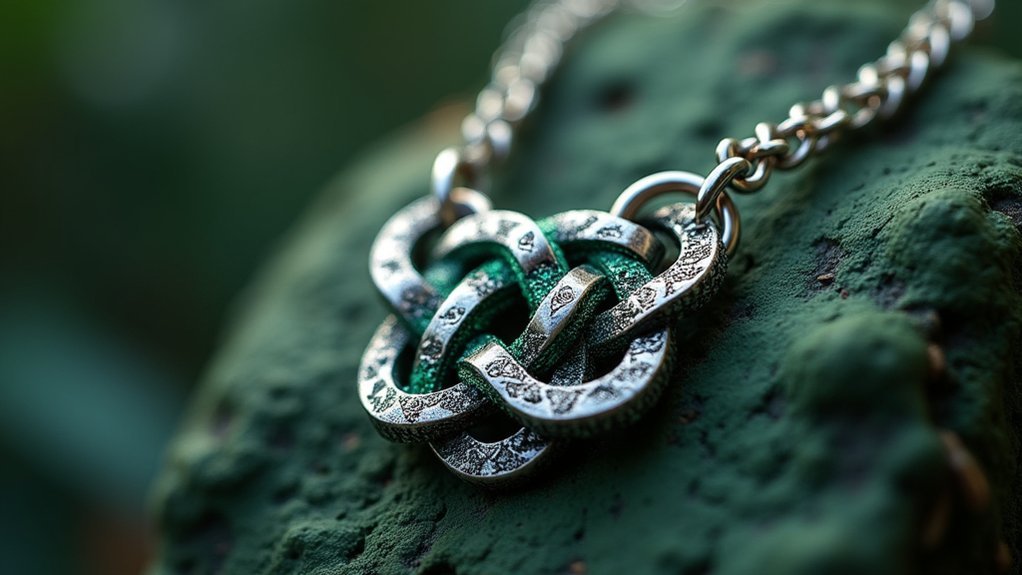
Celtic knot necklaces showcase chainmaille’s artistic potential through the mesmerizing Elf Weave pattern, where interlocking rings create symbols of eternity and interconnectedness that have captivated craftspeople for centuries.
You’ll need various jump ring sizes crafted from anodized aluminum or stainless steel to achieve both durability and visual impact. Start by mastering the four-in-one pattern, which forms the foundation for this complex weave and guarantees your Celtic Knot maintains structural integrity throughout wear.
The connecting sequence requires precision, but the results reward your patience. Consider incorporating beads or gemstones strategically throughout the design to add personalization and enhance the necklace’s beauty.
Precision in connecting sequences yields rewarding results, while strategically placed beads and gemstones add personal beauty to your intricate design.
Plan for approximately ten hours of concentrated work, as this intricate project demands careful attention to detail and consistent technique to achieve a polished, professional-quality finish.
Persian 6-In-1 Choker With Gemstone Integration
Persian 6-in-1 chokers represent one of chainmaille’s most sophisticated weaving techniques, where each ring elegantly connects to six neighboring rings to form a dense, flexible collar that hugs the neckline with remarkable grace.
This persian 6-in-1 choker design transforms traditional jewelry making by incorporating gemstone integration, creating stunning personalized pieces that showcase both metalwork and precious stones.
You’ll need approximately 80 saw-cut jump rings in 16-18 gauge for ideal results. The gemstone integration requires careful planning to maintain structural integrity while securing stone settings.
Essential considerations for your project:
- Use saw-cut jump rings for superior closures
- Plan gemstone placement before beginning assembly
- Maintain consistent ring alignment throughout weaving
- Allow several hours for completion
- Guarantee secure integration of stone settings
This intricate design rewards patience with breathtaking results.
Viking Knit Arm Cuff Enhanced With Traditional Weaves
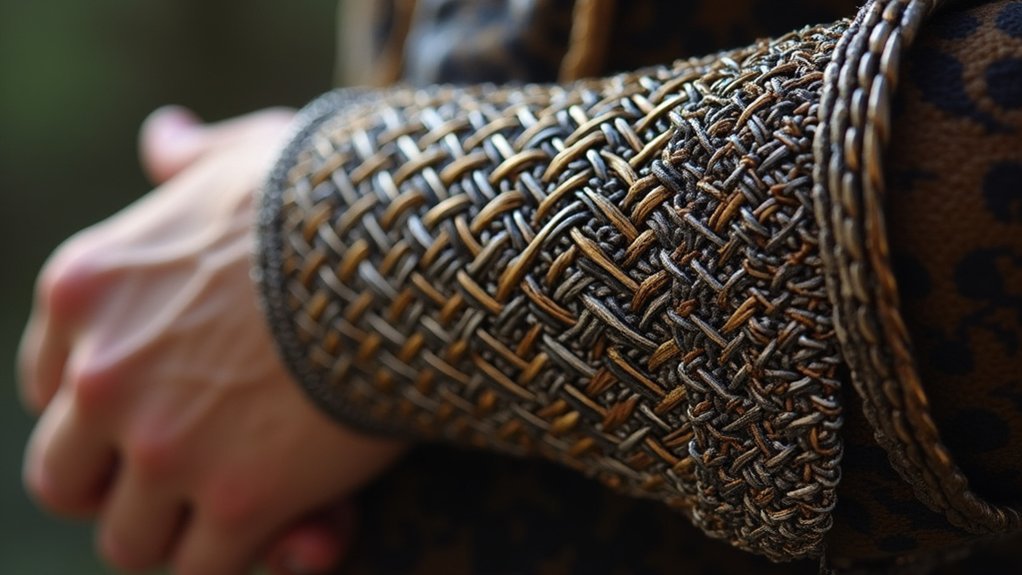
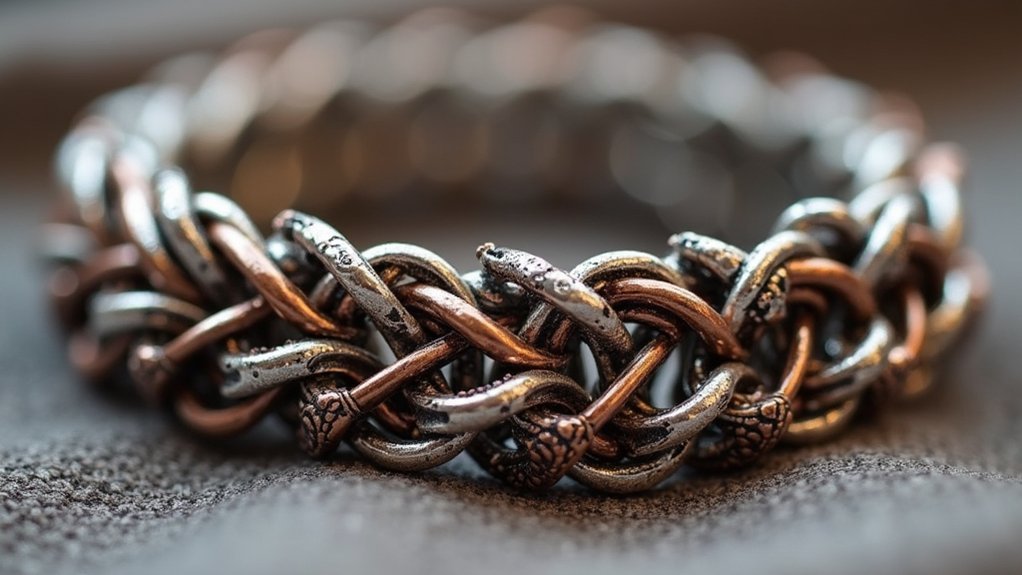
While chainmaille artisans have long admired the flowing elegance of Viking knit techniques, combining this ancient method with traditional weave patterns creates arm cuffs that showcase both historical authenticity and modern craftsmanship innovation.
You’ll want to use 20 to 24 gauge wire to make your foundation chain, ensuring it’s both durable and comfortable. Integrate 4-in-1 or 6-in-1 traditional weaves to add intricate detailing that enhances visual texture.
Choose aluminum for lightweight wear or stainless steel for robustness. Anodized aluminum rings introduce vibrant color contrasts that make your patterns pop.
Complete your design with decorative elements like charms or beads, allowing personal expression while honoring Viking craftsmanship traditions.
Frequently Asked Questions
Is Making Chainmail Easy?
You’ll find chainmail making straightforward but time-consuming, requiring about ten hours per piece. With proper tools, precise measurements, and starting with simpler projects, you’ll gradually master the techniques and reduce hand fatigue effectively.
Is Chainmail Jewelry Popular?
You’ll find chainmail jewelry’s gaining serious popularity through social media exposure and artisan communities. It’s become trendy wearable art, especially at Renaissance fairs and cosplay events, with DIY accessibility attracting more hobbyists.
What Is the Easiest Chainmaille Weave?
You’ll find the Four-in-One pattern is the easiest chainmaille weave. You thread four rings through one ring, creating a foundation that’s perfect for beginners and takes about an hour for small pieces.
What Is Chainmaille Jewelry?
You’ll create chainmaille jewelry by interlinking metal rings in intricate patterns to form necklaces, bracelets, and earrings. You’re crafting durable, decorative pieces that showcase ancient armor-making techniques in modern wearable art.
In Summary
You’ve explored seven stunning chainmaille projects that’ll challenge your skills and expand your crafting horizons. From delicate titanium flower earrings to imposing dragon scale vests, these designs showcase chainmaille’s incredible versatility. Whether you’re drawn to historical accuracy with the European coif or prefer modern flair with mixed metal accents, each project offers unique techniques you’ll master. Start with simpler pieces like the Byzantine bracelet, then work toward complex creations that’ll become treasured heirloom pieces.


Leave a Reply