You can fix most gold chain problems at home using basic jewelry tools like needle-nose pliers, tweezers, and a magnifying glass. Start by identifying your chain type—box, curb, herringbone, or rope—since each requires different repair techniques. For broken links, clean the area with flux and use a soldering iron with matching gold solder. Untangle knots with baby oil and patience, reshape flattened links gently, and straighten kinks by hand. These proven methods will restore your chain’s beauty and functionality.
Identify Your Chain Type Before Starting Repairs
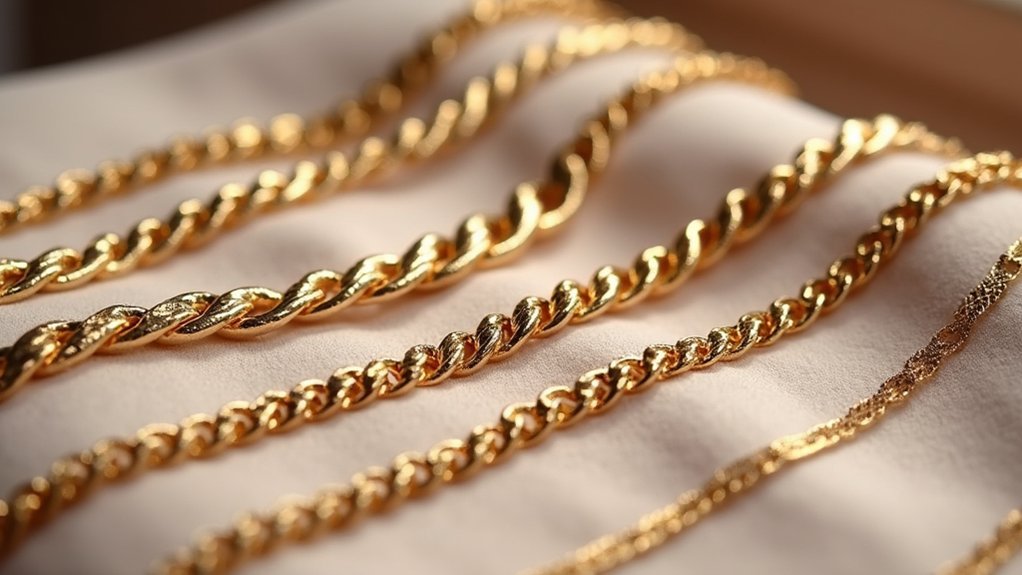
Before you attempt any repairs on your gold chain, you must identify its specific type since each style requires different techniques and tools.
Box chains feature square links that you’ll typically adjust with pliers, while curb chains have flat, interlocking links prone to stretching and requiring reshaping.
Box and curb chains each demand distinct repair approaches due to their unique link structures and vulnerability patterns.
Herringbone chains present the most challenging repairs due to their delicate, intricate structure that kinks easily—you’ll often need professional assistance with this jewelry type.
Rope chains consist of twisted links that can tangle, requiring careful weaving before soldering.
Understanding your chain type allows accurate damage diagnosis and efficient repair techniques. Each style has unique vulnerabilities, so proper identification guarantees you’ll select appropriate methods that preserve your jewelry’s integrity and longevity.
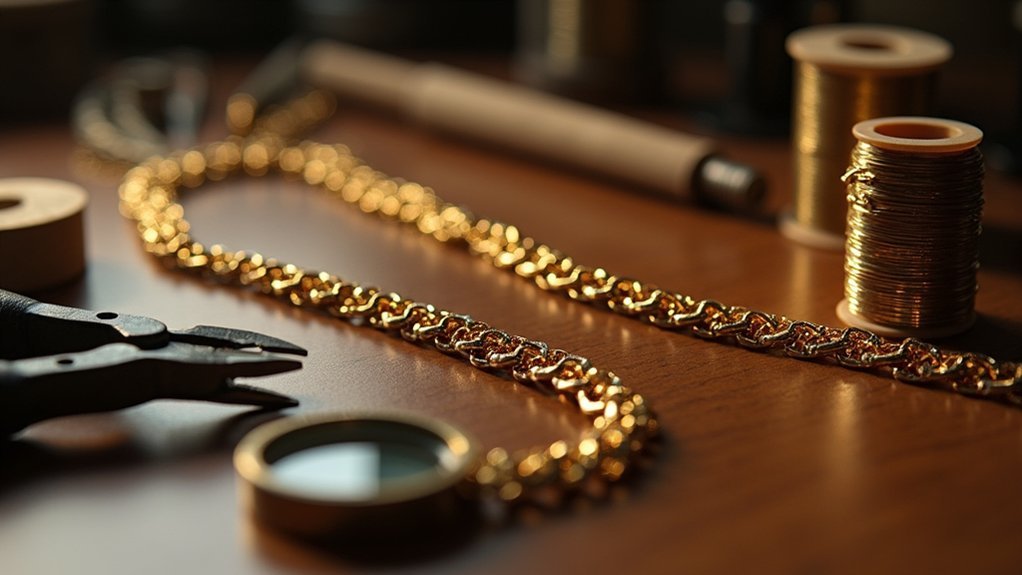
Essential Tools for Gold Chain Restoration
You’ll need the right tools to restore your gold chain effectively and safely.
Start by assembling a basic repair kit that includes needle nose pliers, wire cutters, and tweezers for handling delicate components with precision.
Consider investing in quality soldering equipment if you’re tackling complex repairs that require joining broken links or reattaching clasps.
Basic Repair Tool Kit
Success in gold chain restoration depends largely on assembling the right tools before you begin any repair work. Your basic repair kit should include precision instruments that’ll handle delicate components effectively.
Essential tools you’ll need:
- Needle nose pliers – Manipulate small chain components with precision and control
- Soldering iron – Join broken links permanently for lasting repairs
- Wire cutters – Trim excess materials for clean, professional finishes
- Tweezers – Handle tiny components in intricate chain designs safely
You’ll also want a magnifying glass to examine damage thoroughly, ensuring you don’t miss critical details.
Having two pairs of pliers enhances your control when working with jump rings or reattaching links.
Finally, keep a soft cloth handy for polishing your restored chain, bringing back its original shine and luster.
Soldering Equipment Selection
When soldering gold chains, selecting the right equipment makes the difference between a professional repair and a damaged piece.
You’ll need a soldering iron or micro torch for precise heating without damaging delicate links. Choose gold solder that matches your chain’s karat and color to maintain aesthetic integrity throughout the repair.
Flux is essential during the soldering process as it prevents oxidation and guarantees proper solder adherence.
You’ll want fine-tipped pliers and tweezers for precision when aligning broken ends and handling small components.
Don’t overlook a soft cloth for pre-repair cleaning – removing dirt and oils prevents interference with solder bonding.
This equipment combination gives you the precision and control necessary for seamless gold chain restoration while preserving the piece’s original appearance and structural integrity.
Precision Handling Instruments
Precision handling instruments form the backbone of successful gold chain restoration, enabling you to manipulate delicate components without causing additional damage.
These specialized tools guarantee your professional repair work meets high standards while protecting the chain’s integrity.
Essential instruments for precision handling include:
- Needle nose pliers – Manipulate small chain components with accuracy and control
- Tweezers – Handle tiny pieces and align broken links during restoration
- Wire cutters – Trim excess materials for clean, professional finishes
- Dual plier setup – Use two pairs simultaneously for enhanced control on intricate designs
Your soldering iron works alongside these precision tools to create seamless repairs.
When you’re working with broken links, the combination of proper handling instruments and steady technique produces lasting results that restore your gold chain’s original beauty and functionality.
Soldering Broken Links Back Together
Soldering broken links requires careful preparation and the right materials to create a lasting repair. You’ll need to clean the broken area thoroughly, removing any oxidation that could prevent proper adhesion. Select gold solder that matches your chain’s karat and color for seamless results.
| Step | Material | Technique |
|---|---|---|
| Clean | Flux solution | Remove oxidation completely |
| Position | Tweezers | Align broken ends precisely |
| Heat | Soldering iron/torch | Apply controlled temperature |
| Finish | Cleaning cloth | Polish excess flux away |
Apply flux to the joint before heating to enhance the bond. Use tweezers to align the broken ends carefully, ensuring a precise fit. For hollow links, insert a small wire inside to increase surface area for stronger adhesion. Heat the area until solder melts and flows into the join. Allow complete cooling before cleaning.
Reattaching Jump Rings and Clasps
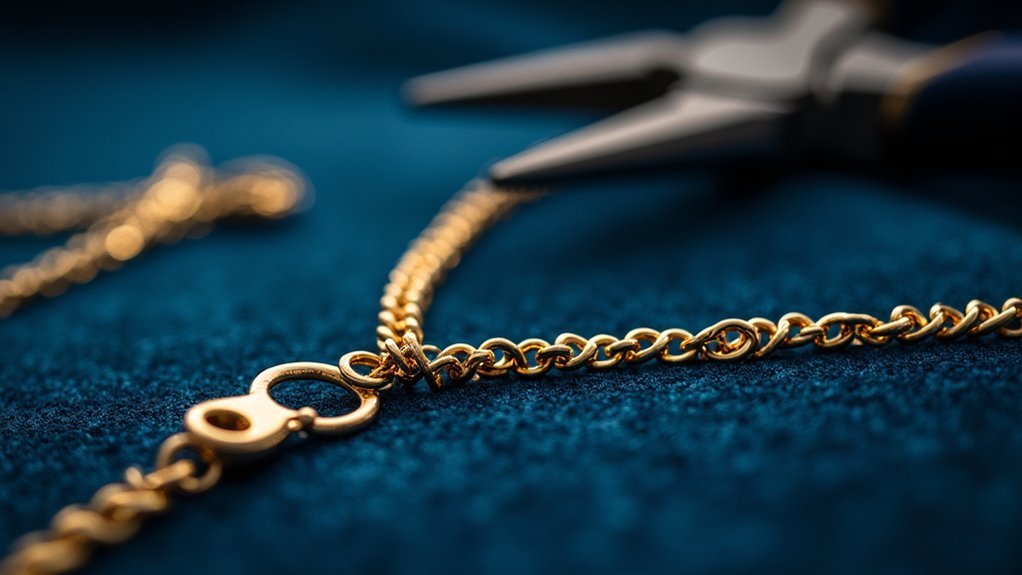
While soldering repairs broken links permanently, many chain issues involve loose or detached jump rings and clasps that require different techniques.
The repair process for these components doesn’t need heat or specialized equipment—just proper plier handling.
When working with jump rings on your gold chain, you’ll need two pairs of pliers for the best results:
- Twist jump rings open gently without pulling to prevent structural weakening
- Align ends properly when closing to eliminate gaps that cause chain failure
- Hold both the jump ring and clasp securely while manipulating for precise attachment
- Inspect components regularly for wear and tear since they’re the most vulnerable points
If your clasp shows damage, you can often replace it entirely using small pliers, making this an accessible fix without professional help.
Untangling Knotted Gold Chains Safely
When you’re faced with a knotted gold chain, you’ll need the right tools and technique to safely restore it without causing damage.
Start by gathering essential untangling tools like fine-tipped tweezers, a magnifying glass, and baby oil to lubricate the links.
Follow a systematic step-by-step process and learn prevention methods to keep your chains tangle-free in the future.
Essential Untangling Tools
Success in untangling knotted gold chains depends on having the right tools at your disposal. The right essential untangling tools make the difference between successfully restoring your jewelry and causing permanent damage.
You’ll need these key items for safe untangling:
- Baby oil or olive oil – Lubricates the chain to ease knots without damaging the metal
- Soft cloth or microfiber towel – Provides gentle grip while protecting the gold surface from scratches
- Fine-tipped tweezers – Offers precision control when pulling apart delicate knots and tangles
- Patience – Your most important tool to work methodically without rushing
With these tools ready, you can tackle even stubborn knots safely.
Remember to avoid excessive force throughout the process, as your gold chain requires gentle handling to prevent breaks or scratches.
Step-by-Step Detangling Process
Before you begin untangling your knotted gold chain, lay it flat on a soft, clean surface where you can clearly see each twist and loop.
Apply a small amount of baby oil or olive oil to reduce friction and make the process smoother.
Use your fingers or fine-tipped tweezers to gently separate the tangled sections without pulling, which prevents breakage.
Work slowly through each knot with patience, as rushing leads to further damage.
If your gold chain remains stubbornly knotted despite your careful efforts, don’t force it. Instead, consider seeking professional help from a jeweler who’s specialized tools and expertise.
Preventing Future Knots
Why deal with frustrating tangles repeatedly when you can take simple steps to keep your gold chain smooth and knot-free? Proper care and regular maintenance will protect your delicate links from damage and eliminate the need for frequent untangling processes.
Follow these essential prevention strategies:
- Store your gold chain in a soft-lined jewelry box with individual compartments.
- Fasten clasps before storing to prevent chains from moving freely.
- Keep chains separated from other jewelry pieces to avoid entanglement.
- Handle gently during wear and removal to avoid excessive force.
Regular maintenance includes checking for weak links and cleaning appropriately.
When you prevent future tangling through organized storage, you’ll save time and protect your investment. These simple habits guarantee your gold chain remains beautiful and tangle-free for years.
Fixing Flattened Box Chain Links
Three common causes lead to flattened box chain links: accidental stepping, improper storage, and regular wear over time.
To fix your broken gold box chain, start by inspecting the damaged links for cracks or weak spots. Use needle nose pliers to grasp each flattened link gently, then carefully reshape the links back to their original rounded form. Don’t apply excessive pressure to avoid further damage.
If you discover cracks during inspection, soldering may be necessary for a secure repair. Apply heat cautiously with a soldering iron, targeting only the damaged area without overheating nearby links.
After reshaping or soldering, clean the chain thoroughly with mild soap and warm water to remove debris and oxidation. Store your repaired chain in a soft-lined jewelry box.
Straightening Kinked Herringbone Chains
You’ll need to assess how badly your herringbone chain is kinked before attempting any repair method.
Start by examining the affected area to determine if it’s a minor bend or a severe deformation that might require professional attention.
Once you’ve identified the severity, you can choose the appropriate gentle straightening technique that won’t damage the chain’s delicate flat links.
Identifying Kink Severity
Before attempting any repair, you’ll need to carefully examine your herringbone chain to determine how severe the kinking has become.
Visual inspection is vital for choosing the right repair approach and avoiding further damage to your delicate jewelry.
To properly inspect your chain for kink severity:
- Look for noticeable bends or twists that disrupt the chain’s naturally flat herringbone structure.
- Examine how the links have shifted from their original alignment position.
- Check if gentle finger pressure can easily straighten minor distortions.
- Assess whether the kink affects multiple sections or just one isolated area.
Take special care during this evaluation process, as herringbone chains are particularly fragile.
Understanding the extent of damage helps you decide whether you can safely repair it yourself or need professional assistance.
Gentle Straightening Methods
Once you’ve assessed the kink severity, start with the most delicate approach by placing your herringbone chain flat on a clean, soft surface.
These gentle straightening methods protect your gold from unnecessary damage. Use your fingers to carefully work the links back together, applying minimal pressure to gradually ease out kinks.
Place a soft cloth on your work surface to prevent scratching while manipulating bent areas with tweezers if needed. Running warm water over stubborn kinks can soften the metal slightly, but avoid excessive heat.
Never pull or tug aggressively, as this creates additional pressure or stress on delicate links. Avoid wearing damaged chains until fully repaired, and regularly inspect your jewelry to prevent future issues.
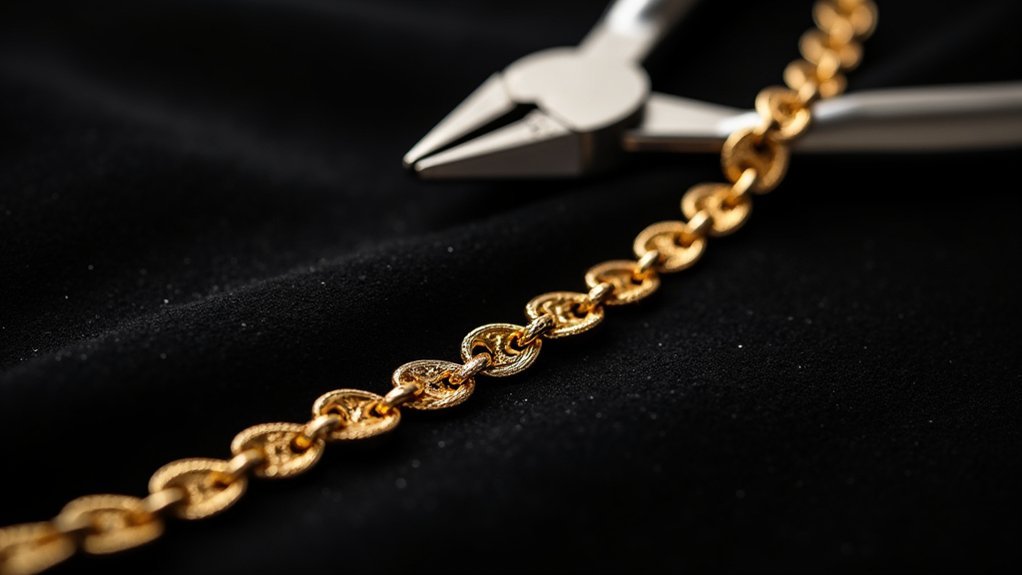
Repairing Stretched Rope Chain Patterns
Stretched rope chains present unique repair challenges due to their intricate twisted pattern that can easily become distorted when links shift out of alignment.
Rope chains require specialized repair techniques to preserve their complex twisted structure and prevent further link misalignment during restoration.
When repairing gold chains with rope patterns, you’ll need to carefully restore the original twist configuration to maintain the chain’s distinctive appearance and functionality.
- Gently untangle any knots and realign each link to match the original rope pattern before beginning repairs.
- Use a jeweler’s torch with low-temperature solder for broken links, avoiding excessive heat that damages delicate structures.
- Inspect every individual link for wear or damage to guarantee complete chain integrity restoration.
- Weave links back together accurately during reassembly to prevent future stretching or kinking issues.
Regular maintenance through proper cleaning and storage prevents future rope chain stretching, extending your jewelry’s lifespan considerably.
Cleaning and Polishing After Repairs
After completing your gold chain repairs, you’ll need to thoroughly clean the work area to remove solder residue, flux, and any oxidation that developed during the heating process. Start by washing the gold chain with mild soap and warm water, then dry thoroughly.
| Cleaning Step | Tool Required | Purpose |
|---|---|---|
| Initial wash | Mild soap, warm water | Remove flux residue |
| Detail cleaning | Magnifying glass | Check intricate crevices |
| Polishing | Soft cloth | Eliminate tarnish |
| Fine polishing | Specialized jewelry cloth | Restore luster |
| Professional service | Expert equipment | Deep cleaning |
Use specialized tools like magnifying glasses for intricate designs, ensuring no debris remains hidden. Regular polishing prevents future tarnish formation. Consider a professional cleaning service for stubborn grime and ideal shine restoration.
Preventing Future Chain Damage
Five simple preventive measures can dramatically extend your gold chain’s lifespan and save you from costly repairs down the road.
Regular maintenance and mindful handling will protect your investment while keeping your jewelry looking pristine.
You’ll want to inspect your chain regularly for signs of wear or damage, checking for fraying links or weakened clasps.
Always remove your chain before sleeping or exercising to prevent tangling and pulling that compromises its structure.
- Clean your chain regularly with mild soap and warm water
- Store it properly in a soft-lined jewelry box to avoid scratches
- Remove before physical activities or sleep
- Avoid harsh chemicals like perfumes and chlorine
These practices will help you avoid future repairs and maintain your chain’s beauty for years.
Frequently Asked Questions
How to Fix a Gold Chain at Home?
First, you’ll identify your chain’s break type. Use pliers to reattach links with jump rings, or solder broken pieces using matching gold solder and flux. Clean before repairing, then polish afterward.
What Does It Mean When Gold Chains Break Spiritually?
When your gold chain breaks spiritually, it’s signaling you’re releasing toxic relationships or negative energies. You’re experiencing transformation, needing personal growth and healing. It’s urging you to reassess your life path and values.
How Much Is It to Fix a Gold Necklace Chain?
You’ll typically pay $20 to $100 to fix your gold necklace chain. Simple repairs like clasp reattachment cost $20-$50, while complex soldering runs $50-$100. You should compare prices from multiple jewelers.
Why Does My Gold Chain Keep Breaking?
Your gold chain keeps breaking because you’re likely wearing a softer 18K or 24K alloy that’s prone to damage from daily wear, snagging on clothes, or stress from heavy pendants.
In Summary
You’ve now mastered essential gold chain repair techniques that’ll save you money and extend your jewelry’s life. Remember to work slowly and carefully, especially with delicate chains like herringbone styles. Don’t rush the soldering process, and always clean your chain thoroughly after repairs. With proper maintenance and these skills, you’ll keep your gold chains looking beautiful for years. Practice makes perfect, so start with less valuable pieces before tackling your most precious jewelry.


Leave a Reply