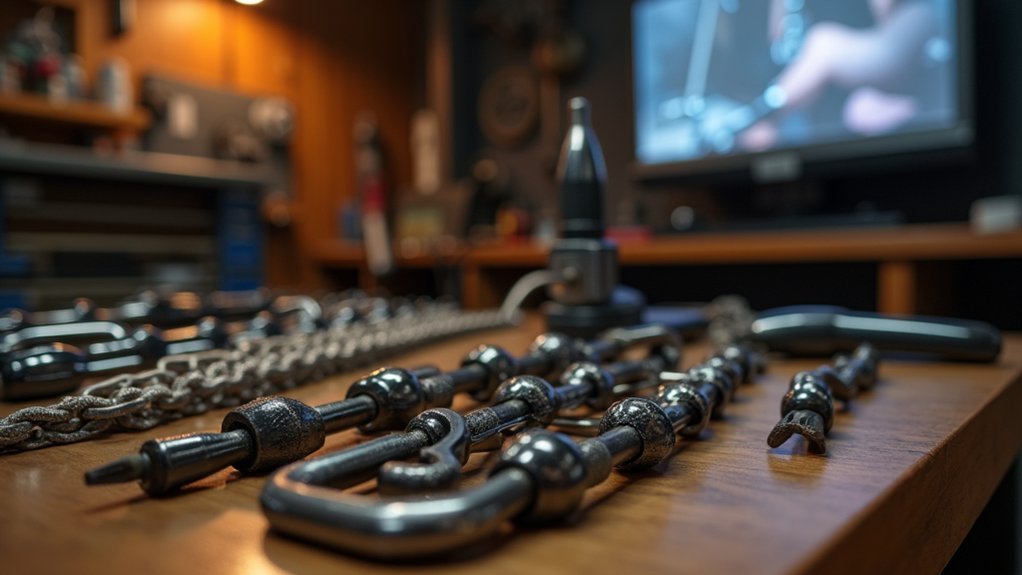
You’ll need a proper chain tool with splitting and stiff-link jaws, plus Shimano joining pins or master links for professional repairs. Position the chain carefully, drive pins outward while keeping them partially threaded, then align male and female ends precisely. Insert the joining pin until you feel natural resistance, snap off excess material with pliers, and test flexibility by bending each link. Proper technique prevents chain failure during high-stress riding situations and guarantees your repair holds up under demanding conditions.
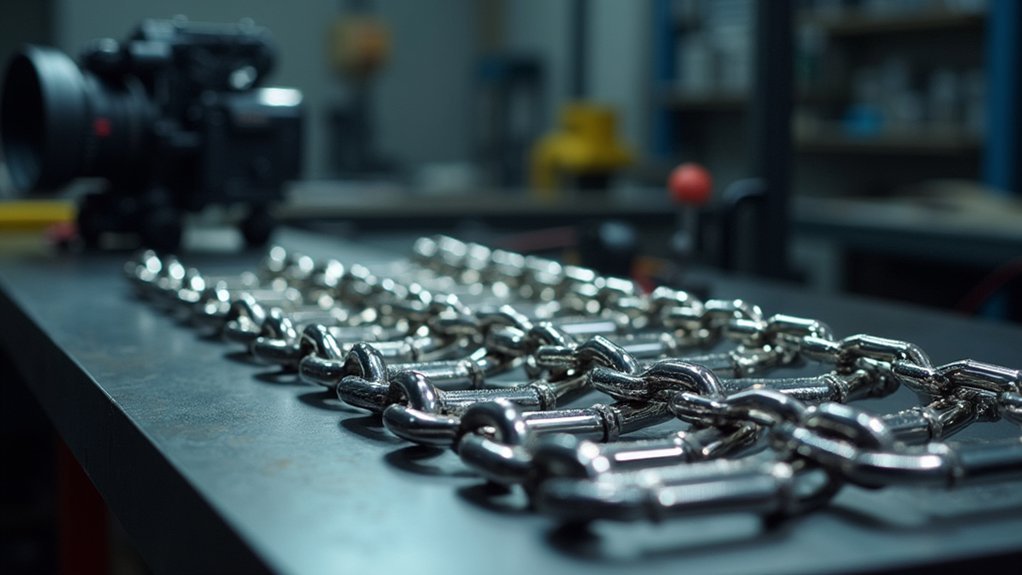
Essential Tools for Professional Chain Repair
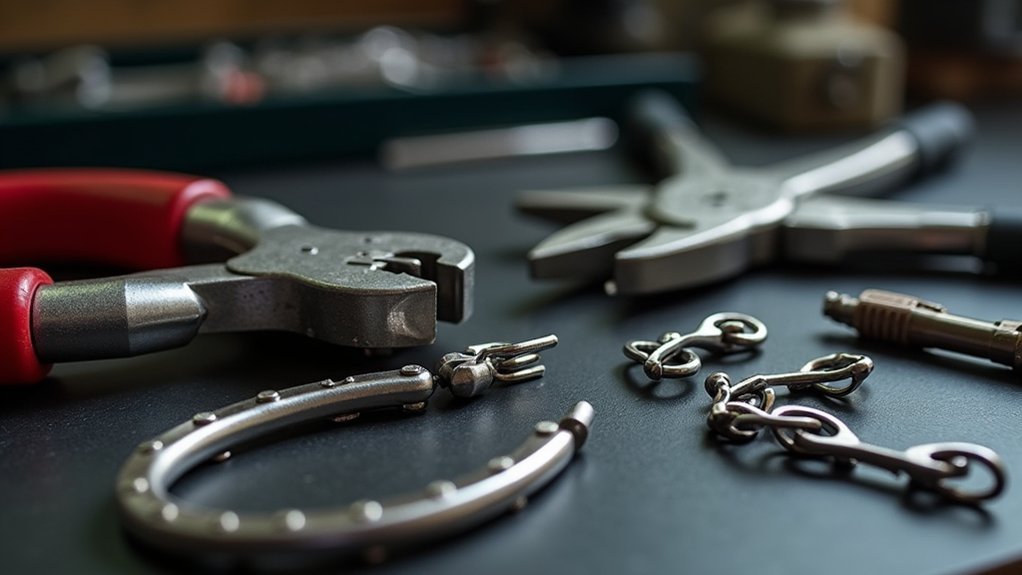
You’ll need specific tools to execute professional chain repairs efficiently and reliably. A chain tool or multi-tool with chain functionality is absolutely essential for splitting and rejoining broken chains effectively.
For Shimano chains specifically, you’ll require a Shimano joining pin to maintain the chain’s strength and integrity after repair. Master links offer quick reassembly advantages, especially during races or harsh weather conditions, and they’re compatible across various brands.
Pay attention to having pliers available for snapping off excess pin material after insertion, preventing chain obstructions.
Consider using a bent spoke or third hand tool that’s advantageous for providing additional support during repairs, making chain and tool maneuvering considerably easier throughout the process.
Understanding Chain Stress Points and Failure Modes
You’ll find that bike chains fail most often at high torque impact zones where maximum force transfers through the drivetrain during hard pedaling or climbing.
Gear shifting creates additional stress points as the chain moves laterally across sprockets, causing wear patterns that weaken specific links over time.
Watch for pin weakness indicators like stiff links, chain stretch, or visible wear at the roller-pin interfaces—these warning signs help you identify potential failure points before they strand you mid-ride.
High Torque Impact Zones
Two critical zones on your bike chain endure the most punishment: the power transfer point where your pedal force enters the drivetrain, and the derailleur wrap sections where gear changes create angular stress.
These high torque areas experience maximum loading during acceleration and climbing, making them prime candidates for link failure.
You’ll find the chainring engagement zone bears the brunt of your leg power, while the rear derailleur’s tight bends stress the chain’s inner and outer plates through constant flexing.
Your maintenance practices should focus on these vulnerable spots, checking for elongation and damaged links.
Monitor wear and tension regularly at these impact zones, as they’ll show deterioration first.
Quality chains with superior tensile strength resist failure better than budget alternatives.
Gear Shifting Stress
Beyond these stationary stress points, gear shifting creates dynamic forces that test your chain’s resilience in entirely different ways.
During shifts, your chain experiences torque spikes exceeding 1,200 Newtons, depending on your power output and gear ratios. Smart gear selection becomes essential—avoid cross-chaining and extreme gear combinations that amplify stress points unnecessarily.
Monitor your chain tension regularly, as improper tension magnifies shifting stress and accelerates wear at important joints. You’ll notice failure typically occurs where links connect or where stiffness develops from accumulated dirt and inadequate lubrication.
Poor derailleur alignment compounds these issues, forcing your chain into unnatural positions during changes.
Master smooth shifting techniques by easing pedal pressure momentarily during gear changes, reducing sudden stress spikes that compromise chain integrity over time.
Pin Weakness Indicators
When chain pins begin to weaken, they’ll telegraph their distress through subtle but detectable warning signs that savvy cyclists can spot before catastrophic failure occurs. Recognizing these pin weakness indicators is essential for preventing unexpected chain breakage during rides.
- Visual deterioration – Bent, cracked, or corroded pins showing surface damage
- Chain binding – Increased stiffness during rotation indicating stressed components
- Gear skipping – Consistent slipping under torque suggesting compromised pin strength
- Chain elongation – Measurable stretch indicating accumulated pin stress over time
You’ll need to make regular inspections part of your maintenance routine.
Make sure you’re using a chain checker tool to quantitatively assess wear levels. This proactive approach helps you identify when pins are approaching their failure threshold, allowing timely replacement before complete breakdown occurs.
Safety Precautions Before Starting Chain Work
Before you begin any chain linking work, you’ll need to establish a safe working environment that protects both you and your equipment.
Start by putting on safety glasses – you’ll want to be able to see clearly while protecting your eyes from metal shards and debris.
I’m going to emphasize wearing gloves since they’ll prevent cuts from sharp chain links and improve your tool grip.
Secure your bike on a stable stand or surface to prevent accidents.
If you’re working on an electric bike, disconnect the battery to avoid accidental component activation.
Keep a first aid kit within reach for any minor injuries.
These precautions are pretty much essential for professional chain work, ensuring you can focus on the repair without compromising safety.
Proper Chain Splitting Techniques Using Specialized Tools
When you’re ready to split a chain professionally, you’ll need to understand how your chain splitter’s two sets of jaws work together—one for splitting and one for removing stiff links.
Always drive the pin outward toward the bike’s exterior, which gives you better access and control during the process.
Remember that you shouldn’t completely extract the pin, as keeping it partially inserted maintains the chain’s structural integrity throughout the splitting operation.
Chain Splitter Jaw Types
Understanding the distinct jaw configurations on your chain splitter will dramatically improve your splitting technique and prevent costly chain damage. Your tool features two specialized jaw sets, each serving a critical function during the splitting process.
The primary jaw pushes the chain pin outward, while the secondary jaw stabilizes the chain structure. You’ll want to position the drive pin facing the bike’s exterior for ideal access during operation.
Here are essential jaw operation techniques:
- Keep the pin partially inserted rather than completely removing it
- Use the stabilizing jaw to maintain chain alignment throughout the process
- Apply gentle pressure when pushing pins to avoid sudden breaks
- Pull outer plates slightly apart when addressing stiff links
Proper jaw selection and careful handling guarantee successful splits without damaging your chain’s integrity.
Pin Removal Direction
Since pin direction determines both accessibility and chain integrity, you’ll need to drive the pin toward the bike’s exterior for best results. This technique provides better tool access and prevents awkward positioning during the splitting process.
Position your chain splitter so the pin moves outward from the bike’s centerline. You’ll find this approach gives you clearer visibility and more controlled pressure application. Remember to stop before fully removing the pin—keep it partially inserted to maintain chain structure.
| Direction | Advantage | Consideration |
|---|---|---|
| Outward | Better accessibility | Easier tool positioning |
| Outward | Clear visibility | Controlled pressure |
| Partial removal | Maintains integrity | Prevents complete separation |
If you encounter resistance, gently spread the outer plates while driving the pin to reduce binding and facilitate smooth operation.
Avoiding Complete Pin Extraction
Although complete pin removal might seem like the logical next step, you’ll want to resist this impulse when splitting chains. Keeping the pin partially inserted maintains your chain’s structural integrity and prevents unnecessary damage during the splitting process.
When using your chain splitter, focus on these critical techniques:
- Position one jaw to split the chain while using the other to address stiff links
- Drive the pin toward the bike’s outside for better access and control
- Stop before complete extraction—leave the pin partially threaded through the links
- Gently pull outer plates apart while the pin remains partially inserted to free stiff connections
This approach preserves your chain’s strength and functionality, ensuring reliable performance.
You’ll find that partial pin extraction gives you the flexibility to adjust problematic links without compromising the entire chain’s durability.
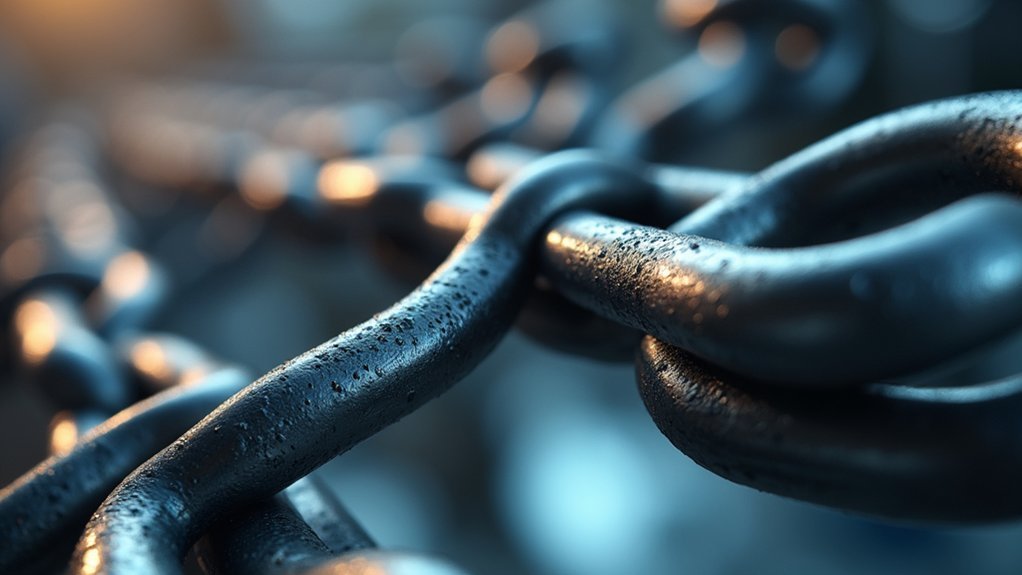
Identifying Male and Female Chain End Configurations
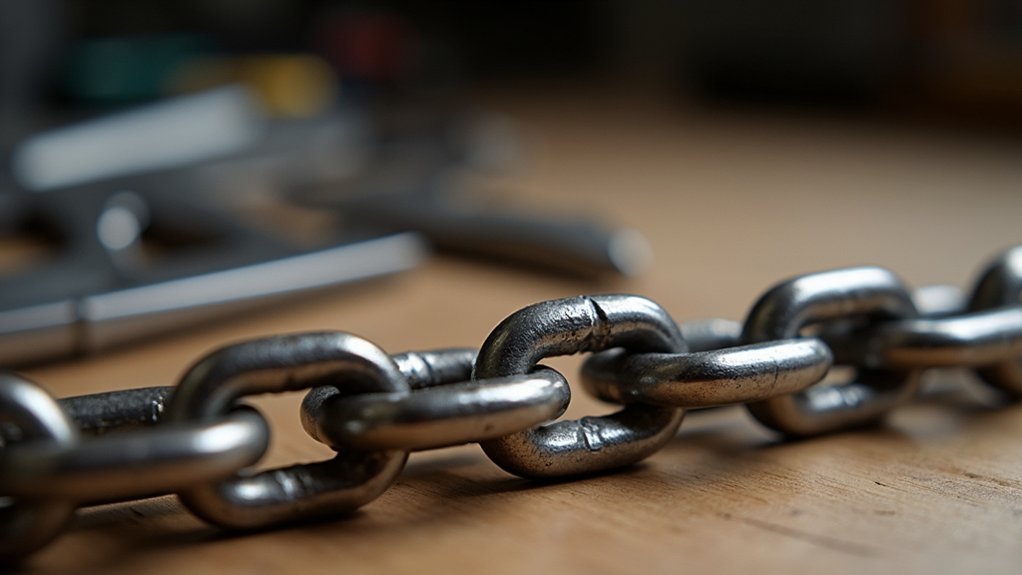
How can you tell which end of your bike chain connects to which? You’ll need to identify the male and female ends for proper assembly. The male end features a protruding pin that inserts into the female end’s corresponding hole. Look for visual differences: male ends typically have a slightly raised surface, while female ends appear recessed to receive the pin.
| Feature | Male End | Female End |
|---|---|---|
| Surface | Raised/protruding | Recessed/indented |
| Pin | Visible extending pin | Hole for pin insertion |
| Connection | Inserts into female | Receives male pin |
When using Shimano joining pins, insert the male end into the female end without forcing. Proper identification prevents damage and guarantees smooth chain function. Correct alignment maintains chain integrity and prevents breakage during rides, making this skill essential for reliable bike maintenance.
Shimano Joining Pin Installation Method
Once you’ve identified the male and female chain ends, installing a Shimano joining pin becomes straightforward with the right technique.
You’ll need a dedicated Shimano joining pin rather than reusing existing pins, which weakens the chain’s integrity.
Start by carefully aligning the male and female chain ends to guarantee they connect properly. Use your chain tool to drive the joining pin through until you feel natural resistance—this indicates the pin’s seated correctly.
Proper chain end alignment and steady pin insertion until natural resistance ensures a secure Shimano joining pin connection.
Key steps for successful installation:
- Drive the pin steadily without forcing excessive pressure
- Monitor for proper resistance indicating correct depth
- Snap off excess pin material without twisting the chain
- Test the connection by flexing the chain gently
After installation, inspect for stiff links and verify smooth operation throughout the chain’s range of motion.
Powerlink Assembly for Quick Chain Reconnection
The Powerlink offers cyclists a revolutionary tool-free solution for emergency chain repairs, eliminating the need for specialized equipment in critical situations.
You’ll find this quick-connect system invaluable during races or harsh weather conditions when time is essential.
Before installation, verify you have two compatible male ends available for proper connection. The Powerlink works seamlessly with various chain brands, including Connex and SRAM, making it versatile across different bike types.
To assemble, carefully align both ends and press them together firmly. You’ll hear an audible click confirming the connection is secure. This sound indicates the link has properly engaged and won’t fail under load.
After reconnection, check your gear system’s functionality and verify the correct link count to guarantee peak drivetrain performance.
Chain Tool Jaw Selection and Operation
While Powerlinks provide excellent emergency solutions, certain chain repairs require more precision than quick-connect systems can offer. That’s when you’ll need to master proper chain tool operation for professional results.
Start by selecting the correct jaw for your specific chain type. Most tools feature dual jaw systems designed for different functions:
- Splitting jaw – Positions the chain for pin removal with precise alignment
- Stiff link jaw – Provides controlled pressure for loosening tight connections
- Pin alignment guide – Guarantees straight pin insertion without chain damage
- Pressure adjustment – Controls force application during pin operations
Position your chain carefully and align the pin with the link. Apply steady pressure to drive pins outward, but never fully remove them. Keep pins partially inserted for easier rejoining, and gently separate outer plates when addressing stiff links.
Pin Alignment and Insertion Best Practices

You’ll need to carefully align the male and female chain ends before inserting your Shimano joining pin to guarantee a secure connection.
Insert the pin through the aligned ends until you feel natural resistance, which indicates proper seating within the chain links.
Don’t fully drive the pin through—instead, leave it partially inserted to maintain ideal chain strength and performance.
Proper End Alignment
Precision in chain end alignment forms the foundation of a successful chain connection that’ll withstand the rigors of cycling.
Before you insert your Shimano joining pin, you must meticulously align the male and female ends to maintain maximum chain strength and functionality.
Follow these critical alignment steps:
- Position the chain ends so the inner and outer plates match perfectly without forcing them together
- Confirm the pin holes align completely by gently moving the chain ends until they’re flush
- Check that no plates overlap or sit at awkward angles before proceeding with pin insertion
- Verify the chain sits naturally without tension or binding at the connection point
Proper alignment prevents premature wear, reduces stress concentration points, and guarantees your chain performs reliably throughout demanding rides.
Pin Insertion Technique
Once your chain ends sit perfectly flush, the actual pin insertion demands steady hands and deliberate technique.
You’ll need a proper chain tool to drive the Shimano joining pin through both chain links. Apply steady pressure while turning the tool’s handle—you’re looking for natural resistance that indicates the pin’s properly seated.
Don’t force it beyond this point, as over-insertion can damage the chain. Never reuse existing pins since they’ve already been compromised and will weaken your connection.
After the pin’s fully seated, you must snap off the excess material protruding from the outer plate. This step prevents chain twisting that could cause catastrophic failure during rides.
Removing Excess Pin Material Without Chain Damage
After inserting the Shimano joining pin completely through both chain plates, you’ll need to remove the excess material that extends beyond the outer plate. This critical step requires precision and patience to avoid damaging your chain links.
Before beginning the removal process, verify your chain is properly aligned and tensioned. Use quality pliers to carefully snap off the excess pin material, applying steady pressure without twisting the chain. The key is maintaining control throughout the entire process.
Proper chain alignment and controlled pressure are essential when removing excess pin material to prevent damage during installation.
- Always leave a small portion of the pin protruding to maintain chain strength
- Avoid excessive force that can bend or damage chain links
- Keep the chain properly aligned during the entire removal process
- Practice on spare chains first to develop proper technique and pressure control
Testing Chain Flexibility and Link Movement
Three key movements will reveal whether your freshly linked chain functions properly. First, manually rotate your pedals while watching the chain’s movement—it should flow smoothly without binding or stiffness.
Second, bend the chain laterally at each link to identify stiff spots; a flexible chain curves easily while resistance indicates problems.
Third, conduct a visual inspection for wear or elongation that could prevent proper gear engagement.
Listen carefully during these tests for grinding or clicking sounds, which signal poor link movement or misalignment.
Don’t skip this vital step—regular flexibility testing maintains your bike’s performance and prevents unexpected chain failures that could leave you stranded.
A compromised chain won’t just affect your ride quality; it’s a safety hazard waiting to happen.
Maintenance Tips for Long-Term Chain Reliability
While proper chain linking sets the foundation for smooth operation, your ongoing maintenance routine determines whether that chain will deliver reliable performance for thousands of miles or fail prematurely.
Consistent maintenance routines separate chains that last thousands of miles from those that fail prematurely.
You’ll need consistent care to maximize your chain’s lifespan and protect expensive drivetrain components.
Follow these essential maintenance practices:
• Clean monthly with degreaser – Remove dirt and grime using a brush, especially after
Frequently Asked Questions
How to Put Master Link on Chain?
Check both chain ends are male, slide master link halves onto each end, press together until they snap, compress with pliers if needed, then test by rotating pedals smoothly.
What Does a Master Link Look Like?
You’ll spot a master link by its distinctive two-piece design that’s different from regular chain links. It’s often colored differently, has unique pin-and-slot mechanisms, and features a removable connection point.
How to Link Chains Together?
You’ll align chain ends and use either a Shimano joining pin, powerlink, or chain tool. Insert new joining pins until resistance, snap excess material, or connect powerlink’s male ends securely.
How to Identify Master Link on Bike Chain?
You’ll spot a master link by looking for a distinctive link that’s different from others, often featuring a removable clip, pin, or unique color-coding that allows easy chain disassembly.
In Summary
You’ve mastered the essential skills for professional chain linking. Remember to always inspect your tools before starting, maintain proper pin alignment, and test each connection thoroughly. Don’t rush the process—quality chains require patience and precision. Regular maintenance and proper storage will extend your chain’s lifespan considerably. Keep practicing these techniques, and you’ll develop the muscle memory needed for consistent, reliable repairs that’ll withstand heavy-duty applications.


Leave a Reply