You can connect chains without soldering using jump rings twisted sideways to maintain their shape, wire wrapping with 20-22 gauge craft wire for secure loops, or creating figure 8 links with ball headpins. Try twisted bar chains using 14-gauge wire with drilled holes, hammered wire loops for added strength, or beaded connections with proper wire wrapping techniques. Mechanical fasteners like screws and rivets also provide durable cold connections, while bail forming pliers guarantee consistent sizing across your entire project.
Jump Ring Connections for Seamless Chain Assembly

Jump rings offer the most straightforward method for connecting chain links without requiring any soldering equipment or advanced metalworking skills.
When you’re ready to Make Your Own Chains, these small metal rings become your primary connection tool. You’ll open jump rings by twisting them sideways rather than pulling apart, which maintains their circular shape and structural integrity.
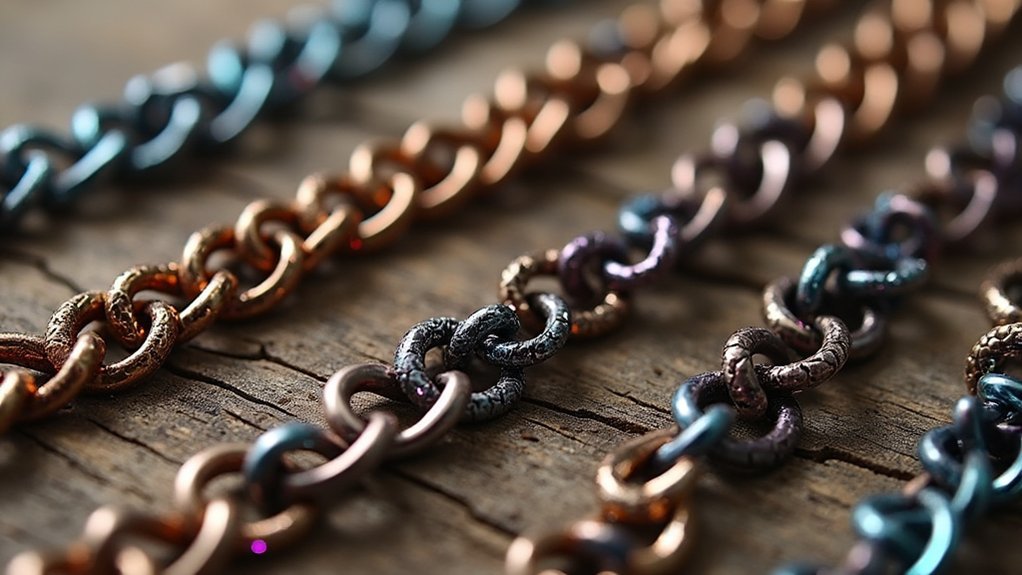
Different ring sizes accommodate various chain styles, letting you create versatile designs while incorporating charms or decorative elements. Choose materials like copper or sterling silver to match your aesthetic preferences.
After connecting your Chains, verify each jump ring closes completely to prevent disconnection during wear. This technique creates professional-looking results while keeping the assembly process simple and accessible for beginners.
Wire Wrapping Techniques for Secure Link Attachment
You’ll master wire wrapping by starting with fundamental techniques that create reliable connections between chain links.
Basic wire wrapping methods form the foundation of your skills, while double loop security techniques guarantee your connections won’t fail under stress.
These approaches give you the flexibility to create strong, professional-looking chains without ever picking up a soldering iron.
Basic Wire Wrapping Methods
When you’re joining chain links without permanent connections, wire wrapping offers an elegant solution that’s both secure and reversible. As a jewelry maker, you’ll find this technique invaluable for creating professional-looking pieces without specialized equipment.
Start by using round-nose pliers to form a loop at your wire’s end. Thread it through your chain link, then wrap the wire around the connection several times. Trim excess wire and tuck the end neatly to prevent snagging.
Experiment with different wire gauges—thicker wire provides stability while thinner wire enables intricate details. For unique design inspirations, incorporate beads or textured wire into your wraps.
This wire wrapping method not only guarantees secure connections but also opens creative possibilities for personalizing your jewelry pieces with distinctive decorative elements.
Double Loop Security Techniques
Creating double loops markedly increases the security of your chain connections compared to single wrapping methods.
When you’re wire wrapping, thread your wire through the chain link first, then wrap it around the link twice before trimming excess material. This double loop technique creates a tight fit that prevents slippage and guarantees your secure links won’t fail under stress.
You’ll find thicker gauge wire enhances both strength and visual appeal, making it perfect for heavier chains. The double wrapping distributes tension more evenly across the connection point.
For maximum security, combine your double loop method with jump rings—this combination provides flexibility while maintaining structural integrity. Different wire textures can also enhance your chain’s overall aesthetic appeal.
Figure 8 Links Using Ball Headpins

Ball headpins offer an elegant starting point for crafting figure 8 links that add sophisticated curves to your jewelry making designs.
You’ll create these beautiful connections without soldering by cutting headpins to your desired length and forming loops at one end using bail forming pliers.
For enhanced texture and smaller links, hammer the wire flat before shaping your figure 8 links. This technique creates more intricate details that elevate your design’s visual appeal.
Vary your wire gauges to create different sized links throughout your chain. This variation adds unique character to each piece.
Connect your completed figure 8 links using jump rings for a strong, flexible chain that maintains durability.
Experiment with various sizes and styles to personalize your handmade jewelry projects with creative flair.
Twisted Bar Chain Construction Methods
You’ll create twisted bar chains by cutting wire lengths, twisting them, and hammering each half in opposite directions for a distinctive link structure.
Start with 14-gauge wire for durability, then drill holes at both ends to accommodate jump rings or connecting elements.
Focus on proper wire preparation techniques and reliable assembly methods to achieve professional-looking results without soldering.
Wire Preparation Techniques
Start by cutting uniform wire lengths, as consistency in measurement directly impacts how evenly your twisted bars will form during construction. You’ll love making chains without soldering when you master proper wire preparation. Choose appropriate gauge wire based on your desired aesthetic and structural needs.
| Wire Gauge | Thickness | Best Use |
|---|---|---|
| 18 AWG | Medium | Standard chains |
| 20 AWG | Thin | Delicate jewelry |
| 16 AWG | Thick | Heavy-duty links |
| 22 AWG | Very thin | Fine detail work |
| 14 AWG | Very thick | Bold statement pieces |
It’s a great idea to cut several pieces simultaneously for efficiency. Keep measurements precise using rulers or measuring tools. Prepare your workspace with proper lighting and organize wire pieces by length to streamline the twisting process.
Assembly and Connection
With your wire pieces cut to uniform lengths, begin forming the twisted bars by gripping each wire segment at both ends and rotating in opposite directions until you achieve consistent spirals.
Drill holes at each bar’s ends for connecting adjacent links smoothly. Wrap the middle section of every twisted bar with double-ended ball headpins to enhance visual appeal and provide structural stability.
Choose heavier gauge wire for your twisted bars to guarantee durability, as thinner wire won’t support the chain’s weight effectively.
Connect the twisted bars using jump rings, which allow flexibility and easy adjustments in your final piece. This assembly method creates a seamless chain structure while maintaining the design’s integrity throughout the connection process.
Hammered Wire Loop Formations
Although bail forming pliers create the initial loop shape, hammering transforms ordinary wire into textured, strengthened links that’ll give your chain professional appeal.
Start with thick gauge wire since it maintains its shape better after hammering and creates more durable, visually striking loops. Cut your wire to desired length, form it into a loop using bail forming pliers for consistency, then gently tap along the entire surface with a hammer.
Thick gauge wire holds its form during hammering, creating durable loops with professional consistency when shaped with bail forming pliers.
The flattening process doesn’t just add appealing texture—it actually strengthens each loop, enhancing your chain’s overall integrity.
You’ll want to experiment with different hammering techniques to discover unique shapes and designs. Light, consistent taps work best, and you can vary the angle and pressure to achieve personalized touches in your handmade creations.
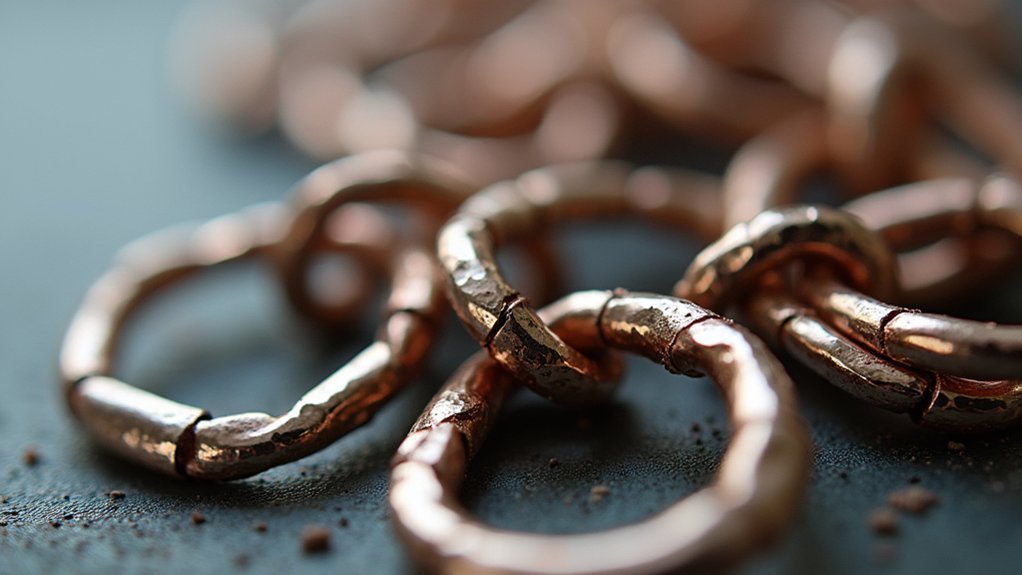
Textured Copper Sheet Ring Integration
Building on your hammered wire techniques, textured copper sheet rings add another dimension of visual interest to your handmade chains. Start by cutting your copper sheet into desired shapes and sizes, maintaining consistent texture throughout each piece.
Create holes using a metal punch or drill, positioning them strategically for easy linking with jump rings or other chain elements.
Enhance the visual appeal by hammering the edges of your copper rings, which creates additional texture and depth. When connecting these textured elements, experiment with various wire gauges to establish dynamic contrast within your design.
Consider alternating between textured copper rings and smooth links to develop a fascinating visual rhythm. This approach eliminates soldering needs while creating sophisticated, professional-looking chains with compelling textural variation.
Bail Forming Plier Applications for Consistent Sizing
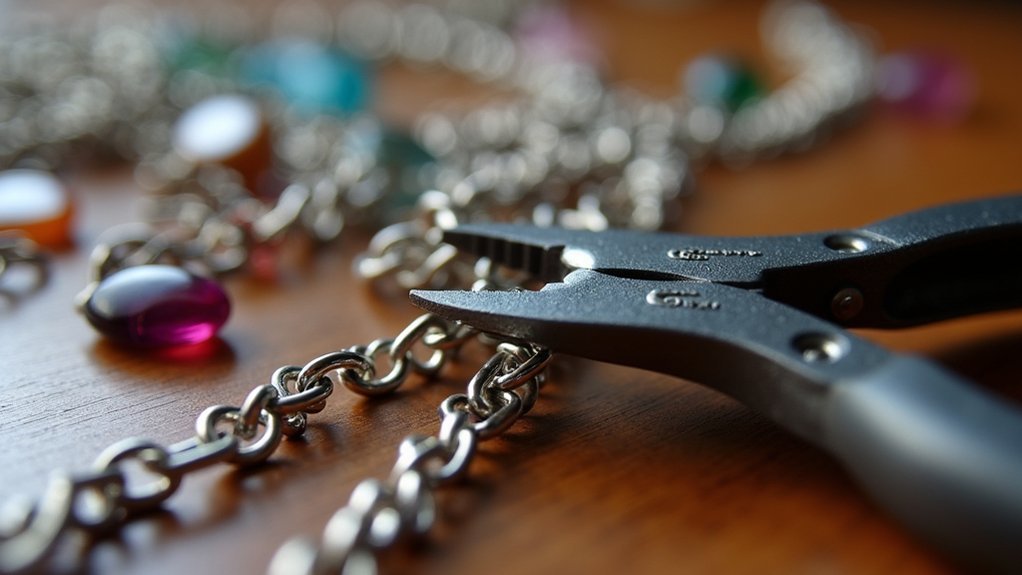
When you’re crafting multiple chain links, bail forming pliers become your most valuable tool for achieving professional uniformity without the need for soldering.
These specialized pliers feature interchangeable mandrels in various sizes, letting you create perfectly consistent loops across your entire chain. You’ll eliminate the tedious process of measuring and shaping each link individually, dramatically speeding up your workflow.
The ergonomic design reduces hand fatigue during extended crafting sessions, while the precision mandrels guarantee every loop maintains identical diameter and shape.
You’ll notice an immediate improvement in your chain’s overall quality and finish. Whether you’re working with copper, silver, or mixed metals, bail forming pliers deliver the consistency that separates amateur work from professional-grade jewelry pieces.
Beaded Link Connections for Decorative Chains
You’ll create stunning decorative chains by selecting the right beads and mastering proper wire wrapping techniques.
Start with bead selection and sizing to guarantee your links maintain consistent proportions and visual balance throughout the chain.
Once you’ve chosen your materials, focus on developing clean wire wrapping methods and planning attractive chain patterns that showcase your beaded elements effectively.
Bead Selection and Sizing
Since decorative chains rely on both strength and visual appeal, selecting the right beads becomes crucial for creating stunning beaded link connections.
You’ll need beads with holes ranging from 1mm to 2mm in diameter to accommodate your wire or jump rings properly. Don’t stick to just one bead type—mix round, faceted, and cylindrical shapes to create dynamic visual interest in your chain design.
Incorporate various textures and finishes like matte, glossy, or metallic surfaces to add contrast and depth.
Remember that your wire length should be approximately three times the bead’s diameter for secure wrapping and looping.
Always test each connection’s stability by gently tugging to verify your beaded links can withstand regular wear and movement without breaking.
Wire Wrapping Techniques
Master the art of wire wrapping by starting with 20-22 gauge craft wire, which offers the perfect balance between flexibility and strength for beaded connections.
Thread your chosen beads onto the wire, leaving enough length at each end to form secure loops. Create connecting loops by wrapping the wire around needle-nose pliers, ensuring each loop maintains consistent size for professional results.
Experiment with different wire gauges to achieve varied link dimensions and styles. Heavier gauges provide robust connections, while lighter wires offer delicate appearances.
Incorporate textured or colored wires to add visual appeal and uniqueness to your designs. Practice with various bead shapes and sizes to discover how they transform your chain’s overall aesthetic, creating distinctive pieces that showcase your creativity.
Chain Pattern Design
Pattern selection forms the foundation of stunning beaded chain designs, where strategic placement of different bead sizes creates visual rhythm and flow. You’ll create dynamic patterns by alternating large statement beads with smaller spacers, establishing focal points throughout your chain’s length.
When designing your beaded link connections, consider these essential elements:
- Material variety – Mix glass, stone, and metal beads to enhance texture and visual depth
- Wire gauge compatibility – Match your wire thickness to bead hole sizes for secure, lasting connections
- Size progression – Graduate bead sizes to create movement and prevent monotony
Your personal style emerges through thoughtful bead placement and color coordination. Thread each bead onto wire, form loops at both ends, and connect links systematically.
This approach eliminates soldering while maintaining chain integrity and allowing easy customization.
Flattened Wire Links With Drilled Holes
When you flatten wire with a hammer, you’ll transform ordinary metal into textured links that offer both visual appeal and practical drilling surfaces. This hammering process creates unique textures while providing stable areas for precise drilling. You’ll drill holes strategically to accommodate jump rings or connecting elements, eliminating the need for soldering.
| Wire Gauge | Link Size | Drill Bit Size | Hole Spacing | Best Use |
|---|---|---|---|---|
| 14 AWG | Large | 1.5mm | 8mm apart | Statement pieces |
| 16 AWG | Medium | 1.2mm | 6mm apart | Standard chains |
| 18 AWG | Small | 1.0mm | 4mm apart | Delicate jewelry |
| 20 AWG | Tiny | 0.8mm | 3mm apart | Fine chains |
| 12 AWG | Extra Large | 2.0mm | 10mm apart | Bold designs |
Ensure drilled holes are smooth and properly sized for secure connections that maintain chain integrity.
Cold Connection Techniques Using Mechanical Fasteners
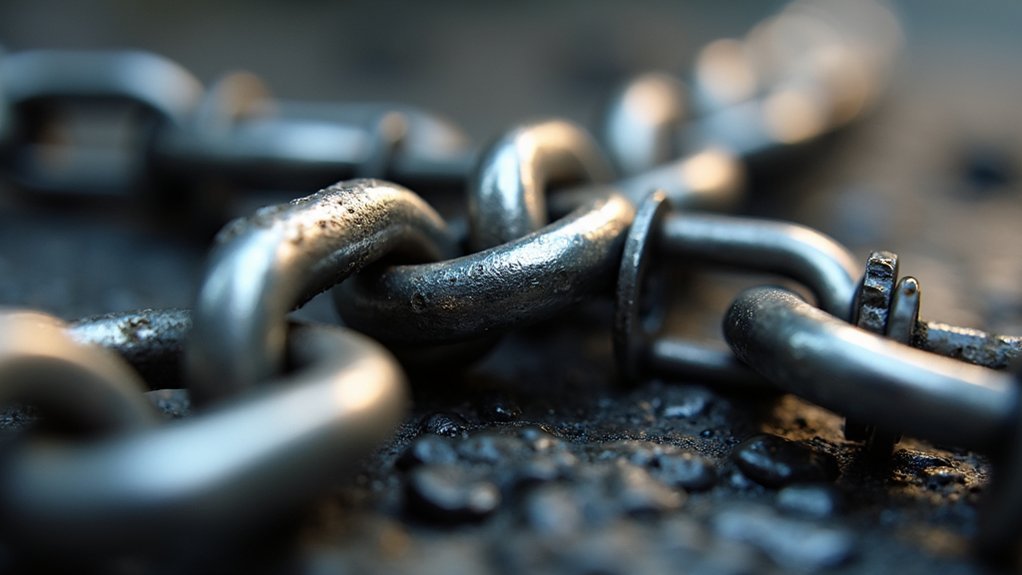
Beyond drilling holes for connections, mechanical fasteners offer versatile solutions for creating strong chain links without any heat application.
You’ll find these techniques particularly useful when working with materials that can’t withstand high temperatures or when you need removable connections.
Jump rings provide the most accessible option—simply open them with pliers, thread your links, and close securely.
You can assemble and disassemble chains quickly while maintaining reliable connections.
Consider these effective mechanical fastening methods:
- Screws and bolts for heavy-duty applications requiring industrial aesthetics
- Rivets for permanent, durable connections that won’t loosen over time
- Decorative washers and beads to enhance visual appeal while improving functionality
These fasteners let you create professional-looking chains with exceptional durability and customization options.
Frequently Asked Questions
How to Fix a Broken Necklace Without Soldering?
You can fix your broken necklace using jump rings to reconnect links, crimp beads to join chain ends, or wire wrapping around broken sections. Heat-shrink tubing also creates secure bonds when heated properly.
How to Connect Jewelry Chains?
You’ll connect jewelry chains by opening jump rings with pliers, creating wrapped wire links, threading beaded connections, forming twisted bar linkages, or using bail pliers to make consistent loops for seamless attachments.
How Do You Shorten a Necklace Chain Without Cutting It?
You can shorten your necklace by adding jump rings to create adjustable links, using a sliding knot technique, repositioning the clasp to different chain links, or layering it doubled for a shorter appearance.
How to Join Silver Chain at Home?
You can join silver chain at home using jump rings that open and close easily. For stronger connections, try wrapped wire links around chain segments. Always guarantee closures are secure to prevent breaking during wear.
In Summary
You’ve now mastered multiple techniques for creating professional-looking chains without any soldering equipment. These cold connection methods give you the flexibility to work anywhere and experiment with different materials. Whether you’re using jump rings, wire wrapping, or mechanical fasteners, you can create durable, beautiful chains that’ll last. Start with simpler techniques like jump rings, then progress to more advanced methods as your skills develop.


Leave a Reply