You’ll create Viking knit chains through a loop-in-loop wire weaving process using tools like a Lazee Daizee and drawplate. Start by forming a flower-shaped anchor on a mandrel, then weave 26-gauge copper wire through previous loops to build flexible metal chains. You’ll maintain consistent tension while working row by row, eventually drawing the finished chain through progressively smaller holes to refine its appearance. This ancient technique produces durable jewelry that’s lasted centuries, and mastering these foundational steps opens up endless creative possibilities.
Understanding the Ancient Viking Knit Technique
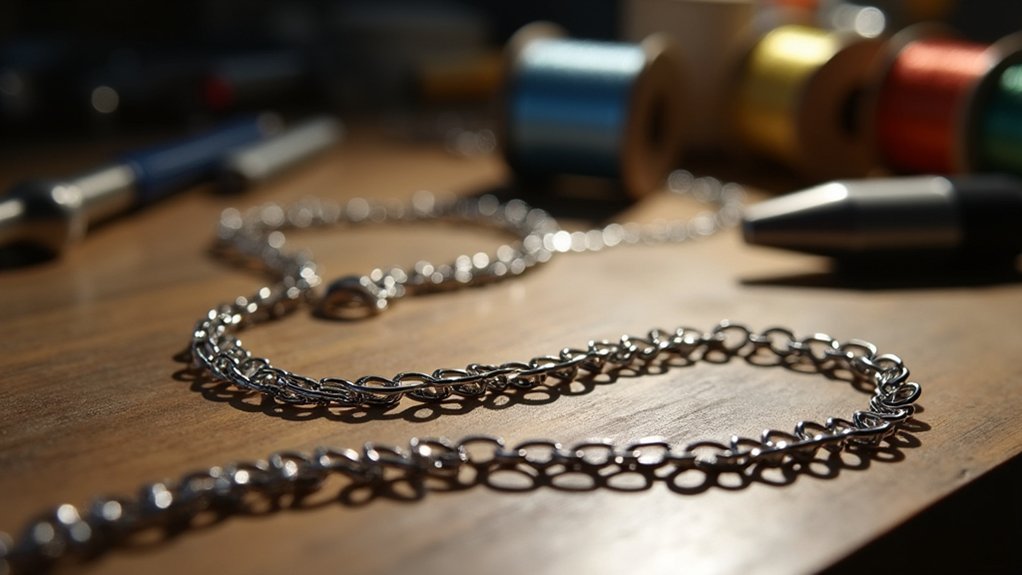
Although archaeologists originally discovered this intricate metalworking technique in Scandinavian burial sites, Viking knit isn’t actually a knitting method at all—it’s a sophisticated wire weaving process that creates remarkably flexible chains.
Despite its misleading name, Viking knit is actually an ancient wire weaving technique that produces incredibly flexible metal chains.
You’ll find this ancient chain making technique involves weaving fine-gauge wire through carefully constructed loops, creating durable jewelry that’s lasted centuries.
What makes Viking knit particularly fascinating is its connection to ancient commerce. You’re working with a method where craftspeople historically melted down coins to create the fine wire needed for their chains.
This practice highlights how deeply intertwined the technique was with currency and trade systems throughout Scandinavian cultures.
Today, you can master this same process using modern materials while honoring its archaeological heritage and time-tested construction methods.
Essential Tools and Materials for Viking Knit
You’ll need specific tools to create successful Viking knit chains, starting with a Lazee Daizee tool that features six holes for efficient wire looping.
Your wire selection is essential—choose solid copper in gauges from 24g to 32g, with 26g offering the best balance of flexibility and strength.
Complete your toolkit with a durable delrin drawplate and flatnose pliers for pulling wire through, plus wire cutters and optional nylon-jawed pliers for smoothing any kinks.
Required Tools Overview
Five essential tools form the foundation of any Viking knit chain making setup, each serving a specific purpose in the crafting process.
You’ll need the Lazee Daizee tool as your primary weaving device, featuring six holes in a daisy pattern for creating initial wire loops.
Your toolkit should include:
- Draw plate – Preferably delrin material for evening out chains and adjusting diameter
- Flatnose pliers – Essential for pulling wire through the draw plate smoothly
- Wire cutters or sharp scissors – Required for cutting wire to desired lengths
- Quality solid wire – Gauges 24g to 32g, with 26g being most common
Optional nylon jawed pliers can eliminate wire kinks, ensuring professional-looking results.
These tools work together seamlessly to create durable, beautiful Viking knit chains.
Wire Selection Guidelines
The foundation of successful Viking knit chains starts with selecting appropriate wire materials that’ll withstand repeated manipulation and wear. Your wire selection guidelines should prioritize quality solid materials like copper or sterling silver wire.
Choose 26-gauge wire as it provides the ideal balance of durability and ease of handling for jewelry making projects.
Avoid color-coated craft wire entirely, as these materials lack the necessary durability for Viking knit techniques. The coating will wear off over time, compromising your finished piece’s integrity and appearance. Solid metal wire maintains its strength throughout the knitting process and delivers long-lasting results.
Before beginning, straighten any kinks in your wire using nylon-jawed pliers to guarantee smooth handling during the knitting process.
Drawplate and Pliers
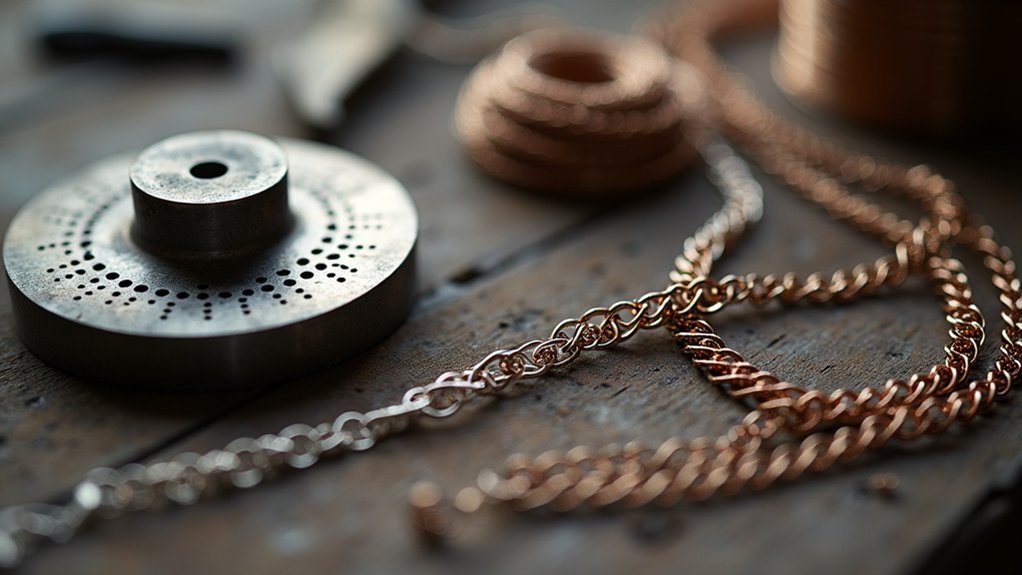
With quality wire selected and prepared, your next focus shifts to acquiring the specialized tools that transform raw wire into polished Viking knit chains. A drawplate serves as your primary finishing tool, allowing you to pull completed chains through progressively smaller holes for uniform diameter and enhanced flexibility.
Flatnose pliers become indispensable for wire manipulation, chain pulling, and straightening kinks throughout the process.
Essential tools include:
- Delrin drawplate for durability and repeated use without quality degradation
- Flatnose pliers for precise wire handling and chain manipulation
- Wire cutters or sharp scissors for trimming wire to desired lengths
- Optional nylon-jawed pliers for smoothing wire kinks without damaging the surface
This drawplate and pliers combination guarantees precise wire control, contributing to your chain’s overall evenness and professional quality.
Wire Selection and Gauge Recommendations
When selecting wire for Viking knit chains, you’ll want to prioritize solid materials over craft wire to assure your finished piece withstands regular wear.
Your wire selection should focus on gauges between 24g and 32g, with 26g being the sweet spot for balancing strength and flexibility. These gauge recommendations guarantee peak durability while maintaining workability.
Thinner wires like 28g and 30g are prone to kinking and won’t hold up well in single knit chains.
For planning purposes, 26g wire requires approximately 40 feet to create an 18-inch necklace, or about 2.22 feet per inch of pulled chain.
Your gauge choice affects both strength and appearance—thicker wires create denser chains while thinner ones produce delicate looks.
Always avoid color-coated wires since they’ll wear off and compromise your piece’s aesthetics.
Setting Up the Lazee Daizee Tool
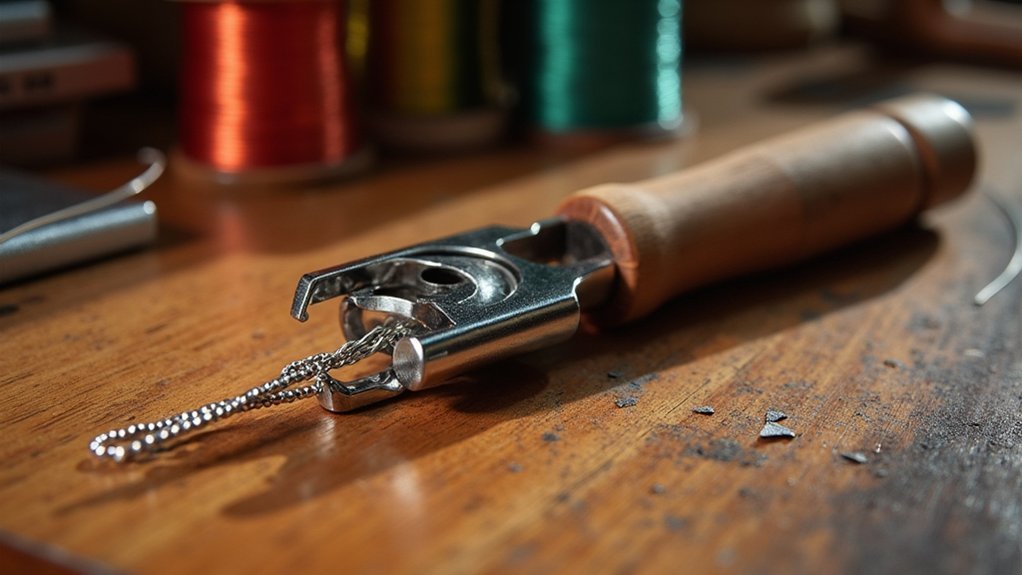
You’ll need to secure your Lazee Daizee tool on a stable surface before beginning the chain-making process.
Start by threading your selected wire through one of the six daisy-shaped holes at the top, leaving enough length to wrap around all holes for your initial setup.
Pull the wire through to create your first loop, ensuring you have sufficient working length for the subsequent weaving pattern.
Tool Assembly Steps
Starting your Viking knit chain requires proper setup of the Lazee Daizee tool to guarantee smooth weaving throughout the process. You’ll need to follow specific assembly steps to create the foundation for your chain.
Begin by securing your Lazee Daizee tool firmly on a stable work surface where you can easily access it during weaving. This positioning prevents movement while you work with the wire.
- Feed 26-gauge wire through the center hole of the daisy shape for ideal results.
- Pull wire through all six designated holes to create evenly distributed loops forming a flower pattern.
- Adjust wire length based on your desired chain length, leaving extra for subsequent rows.
- Secure loops with even spacing before weaving wire around the established loops to begin Viking knitting.
Initial Loop Placement
Once you’ve properly positioned your Lazee Daizee tool, the next step involves creating the foundational loops that’ll serve as your Viking knit chain’s starting point.
Thread your wire through one of the six holes in the daisy shape, leaving enough length to create multiple loops. Pull the wire through each hole sequentially, forming a flower pattern at the tool’s top.
Don’t worry if your initial loops appear uneven – they’ll naturally balance out as you progress through subsequent knitting rows. Use 24g to 32g wire gauge, with 26g being ideal for best results.
Secure the wire by wrapping it around the loop bases before you make viking knit patterns, ensuring a stable foundation for your chain.
Creating the Initial Flower-Shaped Anchor
Before diving into the actual weaving, you must create a flower-shaped anchor that serves as the foundation for your Viking knit chain. This essential starting structure won’t appear in your finished piece, but it’s vital for establishing stable initial loops.
To create your flower-shaped anchor, follow these steps:
Follow these essential steps to build the foundation anchor that will support your entire Viking knit chain structure.
- Cut wire approximately one wingspan long and bend it into a four-leaf clover shape.
- Wrap the ends securely together to prevent unraveling during the weaving process.
- Open each clover loop outward to form a flower shape with four distinct petals.
- Position the flower over a 10mm mandrel or drill bit to maintain proper loop formation.
Each petal becomes an anchor point for your wire, ensuring even distribution as you begin weaving around them systematically.
Beginning the Loop-in-Loop Weaving Process
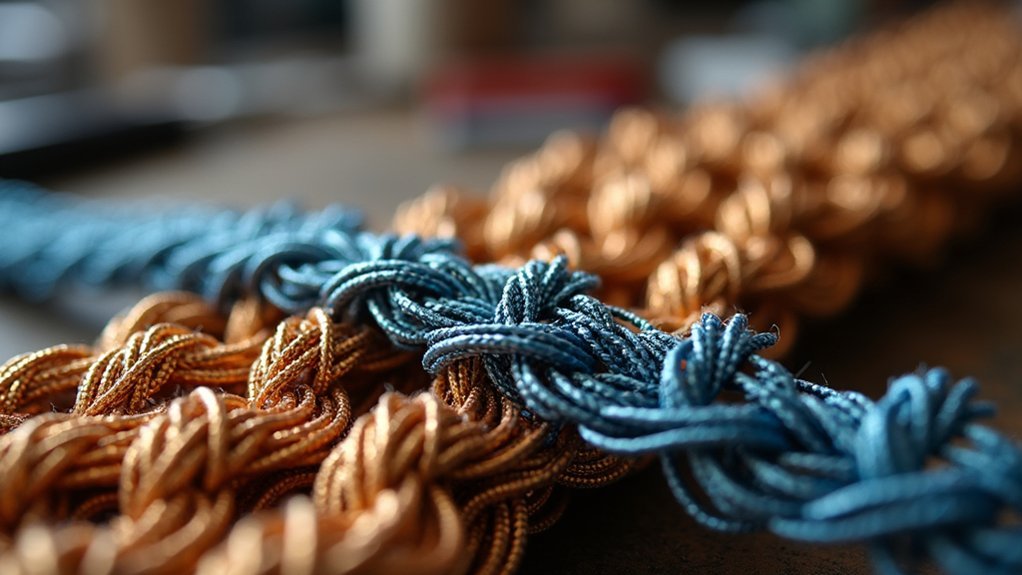
With your flower anchor securely positioned on the mandrel, you’ll start the actual weaving using 26-gauge wire for ideal results.
Insert your working wire through each petal of the flower shape, creating your starting loops that’ll serve as the foundation. Pull the wire behind each loop systematically, forming tiny consistent loops with steady tension.
You’ll notice each new loop gets looped around the existing ones as you progress. Move methodically from one loop to the next, maintaining even pressure throughout the process.
This repetitive motion creates the distinctive Viking knit pattern. Continue this loop-in-loop technique until you’ve reached your desired chain length, keeping your movements fluid and tension consistent for professional-looking results.
Building Subsequent Rows and Maintaining Tension
Once you’ve established your foundation loops, you’ll build subsequent rows by threading the wire up one rung and pulling it behind the left loop to create consistent patterns.
You must control your wire tension carefully—pull tight enough to maintain structure but not so tight that manipulation becomes difficult.
As you progress through each row, use your Lazee Daizee tool to move efficiently through loops while regularly checking that your tension remains uniform throughout the chain.
Creating Consistent Loop Patterns
As you advance beyond the initial row, maintaining consistent loop patterns becomes essential for achieving that distinctive Viking knit appearance. You’ll need to focus on creating uniform loops that interlock seamlessly with previous rows.
To develop reliable consistent loop patterns for your Viking knit chain, follow these key techniques:
- Pull each wire loop tightly and evenly around previous loops while maintaining parallel tension along the mandrel.
- Position the wire behind the left loop before pulling it through the next loop to guarantee uniformity.
- Keep consistent tension throughout the weaving process to prevent chains from becoming too tight or loose.
- Temporarily remove the chain from the mandrel when space becomes tight, then reattach to continue.
Practice and repetition will appreciably improve your ability to maintain tension and achieve uniform loop consistency.
Wire Tension Control Techniques
Moving into subsequent rows requires mastering wire tension control to prevent your Viking knit chain from becoming distorted or uneven. You’ll need to pull the wire snugly without overtightening, maintaining consistent pressure throughout each row. As you loop behind each tiny section, check for proper spacing and alignment to keep your chain flat and uniform.
| Tension Issue | Solution |
|---|---|
| Wire too tight | Gently slide chain back on tool |
| Uneven spacing | Use consistent threading direction |
| Kinks detected | Smooth with nylon-jawed pliers |
If tension becomes excessive during weaving, pause and relieve pressure before continuing. Always thread wire in the same direction to maintain evenness across your entire length. Regularly inspect for inconsistencies and address them immediately. This careful wire tension control guarantees your finished chain maintains professional quality and structural integrity.
Row Progression Methods
After establishing proper wire tension, you’ll begin building subsequent rows by pulling the wire behind each existing loop and threading it up through the next available rung. This consistent wrapping pattern creates the characteristic Viking knit structure while maintaining proper chain density.
As you progress through each row, you’ll develop a rhythmic motion that improves both uniformity and efficiency. The key is wrapping wire behind existing loops while guaranteeing each loop engages properly to maintain structural integrity.
Essential row progression techniques include:
- Maintain even tension by gently pulling wire without overtightening loops
- Remove the chain from your tool when threading becomes difficult
- Focus on consistent wrapping patterns to achieve uniform appearance
- Develop rhythmic motions for improved speed and efficiency
This methodical approach guarantees your Viking knit chain develops proper flexibility and professional appearance.
Adding New Wire Lengths During the Process
When your wire runs short during the Viking knit process, you’ll need to add a new length without disrupting the chain’s continuity. Adding new wire lengths requires careful technique to maintain your weave’s integrity.
Thread the loose end of your original wire back inside the existing weave, then hook your new wire around the loop above to create a seamless connection.
Maintain consistent tension throughout this process to prevent gaps or loose areas from forming. You can add new wire at any point, but it’s best to do so before your original wire runs out completely. This prevents unwanted interruptions in your workflow.
Always use wire of the same gauge and material to guarantee your chain maintains consistent appearance and durability throughout.
Incorporating Beads Into the Chain Design
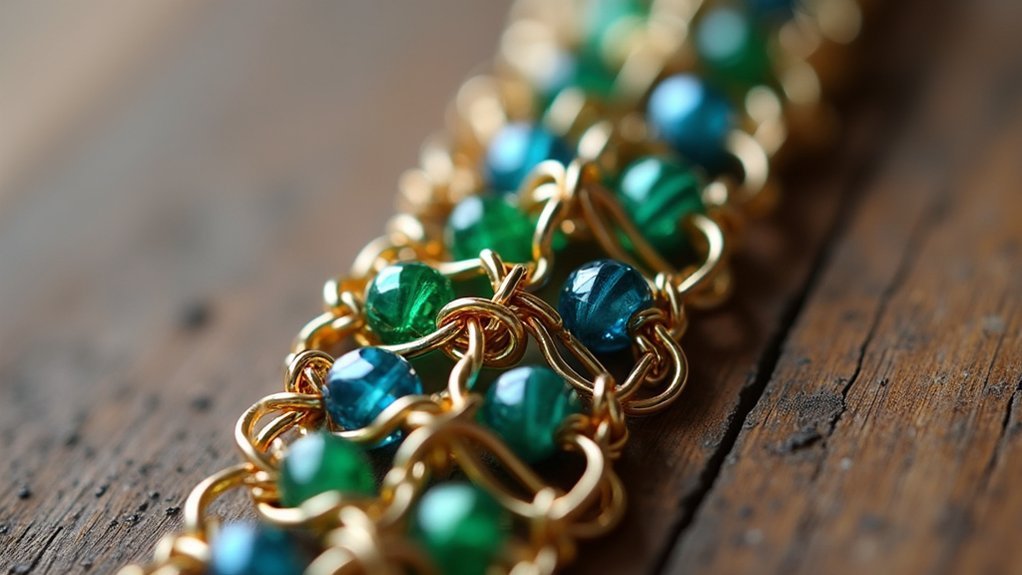
Since beads transform your Viking knit chain from a simple wire structure into an intricate decorative piece, you’ll want to plan their placement carefully before beginning this enhancement process.
Here’s how to successfully incorporate beads into your design:
- Slide beads onto the wire between loops, guaranteeing adequate slack for proper insertion without compromising structural integrity.
- Create drawn sections before and after beaded areas, since beaded portions can’t pass through the drawplate.
- Maintain consistent chain length when adding beads to prevent wire tension issues and guarantee smooth changes.
- Use nylon-jawed pliers to smooth any wire bends before and after bead placement for a professional finish.
Strategic planning determines how your chain will look, so map out bead placement beforehand to achieve seamless integration throughout your Viking knit design.
Removing the Finished Chain From the Mandrel
Once you’ve reached your desired chain length, the removal process requires careful attention to preserve the structural integrity of your Viking knit work. Carefully slide the completed chain off the mandrel, revealing a stiff, hollow tube structure.
Before removing it completely, use wire cutters to snip the loops at the starting flower shape or mandrel end. This vital step prevents the chain from unraveling when cut.
Snip the starting loops before removal to prevent your Viking knit chain from unraveling completely.
After cutting, trim away any excess wire, leaving your chain intact and ready for finishing. At this stage, the raw chain will appear uneven and inflexible.
This is where the draw plate becomes essential for removing the finished chain properly. Pull your chain through progressively smaller holes in the draw plate to enhance flexibility and improve its overall appearance.
Using the Draw Plate for Refinement
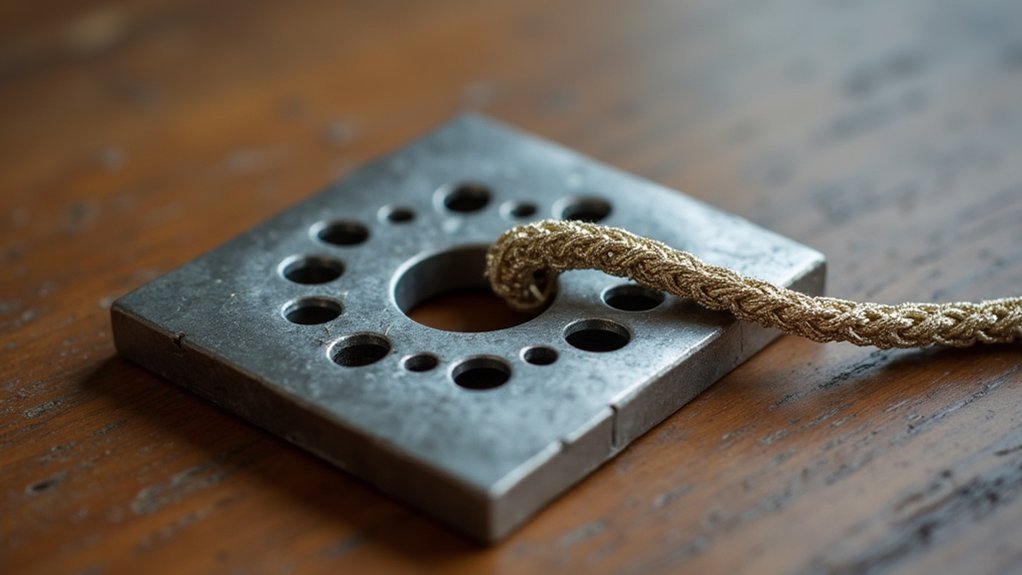
The draw plate transforms your rough Viking knit chain into a polished, professional-looking piece of jewelry. This critical tool refines and evens out your chain’s appearance by pulling it through progressively smaller holes, enhancing both flexibility and uniformity.
Start with your chain removed from the mandrel and insert it into the largest hole. Here’s how to achieve the best results:
- Gradually move to smaller holes until you reach your desired diameter
- Confirm only one wire end remains to prevent tangling during the process
- Pull steadily to compress the wire and strengthen the overall structure
- Use a delrin draw plate for durability and reduced wire wear
The drawing process removes irregularities while improving aesthetics, giving you a stronger, more professional finish.
Trimming and Preparing Chain Ends
After drawing your chain through the plate, you’ll need to trim and prepare both ends for a professional finish.
Carefully snip the loops at your starting point to free the chain without causing unraveling. When trimming, leave only one wire end exposed for easier clasp or bead attachment, as cutting multiple ends complicates finishing.
Clean up any rough wire ends with wire cutters to prevent snagging or discomfort during wear. The end of the wire should be smooth and properly positioned for attachment hardware.
Before securing your clasp, attach a bead cap or cone bead to one chain end. This guarantees a polished appearance and provides stability for your finished jewelry piece, creating a seamless shift between chain and clasp.
Attaching Clasps and Final Assembly
Completing your Viking knit chain requires proper clasp attachment for both functionality and durability.
You’ll need to prepare one end with a clean wire finish before attaching clasps to make certain seamless final assembly.
Follow these essential steps for secure attachment:
- Create a loop using wire through the chain end, wrapping it tightly around itself to anchor the clasp.
- Form a wrapped loop around the clasp mechanism, making sure it’s completely closed to prevent disconnection.
- Trim excess chain length to achieve your desired fit before completing the final assembly.
- Test the clasp’s opening and closing mechanism to verify smooth operation for comfortable wear.
After attaching clasps, inspect all connections carefully.
Your finished Viking knit chain should demonstrate both structural integrity and effortless functionality for years of reliable use.
Frequently Asked Questions
What Is Viking Knitting?
You’ll create intricate wire chains using an ancient Scandinavian technique. You’ll start with a flower-shaped loop anchor, then weave fine-gauge wire through loops to form flexible, decorative chains perfect for jewelry making.
How Did the Vikings Knit?
You’d weave fine wire through loops using the loop-in-loop technique. You’d start with several loops on a dowel, then pull new wire through existing loops, creating an intricate chain pattern that’s flexible and decorative.
What Gauge Wire Is Used in Viking Knit?
You’ll typically use 24g to 32g wire for Viking knit, with 26g being most popular. It balances strength and flexibility perfectly. Avoid thinner gauges like 28g or 30g since they’re prone to kinking and breaking.
How to Knit Like the Vikings?
You’ll start with fine-gauge wire and a mandrel, creating flower-like loops. Wrap wire behind each loop, building rows consistently. Once complete, draw through progressively smaller holes to smooth your Viking-style chain.
In Summary
You’ve mastered an ancient craft that’ll create stunning, durable jewelry pieces. Remember that practice makes perfect—your first chains might look uneven, but you’ll develop rhythm and consistency over time. Don’t skip the draw plate step; it’s what transforms your work from amateur to professional-looking. Keep experimenting with different wire gauges and metals. You’re now equipped to create timeless Viking knit chains that’ll last for generations.


Leave a Reply