You’ll create stunning Celtic knots by starting with a 6×6 grid on graph paper, using a pencil and ruler for precise measurements. Mark notches at intersections with X marks, horizontal, and vertical indicators to establish strand entry and exit points. Apply mirroring techniques across your grid to guarantee symmetrical patterns, then connect strands through the notches while maintaining proper interlacing. Finish with bold outlining, color-coding, and gradient techniques to achieve professional results that showcase the intricate beauty of traditional Celtic knotwork and advanced design principles.
Essential Tools and Materials for Celtic Knot Creation
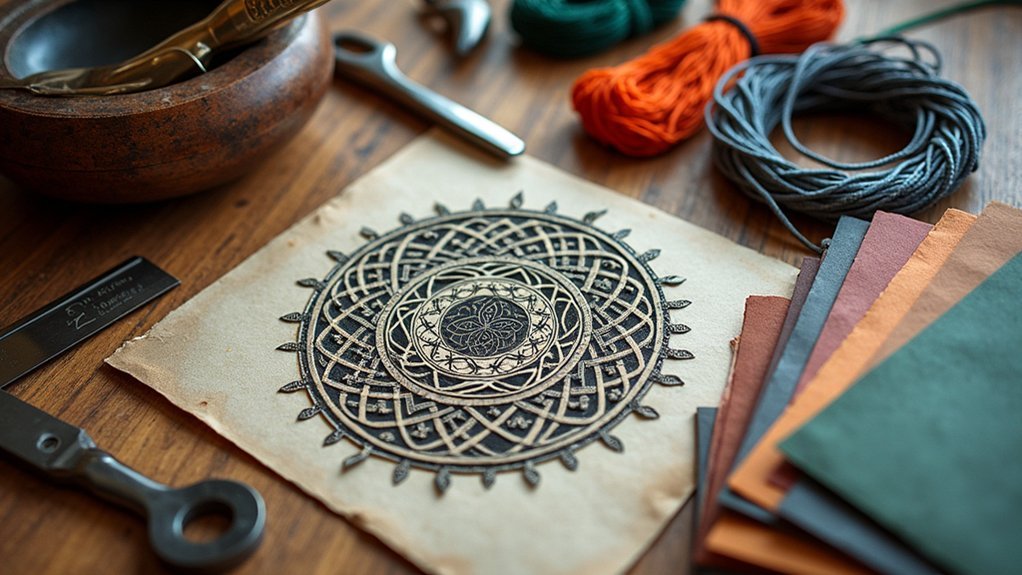
Before you can begin crafting intricate Celtic knots, you’ll need to gather a few basic tools and materials that’ll set you up for success.
Graph paper forms the foundation of your Celtic knot design, providing the structured grid you’ll need for accurate proportions. A 6×6 to 8×8 square grid works perfectly for most designs.
Graph paper provides the essential structured foundation for Celtic knot designs, with 6×8 grids offering ideal proportions for most projects.
You’ll want a pencil for initial sketches and an eraser for corrections. A small ruler guarantees precise measurements throughout your grid.
Black or colored ink pens are essential tools for finalizing your artwork with clear, distinct outlines. Consider optional materials like a lightbox for tracing guidelines and contrasting colored pens for visualizing different strands.
Reference books or online tutorials provide valuable inspiration for developing unique designs.
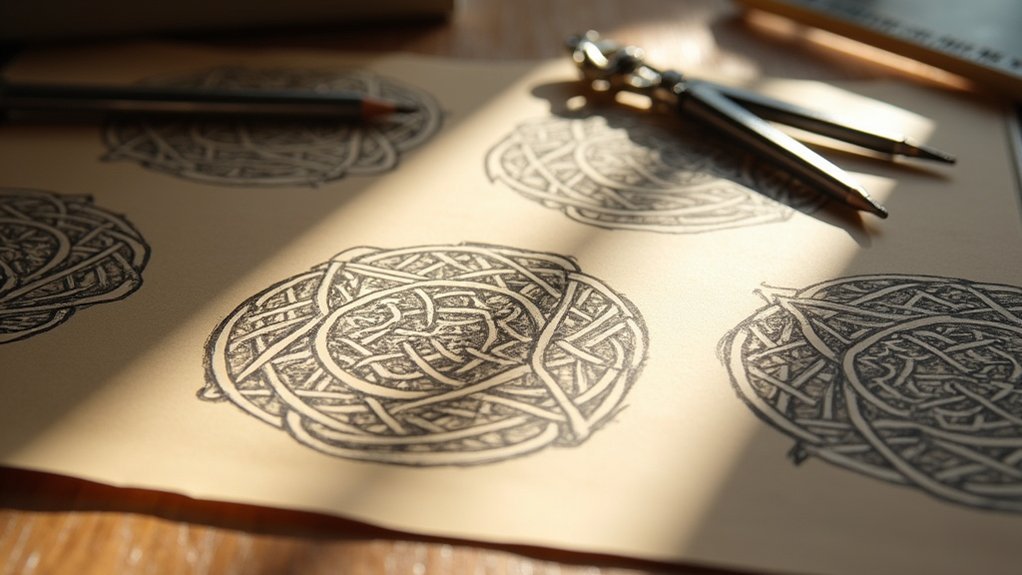
Setting Up Your Grid Framework and Design Foundation
With your tools gathered, you’re ready to create the structural foundation that’ll guide your Celtic knot design.
Begin by preparing a 6 x 6 grid using 1cm x 1cm squares on your paper, leaving extra space around the edges for adjustments. Use your ruler to draw precise vertical and horizontal lines, marking each intersection carefully.
Essential grid setup steps:
- Mark notches at every intersection using X marks, horizontal marks, and vertical marks to indicate strand entry and exit points
- Confirm your grid has even numbers of columns and rows for proper symmetry
- Consider adding border squares around your main grid for enhanced design cohesion
This methodical approach creates the perfect framework for Celtic knotwork, providing the structural guidance you’ll need for intricate, balanced patterns.
Drawing Notches and Establishing Connection Points
Once your grid framework is complete, you’ll mark notches at each intersection to establish precise entry and exit points for your Celtic strands. Use three distinct notch types: X marks for intersecting strands, horizontal marks for left-to-right paths, and vertical marks for up-and-down movements.
This systematic approach guarantees consistency throughout your Celtic design. Connect strands to these notches within each square, maintaining knotwork integrity by notching all corners properly.
Establish mirroring lines across your design to enhance symmetry and visual appeal. Mirror notches consistently along these lines to create balanced proportions.
Symmetrical mirroring lines throughout your Celtic design create visual harmony while ensuring balanced proportions and traditional knotwork authenticity.
Color-code your notches to visually differentiate mirrored sections and maintain design balance. This technique helps you track strand connections while guaranteeing your Celtic knot maintains its traditional interwoven appearance and structural accuracy.
Applying Mirroring Techniques for Symmetrical Patterns
Symmetrical Celtic knots rely on precise mirroring techniques that transform your notched grid into a balanced, harmonious design. When you draw your own Celtic patterns, establishing clear mirroring lines across your grid guarantees each notch and strand reflects consistently.
This systematic approach creates the visual harmony that defines traditional Celtic knotwork.
Use these essential techniques for perfect symmetry:
- Color-code your notches to visualize mirrored pairs and maintain balance throughout your design process
- Start notching on one side and replicate exact placements on the opposite side across your central axis
- Double-check strand connections to confirm mirrored sections follow identical paths and curvatures
Draw lines wherever you need reference points for symmetry. Regularly step back to assess overall balance, making necessary adjustments to achieve a cohesive mirrored appearance.
Connecting Strands and Perfecting the Interlacing Weave
After establishing your mirrored grid foundation, you’ll transform those carefully placed notches into flowing strands that create the signature interlacing weave of Celtic knotwork.
Draw your connecting strands by following the diagonal paths between intersection points, carefully avoiding any blocking lines you’ve established. These blocking lines define your knot’s bends and twists, so respect their boundaries to maintain the proper interlacing weave pattern.
Respect the blocking lines as sacred boundaries—they are the architectural framework that transforms simple strands into authentic Celtic interlacing patterns.
Focus on the orientation of each crossing point—distinguish between right-handed and left-handed crosses to achieve visual balance.
As you connect each strand, guarantee they flow seamlessly from one intersection to the next. Finalize your design by adjusting strand thickness and adding subtle arcs that create depth and dimension, making your flat drawing appear three-dimensional through careful attention to the over-under weaving pattern.
Finishing Touches and Advanced Embellishment Methods
Once you’ve mastered the basic interlacing structure, you’ll want to elevate your Celtic knotwork through strategic color application techniques that bring depth and dimension to your design.
Experimenting with strand thickness variations can create visual hierarchy and emphasize different elements within your pattern.
Digital enhancement methods offer modern tools to refine your work and explore creative possibilities beyond traditional hand-drawing techniques.
Color Application Techniques
While mastering the basic construction of Celtic knots represents an important milestone, you’ll discover that thoughtful color application techniques transforms these intricate designs from simple line drawings into enchanting works of art.
Once you follow along with the construction phase and erase your pencil marks, you’re ready to bring your knotwork to life.
- Half-coloring and gradient techniques – Apply color to only half of each strand to create dimensional shadows, or use gradient coloring for smooth shade shifts that enhance three-dimensional appearance.
- Bold outlining methods – Use contrasting markers to define main knotwork lines, creating visibility and drawing attention to intricate details.
- Pattern integration – Incorporate stripes, dots, or metallic colors within spaces between strands for added visual complexity and elegance.
Strand Thickness Variations
Experiment with half-coloring techniques where one strand side differs from the other, generating three-dimensional effects.
When doubling strands in complex areas, plan carefully to avoid disrupting the knotwork’s natural flow.
Pay close attention to over/under points during finalization, ensuring thickness variations don’t compromise weaving integrity.
Your careful attention to these details transforms simple interlacing into compelling, dimensional artwork.
Digital Enhancement Methods
After completing your hand-drawn Celtic knot, digital enhancement tools can transform your artwork into professional-quality designs with precise lines and stunning visual effects.
You’ll discover that vector tracing tools like Adobe Illustrator’s ‘Image Trace’ convert your hand-drawn pieces into scalable vector paths without quality loss. Making certain your design maintains its integrity, adjust line weights to create varying thicknesses that simulate 3D depth effects.
Digital enhancement methods offer infinite creative possibilities:
- Use the Pathfinder panel to seamlessly combine and divide knotwork elements for proper strand interconnection
- Apply color fills and gradients to create vibrant contrast between strands and backgrounds
- Experiment with textures and patterns for fill options that transform simple knots into intricate masterpieces
When you draw Celtic knots digitally, these techniques guarantee professional results.
Frequently Asked Questions
How Long Does It Typically Take to Complete a Celtic Knot Piece?
You’ll spend anywhere from 30 minutes for simple designs to several hours for complex patterns. Your skill level, piece size, and intricacy directly affect timing. Don’t rush—Celtic knots require patience and precision.
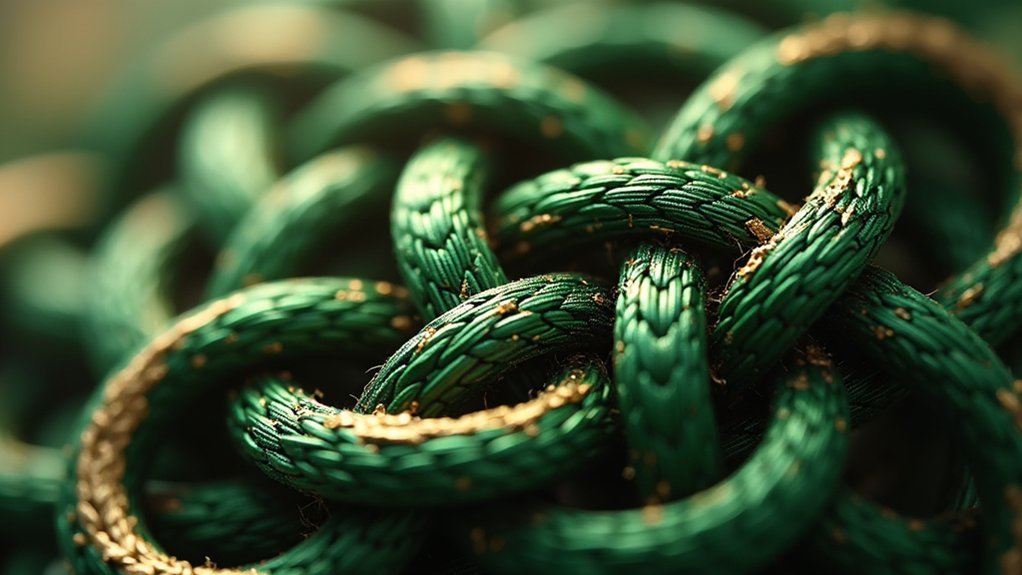
What’s the Historical Significance Behind Traditional Celtic Knot Patterns?
You’ll find Celtic knots represent eternal life, infinity, and interconnectedness in ancient Irish culture. They’re spiritual symbols showing life’s continuous cycle, with no beginning or end, deeply rooted in Celtic Christianity and paganism.
Can Celtic Knot Designs Be Created Without Using Digital Software?
You can absolutely create Celtic knot designs by hand using traditional tools like pencils, rulers, and compasses. Artists have drawn these intricate patterns for centuries without any digital assistance or modern technology.
How Do I Fix Mistakes When Strands Cross Incorrectly in My Design?
When you’ve crossed strands incorrectly, use an eraser to carefully remove the problematic section. Redraw the crossing by ensuring one strand passes over while the other goes under, maintaining proper alternating pattern.
What’s the Difference Between Celtic Knots and Other Interlacing Art Styles?
You’ll notice Celtic knots emphasize continuous loops without beginning or end, while Islamic geometric patterns focus on mathematical precision. Norse interlacing often incorporates animal forms, and Art Nouveau uses flowing, nature-inspired curves.
In Summary
You’ve mastered the fundamental techniques for creating stunning Celtic knot artwork. With your grid foundation, precise notching system, and mirroring methods, you can now craft intricate interlacing patterns with confidence. Remember to practice your strand connections regularly—they’re what bring your designs to life. Don’t hesitate to experiment with advanced embellishments as you develop your skills. Your Celtic knot creations will continue improving with each piece you complete.


Leave a Reply