You’ll need essential hand engraving tools to get started: square graver blanks for customization, a chasing hammer for controlled pressure, and a medium-fine whetstone combo for sharpening. Don’t forget a comfortable wooden handle, safety glasses with ANSI Z87.1 certification, and practice materials like brass or copper. Add basic measuring tools like calipers for precision work, plus proper lighting and a sturdy workbench setup. These fundamentals will establish your engraving foundation and prepare you for advanced techniques ahead.
Essential Hand Engraving Tools for Starting Out
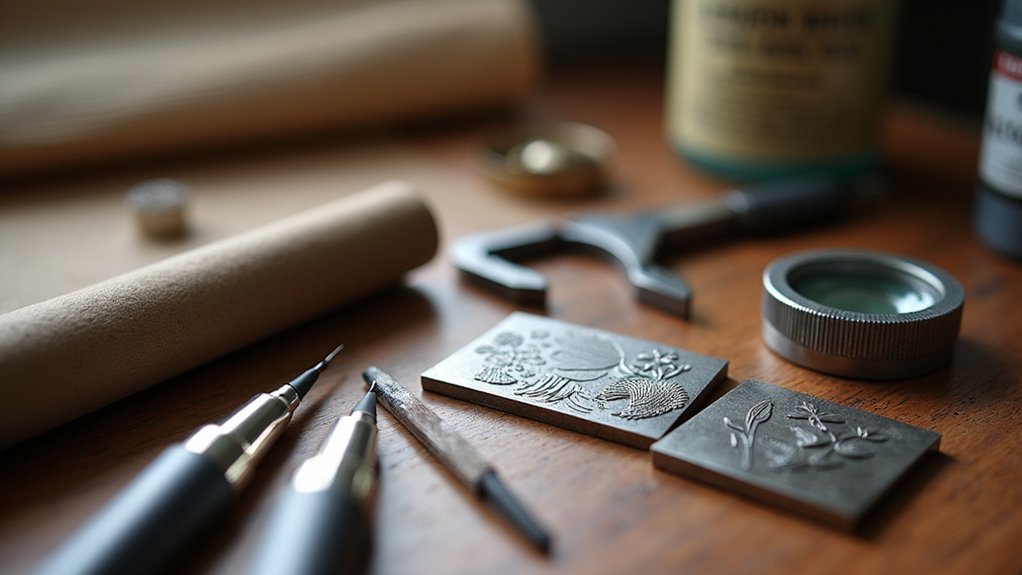
When you’re starting your jewelry engraving journey, you’ll need a core set of hand tools that form the foundation of this precise craft. Your essential hand engraving tool collection should include two square graver blanks, which you can customize for different designs and techniques.
You’ll also need a chasing hammer to provide the necessary force for manipulating your graver effectively on metal surfaces.
Don’t overlook tool maintenance—a medium and fine whetstone combo is vital for keeping your engraving tools sharp, ensuring clean, precise cuts every time.
Sharp tools are the cornerstone of professional engraving—dull gravers create ragged cuts and compromise your artistic vision.
For comfort and control, invest in a wooden or steel chisel handle that gives you a secure grip during detailed work.
These fundamental hand tools will set you up for success as you develop your engraving skills.
Basic Graver Types and Their Applications
Understanding graver types and their specific applications will accelerate your learning curve as an engraving beginner.
You’ll want to start with a square graver featuring a 90-degree angle, as it’s the most versatile option for learning basic graver types. This tool can be modified into a flat graver for different engraving techniques.
Round gravers excel at creating fine details and delicate lines, while flat gravers handle broader cuts effectively. You can customize these tools by sharpening edges to specific angles, adapting them to your unique style.
Remember to use a chasing hammer alongside your gravers during the engraving process for controlled pressure and enhanced precision.
Practice these engraving techniques on soft metals like brass or copper before advancing to precious materials.
Workbench Setup and Lighting Requirements
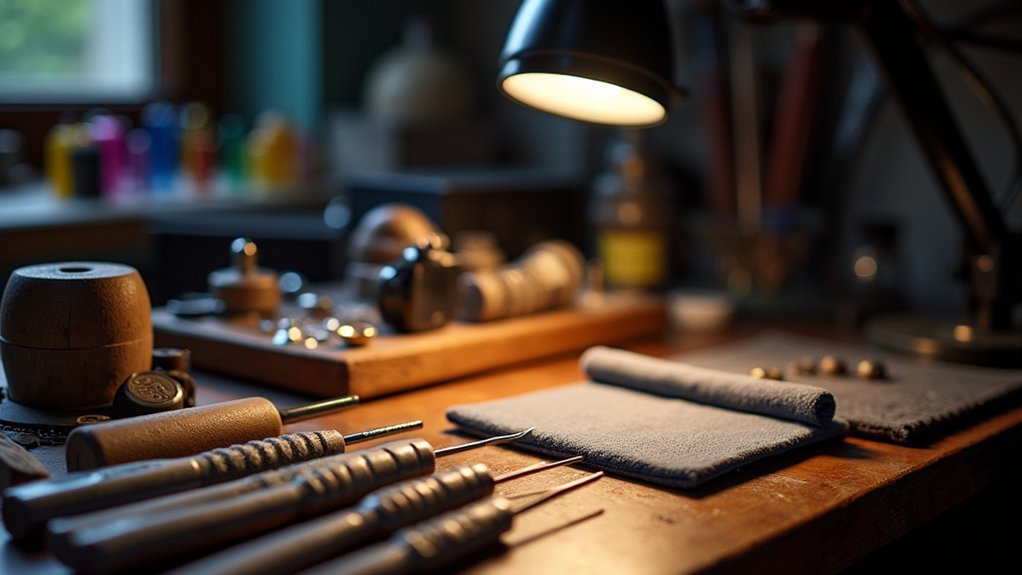
Creating an effective workspace forms the foundation of successful jewelry engraving, requiring careful attention to both your workbench setup and lighting arrangement.
You’ll need a sturdy workbench with a flat, stable surface that provides secure positioning for precision work. Pair this with a comfortable chair to maintain proper ergonomics during extended sessions.
Install twin bulb fluorescent task lights with flexible arms to illuminate your work area effectively. Adequate lighting prevents eye strain and guarantees you can see fine details clearly.
Organize your tools and materials within easy reach to enhance workflow efficiency.
Don’t overlook ventilation considerations, especially when using tools that generate dust or fumes. Proper air circulation maintains a safe, comfortable environment for your engraving projects.
Securing and Holding Devices for Jewelry Pieces
You’ll need reliable securing devices to keep your jewelry pieces completely still while engraving, as any movement can ruin your work.
Bench vises and clamps provide the foundation for stable engraving by gripping your pieces firmly without causing damage.
Specialty jewelry blocks offer additional support and positioning options that standard workshop tools can’t match.
Bench Vises and Clamps
One essential component of any jewelry engraver’s workspace is a reliable bench vise or clamp system that keeps your workpiece absolutely still during the engraving process.
Bench vises prevent movement that could cause mistakes or accidents, greatly improving your engraving precision. You’ll want to choose vises with rubberized jaws to protect delicate materials from scratches during detailed work.
Clamps offer additional support when used with your workbench, helping stabilize jewelry items for intricate designs.
Consider investing in a rotating vise or swivel base – these allow you to easily adjust angles for ideal engraving positions without repositioning your entire setup.
High-quality bench vises and clamps provide better control, making it easier for you as a beginner to achieve the precise results you’re aiming for.
Specialty Jewelry Blocks
Specialty jewelry blocks transform your engraving experience by providing custom-shaped holding surfaces designed specifically for different jewelry pieces.
These specialized tools accommodate various shapes and sizes, from rings to pendants, ensuring your jewelry piece remains stable throughout different engraving methods.
You’ll find blocks made from three primary materials:
- Wood blocks – Offer gentle grip for delicate pieces
- Rubber blocks – Provide flexible support without scratching
- Steel blocks – Deliver maximum stability for intricate work
Most specialty jewelry blocks feature adjustable clamps or vices that grip firmly without damaging surfaces.
As a beginner, you’ll appreciate how these blocks maintain control and reduce errors during detailed engraving work.
They’re essential for achieving professional results while protecting your valuable pieces.
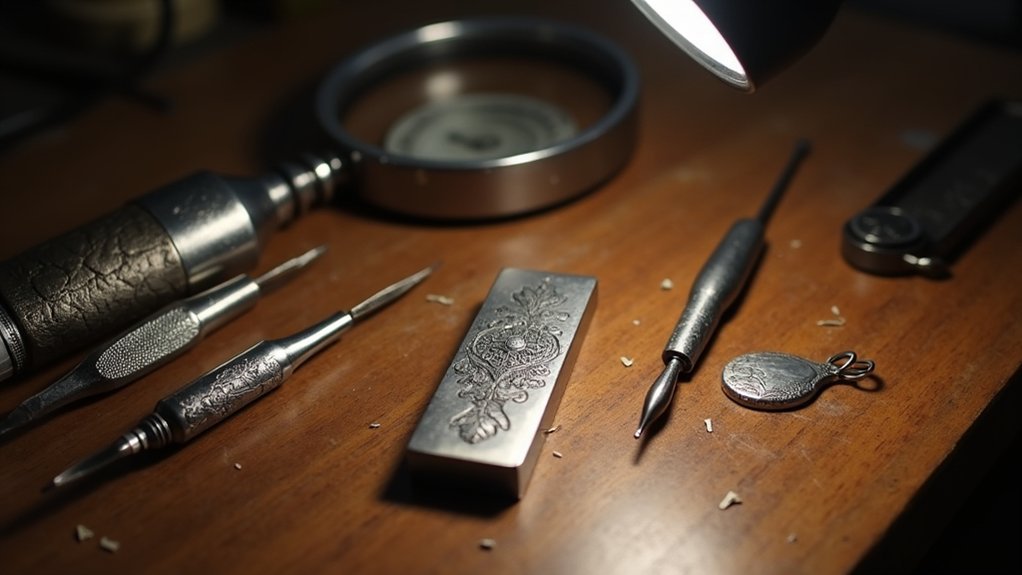
Sharpening Equipment and Stone Selection
Two essential sharpening tools will form the foundation of your engraving toolkit: a medium and fine whetstone combination that’ll keep your gravers performing at their peak.
Diamond stones stand out as the top choice for sharpening these tools, effectively cutting through any metal while providing exceptional durability.
When selecting gravers for sharpening, start with a square graver featuring a 90-degree angle. You can modify this versatile shape for various engraving techniques as your skills develop.
The quality of your sharpening directly impacts your engraving precision, so regular practice with proper techniques is essential.
Consider adding a mushroom-shaped handle to your gravers for improved grip and control. This ergonomic enhancement makes the sharpening process more effective and your overall engraving experience more comfortable.
Safety Equipment and Protective Gear
You’ll need proper safety equipment before you start engraving jewelry to protect yourself from potential hazards.
Your eyes require protection from flying metal shavings and debris, while your respiratory system needs shielding from fine particles and fumes.
Don’t forget to protect your hands with appropriate gloves to maintain grip and prevent cuts from sharp engraving tools.
Eye Protection Essentials
Eye injuries represent one of the most preventable yet serious hazards in jewelry engraving, making proper protective eyewear an absolute necessity for every craftsperson.
You’ll need appropriate eye protection to guard against flying metal particles, debris, and tool slips that can cause permanent damage.
Your safety glasses must meet these essential requirements:
- ANSI Z87.1 certification – Guarantees adequate impact resistance and side protection
- Proper wavelength protection – Specialized laser safety goggles for laser engraving equipment
- Comfortable, secure fit – Prevents distractions during detailed work
You should inspect your eyewear regularly for scratches or damage that compromises vision clarity.
Replace worn protective gear immediately to maintain ideal safety standards.
Respiratory Safety Masks
Just as your eyes need protection from flying debris, your lungs require defense against the microscopic particles and fumes that jewelry engraving generates.
Respiratory safety masks are essential equipment that’ll protect you from inhaling metal dust and hazardous particles created during engraving processes.
Choose masks rated N95 or higher to filter at least 95% of airborne particles effectively. When you’re using power tools or working with substances producing harmful vapors, upgrade to a respirator with organic vapor cartridges for enhanced protection.
Proper fit is vital for effectiveness. Perform a fit test to confirm your mask seals completely around your face, preventing unfiltered air from entering.
Maintain your equipment regularly by replacing filters and cleaning components to preserve long-term effectiveness during jewelry engraving sessions.
Hand Protection Gloves
Sharp engraving tools and metal fragments pose constant threats to your hands during jewelry work, making protective gloves an essential barrier between your skin and potential injuries.
Hand protection gloves crafted from durable materials like leather or Kevlar offer superior protection while maintaining the dexterity you need for precise engraving movements.
When selecting gloves for jewelry engraving, consider these key factors:
- Material durability – Choose leather or Kevlar for ideal cut resistance
- Proper fit – Select snug-fitting gloves that don’t restrict movement
- Grip quality – Guarantee textured surfaces for secure tool handling
Beyond safety, gloves help clean the jewelry surface by preventing oil and dirt transfer from your hands.
This maintains professional results while creating a safer workspace for intricate engraving tasks.
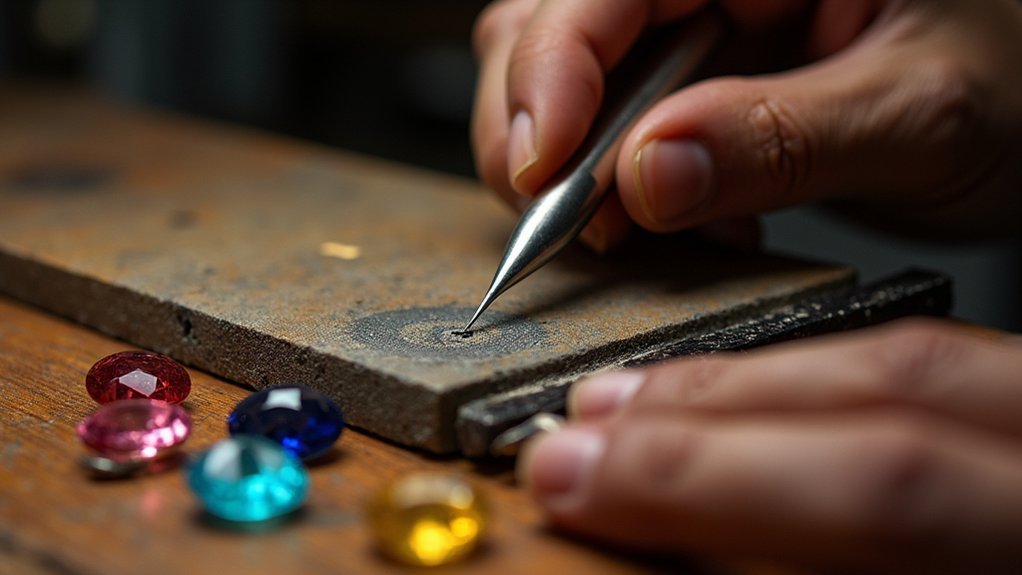
Practice Materials and Training Plates
Building proficiency in jewelry engraving requires dedicated practice on appropriate training materials before you touch expensive pieces.
You’ll want to start with practice materials made from soft metals like copper, steel, and brass. These training plates allow you to develop essential skills without the financial pressure of working on valuable jewelry.
Belt buckle blanks make excellent training surfaces because they provide larger areas for experimenting with different techniques and designs.
Choose materials that mirror the properties of jewelry you’ll eventually engrave, ensuring you’re familiar with specific challenges each metal presents.
Regular practice on these plates helps you develop proper grip, control, and precision with your tools.
Additionally, working on practice materials perfects your tool sharpening techniques, which are vital for achieving clean, precise cuts.
Budget-Friendly Power Assist Options

While hand engraving develops fundamental skills, power assist tools can greatly improve your precision and reduce fatigue during extended engraving sessions.
Power assist tools enhance engraving precision while reducing hand fatigue during long creative sessions.
These budget-friendly options make professional-quality results accessible to beginners:
- Ngraver flex shaft handpiece – An economical choice that provides versatility for newcomers without overwhelming your budget.
- GRS System 3 – Another affordable option that considerably enhances your ability to engrave intricate designs, especially beneficial for beginners.
- Basic pneumatic setup – Requires an air compressor and works with GRS, Lindsay, and Pulsegraver tools for effective assistance.
You’ll want to practice with these tools on copper, steel, and brass plates to refine your technique.
Don’t forget diamond stones for sharpening and maintaining your gravers—they’re essential for precision and equipment longevity.
Measuring and Design Tools for Precision Work
Successful jewelry engraving depends on accurate measurements and well-planned designs that translate your creative vision into precise execution.
You’ll need essential measuring tools like calipers and rulers to guarantee your designs fit properly on jewelry surfaces. Digital calipers provide millimeter-level precision that’s critical for proper alignment.
For design work, start with a sketch pad and pencils to visualize ideas before engraving. Templates and stencils help maintain consistency, especially for repetitive patterns or lettering. These tools guarantee your precision remains constant throughout projects.
Transfer your designs accurately using lightboxes or tracing paper. These tools allow clear placement visualization before you begin engraving, preventing costly mistakes.
Investing in quality measuring and design tools establishes the foundation for professional-looking results from your first project forward.
Frequently Asked Questions
What Do You Need to Engrave Jewelry?
You’ll need essential hand tools like square graver blanks, a chasing hammer, and chisel handle. Add whetstones for sharpening, proper lighting, a sturdy workbench, and consider a stereo microscope for detailed work.
What Tool Do You Need to Engrave?
You’ll need gravers as your primary engraving tool. These specialized steel cutters have sharpened edges for carving designs. You’ll also want a chasing hammer for controlled force and whetstones for keeping tools sharp.
How Do You Engrave Metal for Beginners?
You’ll start by securing your metal piece in a vice, then lightly sketch your design on the surface. Use sharp gravers to carefully carve along your guidelines, practicing on scrap metal first.
What Does Engraving Require?
You’ll need sharp gravers for cutting, a sturdy vice to hold your piece, proper lighting for visibility, and sharpening stones to maintain your tools. Don’t forget to sketch your design first.
In Summary
You’ve got everything you need to start your jewelry engraving journey. Remember, you don’t need every tool immediately—start with basic gravers, a simple vise, and proper lighting. As you develop your skills, you’ll naturally discover which additional tools work best for your style. Focus on mastering the fundamentals with quality practice materials before investing in expensive equipment. Most importantly, don’t rush the learning process—engraving requires patience and consistent practice.


Leave a Reply