
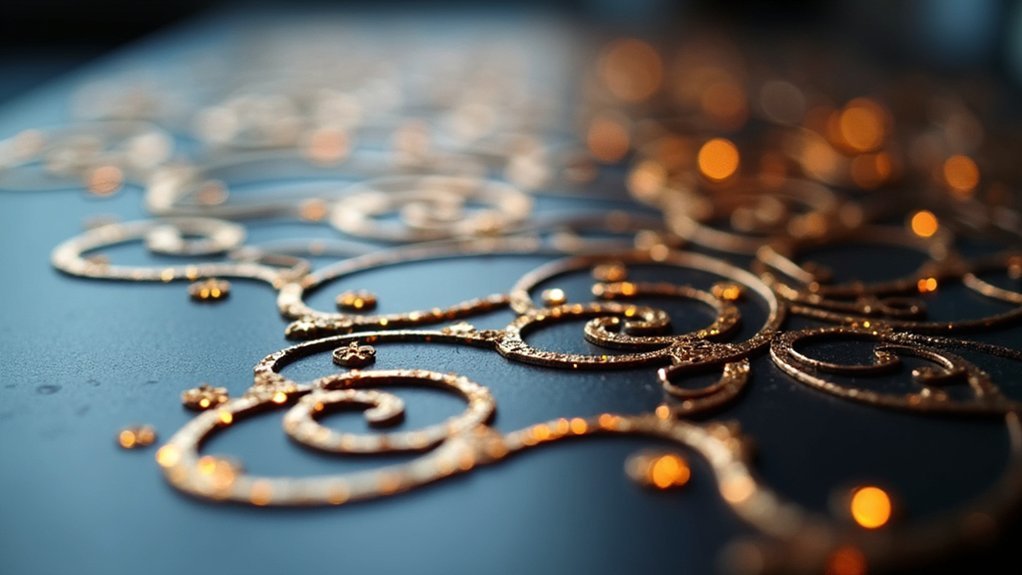
You’ll achieve professional-quality jewelry connections by mastering three essential soldering patterns: lap joint soldering for maximum strength, tacking for multi-component assembly, and sequential spot soldering for even heat distribution. Lap joints create overlapping surfaces that increase bonding area, while tacking allows temporary positioning before permanent joining. Sequential spot soldering prevents warping by heating one area at a time. Each technique requires clean surfaces, proper flux application, and controlled heat to guarantee gap-free joints that’ll transform your metalworking skills completely.
Lap Joint Soldering Pattern for Maximum Strength
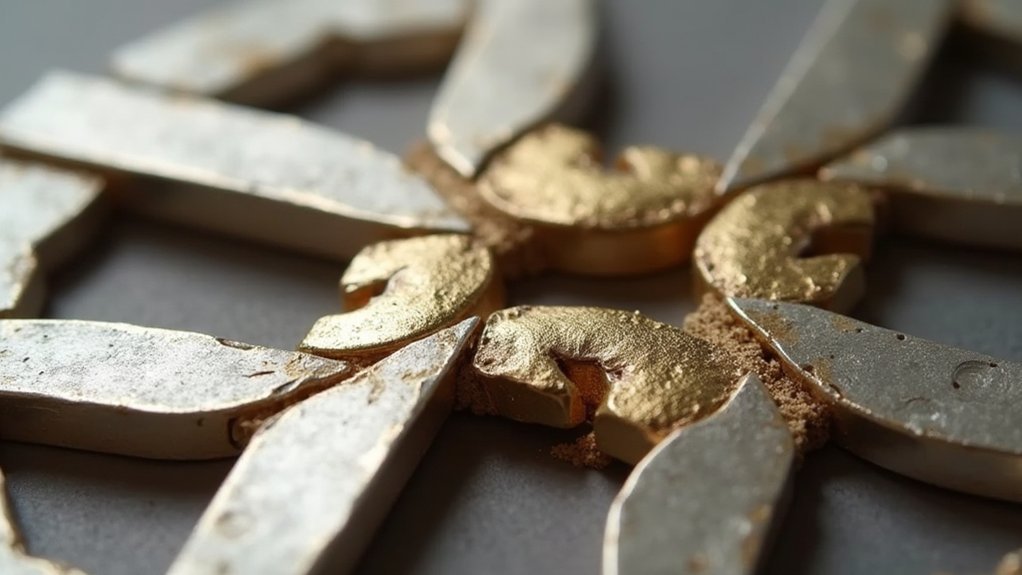
When you’re looking to create the strongest possible connection between two pieces of metal in jewelry making, the lap joint soldering pattern stands out as your most reliable option. This technique involves overlapping two metal pieces, creating a larger surface area that produces a superior solder joint compared to butt joints.
Start by ensuring your metal pieces have clean edges free from oxidation. Apply flux generously to both surfaces before soldering to prevent oxidation and enhance solder flow.
During the heating process, maintain even heating across the entire joint so your solder melts uniformly and flows into all gaps.
Choose solder with an appropriate melting point for your metals, and consider adding extra material along the seam for maximum strength and durability.
Tacking Technique for Multi-Component Assembly
While lap joints excel at creating strong permanent connections, you’ll often need a more flexible approach when assembling complex jewelry pieces with multiple components. The tacking technique provides this flexibility by creating temporary spot connections that hold parts in precise alignment before final soldering.
This soft soldering method proves invaluable for multi-component assembly in jewelry making. You’ll heat the solder minimally at strategic points using a soldering pick, creating secure connections without fully committing to permanent joints.
Execute the tacking technique by:
- Applying small solder amounts at key contact points
- Using focused heat only on tacked areas
- Ensuring gap-free joints for ideal flow
- Inspecting alignment before strengthening connections
This approach lets you adjust positioning easily while maintaining component stability throughout your assembly process.
Sequential Spot Soldering for Even Heat Distribution
Sequential spot soldering takes precision one step further by systematically heating individual points across your jewelry piece in a calculated order. This controlled heating method guarantees even heat distribution while preventing warping in larger or complex soldered jewelry designs.
You’ll apply your soldering iron to one specific area at a time, moving methodically to avoid overheating any single section. Place solder chips and flux at each designated spot before beginning. Heat the first solder joint until the metal reaches proper soldering temperature, then allow it to cool completely before advancing.
This systematic approach maintains the integrity of adjoining areas throughout the process. Use a soldering pick to reposition materials between joints, guaranteeing ideal flow at each connection point.
Sequential spot soldering delivers superior results when soldering jewelry with multiple components or intricate patterns requiring precise tools and materials coordination.
Frequently Asked Questions
What Type of Solder Is Best for Jewelry Making?
You’ll want medium-grade, lead-free silver solder for most jewelry projects. It’s perfect for balancing melting point with ease of use. Consider solder paste in syringes if you’re beginning—it’s simpler to apply.
What Are Common Mistakes Beginners Make When Soldering Jewelry?
You’ll commonly make mistakes like leaving gaps between metal pieces, skipping flux application, overheating the metal, ignoring flux color changes, and positioning solder chips incorrectly so they don’t flow toward heat.
What Is Tiffany Soldering?
You’ll use Tiffany soldering when joining delicate metal pieces with lead-free solder at lower temperatures. This technique creates thin, precise seams perfect for intricate jewelry designs while protecting materials from excessive heat damage.
What Is the Best Flux for Soldering Jewelry?
You’ll want borax flux mixed with water into a paste. It’s jewelry-safe, prevents oxidation effectively, and improves solder flow. Apply it to both sides of your joint for ideal results.
In Summary
You’ll achieve professional-quality jewelry when you master these three essential soldering patterns. Start with lap joints for your strongest connections, then use tacking to hold complex assemblies in place. Finally, apply sequential spot soldering to distribute heat evenly across your pieces. Practice each technique separately before combining them, and you’ll develop the control needed for clean, durable joints that’ll last a lifetime.


Leave a Reply