You’ll master advanced metal overlay techniques by combining contrasting metals like copper, bronze, and silver with precision cutting tools and controlled heat application. Start with proper surface preparation using degreasers and abrasives, then layer metals using mokume gane patterns for wood grain-like effects. Apply flux before soldering to prevent flow issues, and maintain precise torch control to avoid warping. Use patinas over layered metals to create stunning depth and color variations that’ll elevate your jewelry from amateur to professional-grade artistry.
Essential Tools and Materials for Metal Overlay Work
While metal overlay work might seem intimidating at first, you’ll find success depends largely on having the right tools and materials at your disposal.
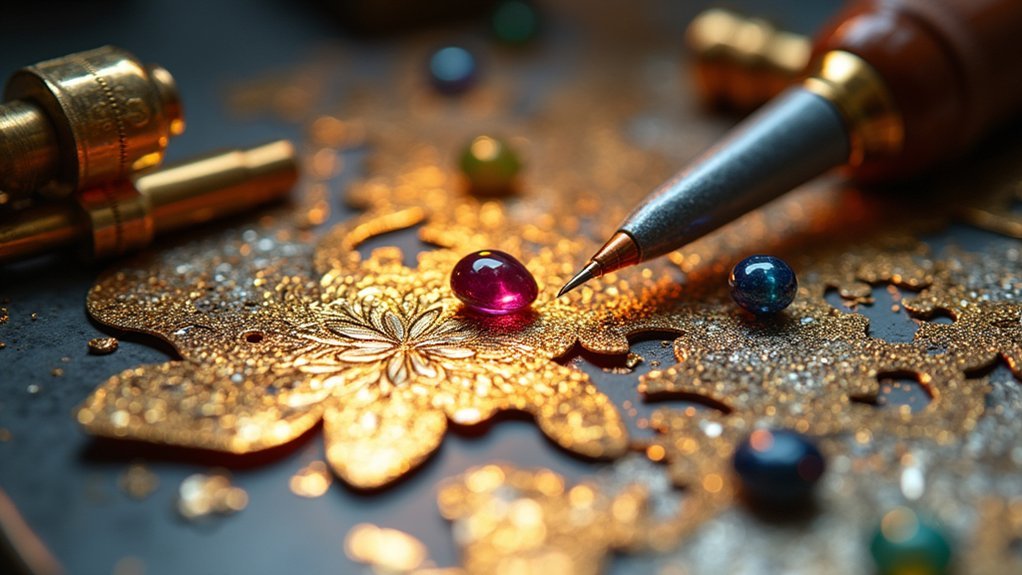
Your cutting arsenal should include a piercing saw for intricate details, a Dremel Multi Tool for quick shaping, and a disc cutter for uniform pieces. You’ll need both ball pein hammer and cross pein hammer varieties to texture your overlay metals effectively.
A soldering torch becomes essential when joining different metal layers through hot work techniques.
For materials, copper offers budget-friendly practice opportunities before advancing to bronze and silver.
Once you’ve completed your overlay work, you can apply patinas like liver of sulphur to create dramatic contrasts on your textured surfaces.
Preparing Base Metals for Overlay Applications
The foundation of successful overlay work starts with properly preparing your base metal surface.
You’ll want to select copper or bronze as your base metal since they provide excellent stability for overlay applications. Start by thoroughly cleaning the surface with a degreaser or abrasive pad to eliminate oxidation and contaminants that compromise adhesion.
Next, roughen the surface using a file or sandpaper to create a strong mechanical bond. This textured foundation guarantees your overlay materials grip securely.
Consider applying a patina treatment before overlaying to add visual interest and create striking contrast in your final design.
Make sure your base metal is completely dry and dust-free before proceeding. This preparation assures stable adhesion and ideal results in your jewelry overlay work.
Layering Techniques for Complex Pattern Development
Three fundamental approaches will transform your basic overlay into sophisticated pattern work that captivates viewers.
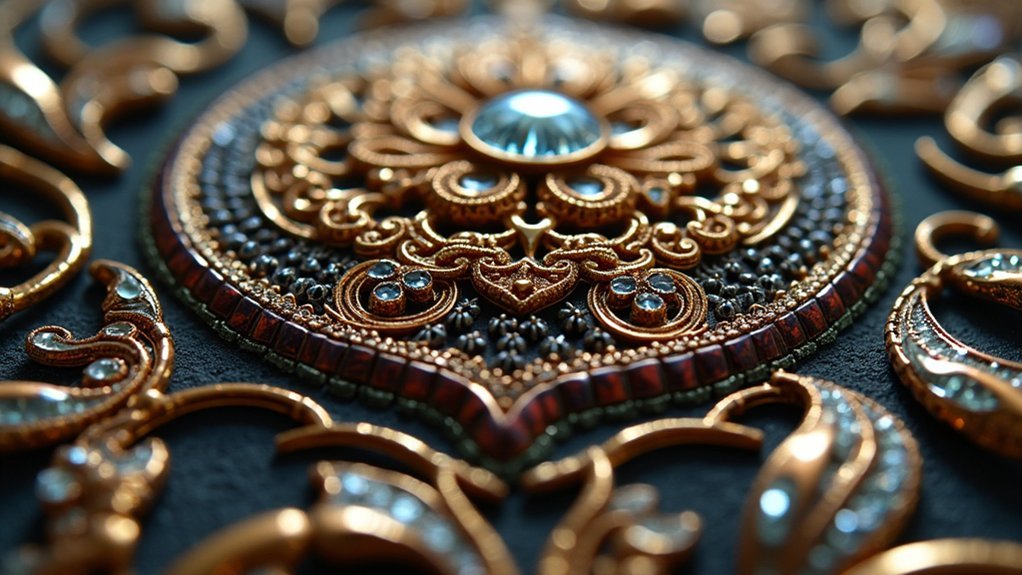
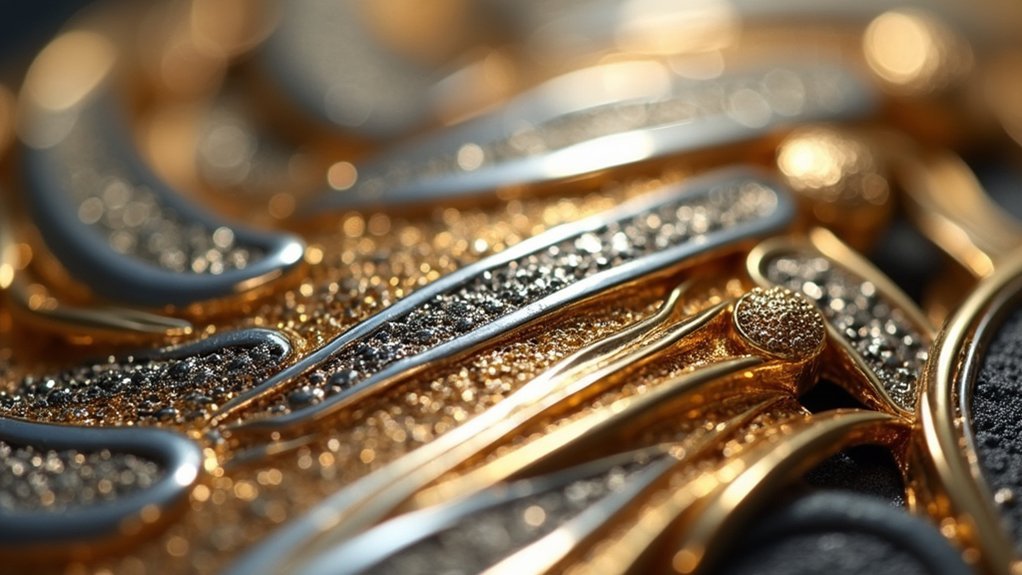
Start by applying multiple metal sheets with contrasting colors—copper, bronze, and silver create stunning visual effects through their unique heat reactions and patinas. You’ll achieve complex shapes by integrating fold-forming and soldering techniques, which secure layers while adding dimensional artistry.
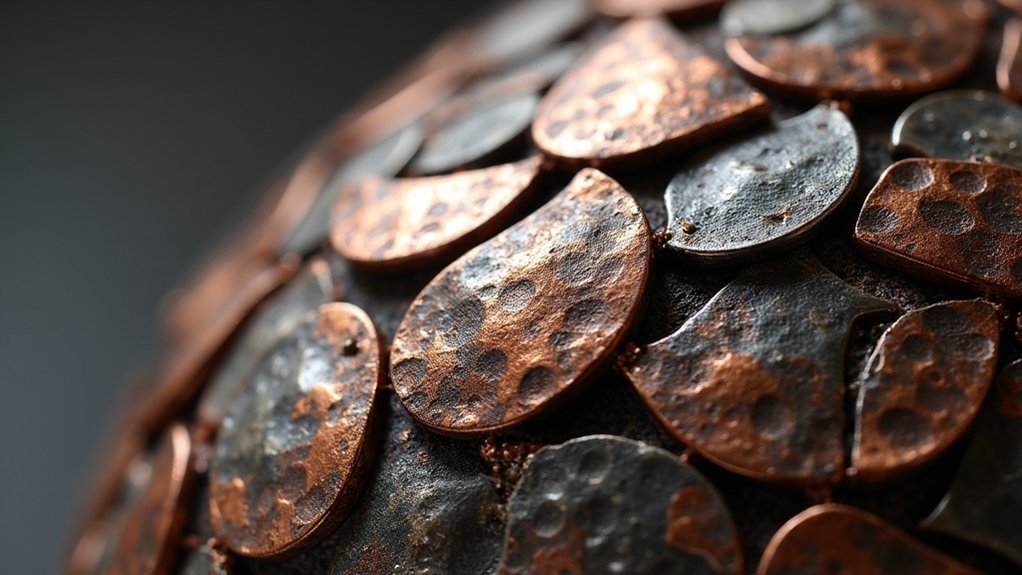
Enhance surface drama using texturing tools during layering. Hammers and doming blocks create compelling variations that elevate your piece’s aesthetic appeal.
For advanced work, explore mokume gane, where you’ll forge different metals together to produce intricate patterns resembling wood grain.
These layering techniques build depth and complexity, moving beyond simple overlays into masterful jewelry that showcases your technical skill and artistic vision.
Heat Application Methods for Secure Metal Bonding
Precision becomes paramount when applying heat to bond your metal overlays permanently. Heat application methods like soldering and brazing create secure, lasting connections between your metal layers.
You’ll need precise torch control to avoid damaging delicate components while achieving ideal metal bonding. Select soldering alloys based on your base metals’ melting points to maintain overlay integrity.
Pre-heating your base metal reduces thermal shock and promotes even heat distribution throughout the joint. Before applying heat, you must complete thorough oxidation removal and surface preparation.
Clean metal surfaces guarantee proper adhesion, while flux application prevents solder flow issues during the bonding process. These preparation steps directly impact your final bond strength.
Master these heat application methods, and you’ll create professional-quality jewelry with overlays that withstand daily wear.
Creating Contrast Through Mixed Metal Combinations
You’ll achieve stunning visual impact by strategically combining metals like copper, bronze, and silver to control color depth in your overlay designs.
When you apply patinas to these mixed metal combinations, you’ll reveal a spectrum of colors that dramatically enhance the contrast between different metallic elements.
Your ability to manipulate both the natural tones of various metals and their chemical treatments gives you precise control over the final aesthetic outcome.
Color Depth Control
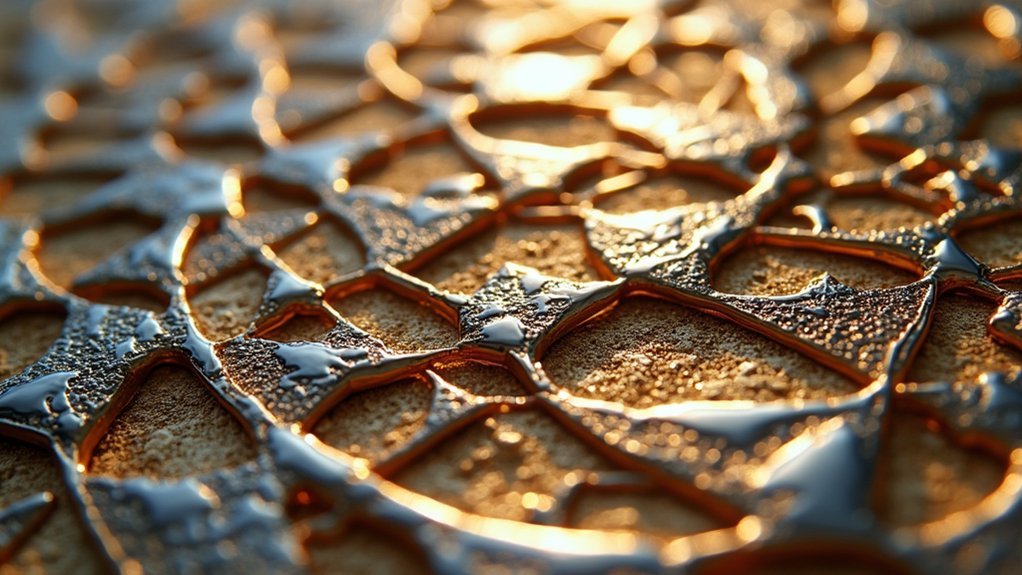
Two primary factors determine successful color depth control in mixed metal combinations: heat application technique and strategic patination placement. You’ll achieve stunning color depth by controlling your torch flame’s distance from the metal surface, creating gradient hues that change seamlessly. Copper responds dramatically to heat treatment, producing deep reds through vibrant blues, while silver yields subtler tones.
Pre-texturing your metal before applying heat enhances color contrast considerably. Textured areas react differently, creating striking visual depth. Liver of sulphur amplifies this effect—strong LOS solutions create black patina on textured sections, emphasizing unpatinated areas.
| Metal Type | Heat Response | LOS Effect |
|---|---|---|
| Copper | Rich reds to blues | Deep black contrast |
| Silver | Subtle light palette | Gray-black tones |
| Brass | Golden to purple | Dark bronze patina |
Experiment with various dilution ratios to reveal creative possibilities in your mixed metal combinations.
Patina Enhancement Methods
Strategic application of contrasting patinas across different metals transforms ordinary jewelry pieces into enchanting works of art.
You’ll discover that mixed metal combinations create stunning visual depth when you pair copper with silver or bronze. Using liver of sulphur produces distinct patina colors—copper develops rich blues and greens while silver achieves deep black tones.
Pre-treating metals with textures before patina application generates unique patterns as recesses capture color differently.
Heat treatment gives you precise control over intensity, where adjusting torch distance creates vibrant layered effects across your mixed metals.
You can achieve intricate designs by masking specific areas during application, preventing unwanted coloration while highlighting both base metals and patina finishes.
This contrast of patinas elevates your jewelry from simple metalwork to sophisticated artistry.
Precision Cutting and Shaping for Overlay Elements
Anyone working with jewelry overlay techniques knows that precision cutting and shaping form the foundation of professional-looking results.
You’ll find that a piercing saw delivers exceptional accuracy for intricate designs, creating clean edges that fit seamlessly together. When you need uniformly sized pieces, a disc cutter tool guarantees perfect symmetry across your overlay components.
For metal sheet materials up to 0.6mm thick, wire cutters provide straightforward cutting before additional shaping.
If you’re tackling complex designs, Dremel Multi Tools offer automated precision that saves time while maintaining quality.
Mastering these shaping techniques is essential for jewelry making success.
You’ll discover that combining different cutting methods allows you to create detailed overlay elements that layer beautifully, transforming simple materials into stunning finished pieces.
Surface Finishing Techniques for Professional Results
Once you’ve achieved precise cuts and shapes for your overlay elements, the quality of your surface finishing determines whether your jewelry looks amateur or professional. Surface finishing techniques like sanding, polishing, and buffing transform rough metal surfaces into stunning showcases.
| Technique | Tool/Material | Result |
|---|---|---|
| Sanding | Fine-grit sandpaper | Removes scratches, smooths surface |
| Polishing | Polishing compound | Creates professional-quality surface |
| Buffing | Rotary tool with buffing wheel | Achieves high-shine finish |
| Patina | Chemical solutions | Adds color and depth |
| Etching | Acid or engraving tools | Creates unique designs |
Start with fine-grit sandpaper, then apply polishing compound to eliminate imperfections on copper, bronze, and silver. A rotary buffing wheel speeds up the process for brilliant results. Consider patina finish for added texture or etching for distinctive patterns that make each piece truly individual.
Troubleshooting Common Overlay Challenges
Why do even experienced jewelers encounter frustrating setbacks when working with overlay techniques? Misalignment often stems from imprecise measuring and cutting—you’ll need accurate measurements to prevent layer displacement.
Inconsistent adhesion typically results from inadequate heat application; maintain proper torch distance and flame intensity to create a strong bond between metals.
Warping occurs when heat distribution isn’t even—use a soldering board to minimize metal distortion during heating.
If you’re experiencing peeling, examine your quality materials and consider upgrading your adhesive or solder for enhanced durability.
Surface imperfections like bubbling indicate overheating; control your heat application time and technique carefully.
Practice these adjustments systematically to identify which specific factors are causing your overlay challenges.
Design Applications for Rings, Pendants, and Bracelets
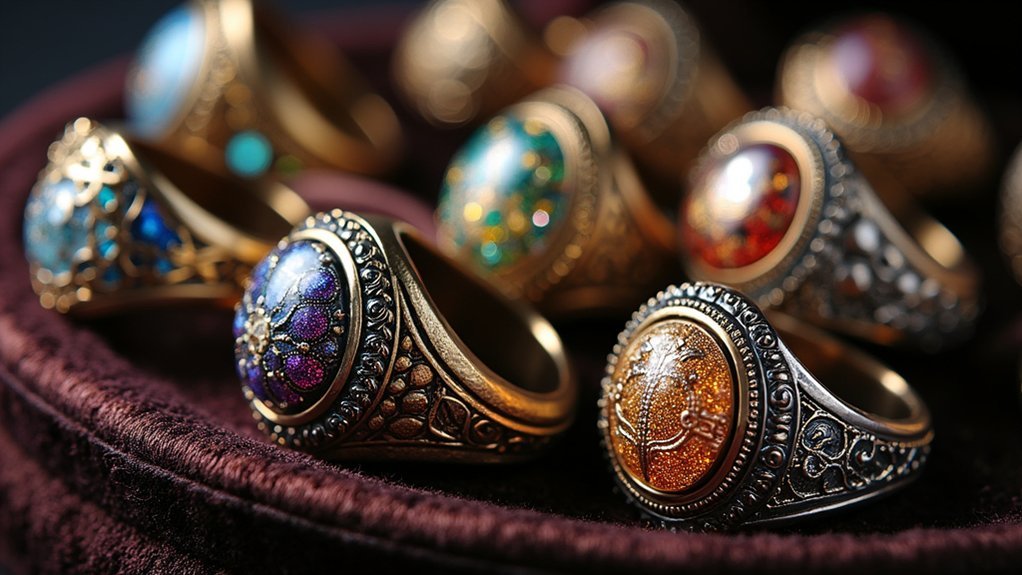
Three distinct jewelry categories—rings, pendants, and bracelets—each present unique opportunities for showcasing metal overlay techniques through thoughtful design applications.
When crafting rings, you’ll find that combining metal overlay with fold-forming or bezel settings creates stunning contrasts while securely holding colorful stones. The layered metals enhance your ring’s visual depth dramatically.
For pendants, you can maximize impact by pairing textured backgrounds with overlay work. This combination creates compelling 3D effects that naturally draw attention to your centerpiece design. The interplay between textures amplifies the overall visual appeal.
Bracelets offer exceptional canvas potential when you apply patinas over your layered metals. This technique adds remarkable depth and richness.
You’ll guarantee structural integrity through riveting or soldering methods while maintaining your creative expression. These joining techniques assure durability without compromising your artistic vision.
Frequently Asked Questions
What Is the Approximate Cost Difference Between Overlay Techniques and Traditional Methods?
You’ll typically spend 20-40% more on overlay techniques compared to traditional methods due to specialized tools, additional materials, and extended labor time, but you’ll achieve considerably more intricate and valuable finished pieces.
How Long Does It Typically Take to Master Advanced Metal Overlay Techniques?
You’ll need 2-3 years of consistent practice to master advanced metal overlay techniques. Your progress depends on how often you practice, your natural skill level, and whether you’re taking structured classes or learning independently.
Can Metal Overlay Work Be Repaired if Damaged After Completion?
You can repair damaged metal overlay work, but it’s challenging. You’ll need to carefully remove affected sections, clean the base metal, and reapply new overlay material using precise heat control and matching techniques.
Are There Any Health or Safety Concerns Specific to Metal Overlay Processes?
You’ll face fume exposure from soldering and flux, potential burns from torches, and eye strain from detailed work. Always wear safety glasses, use proper ventilation, and keep burn treatment accessible.
How Does Metal Overlay Affect the Overall Durability of Finished Jewelry Pieces?
You’ll find metal overlay actually strengthens jewelry by adding protective layers and reducing wear on base metals. However, poor adhesion between layers can create weak points that’ll compromise your piece’s long-term durability.
In Summary
You’ve now mastered the fundamental techniques that’ll transform your jewelry from ordinary to extraordinary. Don’t be discouraged if your first attempts aren’t perfect—metal overlay is a skill that develops with practice. Start with simple patterns and gradually work toward more complex designs. Remember to focus on proper preparation and heat control, as these factors determine your success. With patience and persistence, you’ll create stunning pieces that showcase your unique artistic vision.


Leave a Reply