You’ll achieve professional-quality 3D printed gemstone settings by choosing appropriate socket designs—bezels for softer stones, prongs for harder diamonds. Scale your CAD models 7-10% larger to compensate for material shrinkage during casting. Position support structures carefully at ring bases or pendant centers to preserve intricate details. Maintain minimum wall thickness of 0.6-0.8mm for bezels and prongs, increasing to 1mm for fragile designs. Test various casting methods to document best procedures for stone retention. Master these fundamentals to enable advanced techniques for flawless jewelry creation.
Choose the Right Socket Setting Design for Your Gemstone Type
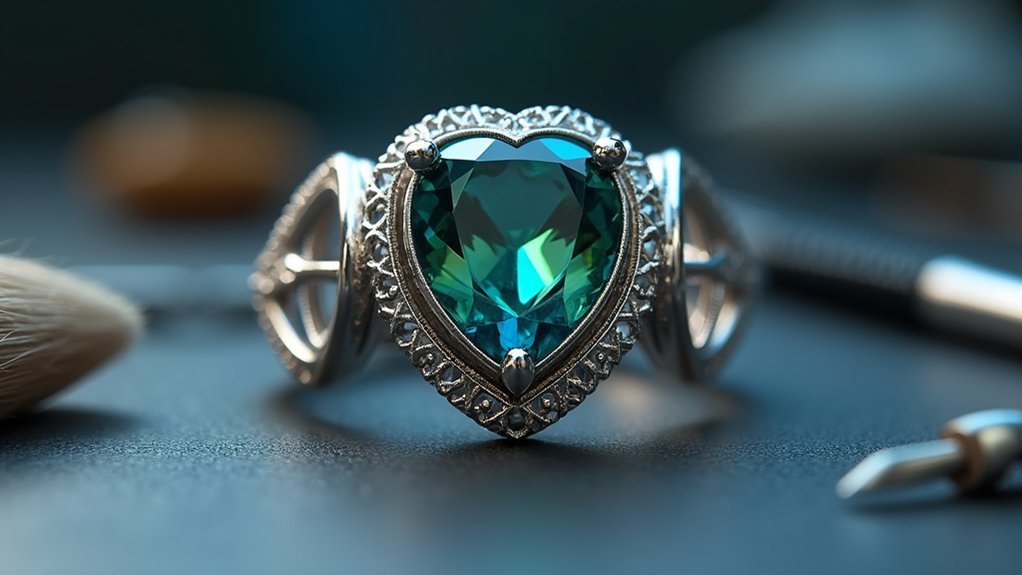
When designing 3D printed jewelry, you’ll find that selecting the proper socket setting design directly impacts how securely your gemstone sits and how professional your finished piece looks.
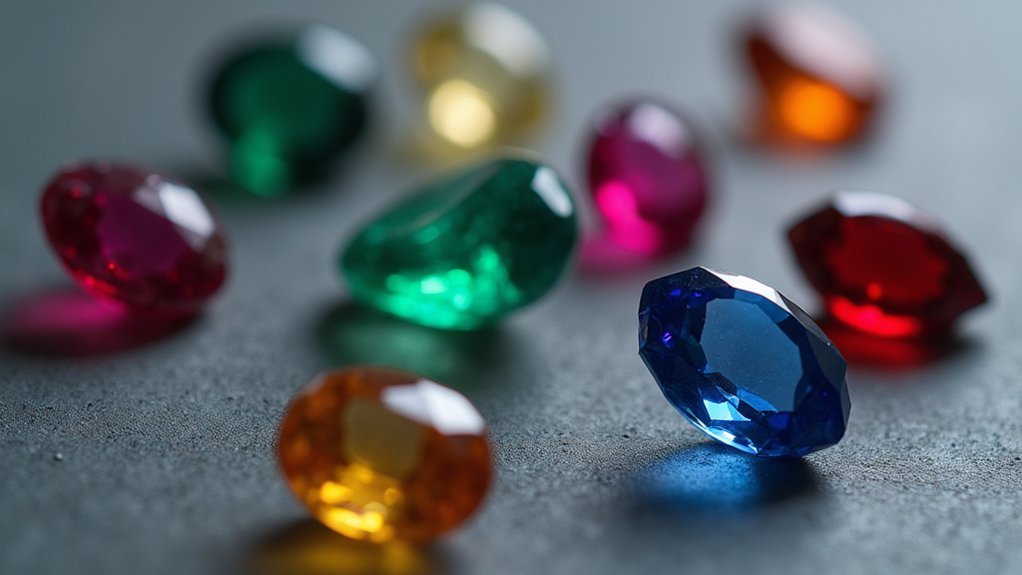
Different gemstone types require specific setting approaches to achieve ideal results. For round brilliant cuts, you’ll want to experiment with bezel settings that provide complete edge protection, while emerald cuts work well with prong settings that showcase the stone’s clarity.
Different gemstone cuts demand tailored setting approaches – bezel settings protect round brilliants while prong settings highlight emerald cut clarity.
Make sure to take into account your gemstone’s hardness and vulnerability when choosing between designs. Softer stones benefit from protective bezel settings, whereas harder diamonds can handle more exposed prong configurations.
Each setting type offers unique advantages regarding security, light reflection, and overall aesthetic appeal for your specific gemstone characteristics.
Calculate Proper Scaling to Compensate for Material Shrinkage
After you’ve finalized your socket setting design, you’ll need to calculate precise scaling factors to counteract material shrinkage that occurs during the 3D printing and casting process.
Follow these steps to determine your ideal scaling factor:
- Apply an initial 7-10% scaling factor to your CAD model as a starting baseline for compensation.
- Conduct sample tests with your specific materials and equipment to measure actual shrinkage rates.
- Account for approximately 0.3 mm of metal removal during finishing processes when calculating gemstone settings.
- Document your results to establish a personal casting procedure for consistent accuracy.
Don’t rely on textbook numbers alone—variability in materials and settings makes them unreliable.
Your controlled tests will show that investment materials may expand more than actual metal shrinkage, so experimentation is essential for achieving precise final dimensions.
Position Support Structures to Avoid Damaging Setting Details
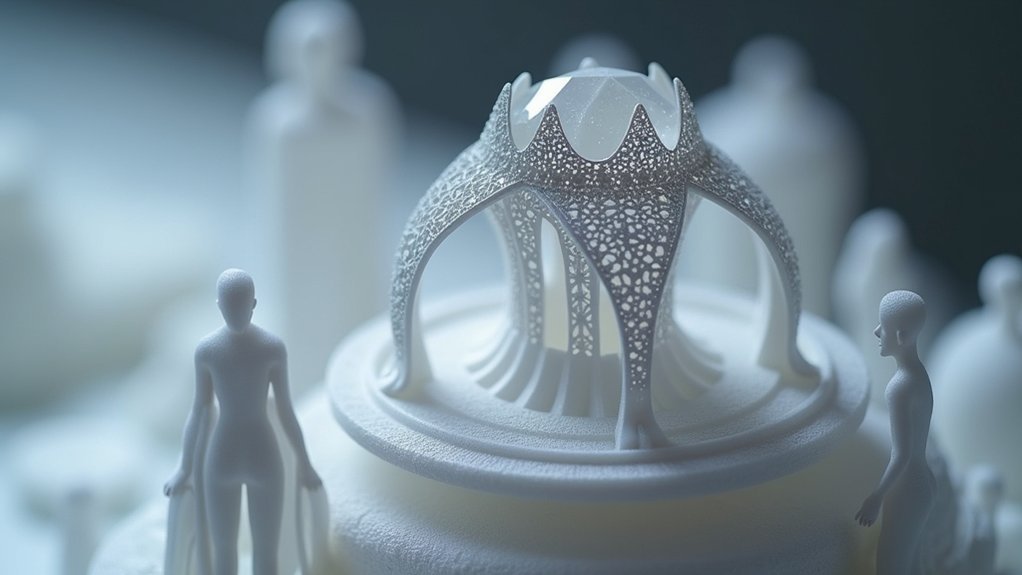
Once you’ve calculated your scaling factors, the next challenge involves strategically positioning support structures to protect your setting’s delicate features.
Strategic support placement becomes critical when scaling factors are complete—protecting delicate jewelry features requires careful planning to preserve intricate details during printing.
You’ll need to minimize contact with intricate details to prevent distortion during printing. For ring jewelry designs, place supports primarily at the base while keeping them away from gemstone settings to avoid surface imperfections.
When working with pendants, run a thicker support through the center with additional side supports for stability without interfering with setting details.
For earrings, tilt your design approximately 45 degrees during support placement to preserve decorative features while maintaining structural integrity.
Always assess your design’s complexity carefully to determine ideal support placement and quantity, balancing stability with detail preservation.
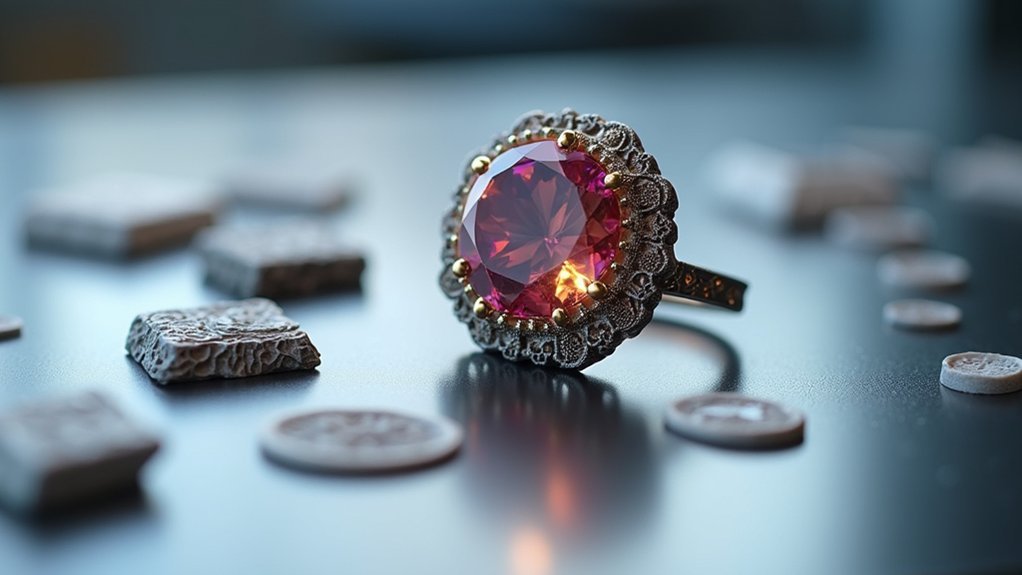
Maintain Minimum Wall Thickness for Durable Bezels and Prongs
Structural integrity hinges on maintaining proper wall thickness throughout your 3D printed gemstone settings.
You’ll need adequate thickness to prevent breakage during casting and guarantee long-term durability. Before finalizing your design, review reference materials and your printer manufacturer’s Privacy Policy for material specifications.
Follow these minimum thickness guidelines:
- Standard metals (gold, silver, bronze, brass): 0.6-0.8mm for bezels and prongs
- Fragile designs: Use 1mm minimum thickness to prevent casting failures
- Heavy-wear pieces (like cuff-links): Maintain 0.8mm minimum for durability
- Gold-plated items: Require 0.8mm thickness to withstand daily wear
Consulting design guides helps determine exact thickness requirements based on your chosen material and finish, increasing successful casting likelihood.
Test Casting Methods to Ensure Secure Stone Retention
Testing your casting methods prevents costly failures and guarantees gemstones stay securely in place.
You’ll need to conduct controlled tests evaluating how investment material expansion affects your cast settings’ final dimensions, as this directly impacts stone retention.
Keep in mind that actual metal shrinkage during cooling is often less than investment expansion, which affects how securely stones are held.
Scale your CAD models by 7-10% to compensate for both metal shrinkage and investment expansion, ensuring better gemstone fit.
Since casting prongs don’t hold stones as securely as fabricated settings, test different designs for ideal retention.
Document your casting procedures and results so you can refine your methods over time and improve stone setting security in future jewelry designs.
Frequently Asked Questions
What Are the Best Settings for 3D Printing?
You’ll want layer heights between 0.1-0.2mm, printing speeds of 30-50mm/s, and temperatures around 200-220°C for PLA. Use supports for overhangs and guarantee proper bed adhesion for best results.
How Can I Make My 3D Prints Better Quality?
You’ll improve print quality by using high-resolution resin printers, maintaining proper wall thickness, adding multiple release holes, optimizing support structures, and regularly calibrating your printer settings for consistent results.
What Is the Best Support Setting for 3D Printing?
You’ll want minimal supports placed strategically – use tree supports at 45-60 degree overhangs, enable support interface layers, and adjust density between 10-20% depending on your model’s complexity and geometry.
What Is the Best Infill Setting for 3D Printing?
You’ll want 15-25% infill for most prints, balancing strength and material usage. Use honeycomb or grid patterns for best results. Increase to 50% for complex designs requiring extra durability.
In Summary
You’ll achieve professional-quality gemstone settings by implementing these five essential techniques. Remember that each gem type requires specific socket considerations, so don’t skip the scaling calculations. Always position your supports strategically to protect delicate prongs and bezels. Keep your wall thickness within recommended parameters, and you’ll avoid structural failures. Most importantly, test your casting methods thoroughly before committing to final production runs.


Leave a Reply