You can 3D print metal jewelry using Direct Metal Laser Sintering (DMLS), which fuses metal powders layer by layer with laser precision. Start by designing your piece in specialized CAD software like RhinoGold, ensuring minimum wall thickness of 0.6-1.0mm and proper support structures. Choose from materials like silver, gold, titanium, or stainless steel based on your printer’s capabilities. After printing, you’ll need post-processing including support removal, ultrasonic cleaning, and polishing to achieve professional finishes that rival traditional metalworking methods.
Understanding Metal 3D Printing Technologies for Jewelry Production
When you’re exploring metal 3D printing for jewelry production, you’ll encounter two primary technologies that dominate the field: Direct Metal Laser Sintering (DMLS) and Binder Jetting.
DMLS uses a laser to fuse metal powder layer by layer, creating complex geometries that traditional jewelry-making methods can’t achieve. This precision makes it perfect for custom metal jewelry pieces with intricate details.
DMLS technology delivers unmatched precision for intricate custom jewelry designs that exceed traditional manufacturing limitations.
Binder Jetting takes a different approach, using a binding agent to bond metal powder before sintering in a furnace. This method offers a cost-effective solution for producing metal jewelry without sacrificing quality.
Both technologies enable you to create durable, high-precision pieces that push the boundaries of traditional jewelry design through advanced 3D printing capabilities.
Essential CAD Software and Design Principles for Metal Jewelry
You’ll need specialized CAD software like RhinoGold or MatrixGold to create precise jewelry designs that translate effectively to metal 3D printing.
Metal’s unique properties require you to take into account constraints like minimum wall thickness, support structures, and thermal expansion during the design phase.
Master precision modeling techniques that account for parametric adjustments and optimize your geometry for successful metal printing outcomes.
CAD Software Selection
Before diving into metal jewelry 3D printing, you must choose CAD software that’ll handle the precision demands of metalwork. Your CAD software selection directly impacts your design quality and workflow efficiency.
Rhino offers exceptional precision modeling capabilities, making it ideal for intricate jewelry details. Fusion 360 provides robust parametric modeling with excellent export compatibility. Tinkercad serves beginners well with its user-friendly interface, though it’s less suited for complex pieces.
When evaluating design software, prioritize programs supporting accurate dimensions and fine details essential for comfortable wear. Look for built-in jewelry component libraries that’ll streamline your workflow.
Verify your chosen software exports STL or OBJ formats required by metal 3D printers. Consider structural integrity tools and optimization features that’ll enhance your designs’ printability and durability.
Metal Design Constraints
Metal 3D printing imposes specific design constraints that’ll shape how you approach jewelry creation. You’ll need to balance structural integrity with aesthetic appeal while adhering to technology-specific limitations.
| Constraint Type | Requirement | Impact on Design |
|---|---|---|
| Wall Thickness | 0.6-1.0mm minimum | Affects delicate details |
| Support Structures | Required for overhangs | Influences orientation |
| Mass Distribution | Even weight balance | Guarantees comfort |
| Surface Finish | Post-processing needed | Affects final quality |
| Feature Resolution | 0.1-0.3mm details | Limits intricate patterns |
Different metal 3D printing methods like SLS and DMLS impose unique constraints on your designs. You’ll want to minimize excessive mass while optimizing for strength, making sure your high quality pieces remain comfortable to wear. Understanding these metal design constraints upfront prevents costly redesigns and guarantees successful prints.
Precision Modeling Techniques
While metal design constraints establish the boundaries of what’s possible, precision modeling techniques determine how effectively you’ll translate your creative vision into printable reality.
Mastering CAD software like Rhino, Fusion 360, or Blender enables you to create intricate details with accurate dimensions essential for metal jewelry production.
Key precision modeling strategies include:
- Optimize geometry for 3D printing – Add support structures and guarantee minimum thickness requirements meet printer specifications.
- Apply weight-reduction techniques – Use lattice structures and hollowing methods to minimize material without sacrificing visual appeal.
- Export in compatible formats – Save designs as STL or OBJ files for seamless printer communication.
You’ll need to balance scalability and wearability while maintaining structural integrity for metal casting.
These techniques guarantee your designs shift successfully from digital concepts to high-quality metal prints.
Selecting the Right Metal Materials and Filaments
Although 3D printing technology has revolutionized jewelry creation, your success depends heavily on choosing the appropriate metal materials and filaments for your specific project.
When printing jewelry, consider silver, bronze, brass, and stainless steel for their aesthetic appeal and durability.
You’ll encounter two main filament types: metal powders mixed with polymer matrices for easier printing, and pure metals requiring specialized techniques like selective laser melting.
Confirm your chosen material matches your printer’s capabilities, as some machines only support specific metals.
Evaluate each material’s melting point and flow characteristics, since these factors directly impact print quality.
Finally, consider post-processing requirements—different metals need varying degrees of finishing, polishing, or treatment to achieve your desired appearance.
Preparing Your 3D Model for Metal Printing Success
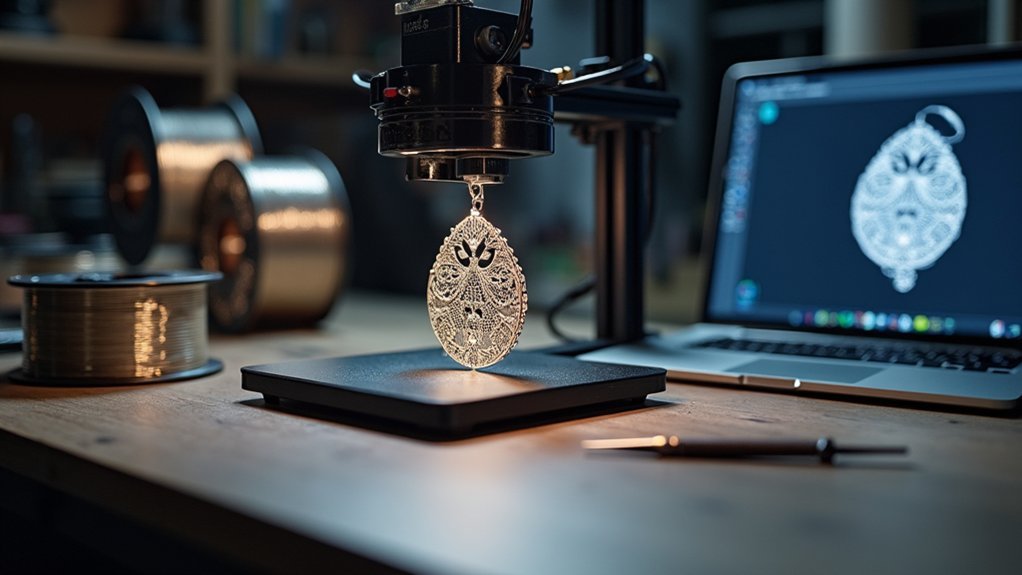
Once you’ve selected your metal material, your design file becomes the foundation that determines whether your jewelry piece succeeds or fails during printing.
Your CAD model must accommodate metal 3D printing’s unique requirements. Create precise dimensions that account for comfort and wearability while ensuring compatibility with your chosen printing technology.
Essential preparation steps include:
- Add support structures – Incorporate necessary supports to prevent warping and collapsing during the metal printing process.
- Verify printer specifications – Check layer thickness and resolution requirements to maintain quality and detail in your final piece.
- Export in compatible formats – Use STL or OBJ file formats for seamless communication between your CAD software and 3D printer.
Proper model preparation directly impacts your jewelry’s structural integrity and surface finish quality.
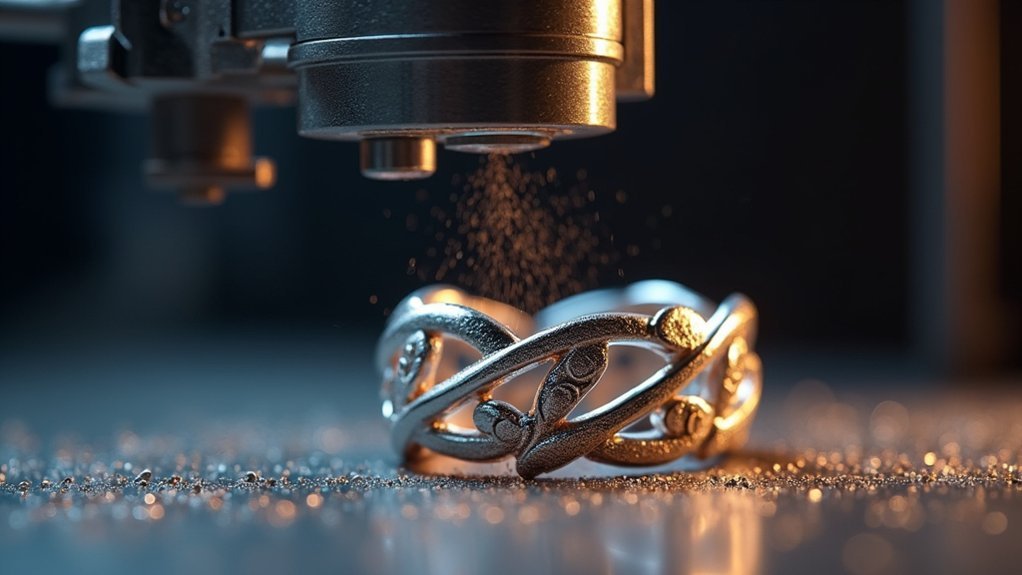
Direct Metal Laser Sintering Process Overview
You’ll find that Direct Metal Laser Sintering (DMLS) uses a high-powered laser to fuse metal powder particles layer by layer, creating complex jewelry geometries that traditional methods can’t achieve.
The process requires precise laser sintering parameters, including preheating stages up to 200°C to reduce thermal stresses and guarantee ideal particle bonding.
Understanding these technology fundamentals and parameter controls is essential for producing high-quality metal jewelry with layer thicknesses ranging from 20 to 100 microns.
DMLS Technology Fundamentals
When precision meets innovation in jewelry manufacturing, Direct Metal Laser Sintering (DMLS) stands as a revolutionary additive manufacturing technology that’s transforming how artisans create intricate metal pieces.
You’ll find that DMLS uses a high-powered laser to fuse metal powder particles together layer by layer, enabling complex geometries impossible with traditional methods.
The fundamental process involves three key stages:
- Digital preparation – Your 3D model gets sliced into ultra-thin layers for precise manufacturing.
- Laser fusion – Each layer is selectively melted to form solid, durable structures.
- Layer building – Successive layers bond together creating your complete piece.
Your printed jewelry emerges with exceptional density and mechanical strength, suitable for everyday wear.
DMLS supports various metals including stainless steel, titanium, and precious metals like gold and silver, giving you unlimited creative possibilities.
Laser Sintering Parameters
Understanding DMLS technology sets the foundation, but mastering the specific parameters that control laser sintering determines whether your jewelry emerges as a masterpiece or a costly mistake.
You’ll need to optimize layer thickness between 20 to 100 microns for maximum detail. The advantages of 3D printing become evident when you maintain proper environmental controls using argon or nitrogen atmospheres, preventing oxidation during the sintering process.
Preheating your powder bed to 30-150°C reduces thermal stress and improves mechanical properties. Your laser power, scanning speed, and hatch spacing must work harmoniously to achieve complete powder fusion without overheating.
Each DMLS parameter directly affects surface quality, dimensional accuracy, and structural integrity. Monitor these variables continuously, as even minor deviations can compromise your jewelry’s final quality and require extensive post-processing corrections.
Lost-Wax Casting With 3D Printed Resin Models
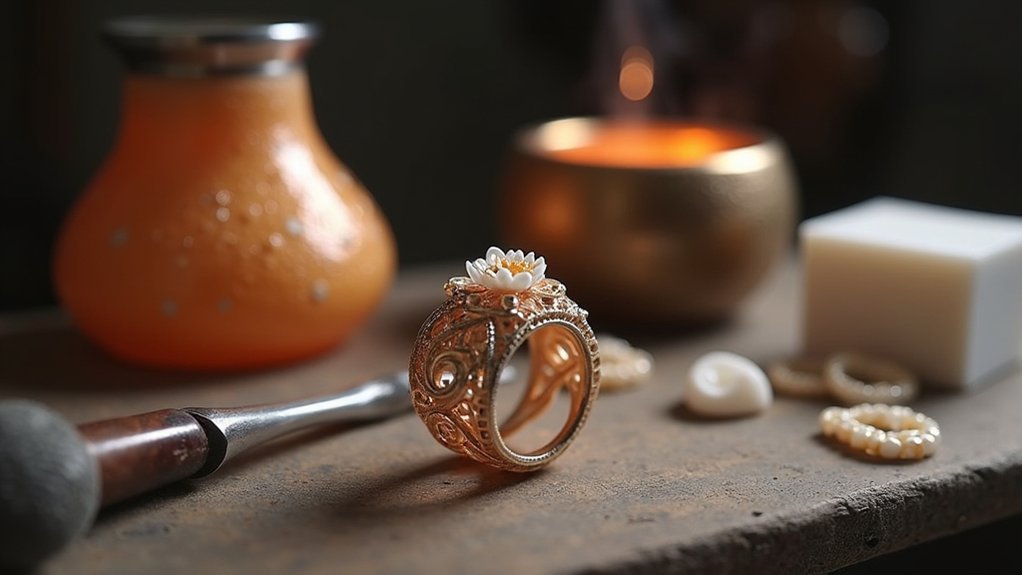
While traditional lost-wax casting has used hand-carved wax models for centuries, 3D printing revolutionizes this ancient technique by enabling you to create incredibly precise resin models that burn out cleanly during the casting process.
Key Steps for 3D Printed Lost-Wax Casting:
- Print with castable resin like W20 Green or Jewelry Violet to achieve intricate detail reproduction.
- Clean and post-cure your printed model using 95% isopropyl alcohol for proper solidification.
- Invest and cast by encasing the model in plaster, vacuuming out air bubbles, then using a centrifuge to fill the mold with molten metal.
This method transforms your digital designs into durable silver or bronze jewelry pieces with exceptional accuracy that surpasses traditional hand-carving techniques.
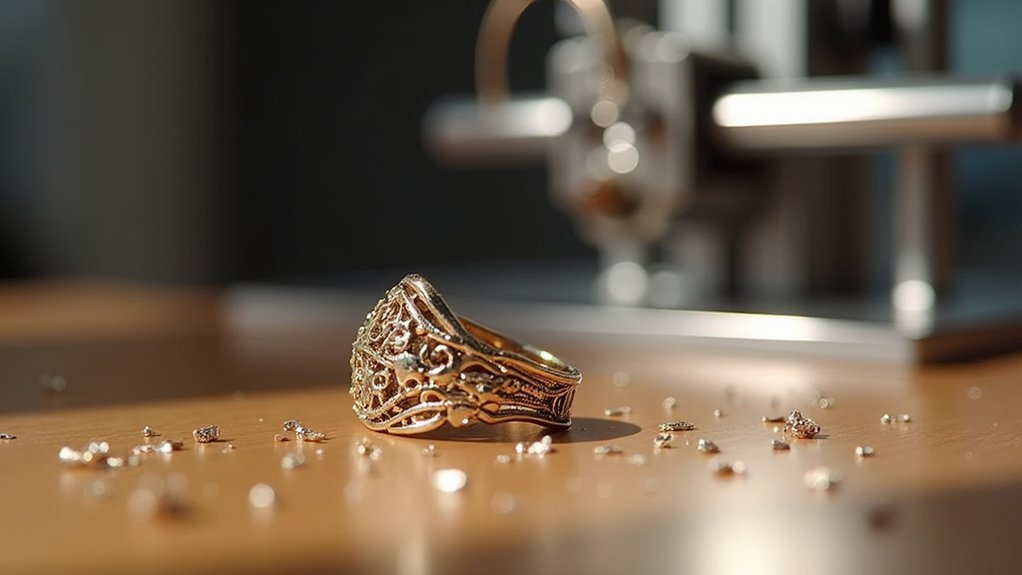
Post-Processing Techniques for Professional Finishes
Success in 3D printed metal jewelry hinges on meticulous post-processing that transforms raw cast pieces into professional-grade finished products. You’ll need to remove supports first, then thoroughly clean your real metal piece using an ultrasonic cleaner to eliminate residual investment material.
| Technique | Purpose | Result |
|---|---|---|
| Ultrasonic Cleaning | Remove investment residue | Smooth surface preparation |
| Rotary Polishing | Apply compounds for shine | High-gloss finish |
| Rhodium Plating | Add protective layer | Enhanced durability |
Your post-processing techniques should include polishing with rotary tools and various compounds for visual appeal. Consider sandblasting for matte textures or creative surface effects. Rhodium plating provides protective shine while resisting tarnishing. Finally, inspect for defects and perform repairs using soldering methods before presenting your finished piece.
Quality Control and Common Troubleshooting Methods
Even with proper post-processing techniques, your finished jewelry piece is only as good as the quality control measures you implement throughout the entire production cycle.
You’ll need systematic quality control protocols to catch problems before they become costly mistakes. Monitor your printer continuously during operation, watching for material jams or alignment issues that could ruin your piece.
Essential Quality Control Steps:
- Inspect printed pieces thoroughly – Check for layer separation, incomplete fills, or surface imperfections before post-processing.
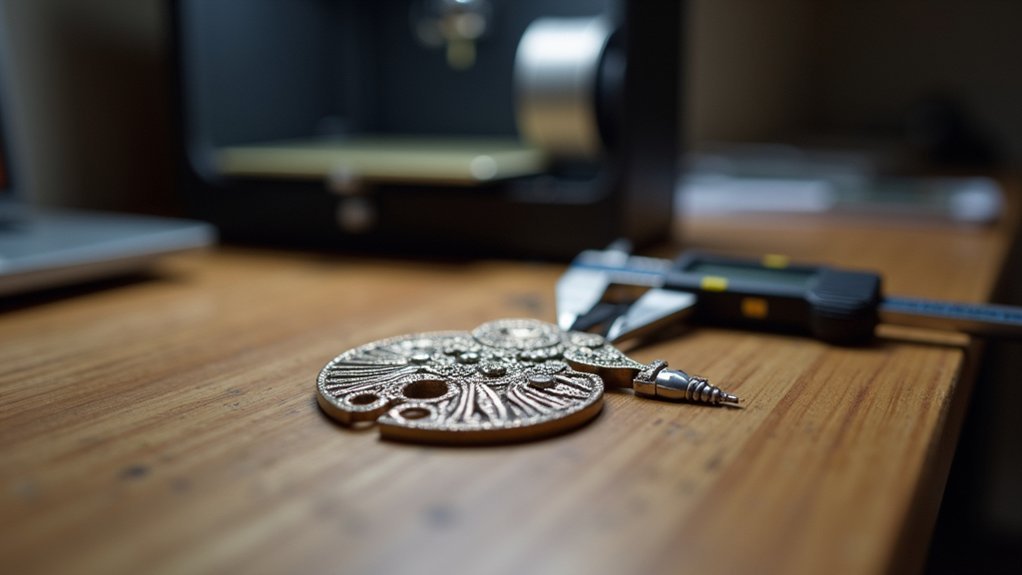
- Verify dimensions with calibrated tools – Use laser measuring devices to confirm your piece matches the original CAD specifications.
- Monitor burnout temperatures carefully – Prevent overheating or underheating that compromises wax removal.
Document recurring issues you encounter. These common troubleshooting methods help refine your techniques and prevent future production problems.
Cost Analysis and Equipment Investment Considerations
Before diving into metal jewelry printing, you’ll need to understand the substantial financial commitment involved. Your equipment investment will range from $10,000 for entry-level machines to over $1 million for high-end industrial systems.
A thorough cost analysis reveals additional expenses: metal powders cost $50-$500 per kilogram depending on material quality, while post-processing equipment like sintering furnaces adds $5,000-$50,000 to your investment.
Don’t overlook design software costs of $1,000-$5,000 for modeling capabilities. Your total initial setup will likely range from $20,000-$100,000 or more.
You’ll need to carefully evaluate your budget against expected returns, considering production volume, target market, and jewelry complexity to determine if metal 3D printing aligns with your business goals.
Frequently Asked Questions
Can You 3D Print Metal Jewelry?
You can 3D print metal jewelry using specialized techniques like Direct Metal Laser Sintering or lost-wax casting methods. You’ll need expensive equipment and post-processing steps like polishing to achieve professional results.
Can I Print Metal With a 3D Printer?
You can print metal with specialized 3D printers using methods like Direct Metal Laser Sintering or Selective Laser Melting, which fuse metal powders into solid components through high-temperature processes.
How Much Does Custom Metal 3D Printing Cost?
You’ll pay $100-$500 per piece for custom metal 3D printing, depending on complexity and material. Design fees add $50-$200 hourly, while post-processing costs $20-$100 extra for finishing services.
Can You 3D Print Precious Metals?
You can 3D print precious metals like gold, silver, and platinum using advanced techniques such as Direct Metal Laser Sintering and Selective Laser Melting for intricate designs.
In Summary
You’ve now got the complete roadmap for 3D printing metal jewelry, from selecting the right technology and materials to achieving professional finishes. Whether you’re choosing direct metal printing or lost-wax casting with resin models, success depends on mastering each step in the process. Start with simple designs to build your skills, invest in quality equipment that fits your budget, and don’t skip the post-processing work that’ll make your jewelry truly shine.


Leave a Reply