
You’ll need specialized SLA or DLP 3D printers with castable resins like TR250 or TR300 to create precise jewelry patterns that burn out cleanly during investment casting. Start with CAD software like Rhino or Blender to design your pieces, maintaining 1-3mm wall thickness for structural integrity. Print your resin patterns, then use traditional lost-wax casting techniques to transform them into metal jewelry. The process streamlines production while ensuring intricate details and minimal material waste. Master these fundamentals to reveal advanced optimization strategies.
Understanding Resin 3D Printing Technology for Jewelry Applications
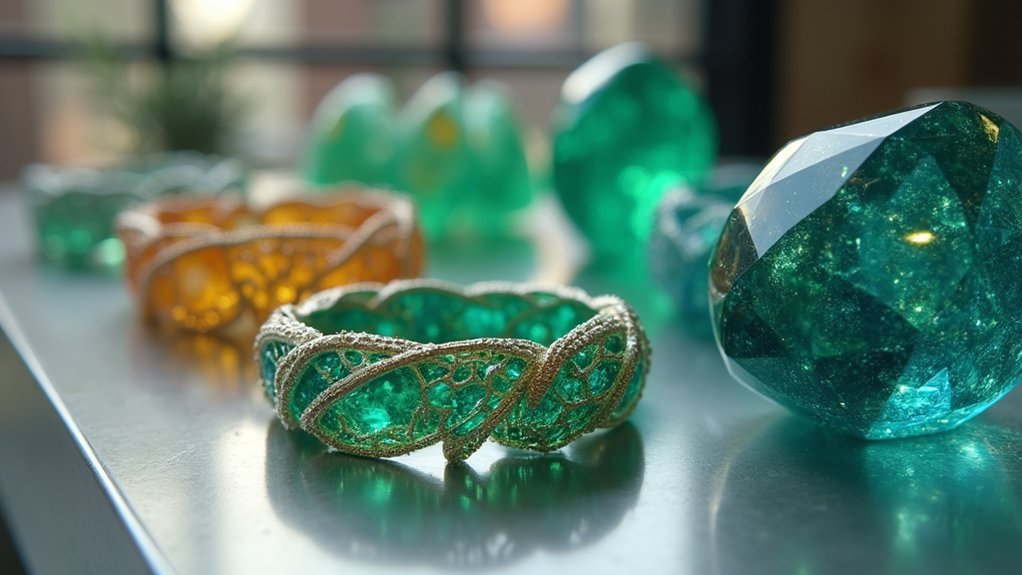
Three key advantages make resin 3D printing a game-changer for jewelry creation: it mimics traditional wax casting methods, produces multiple intricate pieces simultaneously, and streamlines your entire design-to-finished-product workflow.
When you’re working with resin 3D printing for jewelry, you’ll use specialized castable resins that burn out cleanly during the casting process. Your journey begins with digital CAD models that get sliced into precise layers, ensuring minimal material waste and maximum accuracy for delicate rings and pendants.
You’ll want to select high-performance resins like TR250 or TR300 for their exceptional tensile strength and durability. Jewelry Violet resin offers superior burning characteristics with low shrinkage rates.
This technology transforms how you approach jewelry manufacturing, delivering professional results.
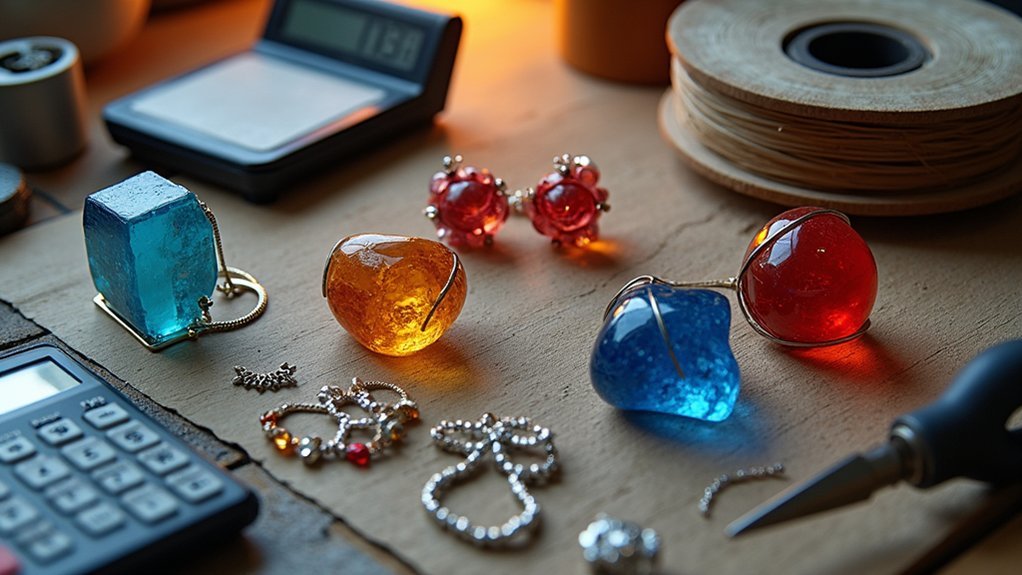
Essential Equipment and Software for Resin-Based Jewelry Production
Your success in resin jewelry production depends on having the right equipment and software foundation in place.
Essential equipment starts with a high-quality SLA or DLP 3D printer that delivers intricate details and smooth finishes vital for professional jewelry pieces. You’ll need a precise scale for measuring resin components, as accurate mixing ratios directly impact curing and final appearance.
Software for designing jewelry is equally important—CAD programs like Rhino, Blender, and Tinkercad let you create detailed 3D models before printing.
Don’t overlook silicone molds and mold release agents for casting printed pieces without sticking issues.
Finally, invest in post-processing tools including sandpaper for smoothing surfaces and polishing compounds to achieve that coveted glossy finish on your resin jewelry.
Castable Resin Properties and Selection Criteria
Precision in castable resin selection determines whether you’ll achieve professional-grade jewelry results or encounter costly failures during the casting process.
You’ll need to evaluate several essential properties when choosing your castable resin for jewelry making applications.
Shore hardness affects your model’s durability and detail retention. TR250’s 85 D rating provides superior rigidity, while TR300’s 80 D offers more flexibility.
Tensile strength varies dramatically between options—TR250 delivers 11 MPa versus TR300’s impressive 32 MPa, impacting your model’s resistance to breakage during handling.
Low shrinkage rates guarantee dimensional accuracy, vital for achieving proper fit in rings and settings.
Jewelry Violet excels here, maintaining precise dimensions post-printing while assuring clean burnout during investment casting, eliminating ash residue that compromises final pieces.
Design Optimization for Resin 3D Printing Workflow
While casting quality depends on resin selection, design refinement determines whether your 3D printed models will translate successfully from digital concept to physical jewelry piece.
You’ll need to maintain consistent wall thickness between 1-3 mm for structural integrity while minimizing material waste.
Strategic support placement prevents sagging and deformation, especially on intricate details and overhangs that compromise print quality.
Proper support positioning is critical for maintaining detail integrity and preventing structural failures in complex jewelry geometries.
Include drainage holes in hollow designs to allow excess resin to escape, preventing trapped material that causes defects or incomplete curing.
Test complex designs through small-scale prototypes first—this identifies potential issues with detail retention and dimensional accuracy before full production.
Use CAD software to simulate printing processes and visualize how different orientations affect outcomes.
This guarantees ideal layer adhesion and superior surface finish for your jewelry pieces.
Step-by-Step Resin Printing Process for Jewelry Components
Five critical phases transform your digital jewelry design into a physical component ready for casting. The resin 3D printing workflow guarantees your intricate designs maintain precision throughout manufacturing.
- Printer Setup and Material Selection – Choose castable resin like Jewelry Violet for clean burnout. Calibrate your printer and level the build platform to guarantee accurate layer adhesion.
- File Processing and Slicing – Convert your CAD model using slicing software to generate G-code. Configure layer height, exposure times, and support structures for ideal detail retention.
- Printing Execution – Monitor the printing process, guaranteeing consistent resin flow and proper curing of each layer for structural integrity.
- Post-Processing Workflow – Remove supports carefully, wash in isopropyl alcohol, then UV cure to strengthen the component before casting procedures.
Post-Processing Techniques for Resin Printed Models
Transform your freshly printed jewelry component into a professional-quality piece through strategic post-processing techniques.
Start by removing layer lines through systematic sanding, beginning with coarse grit sandpaper and progressively moving to finer grits until you achieve a smooth surface.
Next, focus on polishing to enhance your jewelry’s appearance. Use specialized polishing compounds matched to your resin type – polishing pastes work exceptionally well for epoxy resins.
Apply the compound with circular motions until you reach your desired shine.
Complete the post-processing by applying a protective clear coat. Acrylic sprays or polyurethane coatings provide excellent options for adding glossy finishes while protecting your piece.
These thorough post-processing steps don’t just improve aesthetics – they greatly enhance your resin jewelry’s durability and longevity.
Investment Casting Methods Using 3D Printed Resin Patterns
Since traditional jewelry making often limits designers to simpler forms, investment casting with 3D printed resin patterns opens up extraordinary possibilities for creating intricate, detailed pieces that would be impossible to achieve by hand.
3D printed resin patterns revolutionize jewelry design, enabling complex geometries and intricate details beyond traditional handcrafting limitations.
The investment casting process with 3D printed resin follows these essential steps:
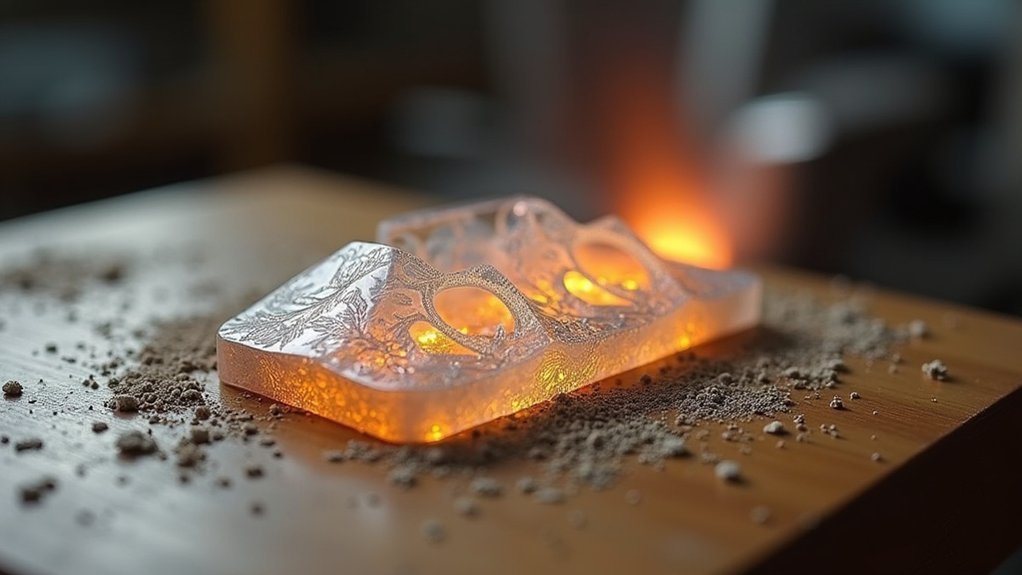
- Print castable resin patterns using specialized materials like Jewelry Violet that burn out cleanly without leaving residue.
- Create ceramic shells by coating your resin patterns with ceramic slurry, then heating to harden the mold.
- Pour molten metal into the hardened ceramic shell where your resin pattern once was.
- Break away the shell to reveal your finished jewelry piece.
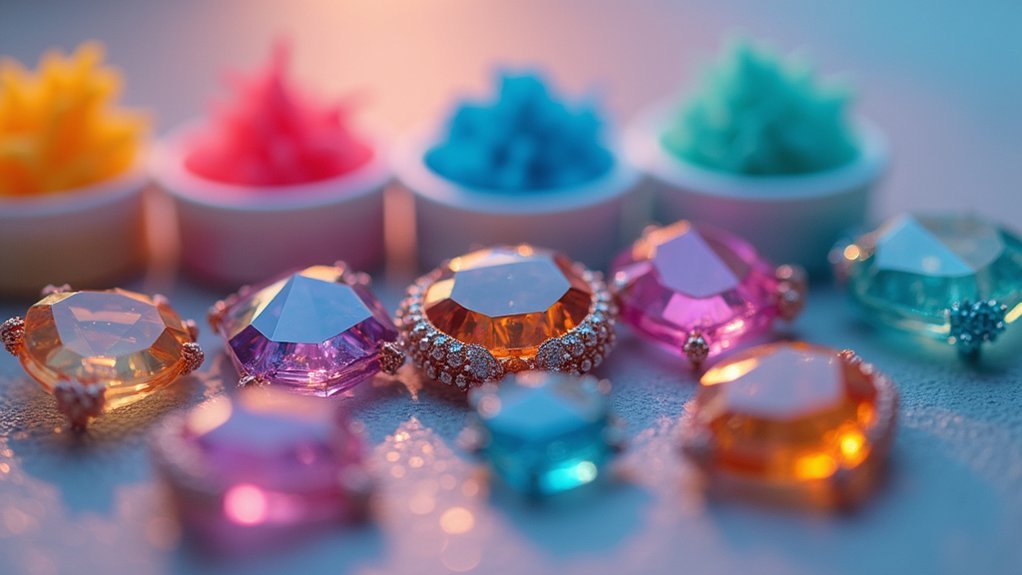
You’ll streamline production by printing multiple designs simultaneously, reducing labor costs while minimizing material waste.
This method accommodates the growing demand for personalized jewelry through greater customization capabilities.
Quality Control and Defect Prevention Strategies
While beautiful 3D printed jewelry designs mean nothing if they’re riddled with defects, you can eliminate most quality issues by implementing systematic quality control measures throughout your production workflow.
Start by calibrating your 3D printers regularly and monitoring environmental conditions like temperature and humidity. These steps prevent common problems before they occur.
Inspect each printed model thoroughly for warping, layer separation, and surface imperfections before post-processing. This defect prevention strategy saves time and materials by catching issues early.
Use castable resins designed specifically for jewelry, such as Jewelry Violet, which burn cleaner and minimize shrinkage during casting.
Document defect occurrences to identify patterns and implement corrective actions.
Combine thorough sanding and polishing techniques to address minor imperfections and enhance your jewelry’s final aesthetic quality.
Cost Analysis and Production Efficiency Considerations
You’ll need to understand your material costs upfront, as resin prices can greatly influence your bottom line depending on the quality you choose.
Optimizing your production time becomes essential when you’re running multiple pieces simultaneously, since efficient batch printing can dramatically reduce your per-item costs.
As you scale your operations, you’ll discover that larger production runs reveal substantial economic benefits through reduced setup time and maximized printer utilization.
Material Cost Breakdown
Breaking down the material cost for 3D printed resin jewelry reveals both immediate expenses and long-term savings that can transform your production budget.
Your primary expense centers on castable resin, which typically costs $50-$150 per liter depending on brand and specific properties.
Here’s what you’ll encounter:
- Raw Material Efficiency – You’ll save 30% or more compared to traditional methods through reduced waste during printing.
- Scaling Benefits – Multiple pieces printed simultaneously lower your per-item costs considerably.
- Post-Processing Investment – Factor in an additional 20-50% for cleaning, curing, and finishing processes.
- Labor Cost Reduction – Intricate designs require less time and manual labor compared to hand-carving techniques.
Understanding these cost components helps you budget effectively while maximizing the economic advantages of resin-based jewelry production.
Production Time Optimization
Since production time directly impacts your bottom line, mastering efficiency techniques becomes essential for profitable resin jewelry manufacturing.
SLA technology dramatically reduces production time optimization compared to traditional hand-carving methods, delivering high-resolution prints faster. You’ll maximize efficiency by using castable resins like Jewelry Violet, which allows simultaneous printing of multiple intricate designs, reducing per-piece production time.
Quick-curing resins minimize post-processing delays while maintaining quality standards.
Implementing streamlined workflows from design to quality control eliminates bottlenecks and reduces errors. Strategic software optimization for slicing and print settings prevents costly reprints and material waste.
High-quality castable resins such as TR250 and TR300 offer superior durability and precision, reducing reprint necessity.
This thorough approach transforms your production timeline from hours to minutes per piece.
Scale Economics Benefits
When producing jewelry at scale, 3D printing transforms your cost structure through exponential efficiency gains that traditional manufacturing simply can’t match.
Scale economics become your competitive advantage as production volumes increase.
Your material costs drop considerably through:
- Batch production capabilities – You’ll print multiple pieces simultaneously, maximizing printer capacity and reducing per-unit labor expenses compared to individual hand-crafting methods.
- Reduced waste generation – Layer-by-layer construction minimizes precious material loss, vital when working with expensive metals and resins.
- Lower unit costs with castable resins – Materials like Jewelry Violet burn cleanly with minimal shrinkage, delivering consistent results at reduced costs.
- Rapid iteration cycles – You’ll minimize material waste by quickly adjusting designs based on market feedback before full production runs.
Advanced Techniques for Complex Jewelry Geometries
When you’re creating complex jewelry geometries with resin 3D printing, you’ll need to master three critical design approaches that separate amateur work from professional results.
Multi-part assembly design lets you print intricate pieces separately and connect them afterward, while hollow structure optimization reduces material costs and weight without sacrificing visual impact.
Support-free geometry planning eliminates the need for supports by strategically orienting your designs, preserving delicate details that would otherwise be damaged during post-processing.
Multi-Part Assembly Design
Three fundamental advantages make multi-part assembly design a game-changer for complex 3D printed resin jewelry.
You’ll reveal design possibilities that would be impossible with single-print approaches, enabling moving parts, intricate textures, and sophisticated geometries that different materials can be used to enhance.
Here’s how multi-part assembly design transforms your jewelry creation process:
- Component Optimization – You can adjust each part’s printing orientation and support structures individually, maximizing quality while reducing post-processing time.
- Enhanced Structural Integrity – Individual components fit together securely, creating stronger connections that resist breakage during daily wear.
- Complex Geometry Achievement – You’ll create intricate designs by breaking them into manageable components that assemble into sophisticated final pieces.
- Precise CAD Integration – Advanced software facilitates exact alignment and fitting for seamless connections.
Hollow Structure Optimization
Beyond assembling separate components, you’ll discover that hollow structure optimization opens entirely new dimensions in jewelry design complexity and wearability. Hollow structures dramatically reduce material usage while maintaining structural integrity, making your pieces lighter and more comfortable.
Advanced CAD software lets you experiment with intricate lattice patterns within hollow sections, achieving remarkable level of detail that enhances both aesthetics and functionality.
You’ll need to incorporate finite element analysis during design to identify stress points and enhance durability.
When preparing for 3D printing, include drainage holes to prevent resin trapping during the process. Post-processing becomes essential—thorough sanding and polishing guarantee smooth finishes that showcase your intricate hollow designs’ visual appeal while maintaining professional quality standards.
Support-Free Geometry Planning
Although traditional 3D printing relies heavily on support structures, mastering support-free geometry planning revolutionizes your approach to complex jewelry design by eliminating the constraints and imperfections that supports typically introduce.
You’ll create stunning delicate pieces by strategically designing self-supporting geometries that leverage advanced CAD software capabilities.
Here’s how to enhance your designs:
- Orient models strategically – Position your jewelry to minimize overhangs and utilize natural balance points that eliminate support requirements.
- Design with minimal angles – Keep overhangs under 45 degrees to guarantee proper resin flow and prevent sagging during printing.
- Consider resin properties – Match your support-free geometry to your resin’s viscosity and flow characteristics for maximum detail retention.
- Prototype iteratively – Test designs repeatedly to refine your approach and achieve both aesthetic excellence and structural integrity.
Frequently Asked Questions
How to Make Jewelry From 3D Print?
You’ll design jewelry using CAD software, print with castable resin, then post-process by cleaning and polishing. Finally, you’ll create molds or cast directly into metal for wearable pieces.
Is It Safe to Wear 3D Printed Resin Jewelry?
You can safely wear 3D printed resin jewelry when it’s properly cured and post-processed. Choose biocompatible resins, guarantee complete curing, sand smooth edges, and avoid prolonged water exposure to maintain safety and durability.
What Is the Best Filament for 3D Printed Jewelry?
You’ll find PETG offers the best balance for jewelry making. It’s strong, flexible, and provides a glossy finish that’s perfect for both decorative and functional pieces without the warping issues you’d encounter with ABS.
Is There Anything Illegal to 3D Print?
You can’t 3D print copyrighted designs, patented items, weapons, or counterfeit goods without facing legal consequences. Always research your local laws before printing, as regulations vary greatly between countries and jurisdictions.
In Summary
You’ve now mastered the complete workflow from 3D printed resin to finished jewelry. You can confidently select appropriate resins, optimize your designs, troubleshoot common printing issues, and execute successful investment casting. Don’t forget to implement quality control measures throughout your process and continuously analyze your costs for maximum efficiency. With practice, you’ll develop advanced techniques that’ll set your jewelry apart in today’s competitive market.


Leave a Reply