You’ve probably heard whispers about bronze clay’s growing popularity among artisans, but you might wonder if it’s worth abandoning your familiar silver clay routine. The truth is, bronze clay offers distinct advantages that can transform your artistic practice in ways you haven’t considered. From its forgiving texture to remarkable durability after firing, this medium presents opportunities that could reshape how you approach complex designs and surface treatments.
Understanding the Unique Properties of Bronze Clay
When you’re exploring metal clays for your artisan jewelry projects, bronze clay stands out as a game-changer with its unique firing characteristics.
Unlike other metal clays, bronze clay offers fast fire properties that notably reduce shrinkage during the firing process. This means you’ll maintain better dimensional accuracy in your finished pieces.
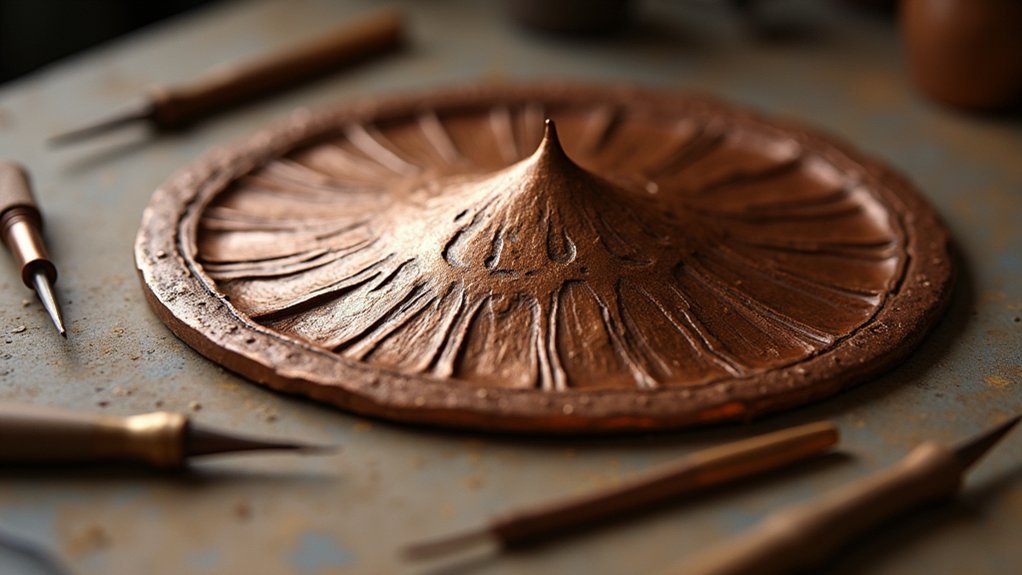
You’ll notice bronze clay has a different texture than silver clay – it’s less sticky, which requires you to use slip when joining pieces together.
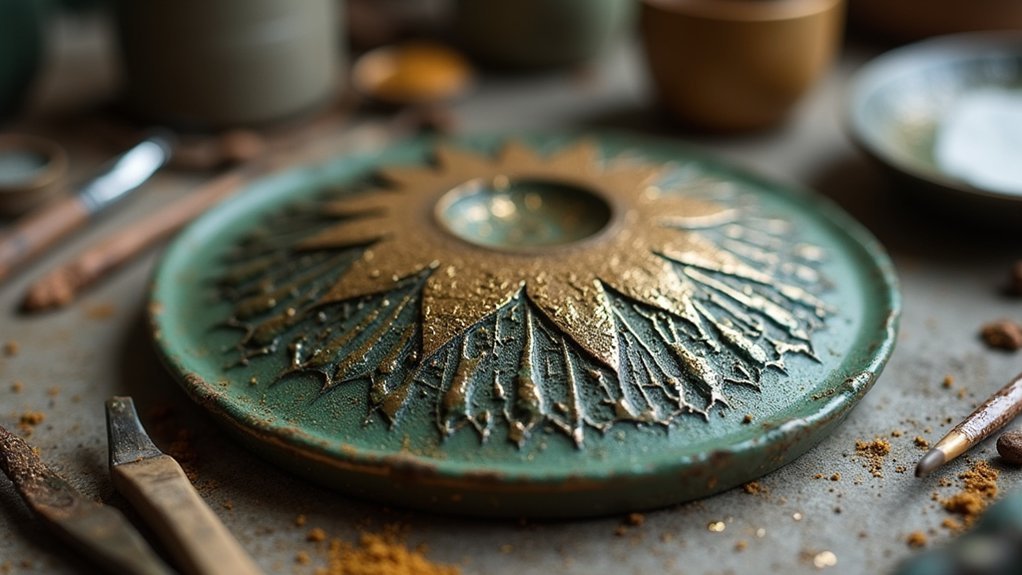
However, this characteristic makes it easier to handle during manipulation. The clay responds beautifully to rolling, stamping, and cutting techniques, allowing you to create multiple charms quickly.
Once fired properly, your bronze pieces will exhibit the durability and properties of pure metal.
Mastering the Firing Process for Consistent Results
Since bronze clay’s unique composition demands precise heat control, you’ll need to master a carefully calibrated firing schedule to achieve consistent results. Bronze metal clay requires proper preparation before you place it in the kiln—always dry your pieces thoroughly on a hot plate to prevent sintering problems and structural failures.
| Firing Stage | Temperature | Duration | Purpose |
|---|---|---|---|
| Ramp Rate | 250°F/hour | Variable | Gradual heating |
| Target Temp | 1500°F | 3 hours | Ideal sintering |
| Hollow Forms | 1500°F | Two firings | Enhanced durability |
| Gas Escape | N/A | Throughout | Prevent cracking |
Remember that hollow forms need holes for gas escape and require two complete firing cycles. Each firing experience teaches you valuable lessons, so don’t hesitate to experiment with timing adjustments for different piece thicknesses.
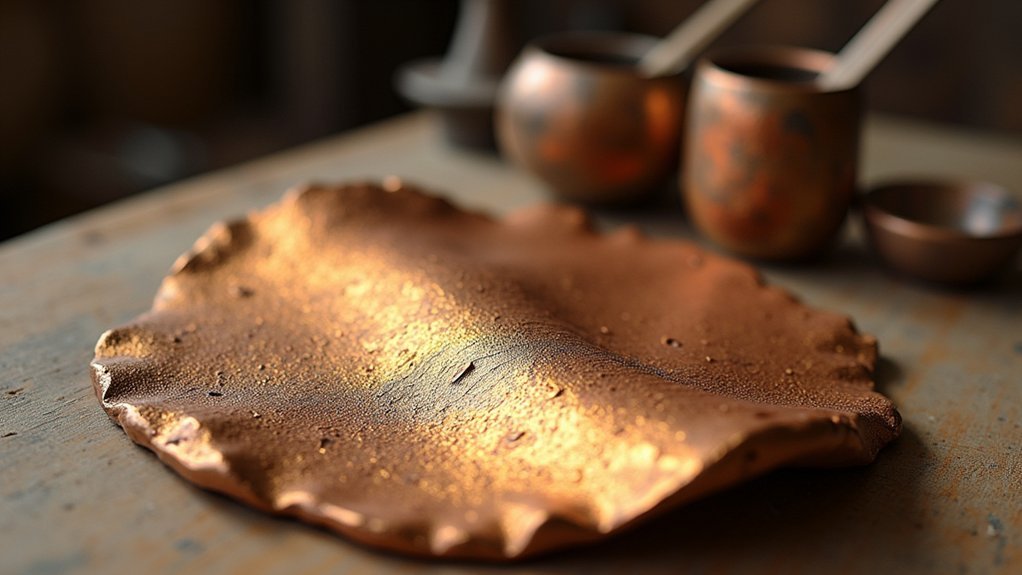
Achieving Professional Finishing Techniques
After firing, you’ll need to assess your piece’s surface quality to determine the best finishing approach.
Start with wire brushing to remove any oxidation, then progress through increasingly fine polishing grits to achieve that professional shine.
Consider applying patina techniques to add depth and character that transforms your bronze clay creation into a truly distinctive artisan piece.
Post-Firing Assessment Methods
Once your bronze clay piece emerges from the kiln, you’ll need to assess its structural integrity before moving to finishing techniques.
The hammer test provides the most reliable verification method for determining successful sintering. Strike your piece gently with a small hammer – properly fired bronze should respond like solid metal, producing a clear ring rather than a dull thud.
You can also test flexibility by applying gentle bending pressure to appropriate areas. Well-fired pieces won’t crack or crumble under reasonable stress.
If your piece passes these durability tests, it’s ready for finishing processes like bronze brushing or tumbling.
Failed pieces typically show obvious weakness, requiring additional firing time or temperature adjustments for future projects.
Brushing and Polishing Steps
Two essential finishing techniques will transform your fired bronze clay from a rough, matte surface into a gleaming professional piece.
Start with a wire brush to remove surface oxidation and prepare the metal for polishing. This initial brushing step requires confidence—don’t hesitate to apply pressure as properly sintered pieces will withstand the process.
Next, move to a polishing wheel with multiple grits, progressing from coarse to fine. Begin with lower grits to smooth the surface, then advance to higher grits for that mirror-like finish. The transformation you’ll witness is remarkable—what initially seemed rough becomes brilliantly reflective.
Lean into these techniques rather than fearing them. With approximately 100g of bronze clay, you’ll have plenty of material to practice and perfect your finishing skills.
Patina Application Techniques
While polishing creates stunning reflective surfaces, patina application opens an entirely different domain of artistic expression for your bronze clay pieces.
You’ll discover that the correct charcoal type during firing greatly influences your finished colors, setting the foundation for exceptional results.
Hot liver of sulphur application improves darkening effects, providing depth that transforms ordinary pieces into striking artworks.
If you’re unsatisfied with initial results, re-firing develops more vibrant patinas and allows adjustments to achieve your desired aesthetic.
Consider these advanced techniques for unique effects:
- Tumbling – Creates consistent surface textures while developing subtle patina variations
- Torching – Produces dramatic color gradients through controlled heat application
- Burnishing and buffing – Removes unwanted patina colors, revealing polished bronze underneath
Experimentation remains essential for developing your personal finishing style.
Working With Fast Fire Bronze Clay Vs Traditional Options
When you’re deciding between fast fire bronze clay and traditional options, you’ll find that fast fire bronze clay offers several distinct advantages that make it particularly appealing for efficient production work.
You’ll experience noticeably lower shrinkage rates, making it easier to achieve consistent sizing in your finished pieces. However, you’ll need to apply slip for proper adherence since fast fire bronze clay isn’t as naturally sticky as traditional alternatives.
You can produce 15-20 charms in a single session, greatly increasing your productivity.
Remember to complete all finishing work before firing, as the material becomes exceptionally hard afterward. You’ll also want to ramp temperatures slowly during firing to guarantee ideal sintering and prevent breakage in your pieces.
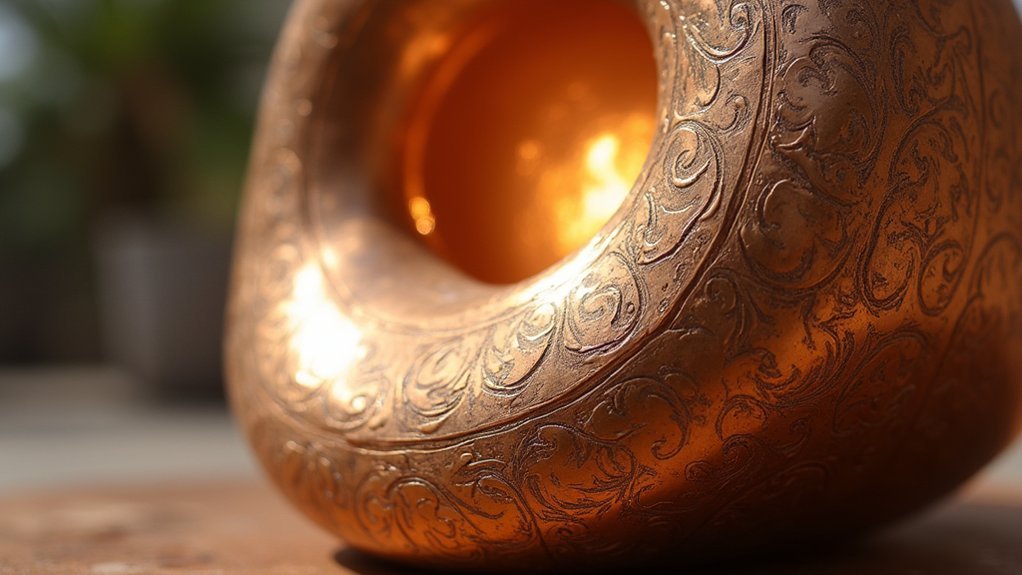
Creating Durable Hollow Forms and Complex Designs
You’ll achieve professional-quality hollow bronze pieces when you master the two-firing process and incorporate activated carbon during firing.
Your complex designs will maintain structural integrity if you carefully plan thickness variations and internal supports before the clay shrinks.
Success comes from experimenting with extended firing schedules, like holding at 1500°F for three hours, which creates hollow forms durable enough to bounce on concrete without breaking.
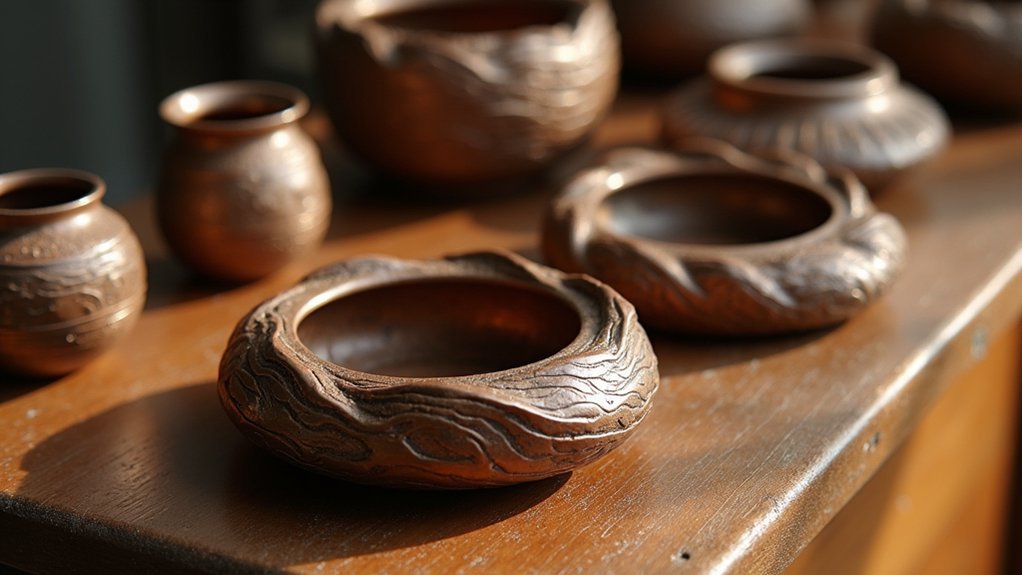
Hollow Form Firing Techniques
Mastery of hollow form firing transforms bronze clay from simple flat pieces into sophisticated three-dimensional sculptures that can withstand handling and display.
You’ll need to incorporate strategic holes in your designs to prevent cracking during the firing process. These openings allow trapped air to escape and guarantee even heating throughout your piece.
Your firing schedule requires careful attention:
- Start at 250°F and ramp slowly to prevent thermal shock
- Use heavy-duty, no-flake firing foil to support hollow structures and minimize shrinkage
- Plan for two-phase firing – initial sintering followed by final durability firing
When properly executed, your fired bronze clay hollow forms should withstand impacts, demonstrating successful sintering and structural stability for complex artistic expressions.
Complex Design Structural Success
Although bronze clay offers remarkable versatility for artistic expression, achieving structural success in complex designs demands meticulous planning and execution of your two-phase firing process.
You’ll need to strategically place holes in your unfired hollow forms to prevent trapped air from causing catastrophic breakage during heating. Your firing schedule becomes critical—ramp up slowly, then hold at 1500°F for three hours to avoid over-firing that leads to structural failure.
The sintering process transforms your bronze clay into resilient metal as particles fuse together. You must experiment with thickness and internal structures since variations directly impact your piece’s final size and durability.
When properly executed, your fired pieces won’t crack or crumble under stress, creating lasting artisan works.
Developing Patina and Surface Treatment Skills
Since bronze clay’s natural beauty emerges through careful surface manipulation, you’ll want to master several key techniques that transform raw fired pieces into stunning works of art.
Achieving desired patina requires using the correct charcoal type during firing, combined with burnishing and buffing to manipulate surface color. While liver of sulphur doesn’t darken bronze effectively, hot application may improve results.
Re-firing pieces creates richer patinas, and you can also employ tumbling and torching for color enhancement.
Essential techniques include:
- Charcoal selection – Choose appropriate types for ideal firing results
- Surface manipulation – Use burnishing and buffing for color control
- Heat treatments – Experiment with re-firing, tumbling, and torching methods
Don’t overlook your firing pan’s developing patina—it offers unique aesthetic value.
Experimentation with different finishing techniques helps you discover personal preferences and achieve exceptional surface treatments.
Building Community Knowledge Through Shared Experiences
When you join bronze clay workshops and classes, you’ll discover that some of the most valuable learning happens through conversations with fellow artisans. You’ll exchange practical tips about kiln temperatures, drying techniques, and creative design approaches that textbooks simply can’t teach.
These informal discussions create a supportive environment where you can ask questions, share challenges, and celebrate successes together.
The community extends beyond physical workshops through online forums and expert blogs, where you can continue learning from experienced artists. Whether you’re working with bronze or shifting from silver clay, this collective knowledge helps you troubleshoot problems and refine your techniques.
The collective wisdom of online clay communities becomes an invaluable resource for troubleshooting techniques and advancing your metalworking skills.
The camaraderie you’ll build encourages experimentation and pushes you to explore new creative possibilities with confidence.
Frequently Asked Questions
Does Bronze Clay Tarnish?
Yes, bronze clay tarnishes due to its copper content reacting with air and moisture. You’ll notice patina developing over time, but you can minimize tarnishing by applying protective sealants and regularly cleaning your finished pieces.
Do You Need a Kiln for Bronze Clay?
You’ll absolutely need a kiln for bronze clay. The firing process requires high temperatures around 1550°F to properly sinter the metal particles together, making a specialized kiln essential for success.
What Are the Disadvantages of Silver Precious Metal Clay?
You’ll face higher costs, unpredictable shrinkage, complex firing requirements, increased cracking risks, and time-consuming finishing work. Silver clay demands more expertise, energy, and patience than alternatives.
Can You Fire Bronze Clay With a Torch?
You can fire bronze clay with a torch, but you’ll need careful heat control. Use a propane torch for better temperature regulation, maintain consistent distance, and guarantee your pieces are completely dried before firing.
In Summary
You’ll discover that bronze clay opens up creative possibilities you’ve never experienced before. Its forgiving nature lets you experiment without fear, while the firing process becomes second nature with practice. You’re building skills that’ll last a lifetime, from hollow forms to stunning patinas. Don’t hesitate to connect with other artists who share your passion – their knowledge combined with yours creates an unstoppable creative force that pushes boundaries.


Leave a Reply