You don’t need an expensive kiln to transform metal clay into stunning jewelry pieces at home. With the right techniques and safety precautions, you can fire metal clay using common household tools like a gas stove or torch. However, success depends on understanding the critical differences between traditional metal clay and newer alternatives, plus knowing which firing method works best for your specific project and workspace limitations.
Understanding Quickcure Clay Vs Traditional Metal Clay
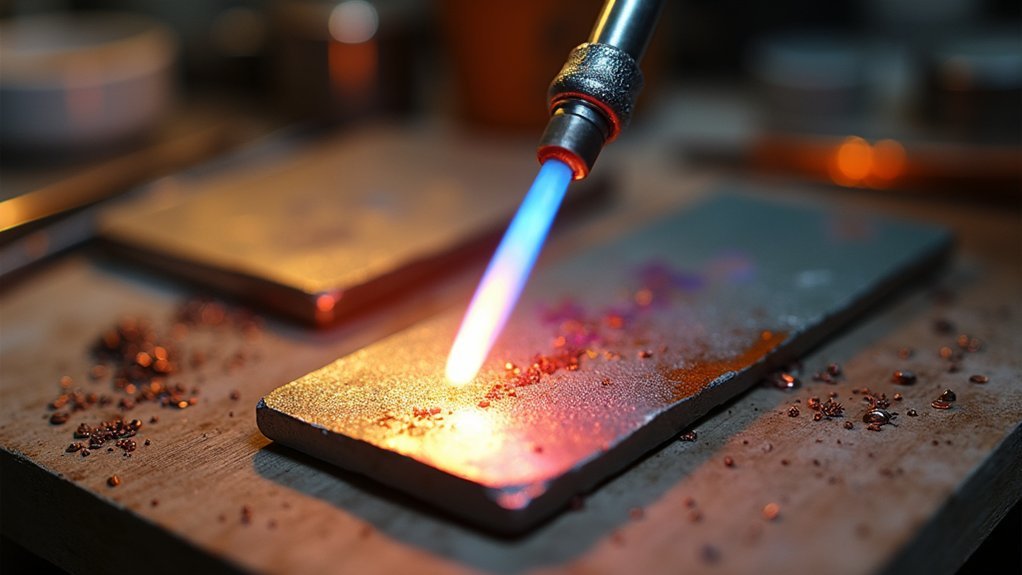
While traditional metal clay requires kiln or torch firing to achieve its final metallic properties through sintering, QuickCure Clay revolutionizes the process by curing without any firing equipment.
You’ll find that traditional metal clays demand longer firing process times and specialized equipment, making them less accessible for home crafters. QuickCure Clay incorporates metal powders that provide beautiful metallic finishes without the safety concerns of high-temperature firing.
This innovation means you can complete projects faster while maintaining strength and durability.
You’ll appreciate that QuickCure Clay offers safe firing alternatives, making it perfect for beginners or anyone lacking kiln access.
While traditional metal clays excel in complex designs, QuickCure Clay delivers versatility for cosplay, jewelry, and various crafting applications.
Essential Supplies for Kiln-Free Metal Clay Firing
You’ll need specific supplies to fire metal clay without a kiln, starting with proper safety equipment to protect yourself throughout the process.
Your heat source options will determine how effectively you can cure your pieces at home.
Let’s examine what safety gear you must have and which heating methods work best for kiln-free firing.
Basic Safety Equipment
Before you begin firing metal clay at home, gather essential safety gear to protect yourself from heat, fumes, and potential accidents.
You’ll need heat-resistant gloves, a dust mask, and eye protection to shield yourself from harmful materials and toxic fumes. Set up your workspace in a well ventilated area to minimize inhalation risks during the firing process.
Place ceramic fiber bricks on your work surface to create a safe, heatproof area for torch firing.
When working with an open flame, keep children and pets away from your workspace. Always position a bucket of water or fire extinguisher within arm’s reach for emergency situations.
These safety measures guarantee you can fire metal clay confidently while protecting yourself and others from potential hazards.
Heat Source Options
Several heat sources can effectively fire metal clay at home without requiring an expensive kiln, each offering distinct advantages for different project sizes and clay types.
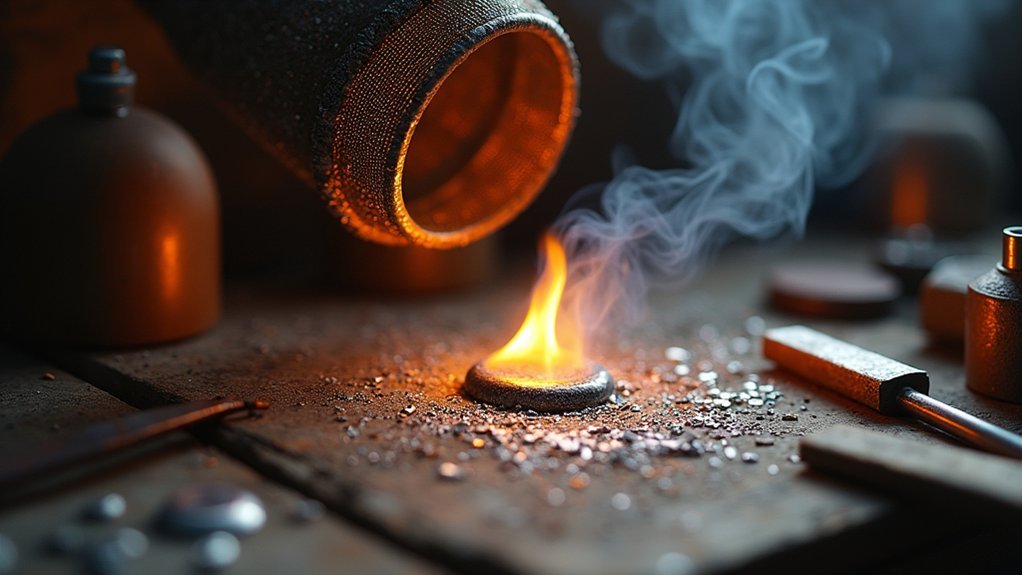
Torch firing works best for small pieces under 25 grams using a butane gas torch on ceramic fiber brick.
Your gas stove can fire Art Clay Fine Silver if it’s got at least 2.9 kW capacity, handling pieces up to 5cm x 3cm.
Microwave kilns offer convenient firing methods for fine silver clay projects, reaching temperatures between 1200ºF-1650ºF.
Even conventional ovens can work for certain clay types.
Remember essential safety precautions: guarantee proper ventilation, wear protective gear, and keep flammable materials away from your firing area regardless of which heat source you choose.
Alternative Firing Methods: Torch, Gas Stove, and Heat Tools
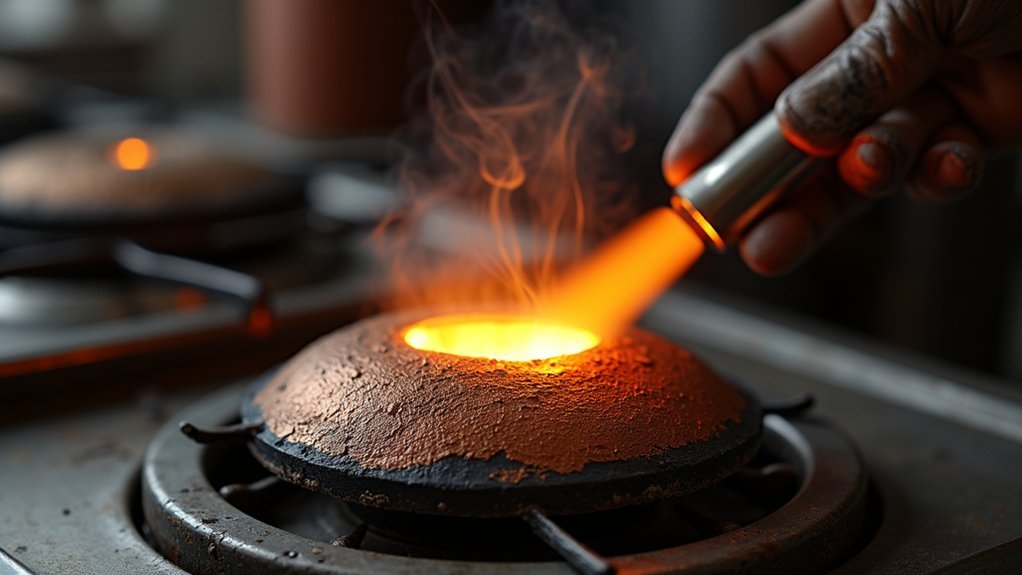
You can fire metal clay at home using three main alternatives to a kiln: torch firing, gas stove firing, and heat tools.
These methods offer cost-effective solutions that don’t require expensive equipment while still producing professional results.
Each technique has specific requirements and applications that’ll determine which works best for your project.
Torch Firing Techniques
Although torch firing requires more hands-on attention than kiln firing, it’s an excellent alternative for firing small metal clay pieces weighing under 25 grams when you don’t have access to a traditional kiln.
Here’s how to successfully execute torch firing techniques:
- Position your butane torch at a 45-degree angle to guarantee even heating across your fine silver metal clay piece.
- Use a ceramic fiber brick as your heatproof firing surface to protect your workspace and maintain consistent heat.
- Start timing once the piece glows peach-colored – firing times typically range from 4 to 10 minutes depending on weight.
- Allow adequate cooling time before handling your fired with a torch piece to prevent burns.
Always wear fitted clothing, tie back long hair, and use proper tools when handling hot materials during the firing process.
Gas Stove Methods
Gas stove firing offers another accessible home firing option when you lack specialized equipment, making it perfect for firing Art Clay Fine Silver pieces up to 20 grams.
You’ll need to limit pieces to 5cm x 3cm with a maximum height of 2cm. Place your fine silver clay piece on stainless steel mesh for support during the firing process.
Before starting, trace your unfired piece’s outline on paper for size comparison afterward. Begin timing once the clay reaches an orange glow, maintaining heat for about 5 minutes.
Don’t use fiber blankets or fire hollow pieces with burnable cores, as these create safety hazards. This cost-effective method demands your constant attention to prevent melting or damage throughout the entire firing process.
Safety Precautions for Home Metal Clay Firing
When firing metal clay at home, proper safety measures become your first priority before lighting any torch or kiln.
Never compromise on fire safety protocols, as you’ll be working with extremely hot temperatures that can cause serious burns or accidents. Proper ventilation prevents harmful fume inhalation while maintaining a safe workspace.
Essential safety precautions include:
- Work outdoors or in well-ventilated areas to avoid breathing toxic fumes and guarantee adequate airflow during the firing process.
- Wear protective gear including fitted clothing, heat-resistant gloves, dust masks, and safety glasses to shield yourself from hot materials.
- Keep fire extinguishers or water buckets nearby for immediate emergency response if fires occur unexpectedly.
- Maintain workspace boundaries by keeping children and pets away from your firing area at all times.
Blending Metal Powders for Optimal Results
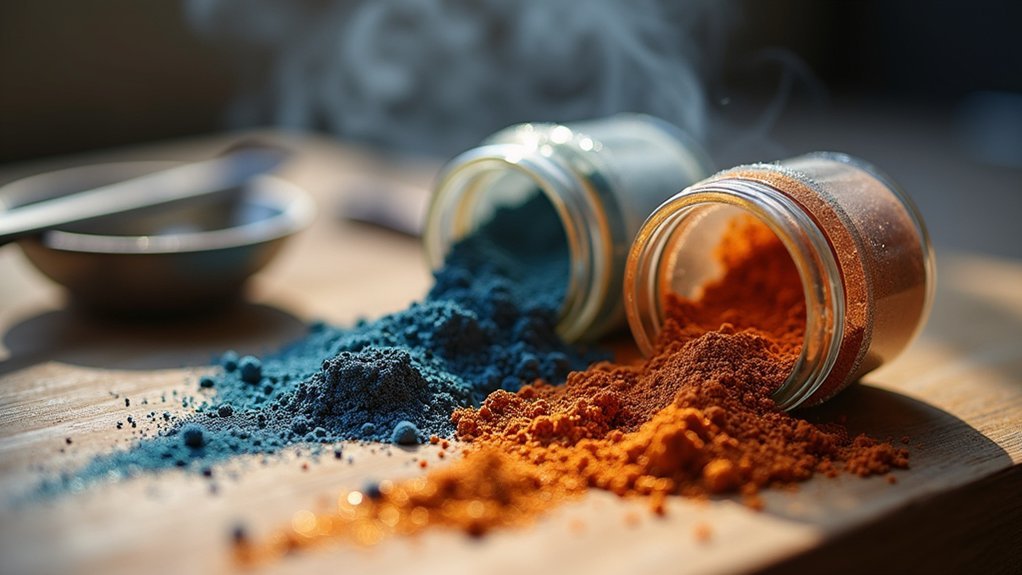
Since achieving professional-quality results depends heavily on proper powder integration, you’ll need to master the art of blending metal powders with your clay base. When working with QuickCure Clay, timing is essential—mix only when you’re ready to proceed, as certain metals trigger premature curing.
| Safety Equipment | Purpose | Metal Consideration |
|---|---|---|
| Dust mask | Protects from fine metal powders | All powder types |
| Safety gloves | Prevents skin contact | Reactive metals especially |
| Eye protection | Shields from airborne particles | During vigorous mixing |
Blend until no marbling remains for uniform consistency. If separation occurs, add small amounts of clay. Silver powder proves less reactive than other options, making it ideal for beginners. Remember, properly blended clay produces superior results whether fired in a kiln or using alternative methods.
Step-by-Step Torch Firing Process
Torch firing your properly blended metal clay requires careful attention to technique and safety protocols. You’ll need to master specific steps to fire fine silver successfully and achieve a quality finished product.
- Prepare your workspace – Work in a well-ventilated area wearing safety gear including gloves and eye protection, ensuring your clay is completely dry from overnight drying.
- Position your torch correctly – Hold it at a 45-degree angle and move in a figure of 8 pattern for even heating distribution.
- Monitor temperature progression – Use a color chart to track changes, beginning your timing when the piece glows peach during firing clay.
- Complete the process safely – Maintain the glow for the recommended duration based on weight, then cool adequately before handling with appropriate tools.
Gas Hob Firing Techniques and Limitations
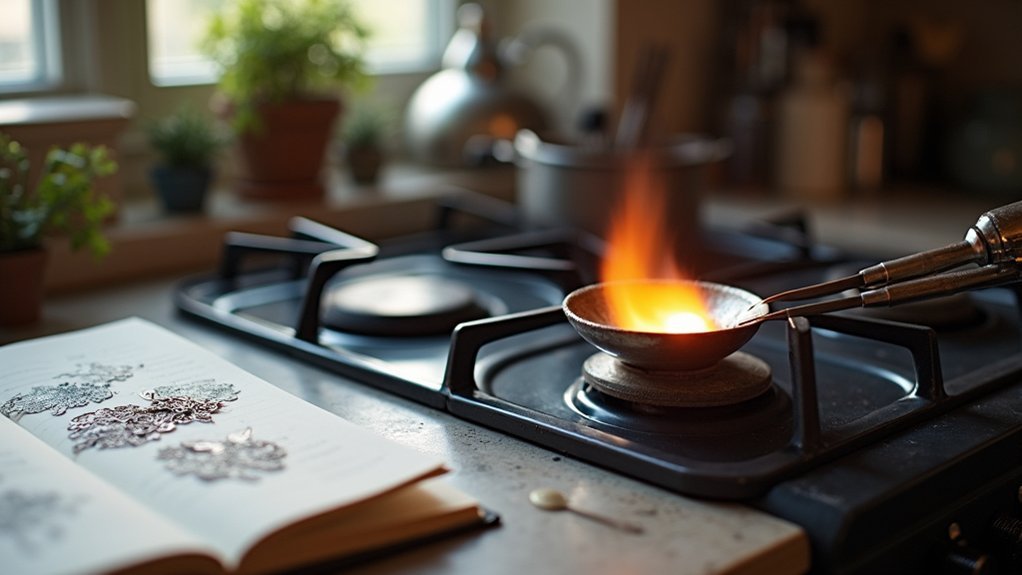
Alternative firing methods offer convenience when specialized equipment isn’t available, and gas hob firing presents a viable option for small Art Clay Fine Silver pieces. You’ll need a gas stove with minimum 2.9kW capacity to achieve proper firing temperatures for fine silver clay.
| Requirements | Specifications | Limitations |
|---|---|---|
| Gas Stove | Minimum 2.9kW | Art Clay Fine Silver only |
| Piece Size | Max 5cm x 3cm x 2cm | Maximum 25 grams weight |
| Support | Stainless steel net | No fiber blankets allowed |
When firing pottery without a kiln, outline your piece’s dimensions before heating for comparison. Heat until the piece glows, maintaining this state for exactly five minutes. Don’t attempt gas hob firing with hollow pieces containing burnable cores, as this creates safety hazards and inconsistent results.
Curing and Cooling Your Metal Clay Projects
After firing your metal clay pieces, proper curing and cooling techniques become essential for achieving professional results and preventing damage.
Mastering proper curing and cooling methods is crucial for preventing costly mistakes and achieving studio-quality finishes in your metal clay work.
When working with QuickCure Clay, you’ll need specialized curing methods that require careful attention and proper safety gear. The rapid curing process demands vigilance since temperatures rise quickly and cooling periods are critical for preventing structural damage.
Follow these essential steps for safe metal clay curing and cooling:
- Press clay into dusted molds and apply heat using a craft heat tool in well-ventilated areas.
- Monitor closely during curing since the process takes only seconds to complete.
- Use tweezers to handle hot pieces and avoid direct contact with heated metal clay.
- Place pieces between fiber blankets during cooling to minimize cracking risks.
Always wear gloves, dust masks, and eye protection throughout the entire process.
Polishing and Finishing Your Fired Pieces
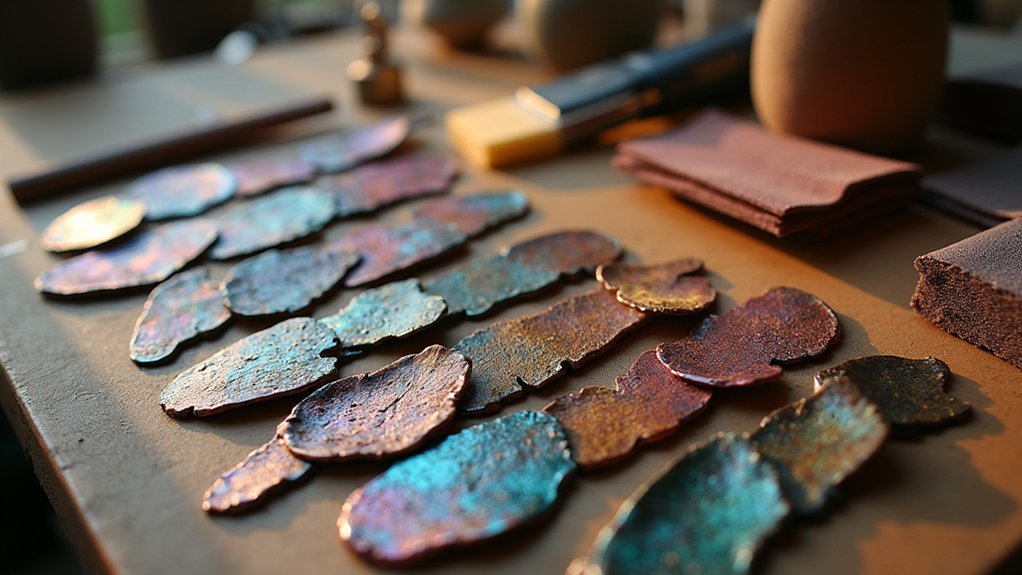
Once your metal clay pieces have cooled completely, you’ll transform their rough, fired surface into a polished masterpiece through careful finishing techniques.
Begin by lightly scrubbing your fired pieces with a wire brush to remove surface residue and prepare for smooth polishing. Apply polishing rouge to a buffing wheel to achieve a high shine on your metal creations, enhancing their natural metallic luster.
Exercise caution when using power tools—secure long hair and loose clothing to prevent accidents. Use a fiber cloth to wipe down finished projects, ensuring all polishing compound is removed for a clean appearance.
Once basic finishing is complete, experiment with different patinas and color blends to add unique effects and character to your fired metal clay pieces.
Frequently Asked Questions
Can You Fire Metal Clay Without a Kiln?
You can fire metal clay without a kiln using torch firing, gas hob firing, or microwave kilns. These methods work for smaller pieces under 25 grams, offering cost-effective alternatives for home studios.
How Do You Fire Clay at Home Without a Kiln?
You can fire clay at home using a butane torch for small pieces, a gas hob with stainless steel mesh, or a microwave kiln. Always wear safety gear and guarantee proper ventilation.
Can You Fire Metal Clay in the Oven?
You can fire metal clay in your oven, but it’s not recommended. Most kitchen ovens can’t reach the 650°C-900°C needed for proper sintering, resulting in weak, brittle pieces that won’t achieve desired finishes.
Can You Fire Metal Clay in a Microwave Kiln?
You can fire metal clay in a microwave kiln at temperatures between 1200-1650°F. You’ll need to monitor wattage and timing carefully, then remove the piece immediately after firing to prevent hazards.
In Summary
You’ve now mastered firing metal clay at home without expensive kiln equipment. Whether you’re using QuickCure clay or torch-firing traditional metal clay, you’ll achieve professional results with proper technique and safety measures. Remember to work in well-ventilated areas, maintain consistent temperatures, and don’t rush the cooling process. With practice, you’ll refine your skills and create stunning metal jewelry pieces from your own workspace while keeping costs minimal.



Leave a Reply