You’ve spent hours crafting your metal clay piece, but now comes the moment that separates amateur work from professional-quality jewelry. The finishing techniques you choose will determine whether your creation looks handmade or masterfully crafted. Three specific methods can transform your fired metal clay from promising to stunning, and mastering them means the difference between a piece that sits in a drawer and one that becomes a treasured keepsake.
Sanding and Polishing for Professional Results
The foundation of any professional-looking metal clay piece starts with proper sanding technique.
You’ll want to begin with coarse 320 or 400 grit, then progressively move to finer grits for smooth results. Always rinse between grits to prevent scratches on your fired metal clay surface.
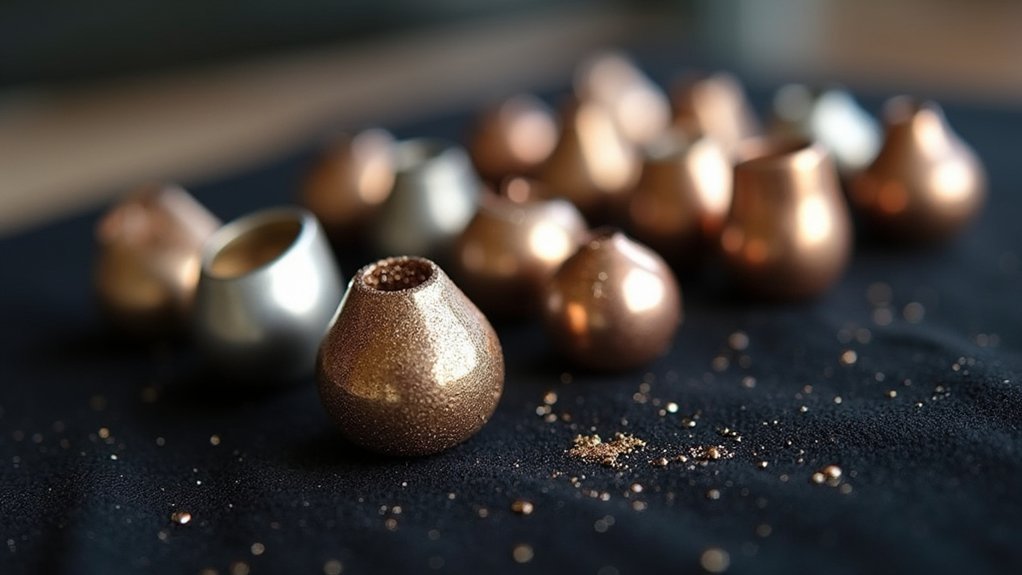
For polishing your fine silver pieces, use brass brushes initially to avoid unwanted marks.
Stainless steel brushes work well on base metals, but avoid coarser options that’ll damage your metal clay work. Tumbling creates a uniform finish using ceramic pins or stainless steel shot.
Apply polishing compounds like rouge and tripoli with felt buffs, avoiding greasy formulas.
Use steel or agate burnishers for raised areas, ensuring they’re scratch-free to protect your work.
Texturing Techniques for Visual Appeal
While polishing creates smooth surfaces, texturing transforms your metal clay pieces into visually striking works of art. Metal clay artists can create engaging textures using various methods throughout the process.
Unfired metal clay readily accepts impressions from household items like lace or leaves. After you fire silver clay, hammering techniques produce depth similar to traditional metalwork. You can also use engraving, carving, sanding, and filing on your fired piece.
| Timing | Technique | Tools |
|---|---|---|
| Before Firing | Impression | Leaves, lace, stamps |
| After Firing | Hammering | Texture hammers |
| After Firing | Rolling Mill | Texturing plates |
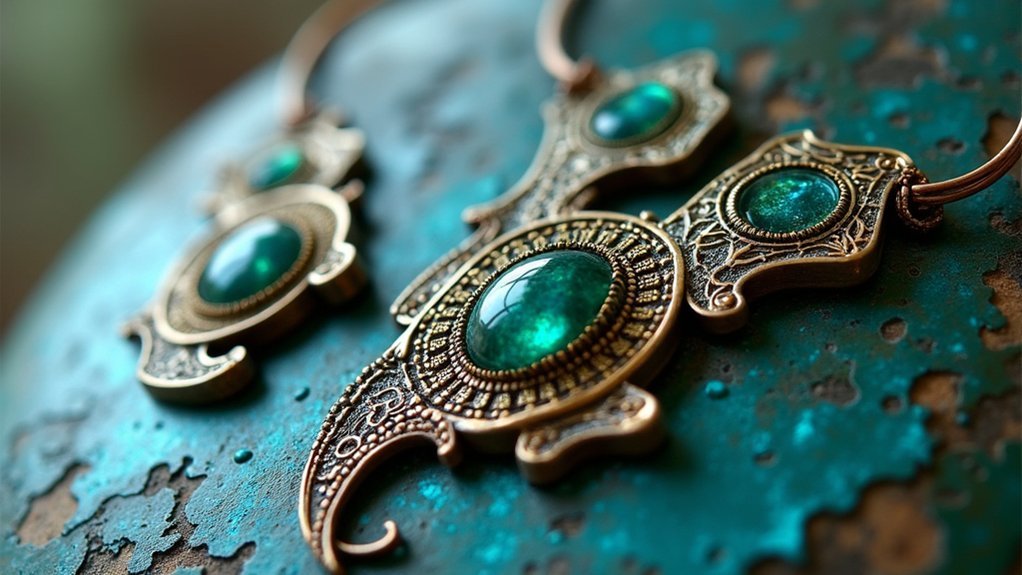
| Final Stage | Enhancement | Transparent enamels |
Rolling your sintered metal clay through a rolling mill with texturing plates creates consistent patterns. Transparent enamels enhance detailed textures while adding color and visual appeal.
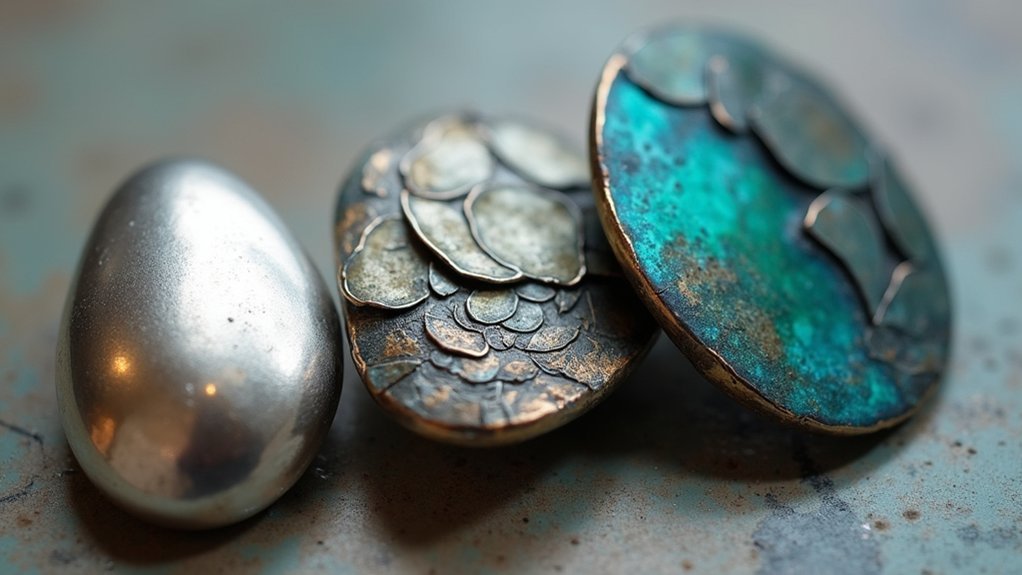
Patina Application for Enhanced Detail
When you want to bring out the finest details in your metal clay creations, patina application offers an exceptional way to create visual contrast and depth.
You’ll find that patina solutions like liver of sulfur enhance details by creating striking differences between textured areas and smooth areas, making intricate designs pop.
You can apply patina through immersion, brush techniques, or cloth application, giving you varying control levels.
Experimenting with different solutions and methods leads to unique finishes that make your metal clay projects truly distinctive. The colors range from golden brown to deep blue-black depending on your technique.
After patina application, you must seal your piece with a protective coating like wax or lacquer to prevent tarnishing and preserve your beautiful finish.
Frequently Asked Questions
Why Is PMC Being Discontinued?
PMC’s being discontinued because you’re facing rising silver costs and quality control challenges. Mitsubishi Materials can’t maintain consistent product standards with fluctuating raw material prices, so they’re focusing on more profitable, sustainable metal clay products instead.
How to Polish Precious Metal Clay?
You’ll start polishing your fired precious metal clay with brass brushes for a satin finish, then progress through finer sandpapers. Use burnishers on raised areas and finish with polishing compounds for enhanced luster.
How to Use Metal Clay Without a Kiln?
You can fire metal clay using a gas torch held 2cm away until it glows red, or place it on a gas hob with firing mesh for five minutes without moving the piece.
Does Metal Clay Shrink When Fired?
Yes, you’ll notice metal clay shrinks approximately 10-20% during firing as organic binders and water evaporate. You should plan for this shrinkage when designing pieces, especially when incorporating stones or elements requiring precise fitting.
In Summary
You’ve now mastered the three essential metal clay finishing techniques that’ll transform your pieces from amateur to professional quality. By combining proper sanding and polishing with creative texturing methods, you’ll achieve that smooth, refined foundation every piece needs. Don’t forget to add patina as your final touch—it’ll bring out intricate details and create stunning visual depth. These techniques work together to guarantee your metal clay creations stand out with exceptional craftsmanship.


Leave a Reply