
You’ll master lost wax casting through seven essential techniques: creating precise wax models with 1-2% shrinkage allowance, positioning sprues strategically at thick sections for ideal flow, mixing investment at 1:3 water-to-powder ratios with vacuum treatment, controlling burnout temperatures from 200°F to 1000°F gradually, selecting compatible metals like gold or silver, timing your pour at red-hot temperatures while maintaining torch focus, and finishing with ultrasonic cleaning followed by progressive polishing stages. These fundamentals will transform your jewelry-making capabilities as you explore advanced applications.
Precision Wax Model Creation and Design Planning
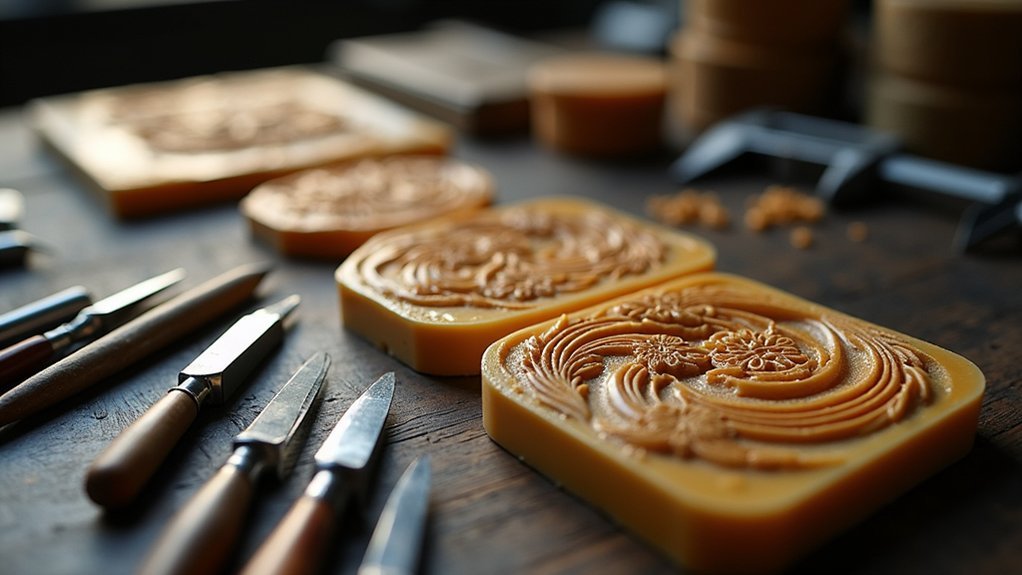
When commencing lost wax casting, you’ll start by creating a detailed design sketch or digital model that visualizes your final piece while accounting for the 1-2% metal shrinkage that occurs during casting.
Select appropriate jeweler’s wax based on your design requirements—soft brown wax excels for detailed work, while harder varieties handle sharp edges better.
Use precision tools like scalpel blades, files, and wax spatulas to achieve a smooth finish that captures intricate designs accurately.
Incorporate strategic sprue placement into your wax model to guarantee proper metal flow during the casting process.
Finally, weigh your completed model and consult a metal conversion chart to calculate the exact amount of metal needed for your project.
Strategic Sprue Placement for Optimal Metal Flow
After completing your precision wax model, proper sprue placement becomes your next critical focus for achieving flawless castings. Strategic sprue placement guarantees ideal metal flow throughout your mold, preventing air pockets and incomplete fills.
Strategic sprue placement is the foundation of flawless castings, ensuring optimal metal flow and preventing costly defects in your finished pieces.
You’ll want to attach sprues at the thickest sections of your wax model to minimize shrinkage defects during cooling. A well-designed sprue system creates tree-like metal distribution channels that deliver molten metal efficiently to every part of your mold.
Consider these essential guidelines:
- Maintain at least 1/4 inch distance between wax pieces and flask edges to provide proper space and prevent blowouts
- Use 1/8 to 1/4 inch diameter of the sprue, proportionate to your piece size
- Create multiple sprues for complex designs to enhance coverage during the casting process
Investment Mixing and Vacuum Techniques
You’ll achieve professional casting results by mastering the precise water-to-investment ratios that create ideal flow and mold strength.
Your investment mixing process requires three minutes of thorough blending followed by two critical minutes of vacuum treatment to eliminate air bubbles that compromise detail capture.
These vacuum techniques guarantee you’re removing trapped air during both mixing and pouring stages, creating the smooth, even coating essential for fine jewelry reproduction.
Proper Investment Mixing Ratios
Three critical measurements determine the success of your investment mixing: the water-to-powder ratio, mixing duration, and vacuum time.
You’ll achieve ideal consistency by maintaining a 1:3 ratio of water to investment powder by weight. This precise measurement guarantees your mold develops the proper strength and surface quality.
After combining materials, you must vacuum mix for exactly 2 minutes to eliminate air bubbles that compromise casting integrity.
Limit your mixing time to 3 minutes maximum, preventing premature setting that weakens the mold structure.
Key safety protocols include:
- Wear gloves and masks when handling investment materials containing silica dust
- Allow investment to set undisturbed for 10-15 minutes after pouring
- Maintain accurate weight measurements throughout the mixing process
Proper ratios create reliable molds that produce professional-quality jewelry castings.
Vacuum Bubble Removal Methods
While proper mixing ratios establish your foundation, vacuum bubble removal determines whether your investment captures every intricate detail of your wax model. You’ll need to vacuum your investment material for approximately 2 minutes during the investment process to eliminate trapped air bubbles that cause casting defects.
| Without Vacuum | With Vacuum |
|---|---|
| Visible air pockets destroy details | Crisp, flawless surface reproduction |
| Rough, pitted casting surfaces | Smooth, professional finish quality |
| Wasted time and precious metals | Perfect results every attempt |
Pour slowly into your flask while maintaining vacuum pressure. This guarantees any remaining bubbles rise to the surface before setting, preserving mold integrity. During the burnout process, proper vacuum techniques prevent residual air from compromising metal flow, delivering the pristine castings you’re aiming for.
Temperature Control During Burnout Process
You’ll need to follow a precise temperature schedule during burnout to guarantee your investment mold doesn’t crack from thermal shock.
Start at 300°F to drive out moisture, then gradually ramp up to 1350°F over 2.5 to 12 hours depending on your flask size.
Control your kiln’s heating rate carefully—rushing this process will damage your flask and ruin your casting.
Optimal Burnout Temperature Schedules
Since proper temperature control determines the success of your lost wax casting, establishing an ideal burnout schedule becomes critical for achieving professional results.
You’ll start at 200°F to guarantee gradual melting of wax, preventing thermal shock that could crack your mold. Next, ramp up to 1000°F over 1-2 hours for complete wax removal, then hold this stable temperature for at least 30 minutes.
Consider these essential scheduling practices:
- Use 50°F temperature increments during ramping to minimize stress on mold materials
- Monitor progress with a reliable kiln thermometer to prevent mold degradation from overheating
- Verify complete burnout before casting, as underheating causes casting defects from residual wax
This systematic approach eliminates guesswork and consistently produces clean molds ready for metal pouring.
Preventing Flask Heat Damage
Three critical factors determine whether your investment flask survives the intense burnout process without cracking or structural failure.
First, you’ll need proper temperature control with your kiln. Always preheat your kiln before introducing the flask to create a stable thermal environment. Implement a slow ramp-up schedule of approximately 50°F per hour, starting at 200°F and gradually reaching 1300°F to prevent thermal shock.
| Temperature Stage | Rate | Time | Purpose |
|---|---|---|---|
| Initial Heat | 50°F/hour | 4 hours | Prevent thermal shock |
| Mid-Range | 50°F/hour | 6 hours | Gradual expansion |
| Final Burnout | 50°F/hour | 8 hours | Complete wax removal |
Second, verify your investment material is fully cured before heating begins. Third, maintain consistent heating patterns throughout the burnout process to minimize heat damage risks.
Metal Selection and Melting Best Practices
When choosing the right metal for your lost wax casting project, you’ll need to balance the mechanical properties required for your jewelry piece with the practical demands of the casting process itself.
Common metal selection options include gold, silver, brass, bronze, and aluminum, each offering distinct characteristics for jewelry making applications.
Consider your alloy’s melting point compatibility with the burnout process. Metals like 14k gold (1,060°C) or sterling silver (893°C) work well for most casting techniques.
Key melting best practices include:
- Use graphite or ceramic crucible materials that withstand high temperatures without contaminating your molten metal
- Apply flux during melting to eliminate impurities and oxides, improving final cast quality
- Preheat both crucible and metal until red-hot before pouring into investment for ideal flow and bonding
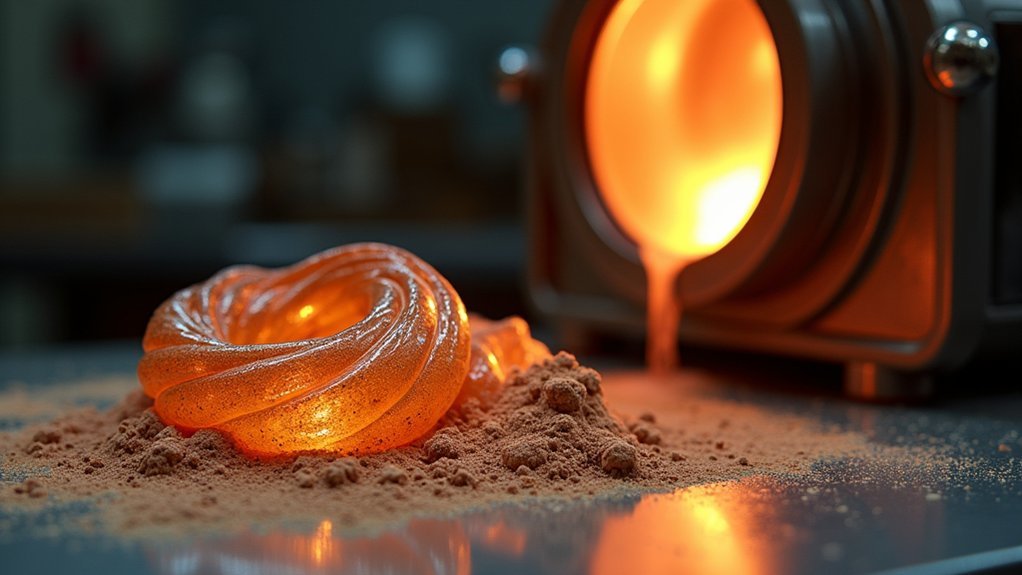
Casting Pour Timing and Heat Management
Once you’ve achieved the proper melt, the critical window for pouring demands split-second decision-making that can make or break your casting. Your casting pour timing hinges on maintaining perfect heat management throughout the process.
Heat your crucible to red-hot temperatures, ensuring molten metal flows smoothly without premature cooling. Keep your torch focused on the metal during pouring to prevent oxidation and maintain consistent flow into the investment mold.
Temperature monitoring is essential for safety and quality. A mold that’s too hot risks steam explosions, while cold molds cause incomplete fills.
Plan your quenching timing carefully—typically 2-5 minutes post-pour, though some alloys need longer cooling periods. Master this delicate balance between heat, timing, and safety for consistently successful castings that’ll achieve the smooth flow you’re after.
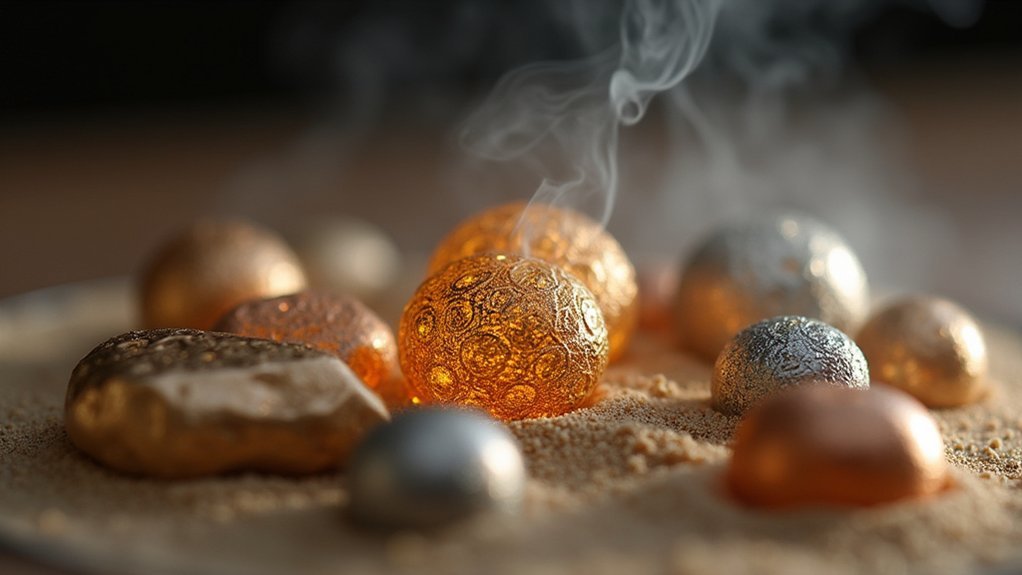
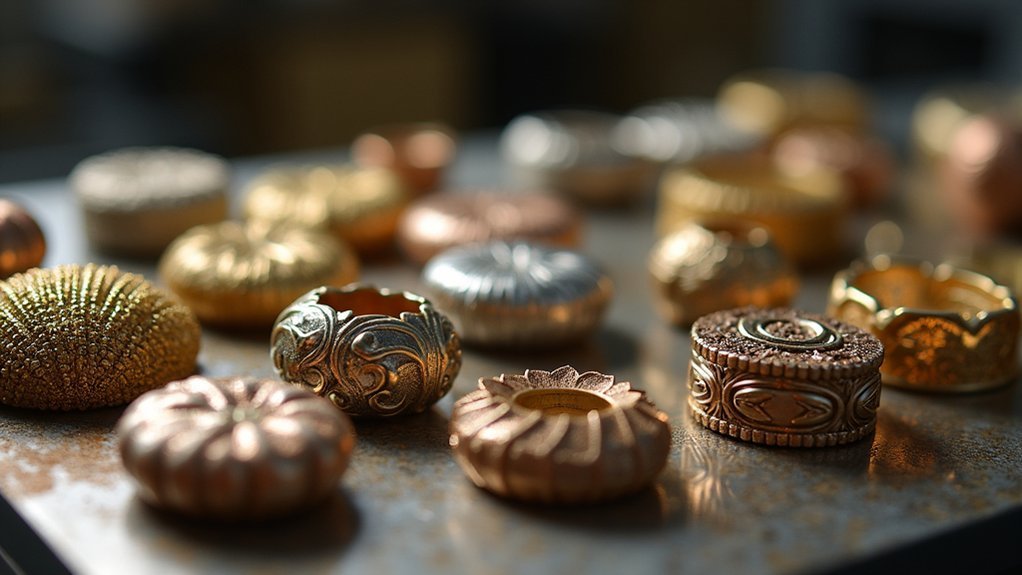
Professional Finishing and Surface Treatment Methods
After your casting cools and you’ve safely removed it from the investment, the real artistry begins with professional finishing techniques that transform your raw casting into a polished masterpiece.
The raw casting is just the beginning—true artistry emerges through masterful finishing techniques that reveal your creation’s full potential.
Start by using ultrasonic cleaners to efficiently remove investment residue, taking just minutes for thorough cleaning. Then proceed through progressive surface treatment stages of grinding, sanding, and polishing to achieve a smooth, high-quality finish.
Pickling in mild acid solution removes oxidation and prepares your piece for final treatments.
Consider these essential finishing options:
- Apply texturing techniques like hammering or acid etching to disguise sprue marks and create unique design elements
- Use patina application with various chemical solutions to enhance visual depth and create stunning color effects
- Perform final polishing after patina to achieve your desired finish level
Frequently Asked Questions
How to Lost Wax Casting Jewelry?
You’ll create a detailed wax model, make an investment mold, burn out the wax in a kiln, melt your metal alloy, pour it into the cavity, then clean and polish your finished jewelry piece.
What Are the Mistakes in Casting Lost Wax?
You’ll face problems if you don’t properly attach sprues, account for metal shrinkage, mix investment correctly, control burnout temperatures, or clean castings thoroughly afterward. These mistakes cause incomplete pieces and poor finishes.
How Long Do You Cast Lost Wax?
You’ll spend 2.5 to 12 hours on burnout, depending on flask size. The entire lost wax casting process takes several days from wax preparation to final finishing, including curing and cleaning time.
Do You Need a Vacuum for Lost Wax Casting?
You don’t absolutely need a vacuum for lost wax casting, but you’ll get considerably better results with one. It eliminates air bubbles, improves investment mixing, and guarantees cleaner, more detailed casts.
In Summary
You’ll achieve professional jewelry casting results when you master these seven techniques. Focus on creating precise wax models, positioning sprues strategically, and mixing your investment properly. Don’t rush the burnout process—temperature control’s critical. Select appropriate metals and time your pours perfectly. Remember that proper heat management during casting and thorough finishing work will determine your final piece’s quality. Practice these fundamentals consistently, and you’ll produce exceptional cast jewelry every time.


Leave a Reply