Mastering anticlastic raising requires proper tools and technique. Start with lightweight gauge metal, a wedge-shaped mallet, and appropriate stakes for creating opposing curves. Heat your metal for malleability without over-annealing, then apply consistent pressure while striking the edges. Practice creating smooth shifts between curves on scrap metal before attempting your final piece. Clean, polish, and tumble your bracelet for enhanced shine and durability. The following guide will transform your metalworking skills into wearable art.
Understanding the Fundamentals of Anticlastic Raising
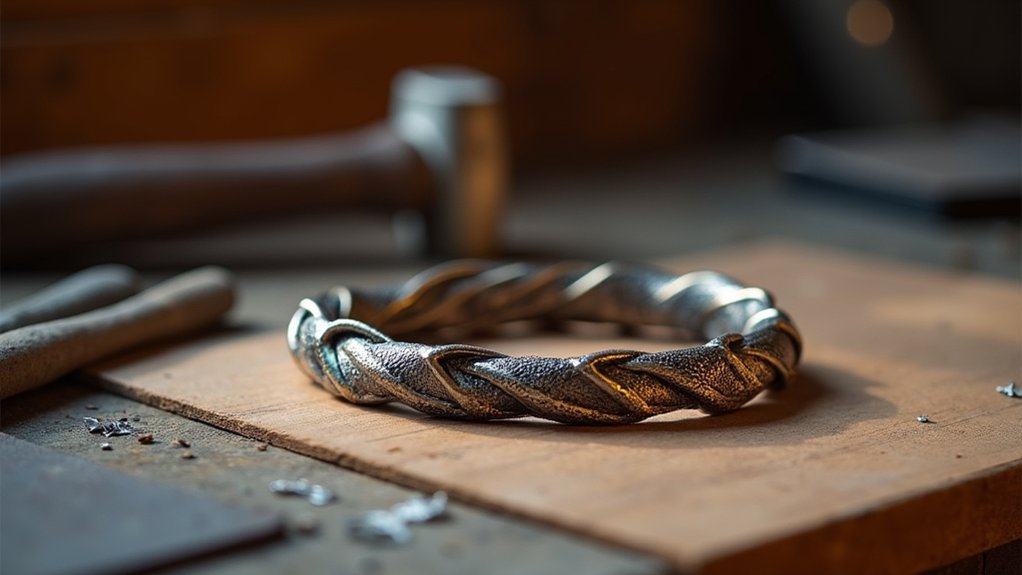
When you first encounter anticlastic raising, you’re meeting one of the most distinctive metalworking techniques in jewelry design. This method creates a three-dimensional effect where one surface curves upward while the opposite curves downward—perfect for creating dynamic, comfortable bracelets from sheet metal.
The process begins with heat. You’ll need to warm your sheet metal until it becomes malleable enough for shaping. Using a wedge-shaped mallet, you’ll strike the metal’s edges to create the characteristic curves and troughs that define anticlastic forms.
Heat transforms rigid metal into possibility – the first essential step before your mallet coaxes those signature anticlastic curves into being.
As you work, you’ll need to bend carefully, avoiding over-annealing which weakens the metal’s structure.
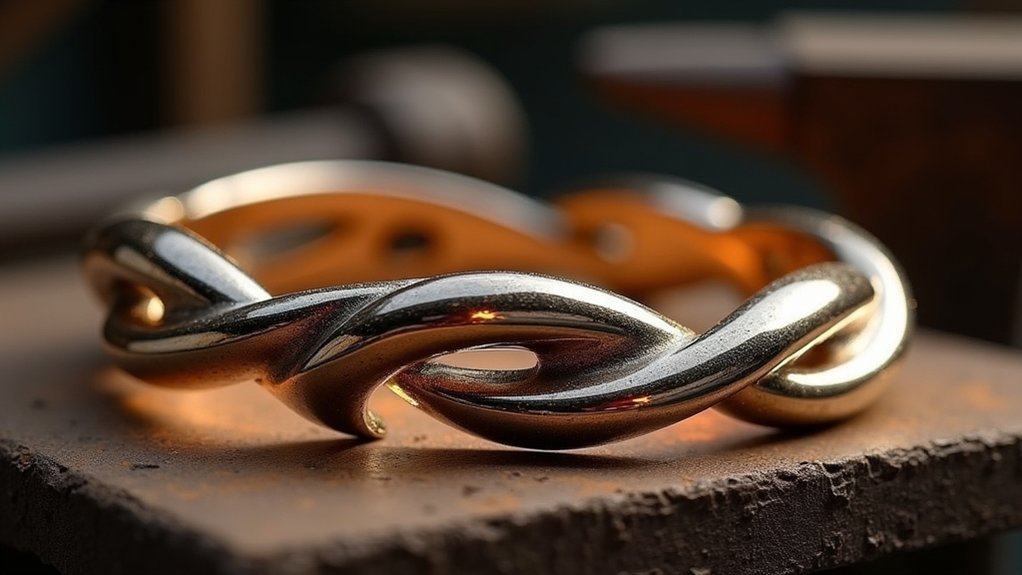
The most successful anticlastic bracelet designs incorporate overlapping bends and dramatic curves, enhancing both their visual appeal and wearability.
Gathering Essential Tools and Materials for Your Bracelet
Now that you understand the principles behind anticlastic raising, let’s assemble everything you’ll need for your bracelet project. Start with a six-inch sheet of lightweight gauge metal, which offers easier manipulation while forming those characteristic opposing curves.
Essential tools for successful anticlastic raising include:
- Binding wire for creating varied bends and securing your metal during the forming process
- Removable vinyl artist’s tape to hold the binding wire without damaging your metal surface
- A wedge-shaped mallet that’s vital for achieving precise curves and dimensions
Don’t forget about finishing equipment like a tumbling machine or tumbler media. This final step not only polishes your creation to a brilliant shine but also hardens the lighter gauge metal, ensuring your anticlastic bracelet maintains its unique shape with enhanced durability.
Developing Your Design Concept and Water-inspired Elements

Before diving into the metalwork, you’ll need a clear vision for your anticlastic bracelet that captures water’s essence.
Begin by sketching your ideas, focusing on length, shape, and incorporating water themes like light reflections. Draw inspiration from personal experiences with water that evoke joy.
Experiment with curves and flowing lines to mimic water’s movement. You’ll need to use binding wire to create varied bends, establishing the desired impressions for your piece.
Consider incorporating a center trough for added dimension and a complex C shape that enhances both wearability and visual interest.
Remember that your unique perspective will guide the creative process. The fluidity of water provides endless inspiration—from gentle ripples to dramatic waves—all of which can translate into stunning anticlastic forms.
Shaping Techniques: Creating Curves and Dimensional Forms
Selecting the right stake provides the foundation for your anticlastic raising, supporting the metal as you transform it into flowing water-inspired curves.
You’ll achieve greater malleability by heating your metal appropriately, allowing you to bend and shape without stressing the material beyond its limits.
Strike with deliberate precision using your wedge-shaped mallet, focusing on creating that essential center trough that gives your bracelet its distinctive dimensional character.
Stake Selection Matters
The foundation of successful anticlastic raising lies in your choice of stakes. When creating bracelets with dynamic curves, stake selection matters greatly as each type produces distinct metal movements and aesthetic results.
Wedge-shaped stakes are your best allies for pronounced curves, allowing metal to flow smoothly into dramatic forms. Remember that stake dimensions directly influence your final piece:
- Width variations – Narrow stakes create tighter curves while wider ones produce gradual bends
- Surface profile – Flat-surfaced stakes establish uniform foundation bends essential for balanced designs
- Multiple options – Experimenting with different stakes throughout your process opens up creative freedom
Don’t limit yourself to just one stake—switching between several during your raising process will give you greater control and more intricate dimensional forms in your finished bracelet.
Heat for Malleability
While skilled hands guide your tools, heat remains the true sculptor’s ally in anticlastic raising. You’ll need to apply heat for malleability that transforms rigid metal into a pliable canvas. Heat your material until it reaches the ideal temperature, but avoid over-annealing which compromises structural integrity.
Begin by gently bending the heated metal to establish your foundation curve. This initial shaping serves as the framework for more complex dimensional work.
Once properly heated, use a wedge-shaped mallet to create precise curves and troughs with controlled pressure. The mallet’s design allows you to navigate intricate contours with accuracy.
As you work, incorporate varied bends and overlaps not only for visual interest but also to strengthen your bracelet.
Strike With Precision
Now that your metal possesses proper malleability, precise striking techniques become your pathway to anticlastic magic. Use a wedge-shaped mallet to shape the metal, controlling both angle and force to create smooth, even curves.
Begin with gentle bending before developing a center trough that adds dimensional depth to your bracelet.
When creating the complex C-shape that enhances wearability, follow these key techniques:
- Strike from one end toward the center, maintaining consistent pressure
- Utilize a stake for dramatic curves, hitting with calculated precision
- Experiment with overlapping bends to achieve water-like movement features
Don’t over-anneal during the process as this weakens your material. Instead, focus on thoughtful manipulation of the metal, carefully developing curves that transform flat sheet into a sophisticated three-dimensional form.
Perfecting the Fit: Wearability and Comfort Considerations
Creating a comfortable bracelet requires more than just mastering the anticlastic raising technique—it demands thoughtful attention to the wearer’s experience.
Begin by measuring the wrist accurately, then add half an inch for ideal wearability and ease of movement.
Incorporate a complex C shape in your design to naturally contour around the wrist, ensuring a secure fit without pinching.
Don’t over-anneal your metal during shaping—this creates excessive flexibility that compromises comfort when worn.
As you work, experiment with overlapping bends and dramatic curves that enhance both aesthetics and wearability.
The bracelet should hug the wrist without feeling restrictive.
A perfectly balanced bracelet embraces the wrist like a gentle handshake—present but never imposing.
Try on your creation throughout the design process, making adjustments to shape and size as needed to prioritize comfort at every stage.
Finishing Methods to Enhance Durability and Visual Appeal
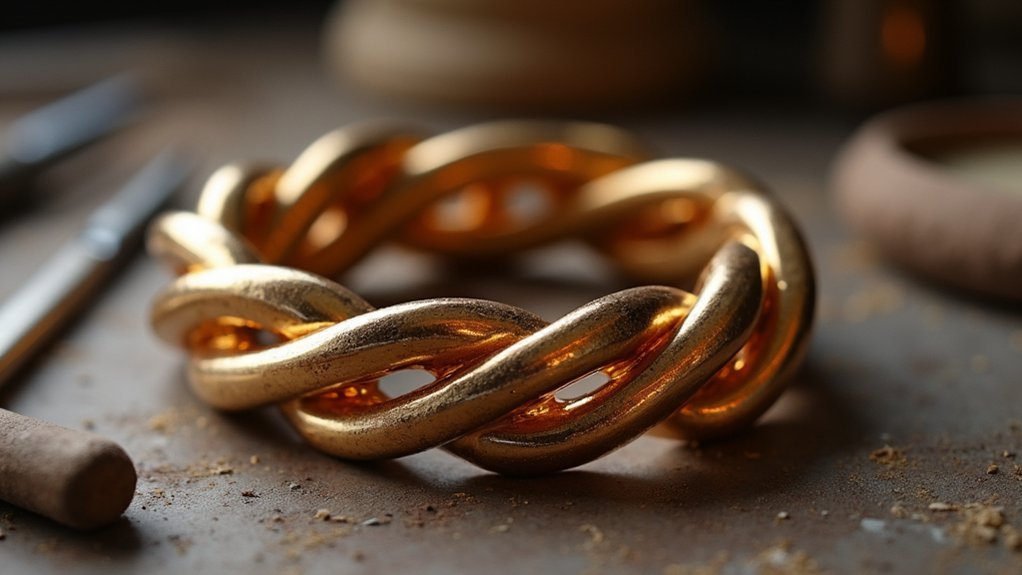
The final finishing touches transform your anticlastic bracelet from a well-formed piece into a refined work of art.
Let’s take a look at key techniques that enhance both durability and visual impact.
Tumbling is essential—this 10-minute to 2-hour process not only polishes your bracelet but actually hardens lighter gauge metals, greatly improving longevity.
Experiment with different media to create unique surface textures.
For spectacular results, consider these three approaches:
- Use a stake during finishing to create dramatic curves that elevate visual appeal.
- Incorporate overlapping bends to add depth while maintaining structural integrity.
- Confirm proper surface preparation before tumbling to achieve a consistent shine.
These finishing methods will confirm your anticlastic bracelet is both visually striking and built to last.
Frequently Asked Questions
What Is the Anticlastic Raising Technique?
Anticlastic raising is a technique where you’ll bend metal in two opposing directions, creating a three-dimensional form with a raised center and tapered edges, resulting in lightweight, elegantly curved pieces.
How Can I Make My Bracelet Bigger?
You can make your bracelet bigger by gently stretching it with a wedge-shaped mallet, heating malleable metals for easier manipulation, or adding extensions like chains. After resizing, tumble it for hardness and polish.
In Summary
You’ve now mastered the essentials of anticlastic raising for creating stunning bracelets. With practice, you’ll transform flat metal into flowing, water-inspired forms that turn heads. Remember, precision in your technique and attention to comfort will elevate your work from merely decorative to truly wearable art. Keep experimenting with textures and finishes to develop your signature style in this versatile metalworking technique.


Leave a Reply