You’ll achieve beautiful antique silver results by following seven key steps: prepare your pieces by washing and priming, choose between boiled eggs or liver of sulfur methods, apply the oxidizing agent with thin even layers, monitor color development closely for 5-8 hours, neutralize with baking soda solution to stop oxidation, polish only raised areas while preserving patina in recesses, and seal with protective coating for durability. Master these techniques to discover the nuanced timing and professional finishing secrets.
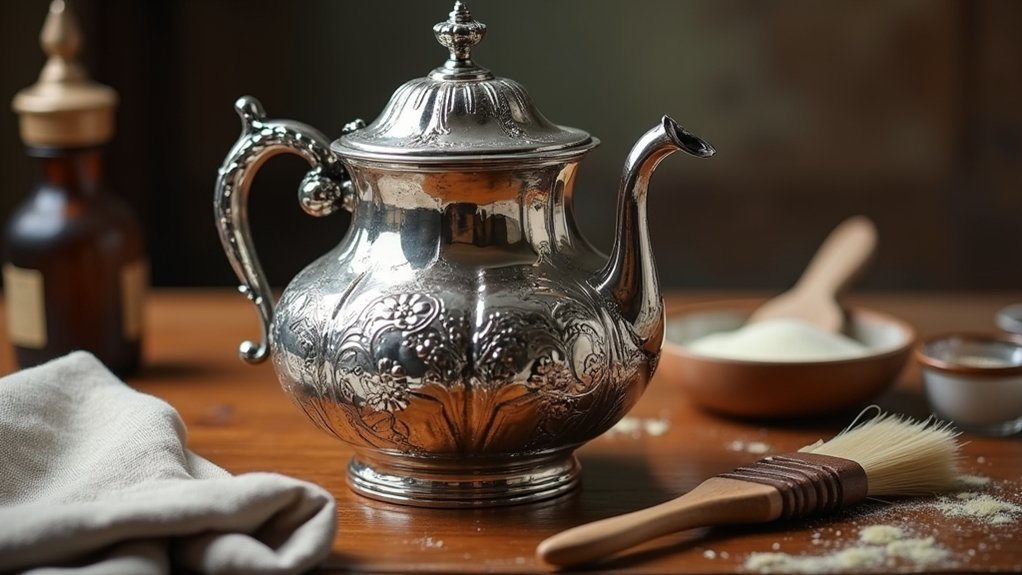
Prepare Your Silver Items for the Antiquing Process
Before you can achieve that coveted aged appearance on your silver items, you’ll need to prepare them properly to guarantee the antiquing process delivers professional-looking results.
Start by thoroughly washing your silver pieces with liquid dish soap and water to remove oils or residues that could interfere with the process. If you’re working with polished surfaces that seem too smooth, lightly sand them to enhance paint adherence and create a more even finish.
Clean your silver thoroughly with dish soap and water, then lightly sand polished surfaces for better paint adhesion.
Next, prime the metal using spray primer specifically designed for metal surfaces. This creates better adhesion and provides a smooth base for your antiquing finish.
Make sure your silver items are completely dry before proceeding, as any moisture can cause water spots and prevent even application of your antiquing solution.
Choose Your Preferred Antiquing Method and Materials
You’ll need to select between two primary antiquing methods based on your desired outcome and available materials.
The boiled eggs method offers a natural sulfur patina that’s gentler and more gradual, while liver of sulfur provides precise control over the antiquing process with more dramatic results.
Your choice depends on whether you prefer a subtler, organic finish or want the flexibility to create varied colors and effects.
Boiled Eggs Method
One of the most accessible and non-toxic methods for antiquing silver involves using ordinary boiled eggs to create authentic-looking patina. This DIY technique harnesses sulfur released from eggs to naturally oxidize your silver pieces, producing beautiful vintage results without harsh chemicals.
Here’s how to achieve the perfect antique finish:
- Prepare your materials – Boil two eggs in boiling water for one piece of jewelry, then wash your silver items with liquid dish soap to remove oils.
- Create the oxidizing environment – Mash the boiled eggs (with shells) in a sealable plastic bag alongside your silver pieces.
- Wait for transformation – Allow 5-8 hours for the sulfur to work, checking regularly for desired color depth.
- Clean and finish – Remove egg residue with a cloth, then wash thoroughly with soap and water.
Liver of Sulfur
While boiled eggs offer a gentle approach to silver antiquing, liver of sulfur (LOS) delivers more dramatic and controllable results for those seeking professional-quality patina effects.
This chemical solution reacts directly with silver, creating durable finishes that mimic natural tarnishing.
You’ll achieve your desired color by adjusting LOS concentration and temperature. Cooler solutions produce lighter shades, while warmer mixtures create darker finishes.
Before applying liver of sulphur, clean your silver thoroughly with bicarbonate of soda paste to guarantee even coverage.
For selective effects, use a fine brush to apply LOS in specific areas, building layers for unique patterns.
After application, polish with a soft cloth and consider protective coatings like varnish or naphtha-beeswax mixtures to preserve your patina’s longevity.
Apply the Oxidizing Agent Using Proper Technique
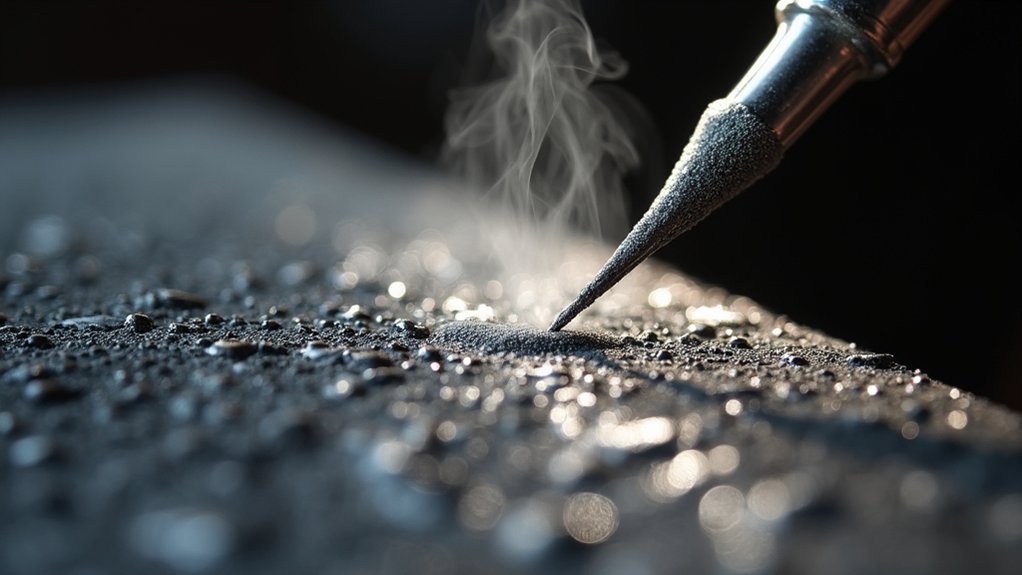
You’ll need to master the proper application technique to achieve consistent, professional-looking antique finishes on your silver pieces.
Whether you’re using a brush for selective coloring or dipping the entire piece, safety protocols and controlled layering will determine your success.
Let’s examine the specific methods for brush application, safe dipping procedures, and building color depth through strategic layering.
Brush Application Methods
Achieving professional-looking antique silver results requires mastering the brush application technique for your oxidizing agent.
Using a fine tip paintbrush gives you precise control over the antiquing process, allowing you to create the perfect antique look with detailed accuracy.
Your brush techniques will determine the final appearance of your silver piece:
- Apply thin, even layers – Let each coat dry completely before adding another to prevent smudging.
- Rinse between applications – Briefly wash the piece to remove excess oxidizer and promote uniform coloring.
- Experiment with brush strokes – Try stippling or sweeping motions to create varied textures and depth.
- Wear rubber gloves – Protect your skin from chemicals while maintaining finish integrity.
These methods guarantee consistent, professional results.
Dipping Technique Safety
When dipping silver into oxidizing solutions, your safety must come first since these chemical agents can cause serious skin irritation and eye damage.
Always wear rubber gloves and protective eyewear before handling liver of sulfur or similar oxidizing agents. Work in a well-ventilated area to prevent inhaling harmful fumes during the process.
Use only stainless steel, glass, or ceramic containers when mixing oxidizing solutions—metal containers can react chemically with the agents.
Dip your sterling silver pieces briefly, checking the color development after each immersion to avoid overly dark or uneven finishes.
Once you’ve achieved your desired patina, immediately neutralize the reaction by dipping the sterling silver in a baking soda and water solution to stop further oxidation.
Layering for Depth
Building up layers of oxidation brings out the natural beauty and intricate details of your silver piece in ways that single applications simply can’t match.
Layering for depth creates rich, complex patinas that highlight textures and design elements effectively.
Here’s how to master the layering technique:
- Dip multiple times – Submerge your silver into the oxidizing solution repeatedly, checking color development after each application to build gradual depth.
- Use controlled brush applications – Apply the solution with a fine tip paintbrush between dips for precise placement and enhanced detail work.
- Vary temperature and timing – Experiment with different solution temperatures and exposure durations to create unique shades and highlights.
- Neutralize when satisfied – Stop the process by dipping in baking soda solution once you’ve achieved your desired darkness.
Monitor the Color Development and Timing
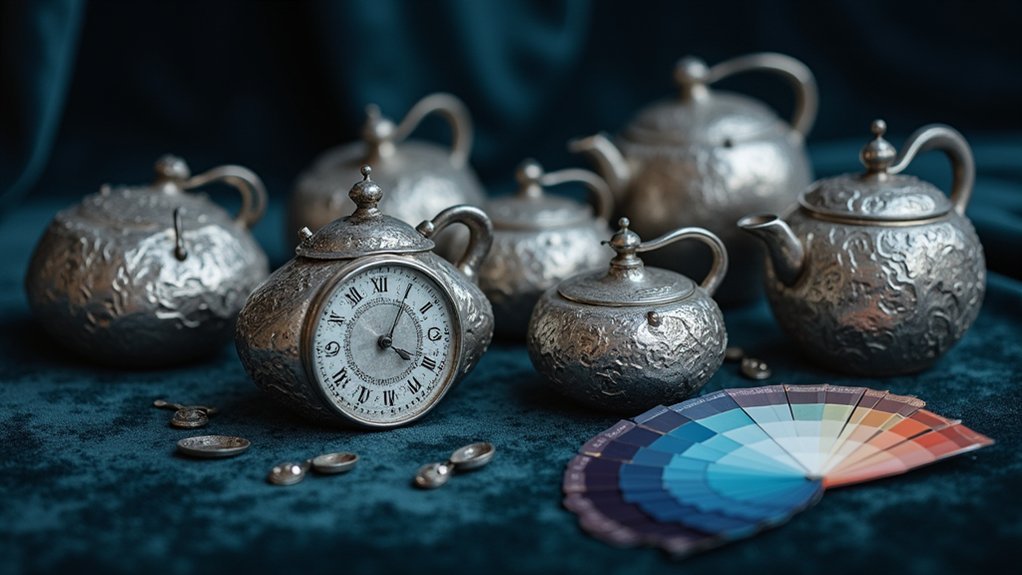
Two critical factors determine your antiquing success: careful observation and precise timing.
As you monitor the color development, remember that different types of antiquing methods require distinct approaches. With boiled eggs, let your silver pieces sit for 5-8 hours, checking progress hourly to achieve your desired patina darkness.
For liver of sulfur solutions, use brief dips and inspect the color after each immersion to guarantee even coverage.
The final shade depends on solution concentration and water temperature, so you’ll need to experiment.
Don’t rush the process—removing pieces too early results in lighter colors than intended.
Once you’ve achieved your perfect patina, immediately neutralize the oxidation by dipping your silver in a baking soda solution to halt further development.
Neutralize the Chemical Reaction to Stop Oxidation
After achieving your desired patina darkness, you must immediately stop the oxidation process to prevent further color development.
Timing is crucial when patinating silver – stop the oxidation reaction at exactly the right moment to lock in your perfect finish.
The neutralization step is essential for maintaining consistent results and preventing uneven finishes from developing after you’ve removed the silver from the liver of sulfur solution.
To neutralize the chemical reaction effectively, follow these steps:
- Create neutralizing bath – Mix water and baking soda in a clean container
- Submerge completely – Dip the silver piece for several seconds ensuring full coverage
- Always use rubber gloves – Protect your skin from lingering chemicals during handling
- Rinse thoroughly – Wash with clean water to remove all baking soda residue
This process halts oxidation immediately and prepares your silver for the final finishing steps.
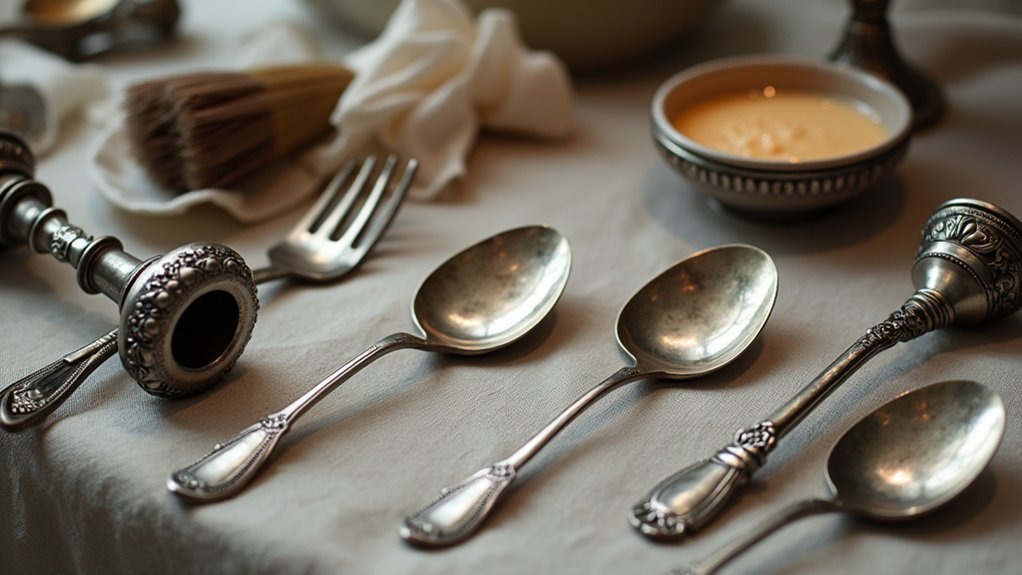
Polish and Highlight the Raised Areas
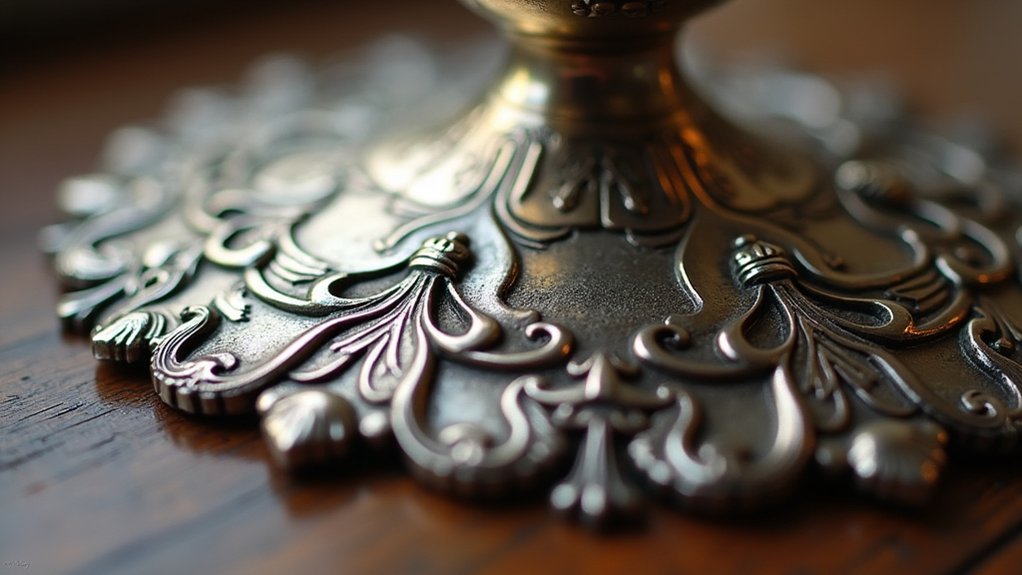
The polishing stage transforms your antiqued silver from a uniformly darkened piece into a striking vintage creation with dimensional contrast.
You’ll want to use a soft cloth that only touches the high points of your silver piece, preserving the patina in recessed areas. A stiffer cloth or bag works best for reaching detailed designs without removing patina from lower sections.
Consider using baking soda instead of traditional silver polish to avoid stripping the antiquing effect while achieving a clean shine on raised surfaces.
Monitor your progress closely—over-polishing creates undesired uniformity that negates the antique look you’ve created.
Regularly inspect highlighted areas to guarantee the patina remains intact and your silver retains its vintage character.
Protect Your Finished Antique Silver With Proper Sealing
Once you’ve achieved the perfect antique finish, you’ll need to seal your silver piece to preserve its distinctive patina and prevent further oxidation. Proper sealing protects your work from wear and environmental damage.
Sealing your antique silver finish is crucial for preserving that beautiful patina and protecting against future oxidation damage.
Follow these essential sealing steps:
- Apply a protective spray coat specifically designed for metal surfaces, ensuring even coverage across the entire piece.
- Use multiple coats for frequently handled items, allowing each layer to dry completely between applications.
- Consider alternative sealants like varnish or naphtha-beeswax mixtures that enhance the finish while preventing oxidation and tarnishing.
- Inspect regularly for wear signs and touch up the protective layer as needed to maintain long-term beauty.
Allow the coating to cure completely following manufacturer instructions for ideal protection.
Frequently Asked Questions
How to Make Silver Look More Antique?
You can antique silver using boiled eggs in sealed bags for 5-8 hours or liver of sulfur solutions. Control timing carefully, then polish high points with baking soda while preserving patina in recessed areas.
What Is the Best Way to Age Silver?
You’ll get the best results using liver of sulfur patina, which gives you control over darkness levels. Clean your silver thoroughly first, then apply with a brush for even coverage and unique patterns.
How to Make Silver Metal Look Aged?
You can age silver metal by placing it with boiled eggs in a sealed bag for 5-8 hours, or apply liver of sulfur patina with a brush for controlled darkening effects.
How Can I Patina Silver Quickly?
You can quickly patina silver using boiled eggs in a sealed bag for 5-8 hours, or use liver of sulfur solution for faster results by heating the silver first and dipping briefly.
In Summary
You’ve successfully transformed your silver pieces into beautiful antique treasures. The oxidized finish you’ve created will develop character over time, but proper sealing guarantees it won’t deteriorate unexpectedly. Remember that practice makes perfect—each piece you antique will teach you something new about timing and technique. Store your finished pieces carefully, and they’ll maintain their gorgeous vintage appearance for years to come.


Leave a Reply