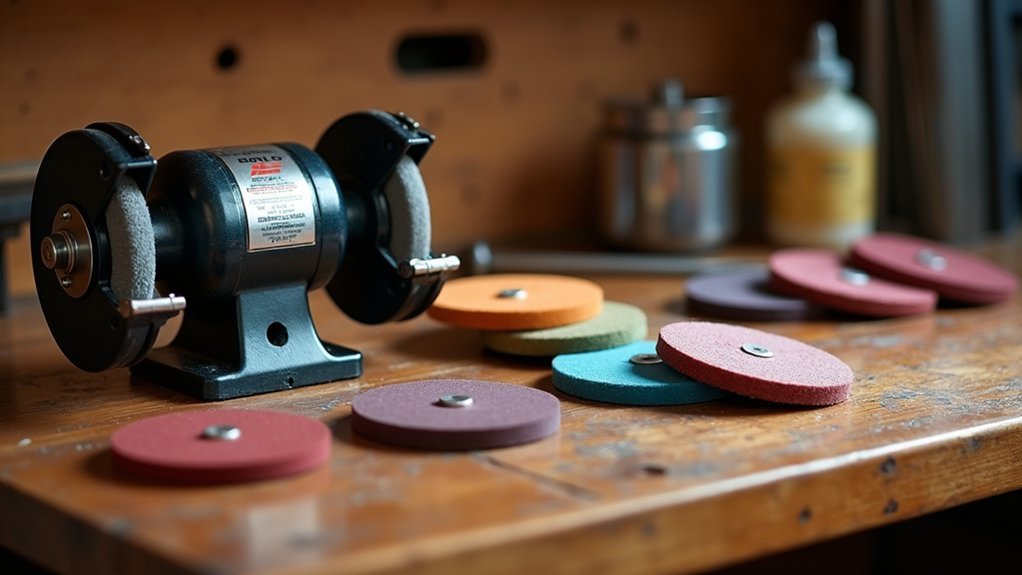
You’ll need a bench grinder with cotton, sisal, and felt wheels, plus Tripoli and rouge compounds for effective bench polishing. Start by wearing safety goggles, dust masks, and gloves while working in a well-ventilated area. Clean your metal workpiece thoroughly, then progress from coarse 120-grit sandpaper to fine 2000-grit before applying compounds. Use steady, even strokes with dedicated wheels for each compound to avoid contamination. Master these fundamentals to access advanced mirror-finishing techniques.
Essential Tools and Equipment for Bench Polishing
Before you can achieve that mirror-like finish on metal surfaces, you’ll need to assemble the right collection of tools and equipment for bench polishing.
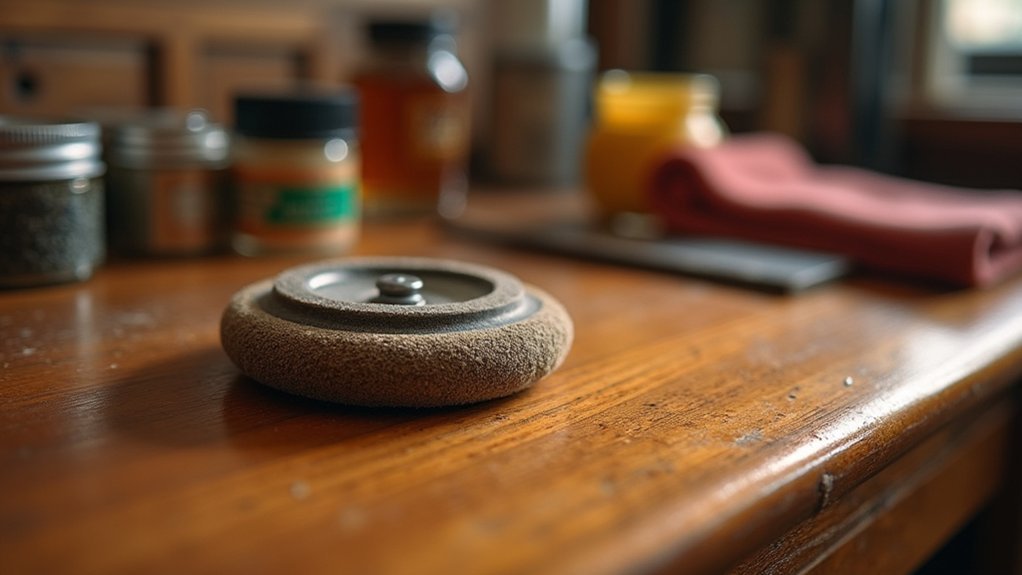
A bench grinder serves as your foundation, providing the power and mounting platform for various polishing wheels. You’ll require different polishing wheels including cotton for general buffing, sisal for aggressive cutting, and felt for finishing work.
Polishing compounds are equally essential – Tripoli for cutting and removing scratches, and rouge for achieving a high-quality finish.
Don’t overlook safety equipment: gloves, safety goggles, and dust masks protect you during the polishing process.
Finally, establish a sturdy workbench with proper lighting. Mastering these polishing techniques starts with having the right tools ready.
Safety Precautions and Protective Gear Requirements
Safety must remain your top priority when bench polishing, as this process involves rotating machinery, metal debris, and chemical compounds that can cause serious injury.
You’ll need safety goggles to protect your eyes from metal shavings and flying debris during the polishing process. Always wear a dust mask to prevent inhaling harmful dust and toxic fumes from polishing compounds. Protective gloves shield your hands from sharp edges and hot metal surfaces after polishing.
Ensure your workspace is well-ventilated to minimize exposure to chemical vapors. Keep first aid supplies within easy reach and familiarize yourself with emergency procedures before starting any project.
These precautions aren’t optional—they’re essential for preventing accidents and maintaining your health while achieving professional polishing results.
Understanding Polishing Compounds and Their Applications
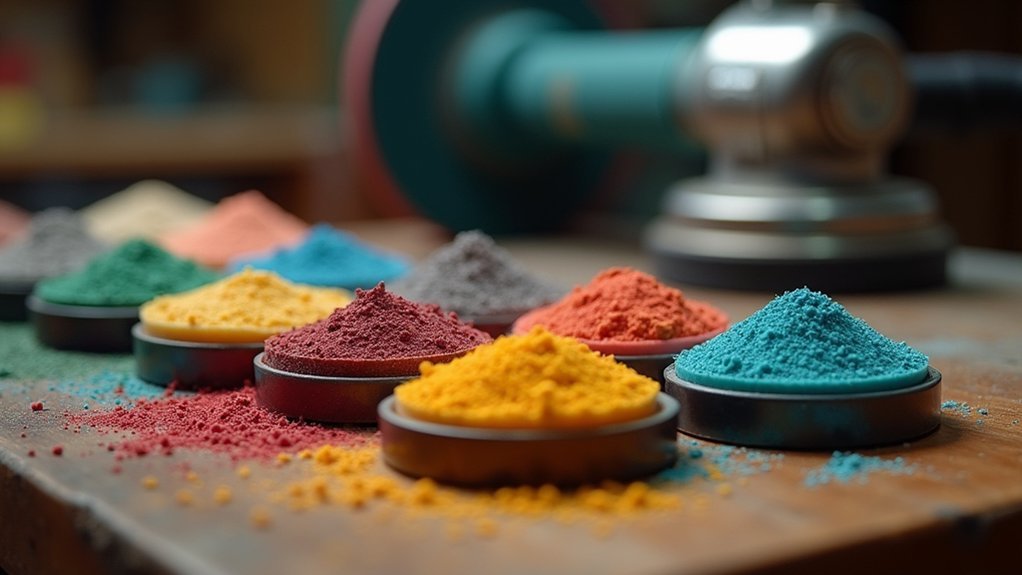
Choosing the right polishing compound determines whether you’ll achieve professional results or waste time with subpar finishes. Polishing compounds and abrasive compounds work in sequence, starting with coarser materials like Tripoli to remove scratches and imperfections from your workpiece.
You’ll then progress to finer abrasives such as rouge for achieving that mirror-like shine when finishing metal surfaces. Each compound requires its own dedicated polishing wheel to prevent contamination during the polishing process.
You can’t use the same wheel for different compounds without compromising your results. Remember to clean buffing wheels regularly with a wire brush before switching compounds. Maintain consistent motion and pressure throughout application, and always work from coarsest to finest compounds for ideal surface preparation and final polish.
Step-by-Step Surface Preparation Process
Since proper surface preparation determines the quality of your final polish, you’ll need to start with a completely clean workpiece.
Begin by washing your metal workpiece thoroughly with soap and water to remove dirt, oils, and oxidation. Next, apply a pickling solution to eliminate flux and fire scale, then rinse and dry the piece completely.
Thorough cleaning with soap and water followed by pickling solution application removes all contaminants before polishing begins.
Start inspecting the cleaned surface for rough edges or uneven areas that need attention. Use files or abrasive papers to smooth down any problematic spots, creating an even foundation for polishing. This filing step is essential for achieving professional results.
Before moving to the polishing process, verify your workpiece is free from all contaminants. A properly prepared smooth surface guarantees peak compound adhesion and prevents scratches during polishing.
Proper Buffing Wheel Selection and Attachment Methods
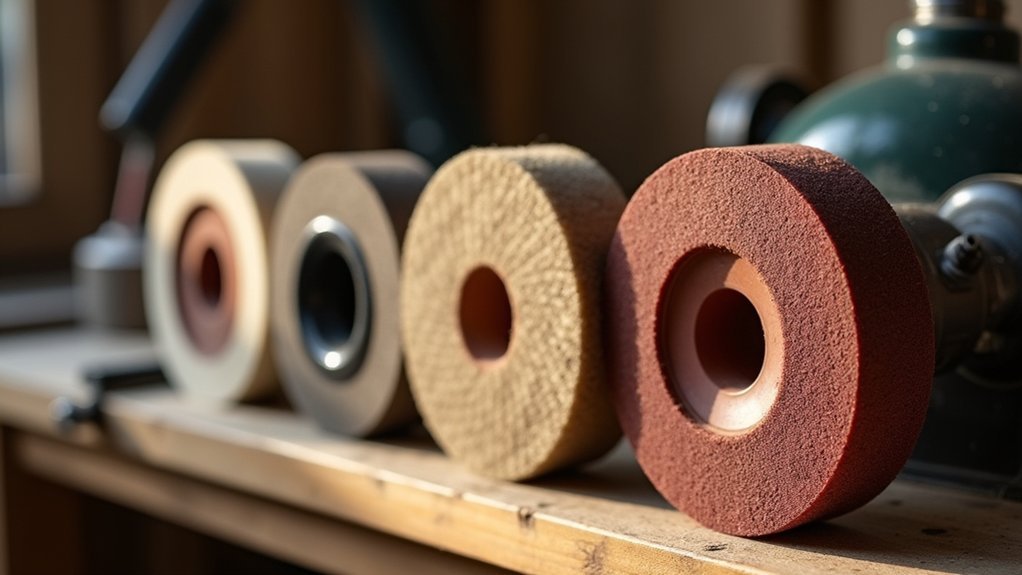
After preparing your workpiece, you’ll need to select the right buffing wheels for your specific polishing task. Consider the material type carefully – cotton wheels work best for fine polishing, while sisal handles heavy cutting applications. Match your wheel choice to your desired finish and always use appropriate polishing compound combinations.
For peak polishing performance, follow these essential steps:
- Select proper size – Choose 4-8 inch diameter wheels that fit your bench grinder specifications.
- Ensure proper attachment – Securely fasten wheels using screws or clamps to prevent loosening during operation.
- Apply correct compounds – Use cutting compound with coarser wheels, then switch to rouge for high-gloss finishing.
Regularly inspect buffing wheels for wear and debris. Cleaning buffing wheels with a wire brush removes buildup, maintaining effectiveness and extending wheel life.
Progressive Polishing Techniques From Coarse to Fine
When you’ve mastered wheel selection and attachment, the key to achieving professional-quality results lies in following a systematic progression from coarse to fine materials. Start with coarse abrasive sandpaper (120-220 grit) to remove scratches and deep imperfections. Apply medium pressure while maintaining consistent motion across your workpiece.
Progress to medium grits (400-600), then advance through progressively finer abrasives (800-2000 grit) until you’ve prepared the surface for compounds.
During the finishing process, apply polishing compounds like Tripoli for cutting, followed by rouge for final buffing. Use your polishing buffing wheel with steady, even strokes to achieve smooth and shiny results. This methodical approach guarantees each step removes marks from the previous grit, ultimately delivering your desired level of shine and mirror-like finish.
Achieving Professional Mirror Finishes and Final Cleaning

The methodical progression through grits sets the foundation, but achieving a true mirror finish requires meticulous attention to surface preparation and compound application.
A methodical approach to surface preparation and compound application forms the cornerstone of achieving an authentic mirror finish.
Before applying any polishing compound, you’ll need to thoroughly clean the metal surface to remove grease and debris that could compromise your mirror-like finish.
Apply jeweler’s rouge or similar abrasive compound evenly to your polishing wheel, then begin buffing with consistent motion. Move perpendicular to existing scratches to remove scratches effectively, changing directions periodically for uniform results.
- Surface Preparation: Clean metal thoroughly before polishing to prevent contamination
- Compound Application: Apply polishing compound evenly to buffing wheel for consistent coverage
- Final Cleaning: Remove all residue with microfiber cloth to reveal pristine mirror finish
Frequently Asked Questions
What Is the Secret to Metal Polishing?
You’ll achieve perfect metal polishing by systematically reducing surface roughness with progressively finer abrasives, using proper compounds like Tripoli then rouge, maintaining consistent motion, and thoroughly cleaning surfaces before starting.
What Are the Three Types of Polishing?
You’ll encounter three main polishing types: mechanical polishing using powered tools for efficiency, hand polishing with cloths for precision control, and electrolytic polishing utilizing electric current for smooth finishes.
What Are the Stages of Buffing?
You’ll follow three buffing stages: start with coarse wheels and compounds to remove deep scratches, progress to medium wheels with finer compounds, then finish with soft wheels and polishing compounds for mirror-like shine.
What Is the Basic Principle of Polishing?
You’ll systematically reduce surface roughness by applying abrasives that progressively smooth your metal surface. Start with coarse abrasives for deep scratches, then use finer ones to achieve the smooth, reflective finish you’re seeking.
In Summary
You’ve now mastered the fundamentals of bench polishing, from selecting proper tools to achieving mirror finishes. Remember that practice makes perfect—don’t expect perfection on your first attempts. Always prioritize safety by wearing protective gear and maintaining proper ventilation. Start with less valuable pieces to build confidence before tackling important projects. With patience and consistent technique, you’ll develop the skills needed to produce professional-quality polished surfaces that’ll impress even experienced craftspeople.


Leave a Reply