You can achieve professional jewelry photos on a tight budget with these seven essential tips: use an entry-level DSLR ($200-300) paired with extension tubes for macro shots, invest in a quality tripod ($30-100) for stability, create DIY reflectors from white poster board, build a lightbox using cardboard and white paper, harness natural light during golden hours, make diffusers from household items like shower curtains, and edit with free tools like GIMP or Canva. These strategic choices will transform your jewelry photography setup and help you master the techniques that professionals use.
Essential Camera Equipment Under $300
While professional camera equipment can cost thousands, you don’t need to break the bank to capture stunning jewelry photos. Entry-level DSLRs offer exceptional value at $200-300, providing the image quality and lens flexibility that’ll elevate your work beyond what any professional photographer expects from budget gear.
Entry-level DSLRs at $200-300 deliver professional image quality that exceeds expectations for budget jewelry photography gear.
These cameras deliver sharp, detailed shots that smartphone cameras simply can’t match.
Your camera needs a sturdy foundation, so invest in a quality tripod for $30-100. It’ll eliminate blur and guarantee consistent framing—crucial for jewelry photography where every detail matters.
While your phone might seem adequate for basic shots, a dedicated camera opens up advanced editing possibilities and manual controls that’ll transform your jewelry photos from amateur snapshots into professional-quality images.
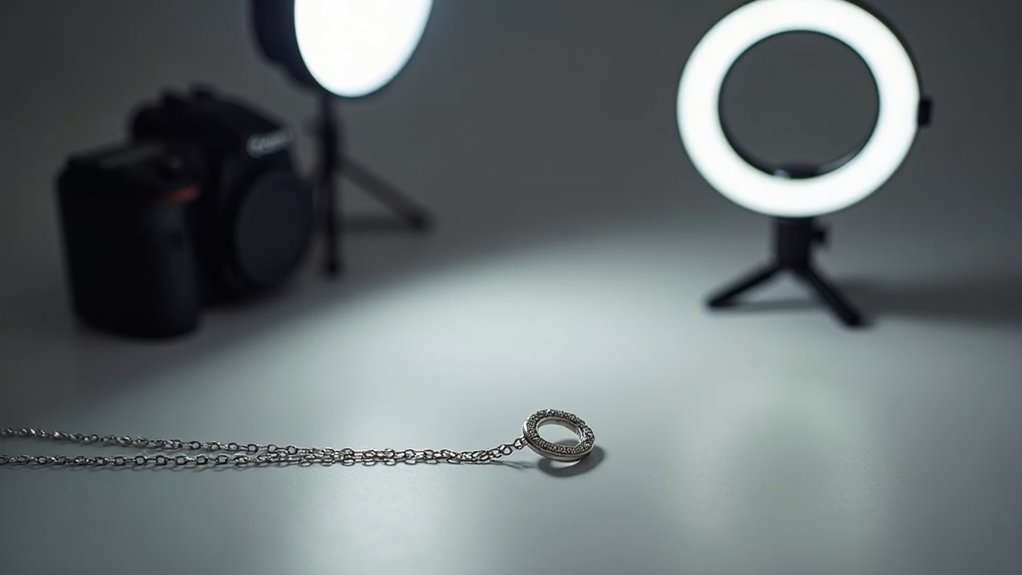
DIY Lighting Solutions for Professional Results
You don’t need expensive studio lighting to capture stunning jewelry photos that rival professional shots.
Creating effective DIY lighting solutions starts with maximizing natural light from windows, building simple diffusers from household materials, and positioning reflectors to eliminate harsh shadows.
These three fundamental techniques will transform your jewelry photography while keeping costs minimal and results consistently professional.
Natural Light Optimization
When you’re working with a tight budget, natural light becomes your most powerful ally for capturing stunning jewelry photographs. You don’t need an expensive photography studio when you can harness the golden hours—shoot shortly after sunrise or before sunset for soft, warm lighting that eliminates harsh shadows.
Position your pieces near a window with sheer curtains to diffuse direct sunlight and prevent unwanted glare.
Create reflectors using white poster board or aluminum foil to bounce light onto your jewelry, highlighting intricate details your good camera can capture.
Build a makeshift lightbox with cardboard lined with white paper for even illumination.
Experiment with different angles and distances from your light source to showcase your jewelry’s sparkle effectively.
DIY Light Diffusers
Creating professional-quality diffusers doesn’t require breaking your budget when common household materials can transform harsh lighting into jewelry-flattering illumination. You’ll achieve softer shadows and enhanced sparkle using white bedsheets, shower curtains, or parchment paper as DIY light diffusers.
| Material | Light Quality | Best For |
|---|---|---|
| White Bedsheet | Very Soft | Large jewelry pieces |
| Shower Curtain | Medium Soft | General photography |
| Parchment Paper | Gentle | Small, delicate items |
Position your light source close to the diffuser for larger, softer illumination. You can create a light tent using cardboard and white fabric for even lighting and clutter-free backgrounds. To photograph your jewelry effectively, place one light source above with a diffuser to control reflections. Experiment with layering materials and adjusting distances to optimize conditions.
Reflector Setup Techniques
Anyone can transform ordinary household items into powerful reflectors that rival expensive studio equipment for jewelry photography. Your reflector setup starts with white poster board or foam core positioned at a 45-degree angle to your light source. This maximizes bounced light while minimizing harsh shadows on your white background.
For softer lighting effects, drape sheer white fabric over your reflectors to diffuse the illumination evenly across your pieces.
Don’t limit yourself to white surfaces—experiment with gold or silver reflectors to emphasize metal luster and gemstone brilliance. Use clips or tape to secure your reflectors in position, maintaining consistent angles throughout your shoot.
Multiple reflectors create dynamic lighting effects that’ll make your jewelry photography look professionally lit without the professional price tag.
Building Your Own Light Box for Under $50
While professional light boxes can cost hundreds of dollars, you can build an equally effective version for under $50 using common household materials.
Start with a large cardboard box and cut out three sides, then cover these openings with white fabric or tissue paper to diffuse harsh lighting. Install LED strip lights or position inexpensive desk lamps inside for even illumination without unwanted shadows.
Use white poster board as your seamless backdrop inside the light box to guarantee jewelry stands out against a clean background.
Position your setup near a window during daylight hours, or rely on adjustable LED lights for consistent evening shoots.
Consider creating a foldable design for easy storage when you’re not capturing stunning jewelry photographs on your budget.
Budget-Friendly Tripods and Stabilization
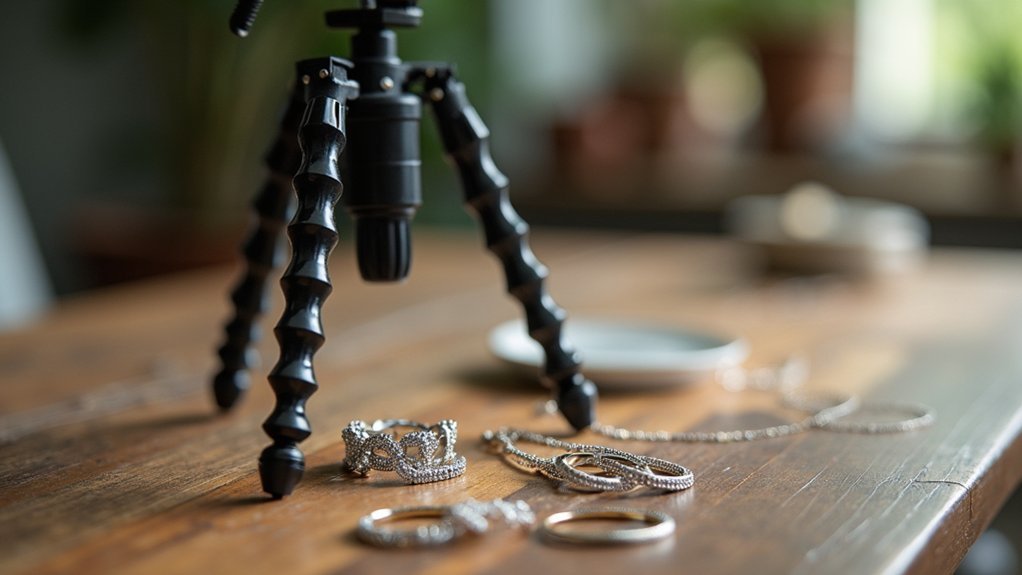
Sharp jewelry photographs demand rock-steady camera positioning, but you don’t need to spend a fortune on professional stabilization equipment. A basic tripod costing $30-100 will eliminate camera shake and dramatically improve your image sharpness.
For macro lens work and close-up shots, consider these affordable options:
- Tabletop tripods – Perfect for small spaces and available for just $20
- Mini tripods with flexible legs – Provide stability on uneven surfaces and adapt to different shooting angles
- Quick-release plate models – Allow fast camera mounting and dismounting during shoots
Look for tripods with adjustable height to maximize versatility.
Enhance your stabilization further by using a remote shutter release or your camera’s timer function, which prevents the slight movement caused by pressing the shutter button directly.
Macro Photography Without Expensive Lenses
Once you’ve secured your camera with proper stabilization, achieving professional macro results becomes possible without investing in expensive dedicated macro lenses.
Extension tubes offer the most cost-effective solution, attaching between your camera body and existing lens to enable closer focusing for detailed jewelry photography. You’ll transform any standard lens into a macro-capable tool without breaking your budget.
Transform any standard lens into a macro powerhouse with budget-friendly extension tubes that deliver professional jewelry photography results.
Consider reverse mounting rings, which attach lenses backward to your camera for impressive magnification.
Close-up filters that screw onto your lens front provide additional magnification while remaining affordable compared to specialized macro lens options.
For ultimate budget consciousness, experiment with smartphone cameras paired with clip-on macro lenses. These DIY solutions deliver surprisingly professional photography results when capturing intricate jewelry details, proving expensive equipment isn’t always necessary.
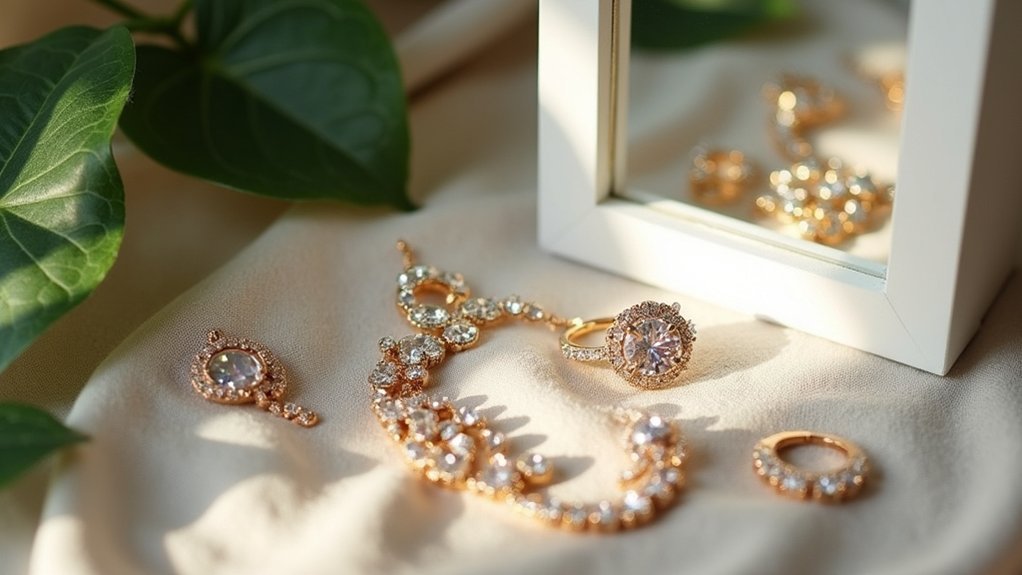
Creating Custom Backgrounds With Household Items
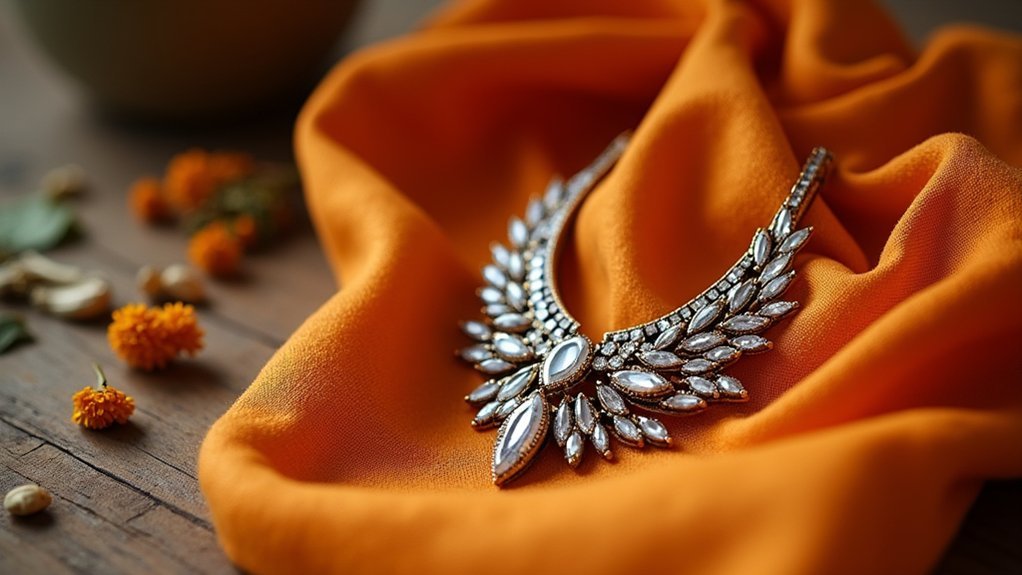
Professional-looking backgrounds don’t require expensive studio materials when you can craft stunning alternatives from items already in your home.
Custom backgrounds transform ordinary jewelry photography into professional-grade images using simple household materials.
Here are three effective DIY background solutions:
- Printed wallpaper – Choose marble or wood patterns to mimic luxurious surfaces that complement your jewelry’s aesthetic without breaking your budget.
- Aluminum foil – Creates a shiny, reflective surface that adds dynamic light interaction and visual interest to your compositions at virtually no cost.
- Fabric or decorative paper – Select colors and textures that enhance your jewelry’s appearance while maintaining professional presentation standards.
Position your chosen background three feet above your table surface to achieve seamless results.
Add household items like stones or pebbles for contextual interest and enhanced composition depth.
Free and Low-Cost Photo Editing Tools
After capturing your jewelry against those custom backgrounds, you’ll need editing software to polish your images into marketing-ready photographs.
Free photo editing tools like GIMP and Paint.NET deliver professional-grade capabilities without the expense, letting you enhance images through color correction, contrast adjustments, and sharpening.
Canva’s intuitive interface provides jewelry-specific templates perfect for social media posts and marketing materials.
Adobe Photoshop Express offers mobile editing convenience, allowing you to crop, filter, and enhance photos immediately after shooting.
Pixlr’s web-based platform includes advanced features like layers for complex edits.
Fotor and BeFunky streamline the editing process with user-friendly interfaces and preset effects designed for product photography.
These tools transform raw jewelry photography into compelling visuals that attract customers and drive sales.
Frequently Asked Questions
What Is the Best Budget Lens for Jewelry Photography?
You’ll get exceptional results with the Sigma 105mm f/2.8 EX DG OS HSM Macro lens for its sharp detail capture. Alternatively, consider Canon’s EF-S 60mm f/2.8 Macro or Nikon’s 40mm f/2.8G for excellent budget options.
How Do You Take High Quality Pictures of Jewelry?
You’ll need proper lighting, a stable tripod, and clean backgrounds. Use macro settings, diffused light sources, and shoot from multiple angles. Edit your photos afterward to enhance brightness, contrast, and remove unwanted reflections.
How Do You Set up Photography for Jewelry Products?
Set up your jewelry photography by choosing a well-lit area with natural light, using a sturdy tripod, placing a clean white background, and positioning your camera at various angles to capture details.
What Is the Best Backdrop for Photographing Jewelry?
You’ll find light boxes work best for jewelry photography since they provide pure white backgrounds that reflect light evenly, eliminating distractions and keeping your jewelry as the main focal point of every shot.
In Summary
You don’t need expensive equipment to capture stunning jewelry photos. With these budget-friendly tips, you’ll create professional-looking images without breaking the bank. Start with basic camera gear, build your own lighting setup, and use household items creatively. Practice with these techniques, experiment with different approaches, and you’ll develop skills that rival photographers using costly equipment. Your jewelry photography will improve dramatically while keeping your wallet happy.
Leave a Reply