Burnishing compresses the metal bezel around your turquoise stone instead of removing material, creating a secure setting with a polished finish. You’ll use specialized steel or tungsten carbide burnishers that are harder than your bezel metal, applying controlled pressure at a 90-degree angle while working back and forth. This technique preserves your turquoise’s integrity while achieving professional results, though you must monitor heat buildup since turquoise is temperature-sensitive. Master this essential skill to elevate your jewelry craftsmanship considerably.
Understanding the Burnishing Process for Turquoise Settings

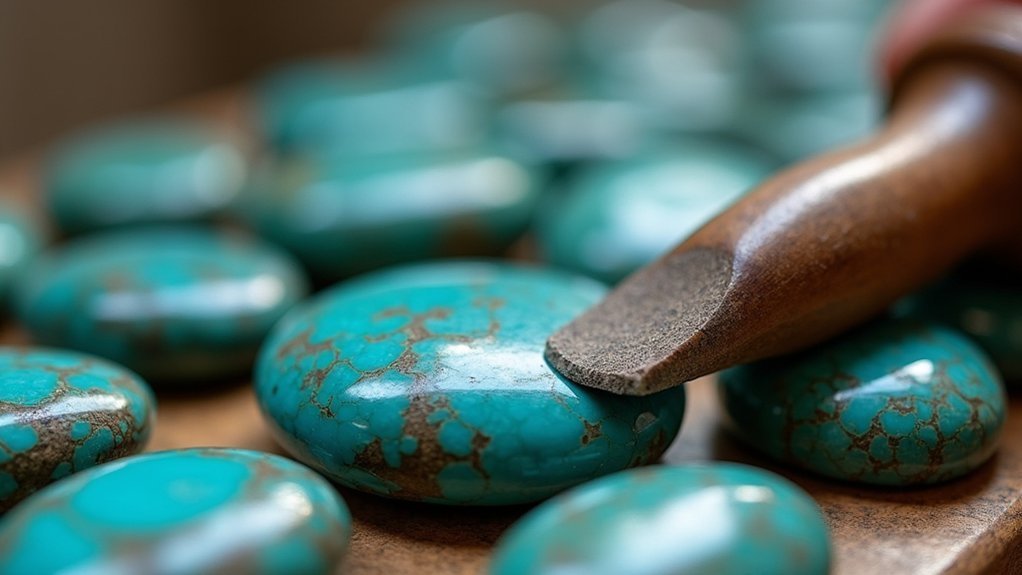
When you’re working with turquoise stones, burnishing offers a superior alternative to traditional polishing methods because it compresses the metal surface around your stone rather than removing material. This process creates a polished finish while preserving the integrity of both your turquoise stones and their settings.
The technique proves particularly effective for bezel setting applications where you need to secure softer materials without causing damage. You’ll compress the metal using specialized tools that must be harder than the metal you’re working on. This guarantees effective polishing without compromising your turquoise or bezel setting.
During burnishing, you’ll apply consistent pressure around the stone’s perimeter. This controlled compression secures your turquoise stones while creating a professional, polished appearance that highlights the stone’s natural beauty within its bezel setting.
Essential Tools and Equipment for Burnishing Turquoise Bezels
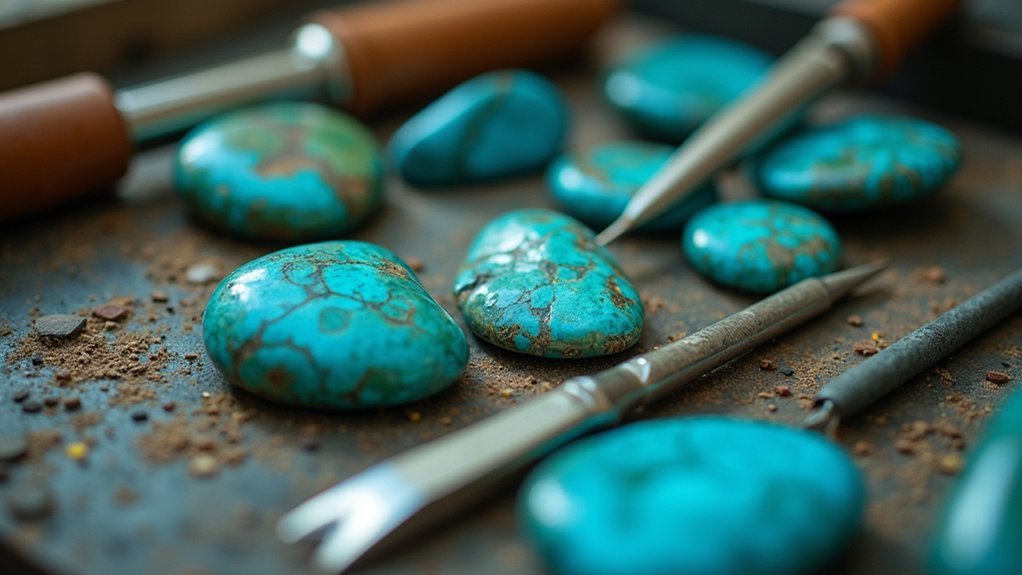
Your success with burnishing turquoise bezels depends heavily on selecting the right tools for the job. Standard burnishers made from polished steel or tungsten carbide are ideal because they’re harder than the metal you’re working with. These materials won’t scratch or damage your turquoise while effectively compressing the bezel.
Choose smaller burnishing tools for tight areas around intricate settings, including those found in Engagement Rings featuring turquoise. Make certain you have a hard surface for support during work. A leather backing is essential to prevent scratches on the turquoise during the burnishing process.
Quality tools enhance your technique and guarantee professional results. Regular practice with various burnisher sizes and shapes will improve your skill level considerably.
Preparing Turquoise Stones for Burnishing Applications
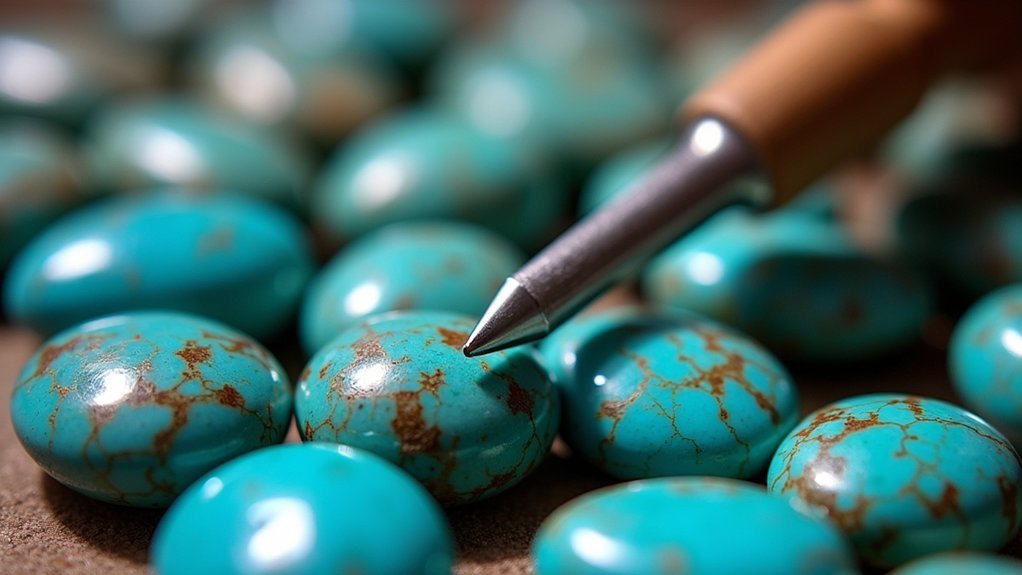
You’ll need to assess your turquoise’s hardness before burnishing since different grades require varying approaches and pressure levels.
Start by thoroughly cleaning the stone’s surface with denatured alcohol or acetone to remove oils, fingerprints, and residue that could interfere with the burnishing process.
Check for any existing cracks, inclusions, or soft spots that might make the stone vulnerable to damage during metal compression.
Stone Hardness Assessment
Before you begin burnishing turquoise, understanding the stone’s hardness becomes essential for achieving professional results without damage. Turquoise typically measures 5 to 6 on the Mohs scale, making it relatively soft and vulnerable during burnishing.
You’ll need to conduct a hardness test before starting any work to determine your stone’s specific characteristics.
Pay special attention to whether you’re working with natural or stabilized turquoise, as treatments can alter hardness levels and heat sensitivity. This assessment directly influences your tool selection and technique approach.
You’ll want to choose burnishing tools that operate at lower RPMs to minimize heat buildup, which can cause discoloration or fracturing. The hardness evaluation also helps you determine appropriate pressure levels, ensuring you avoid chipping or scratching while achieving ideal results.
Surface Preparation Methods
Once you’ve established your turquoise’s hardness characteristics, proper surface preparation becomes your next priority for successful burnishing outcomes.
You’ll need to meticulously clean your stones before beginning any burnishing work to guarantee the best results.
Start by removing all contaminants that could interfere with the burnishing process:
- Clean thoroughly with a soft cloth and mild soap solution to eliminate dust, oils, and residues
- Select low RPM tools to prevent overheating and surface damage during preparation
- Apply polishing compounds specifically formulated for softer stones to facilitate the process
- Choose burnishing tools harder than turquoise while maintaining steady, light pressure
This careful preparation prevents chipping, cracking, or heat damage while creating the ideal surface condition for achieving that coveted lustrous finish on your turquoise stones.
Step-by-Step Burnishing Technique for Bezel Settings
You’ll need to select the right burnishing tool and master the proper motion technique to achieve professional results with your turquoise bezel settings.
Start by choosing a polished tungsten carbide burnisher that’s harder than your bezel metal to guarantee effective compression and smoothing.
Your burnishing motion should involve firm, consistent pressure while maintaining a 90° angle to any scratches as you work the tool back and forth along the bezel edge.
Proper Tool Selection
Two essential factors determine successful turquoise burnishing: selecting the right tool material and ensuring proper hardness.
You’ll need a burnishing tool that’s harder than your bezel metal to effectively compress and smooth the setting without causing damage.
Your best material options include:
- Polished steel burnishers – Excellent for silver and gold bezels, providing ideal hardness differential
- Tungsten carbide tools – Superior durability and hardness for demanding applications
- Smooth, polished surfaces – Essential to prevent scratching the turquoise or metal during compression
- Rounded belly design – Allows for smooth metal flow and reduces risk of gouging
Choose tools with mirror-like finishes since any imperfections will transfer to your work.
The burnisher must glide smoothly across the metal while applying firm, consistent pressure to achieve professional results.
Burnishing Motion Technique
With the proper burnisher in hand, position your bezel setting on a stable work surface like an anvil or hard nylon block.
Maintain a firm grip on your burnisher and apply consistent pressure as you work the metal surface. Move the burnisher back and forth across the bezel, addressing any scratches by running the tool diagonally or at a 90° angle to them for ideal results.
When working around the turquoise stone, use the rounded belly of your burnisher to avoid scratching the delicate surface.
Apply careful, precise movements as you shape the metal around the setting. After completing the burnishing process, inspect your work closely for any remaining streaks or imperfections.
Use fine abrasives like one micron radials or Rouge to blend away any marks and achieve a perfectly smooth finish.
Heat Sensitivity Considerations When Burnishing Turquoise
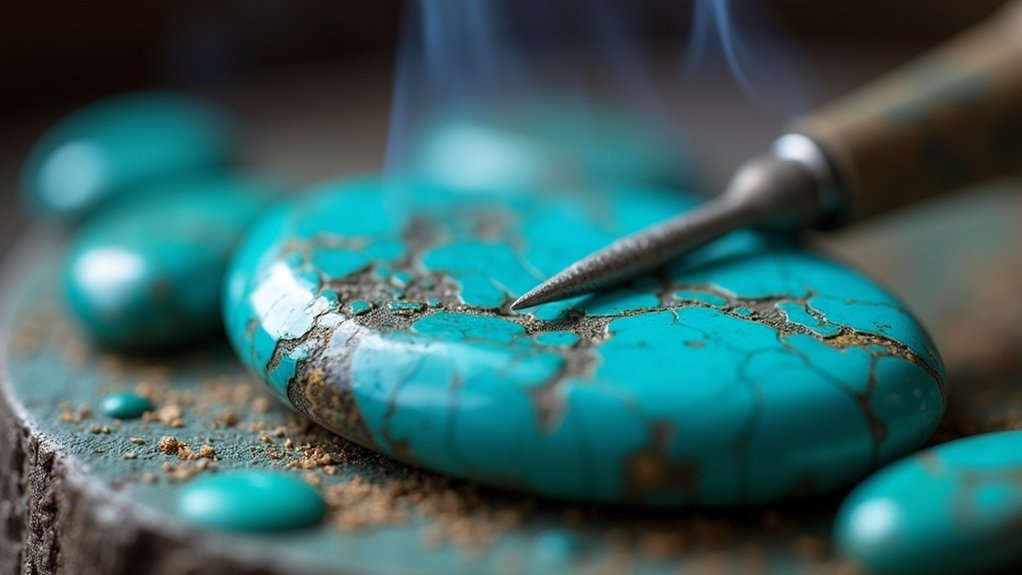
Because turquoise ranks among the most heat-sensitive gemstones, you’ll need to exercise extreme caution during the burnishing process to prevent irreversible damage.
Treated and stabilized turquoise containing epoxy or plastic becomes particularly vulnerable to heat-related problems like discoloration and fractures.
- Use low RPMs – Maintain minimal rotational speed to reduce friction-generated heat
- Apply gentle pressure – Excessive force creates unwanted friction that damages turquoise’s soft nature
- Select appropriate tools – Choose burnishing instruments specifically designed to minimize heat and pressure
- Monitor continuously – Watch for signs of scoring or surface damage throughout the setting process
Careful attention to these heat sensitivity factors guarantees you’ll protect the turquoise’s integrity while achieving a professional setting that showcases the stone’s natural beauty.
Pressure Control Methods to Prevent Stone Damage
You’ll need to master graduated pressure application techniques that start with the lightest possible touch and gradually increase only as needed.
Begin by barely making contact with your burnishing tool, then slowly add pressure while constantly monitoring the turquoise’s response to avoid sudden force that could crack or chip the stone.
This controlled approach protects heat-sensitive stones by preventing the rapid pressure changes that generate excessive friction and potentially damaging temperatures.
Graduated Pressure Application Techniques
Although turquoise’s delicate nature requires careful handling, you can achieve professional burnishing results by mastering graduated pressure application techniques.
These methods help protect heat and pressure-sensitive turquoise stones while delivering smooth, professional finishes.
Start with minimal pressure and gradually increase intensity throughout the burnishing process. This approach prevents overheating, fracturing, and scoring while maintaining stone stability.
Use lower RPMs initially to maintain better control over the entire operation.
Essential graduated pressure techniques include:
- Starting with feather-light contact and slowly building pressure intensity
- Using burnishers made from harder materials than your metal setting
- Continuously monitoring the stone’s response and adjusting pressure accordingly
- Maintaining consistent, gradual increases rather than sudden pressure spikes
Regular assessment during burnishing allows real-time adjustments, ensuring superior results without compromising stone integrity.
Heat-Sensitive Stone Protection
When working with treated turquoise, controlling heat generation becomes your primary concern since excessive temperature can cause irreversible discoloration, fractures, or complete stone failure.
You’ll need to maintain low RPMs throughout the burnishing process to minimize friction-based heat buildup. Apply only moderate, consistent pressure rather than forcing the tool against the stone’s surface.
Choose tungsten carbide burnishers that allow precise pressure control while reducing overheating risks.
You should regularly check the stone’s temperature by touching it lightly with your finger during breaks in the process. If the stone feels warm, pause and let it cool completely before continuing.
This careful approach protects the stone’s integrity while still achieving the polished finish you’re seeking for your turquoise setting.
Burnishing Natural Versus Treated Turquoise Stones
The distinction between natural and treated turquoise stones greatly impacts your burnishing approach and technique.
Natural turquoise’s resilience allows for standard burnishing procedures with less concern about damage. However, treated turquoise demands heightened caution due to its heat sensitivity and reduced hardness.
When working with treated stones, you’ll need to adjust your technique considerably:
- Use low RPMs to minimize heat buildup that could cause discoloration
- Apply adequate pressure without exceeding limits that create scoring or unwanted friction
- Consider the stone’s softer nature and increased susceptibility to chipping or cracking
- Utilize specialized tools like tungsten carbide burnishers for enhanced effectiveness and safety
Understanding these differences guarantees you’ll achieve professional results while protecting your valuable turquoise stones throughout the burnishing process.
Creating Mirror Finish Effects Through Proper Burnishing
Achieving a mirror finish through burnishing transforms your turquoise jewelry from ordinary to extraordinary by creating brilliant, reflective surfaces that showcase the stone’s natural beauty.
You’ll need a polished burnisher that’s harder than your setting metal to compress the surface without removing material. Apply firm pressure while rubbing back and forth, ensuring your burnisher addresses any scratches at a 90° angle for even polish distribution.
This technique’s particularly valuable with turquoise since it eliminates overheating risks that could damage the stone. Regular practice with different burnishing tools improves your results remarkably.
The compression creates smooth, mirror-like finishes that enhance your jewelry’s overall aesthetic while maintaining the setting’s structural integrity and protecting your sensitive turquoise stones.
Common Mistakes to Avoid During the Burnishing Process
Mastering these mirror finish techniques requires avoiding several critical errors that can ruin your turquoise jewelry project.
You’ll damage your stones if you apply excessive pressure, since treated turquoise is softer and more heat-sensitive than natural stones. Watch for overheating signs like discoloration that can permanently damage your work.
Essential mistakes to avoid include:
- Using a burnisher that’s softer than your metal, which creates scratches instead of smooth finishes
- Maintaining inconsistent angles and movements that produce uneven surfaces
- Working without proper support like leather-backed firm surfaces underneath your piece
- Ignoring temperature changes in treated stones during the burnishing process
You’ll achieve professional results by maintaining controlled pressure, consistent technique, and proper workspace setup while monitoring your turquoise for heat damage throughout the process.
Selecting Appropriate Burnishing Tools for Different Turquoise Types
How do you choose the right burnishing tool when different turquoise types demand specific approaches?
You’ll need polished steel or tungsten carbide burnishers since they’re harder than the metal you’re working with. For treated and stabilized turquoise, opt for smaller, less aggressive tools like standard burnishers or steel ball styluses to prevent heat damage.
Size matters considerably – smaller tools let you access tight areas around settings without risking stone damage.
Smaller burnishing tools provide precise access to confined spaces while protecting delicate turquoise from accidental contact damage.
You’ll want to operate at low RPMs to minimize friction and heat, which can cause discoloration or fractures in treated stones.
Apply consistent pressure throughout the process, being especially careful with epoxy or plastic stabilized turquoise that’s more vulnerable to scoring.
Achieving Secure Stone Retention Through Effective Burnishing
Once you’ve selected the proper burnishing tool, your focus shifts to creating a secure hold that keeps your turquoise stone firmly in place. The burnisher must be harder than your setting metal to effectively compress it around the stone without causing abrasion damage to the softer turquoise.
Apply these essential techniques for best results:
- Maintain firm, consistent pressure while angling the burnisher correctly against the metal.
- Work gradually to avoid overheating, which can cause discoloration or fractures in treated turquoise.
- Use smooth, controlled movements to compress the setting metal evenly around the stone’s perimeter.
- Inspect your work under high magnification to verify the stone’s security and check for damage.
Your careful technique guarantees the turquoise stays secure while preserving its integrity throughout the setting process.
Polishing and Finishing Techniques After Burnishing
After securing your turquoise stone through proper burnishing, you’ll need to address any surface imperfections and achieve a professional finish.
Use fine abrasives like light green one micron radials or Rouge to blend streaks left by the burnishing process. These materials guarantee smooth shifts and eliminate visible marks.
Maintain consistent pressure throughout polishing to avoid damaging the softer turquoise material. The rounded belly of your burnisher prevents scratches while enhancing the stone’s natural color brilliance.
Focus on creating seamless surface shifts that highlight turquoise’s inherent beauty.
Proper burnishing techniques don’t just improve appearance—they tighten and smooth bezel edges for refined results.
Regular practice with these finishing methods will develop your skills, leading to consistently better outcomes when working with turquoise and other delicate stones.
Professional Tips for Mastering Turquoise Burnishing Skills
While developing your turquoise burnishing expertise requires patience, mastering the fundamental techniques will transform your metalworking results.
You’ll achieve professional-quality finishes by focusing on proper tool selection, technique refinement, and consistent practice habits.
Essential burnishing practices include:
- Use harder burnishers than your setting metal – This prevents scratching and guarantees effective material movement without damaging the turquoise.
- Apply low RPMs with minimal pressure – Treated turquoise stones are heat-sensitive and require gentle handling to prevent discoloration.
- Maintain 90° angles across scratches – This technique effectively removes imperfections while preserving stone integrity.
- Secure metal on firm surfaces – Proper support guarantees consistent pressure distribution and prevents accidental damage.
Regular practice with various burnishing tools will enhance your control and develop muscle memory for working with delicate turquoise settings.
Frequently Asked Questions
What Is the Difference Between Polishing and Burnishing?
You’ll find polishing removes material using abrasives for smooth finishes, while burnishing compresses metal surfaces through friction and pressure. Burnishing doesn’t use abrasives, creating mirror-like shine without material removal risks.
How Do You Shine Turquoise Stones?
You’ll shine turquoise stones using a low RPM rotary tool with chamois wheel and polishing compound. Don’t overheat natural turquoise, and use extra caution with stabilized stones since they’re heat-sensitive.
What Is Burnishing Jewelry?
You’ll use burnishing to compress metal surfaces without removing material, creating polished finishes on jewelry. You’re fundamentally smoothing scratches by pushing metal around rather than grinding it away like traditional polishing methods.
What Is a Burnish Set?
You’ll create a burnish set by compressing metal around a stone using a burnishing tool. This technique secures stones without visible prongs, creating a seamless appearance that emphasizes the stone’s natural beauty.
In Summary
You’ve mastered the fundamentals of burnishing turquoise in bezel settings. Remember to work slowly with light pressure, keeping your tools sharp and properly angled. Don’t rush the process—turquoise’s delicate nature demands patience. Practice these techniques consistently, and you’ll develop the muscle memory needed for professional results. With proper preparation, tool selection, and finishing work, you’ll create secure, beautiful settings that showcase turquoise’s natural beauty while ensuring lasting durability.


Leave a Reply