You’ll need specialized CAD software like Rhinoceros ($995) or budget-friendly Fusion 360 ($495/year) to design 3D printed jewelry effectively. Master both parametric modeling for precise geometric elements and polygonal modeling for organic shapes. Verify your models are watertight with minimum wall thickness of 0.75mm for small pieces. Choose between direct metal printing for faster turnaround or castable resin workflows for intricate details. The techniques below will transform your digital designs into stunning wearable art.
Digital Transformation of Traditional Jewelry Making
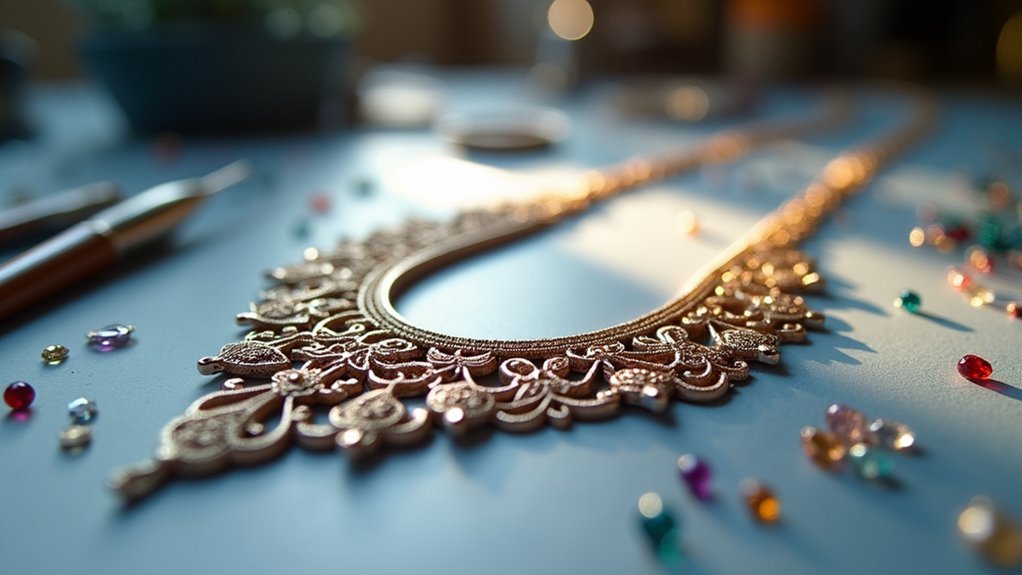
While traditional jewelry making has long depended on time-honored techniques like wax sculpting and soldering, today’s designers are embracing digital technologies that revolutionize how they create.
CAD modeling systems now enable you to design intricate geometrical shapes that would’ve been nearly impossible to craft by hand. You’ll find that 3D printing allows rapid prototyping, letting you test and refine designs quickly before final production.
As a modern jewelry designer, you can provide customers with instant digital previews and same-day fitting models, creating highly personalized pieces.
However, you shouldn’t abandon traditional craftsmanship entirely. Manual artisanship remains essential for multi-material techniques and achieving complex coloring effects that digital tools can’t replicate alone.
Essential CAD Software for Jewelry Design
Since digital jewelry design requires specialized software that can handle intricate geometrical modeling and gemstone placement, you’ll need to choose the right CAD platform for your specific needs and budget.
When selecting CAD tools for jewelry design, you’ve got several options across different price points:
- Professional Solutions – 3Design ($6,950) and Jewelry CAD Dream ($5,850) offer robust parametric modeling specifically for jewelers.
- Versatile Options – Rhinoceros ($995) excels at complex geometry, while MatrixGold ($7,000) enhances it with automatic jewelry functionalities.
- Budget-Friendly Choices – Fusion 360 ($495/year) provides cloud-based modeling and stays free for students and startups.
- Beginner Tools – TinkerCAD offers free block-building approaches for those starting their design journey.
Choose solid modelers for geometric shapes or polygonal modelers for organic designs based on your intended style.
Parametric Vs Polygonal Modeling Approaches
Once you’ve selected your CAD software, you’ll face a fundamental choice between two distinct modeling philosophies that will shape your entire design workflow.
Parametric modeling uses a history-based approach where you’ll define parameters to control dimensions and features. This method excels for precise, repeatable elements like gemstone settings, allowing easy modifications after creation.
Software like 3Design and Jewelry CAD Dream leverage this approach with jewelry-specific tools.
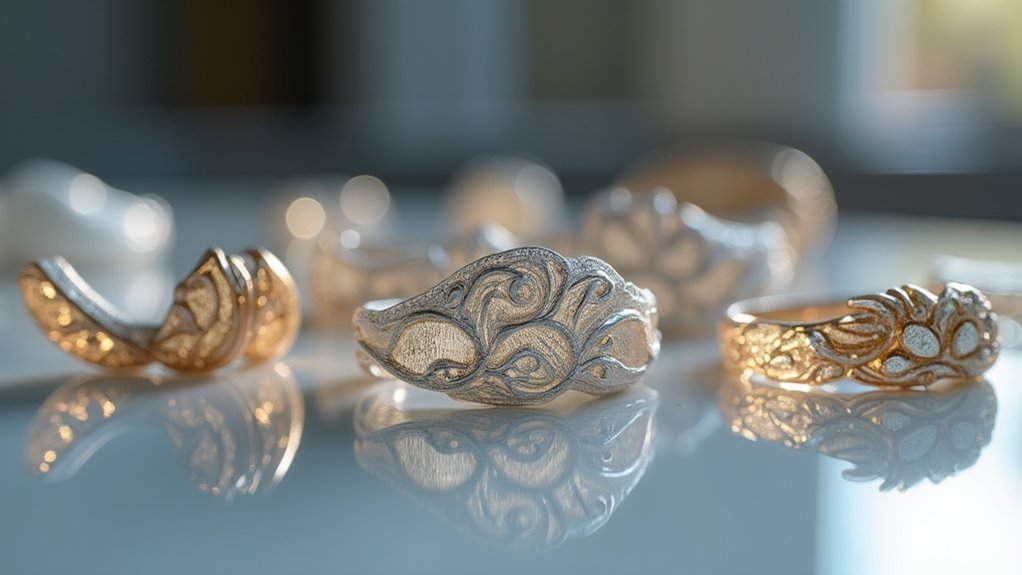
Polygonal modeling focuses on manipulating vertices, edges, and faces to craft organic shapes. You’ll find this technique superior for freeform designs and intricate filigrees.
Rhino and ZBrush excel in polygonal modeling for complex geometries.
These approaches complement each other perfectly—you can use parametric tools for structural elements while employing polygonal techniques for decorative aesthetics.
Key Features to Look for in Jewelry CAD Programs
After settling on your modeling approach, you’ll need to evaluate specific features that separate professional jewelry CAD programs from generic design software.
The right jewelry CAD software transforms your creative vision into printable reality through specialized tools designed for the jewelry industry’s unique demands.
Look for these essential capabilities in your Design CAD selection:
- Automatic gemstone insertion – Streamlines workflow and expands customization options for clients
- Superior geometric modeling – Solid modelers excel at creating intricate jewelry piece shapes
- Intuitive interface – Short learning curves guarantee smooth shifts for beginners and experts alike
- Hybrid design capabilities – Enables complex gem settings and enhances creative possibilities
Prioritize software offering scalability and intuitive sculpting features, as these elements prove vital for producing detailed, high-quality jewelry designs ready for 3D printing.
Creating Watertight 3D Models for Printing
You’ll need to guarantee your jewelry models meet strict mesh integrity requirements before sending them to the printer.
Proper file preparation techniques involve checking for watertight surfaces using CAD commands like “show edges” to identify any problematic seams or gaps.
When your model isn’t watertight, you’ll face print failures that could’ve been avoided with careful attention to overlapping geometries and component merging.
Mesh Integrity Requirements
When designing 3D printed jewelry, maintaining mesh integrity stands as one of the most critical factors determining whether your piece will print successfully or fail catastrophically.
Your CAD model must meet specific requirements to guarantee watertight geometry that translates into flawless physical pieces.
Essential mesh integrity requirements include:
- Zero open edges – Use CAD commands like “show edges” to identify and seal any gaps or seams in your geometry.
- Minimum wall thickness – Maintain 0.75mm for small components and 0.9mm for larger hollow forms to prevent structural failure.
- Complete surface closure – Ascertain no holes or openings exist anywhere in your model’s surface.
- Proper component grouping – Combine multiple elements into single watertight units for simplified printing and enhanced structural integrity.
File Preparation Techniques
Beyond achieving proper mesh integrity, your success depends on mastering specific file preparation techniques that transform your CAD designs into print-ready models.
Start by using your CAD programs’ diagnostic tools like “show edges” to identify and seal any open seams that could compromise your print’s structural integrity.
You’ll need to establish proper wall thicknesses—0.75 mm minimum for small components and 0.9 mm for larger hollow forms.
Group related elements together so you can manipulate them as unified objects during preparation.
Since you’re designing for investment casting, incorporate 5-degree draft angles to improve castability.
Fillet all internal corners to eliminate sharp edges that could cause investment breakage and restrict proper metal flow during the casting process.
Wall Thickness and Structural Integrity Considerations
When you’re designing 3D printed jewelry, you’ll need to balance minimum thickness requirements with structural support to prevent casting failures.
Your wall thickness must meet specific standards—0.75mm for small pieces and 0.9mm for larger hollow forms—while accounting for material stress points that could compromise your design’s integrity.
You’ll also need to strategically plan support structures, especially for heavier components that risk detaching during the printing process.
Minimum Thickness Requirements
Although 3D printed jewelry offers remarkable design freedom, you must adhere to specific minimum thickness requirements to confirm your pieces survive both the printing and casting processes.
These thickness standards aren’t arbitrary – they’re essential for preventing structural failures that could ruin your investment in time and materials.
Here are the critical minimum thickness requirements you need to follow:
- Small jewelry pieces: Maintain at least 0.75 mm wall thickness for rings, earrings, and pendants.
- Larger hollow forms: Use minimum 0.9 mm thickness for bracelets, cuffs, and statement pieces.
- Heavy components: Increase thickness proportionally when your design includes substantial mass concentrations.
- Stress points: Apply thicker walls at connection points where forces concentrate during the casting process.
Meeting these specifications confirms your designs translate successfully from digital concepts to wearable jewelry.
Support Structure Design
Support structure design forms the backbone of successful 3D printed jewelry, requiring careful consideration of both wall thickness and structural integrity to prevent catastrophic failures during printing and casting.
You’ll need stronger supports for heavier parts to prevent detachment during the printing process. Design hollow forms for larger pieces, incorporating access holes that facilitate investment and casting processes while reducing material costs and weight.
Consider multi-part designs for intricate patterns, as they simplify assembly and improve casting success through easier handling and better mold formation.
You must balance positive and negative spaces carefully, ensuring overall stability throughout casting processes.
Remember that overly thin walls risk distortion and incomplete filling, while proper support structure design maintains dimensional accuracy and prevents costly failures during both printing and subsequent casting operations.
Material Stress Points
Since material stress points determine whether your 3D printed jewelry will survive both the printing process and everyday wear, you must identify and reinforce vulnerable areas before they become failure points.
Understanding these design parameters helps you create durable pieces that won’t break during casting or daily use. Thin walls create stress concentrations that lead to cracks, while inadequate thickness compromises casting integrity.
- Maintain minimum wall thickness – 0.75mm for small pieces, 0.9mm for larger hollow forms to guarantee structural strength.
- Design hollow interiors for larger components to reduce weight while maintaining durability and improving casting success.
- Create multi-part assemblies for complex designs to distribute stress evenly throughout intricate patterns.
- Balance positive and negative spaces to eliminate weak points where material shifts occur.
Optimizing Designs for Different 3D Printing Technologies
While each 3D printing technology offers unique advantages for jewelry creation, you’ll need to tailor your designs to match the specific capabilities and limitations of your chosen method.
Success in 3D printed jewelry depends on matching your design approach to your chosen printing technology’s specific strengths and constraints.
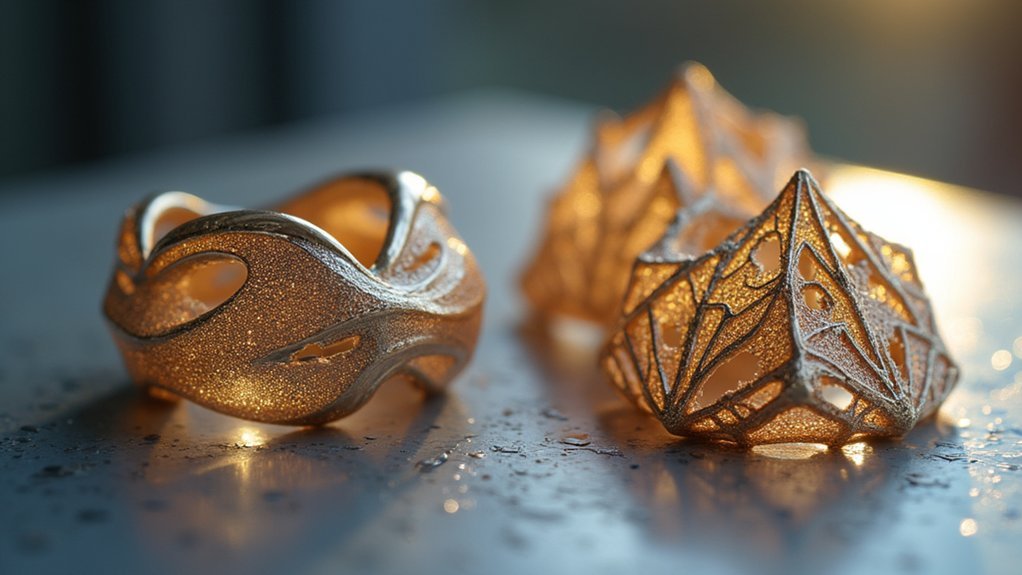
SLA/DLP printers excel at high-detail work, making them ideal for intricate patterns and fine textures in your digital design. For direct metal printing with SLM technology, you’ll work with different constraints entirely.
When designing for resin printers and lost-wax casting, maintain minimum wall thicknesses of 0.75 mm for small pieces and 0.9 mm for larger hollow forms.
Create hollow designs for bigger pieces to reduce weight and material costs. Include 5-degree draft angles to improve castability and prevent breakage.
Always verify your models are watertight—use CAD commands like “show edges” to identify problematic open seams before printing.
Post-Processing Techniques for Printed Jewelry
You’ll need to perform several post-processing steps to transform your raw 3D printed jewelry into professional-quality pieces.
Start by washing your prints to remove uncured resin, then cure them under UV light to maximize hardness and durability.
Next, apply surface finishing methods like sanding and polishing to eliminate visible layer lines and achieve the smooth, polished appearance your customers expect.
Surface Finishing Methods
The raw surface of a freshly printed jewelry piece rarely meets the standards expected for a finished accessory.
You’ll need to transform rough, layered surfaces into smooth, lustrous finishes that showcase your design’s true potential. Surface finishing requires systematic attention to detail and proper technique selection.
Effective surface finishing methods include:
- Sanding progression – Start with coarse grits (220-400) and advance to fine grits (800-2000) for smooth changes.
- Multi-stage polishing – Apply polishing compounds progressively, preserving intricate details while achieving mirror-like shine.
- Chemical treatments – Use appropriate solvents or acids to dissolve surface irregularities and enhance smoothness.
- Protective coatings – Apply specialized finishes to improve durability and maintain aesthetic appeal over time.
These techniques guarantee your jewelry meets professional standards for both appearance and wearability.
Curing and Washing
Once your jewelry emerges from the 3D printer, it exists in what’s called the “green state” – a partially cured condition that requires immediate attention to achieve its full potential.
You’ll need to tackle two critical steps: washing and curing.
First, thoroughly wash your printed piece using isopropyl alcohol (IPA) to remove all uncured resin from the surface. This cleaning step prevents defects during later casting and finishing stages, so don’t rush it.
Next comes curing, which you can accomplish using UV light or specialized curing chambers to achieve full hardness.
However, if you’ve used Castable Wax Resin, you can skip the curing process entirely, making your post-processing workflow more straightforward and efficient.
Direct Metal Printing Vs Castable Resin Workflows
When choosing between 3D printing workflows for jewelry production, you’ll face two primary approaches that offer distinct advantages depending on your project requirements.
Direct metal printing creates durable components directly in metals like stainless steel, enabling complex geometries without casting. You’ll eliminate post-processing steps like spruing and investing, considerably reducing production time.
Direct metal 3D printing eliminates traditional casting steps, delivering durable stainless steel components with complex geometries in significantly less time.
Castable resin workflows involve printing detailed master patterns for lost-wax casting. The resin burns out cleanly during investment casting, preserving intricate details in precious metals.
Consider these key differences:
- Speed: Direct metal printing offers faster turnaround times
- Detail: Castable resin excels at capturing fine details
- Cost: Resin workflows typically cost less than traditional methods
- Materials: Direct printing suits stainless steel; resin enables precious metal casting
Advanced Tools and Add-ons for Professional Results
Professional jewelry designers rely on specialized software add-ons that transform basic CAD programs into powerful design ecosystems.
MatrixGold enhances Rhinoceros with automated functionalities specifically for jewelry creation at $7,000, dramatically improving your workflow efficiency. You’ll find CounterSketch’s user-friendly customization tools worth the $5,000 investment for personalized client designs.
For organic shapes and intricate details, Clayoo’s sculpting module delivers advanced tools under $1,000.
Panther3D offers extensive jewelry design capabilities at one-third the cost of other add-ons, making it extremely cost-effective.
Don’t overlook plugins like RhinoJewel and Grasshopper3D, which enhance parametric design capabilities for complex, customizable jewelry designs.
These advanced tools elevate your basic CAD software into a professional-grade platform capable of producing sophisticated jewelry designs that meet industry standards.
Design Guidelines for Manufacturing Success
Having powerful software tools means nothing if your designs can’t survive the manufacturing process.
Success in 3D printed jewelry depends on following specific computer-aided design principles that guarantee your jewelry models translate from screen to finished piece.
Here are four essential manufacturing guidelines:
- Maintain proper wall thickness – Use minimum 0.75mm for small pieces and 0.9mm for larger hollow forms to guarantee structural integrity during casting.
- Design hollow interiors strategically – Include access holes for investment removal and reduce material costs while maintaining strength.
- Create watertight models – Check for open seams using CAD commands like “show edges” to prevent printing failures.
- Optimize hole dimensions – Keep through holes at minimum 0.5mm diameter and use filleted corners for better metal flow.
Frequently Asked Questions
What Are the Requirements for Jewellery CAD?
You’ll need parametric modeling capabilities, minimum wall thickness compliance (0.75-0.9mm), watertight geometry, proper draft angles, investment space planning, and tools for gemstone insertion plus sculpting features.
What Materials Are Used in 3D Printing Jewelry?
You’ll use castable resins for investment casting patterns, metals like stainless steel with SLM technology, and jewelry resins with SLA/DLP printers. You can also choose FDM and SLS materials for accessories and display items.
How Much Does a Jewelry CAD Design Cost?
You’ll pay nothing for basic software like Tinkercad, but professional jewelry CAD programs cost $5,850-$6,950. Advanced tools add $1,000-$7,000 more. Custom design services vary by complexity and requirements.
Is Autocad Good for Jewellery Design?
You can use AutoCAD for basic jewelry design, but it’s not ideal. You’ll lack specialized tools like automatic gemstone insertion and parametric modeling. You’d work more efficiently with dedicated jewelry CAD software instead.
In Summary
You’ve learned the fundamentals of CAD design for 3D printed jewelry, from software selection to manufacturing workflows. Now you’re equipped to create watertight models, choose between metal printing and casting paths, and apply proper design guidelines. Don’t forget that mastering these digital tools takes practice—start with simple designs and gradually tackle complex parametric modeling. Your traditional jewelry making skills combined with CAD expertise will set you apart in today’s competitive market.


Leave a Reply