You’ll need to master basic link repair using snipe nose pliers and jump rings for cable and curb chains, which handle most simple repairs. Focus on clasp inspection first, since broken clasps cause most chain failures. For complex snake chains, consider chain extenders as an alternative to intricate link repairs. Learn precise soldering techniques for tiny links, ensuring flush ends and controlled heat application. Master these four core techniques and you’ll handle the majority of chain repair challenges that come through your workshop.
Understanding Different Chain Types and Their Repair Complexities
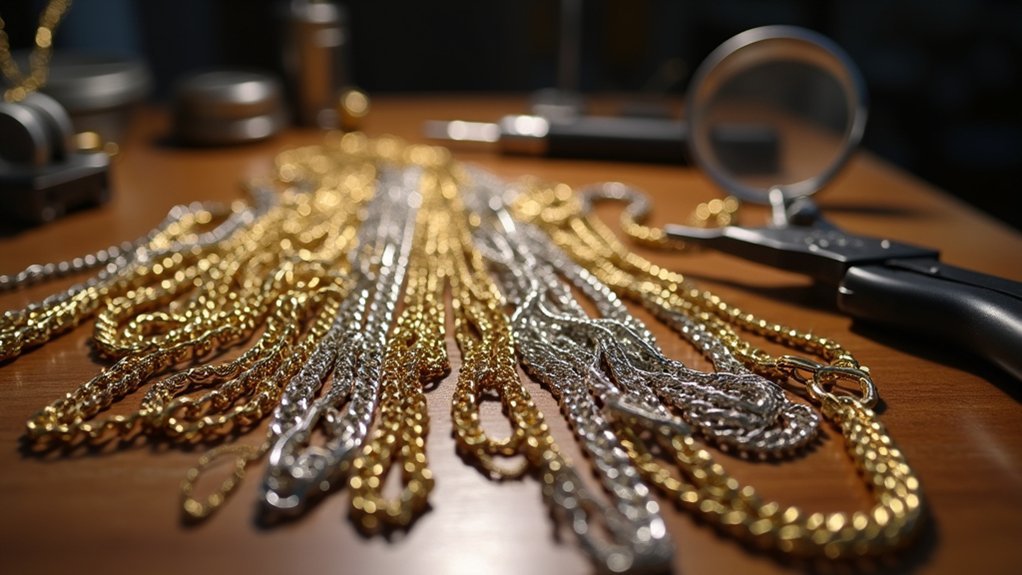
Before you begin any chain repair, you’ll need to identify the specific type of chain and assess its structural complexity.
Cable and curb chains represent the most straightforward common jewelry repairs due to their simple link structures. You can easily replace or close damaged links in basic link-through-link designs when open links provide accessible entry points.
However, intricate designs like snake chains present greater challenges among types of jewelry damage you’ll encounter.
Complex chain designs like snake chains pose the most difficult repair challenges for jewelry restoration work.
For broken chains with complex structures, understanding different chain types determines your repair approach. Snake chains require alternative repair techniques—adding chain extenders often proves more effective than attempting to fix tiny individual links.
Most chain damage occurs at the clasp, so you’ll want to focus your inspection there first, regardless of chain complexity.
Identifying Common Break Points and Damage Assessment
Once you’ve identified your chain type, you’ll need to systematically examine the piece for damage patterns that occur predictably across different jewelry styles.
Focus your damage assessment on common break points: clasps and connecting links experience the most chain wear due to frequent manipulation. Check for a broken clasp first, as this accounts for most chain failures.
Inspect individual links for gaps or stress fractures that could lead to complete breaks. Don’t overlook loose stones if you’re examining pendant chains, as vibration can loosen settings over time.
Determine whether damage is localized to one component or affects multiple areas, as this assessment guides your repair method selection. Open links often allow for simple on-site repairs, while extensive damage may require complete reconstruction.
Basic Link Repair Using Pliers and Jump Rings
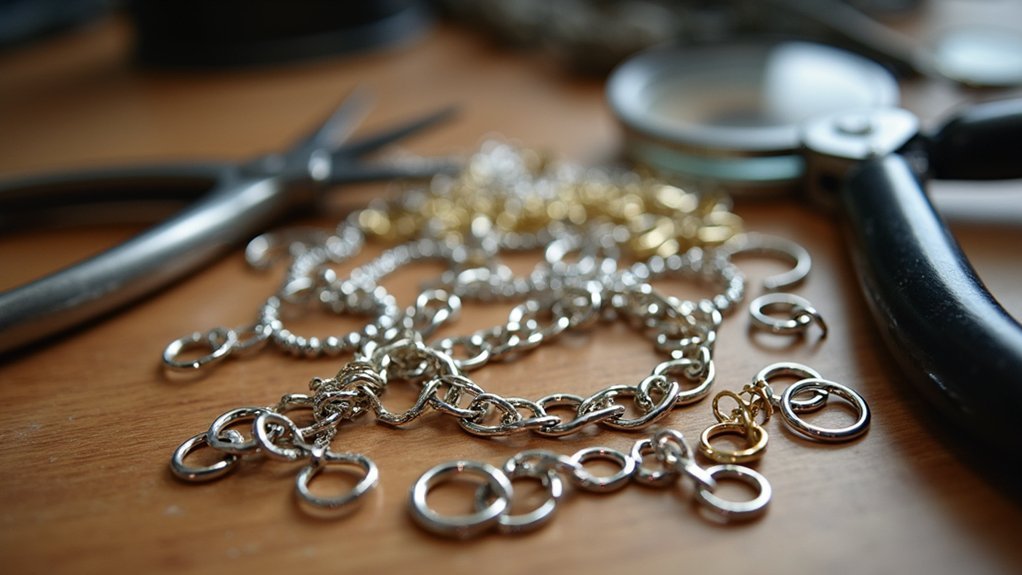
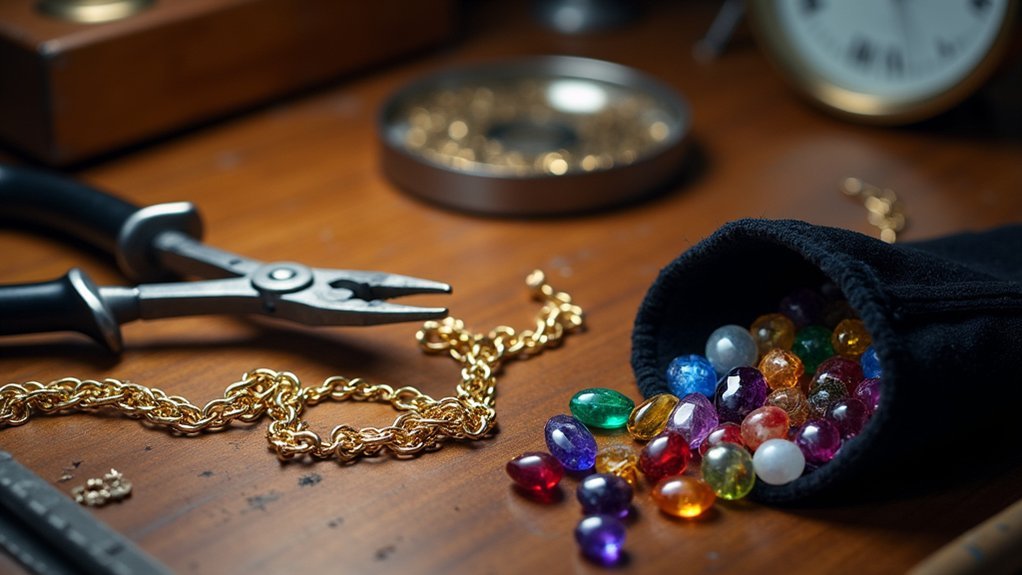
Two essential tools will handle most basic chain link repairs: snipe nose pliers and appropriately sized jump rings.
Start by identifying the broken link and examining the damage extent. If you find an open link, use your pliers to twist it closed securely, ensuring proper formation and function.
When dealing with completely broken links where no open connection exists, cut a jump ring and thread it through the remaining link ends. Close the ring using a twisting motion with your pliers, making sure the ends sit flush for maximum strength.
This technique creates a durable connection that prevents future breaks at the repair site.
Always inspect chains regularly for weak points, as proactive maintenance extends jewelry life considerably.
Advanced Snake Chain Repair Techniques
While standard chain repairs involve simple link connections, snake chains require specialized techniques due to their intricate, interlocking structure.
You’ll find that adding a chain extender to the end often provides the most effective solution, preserving the existing chain’s integrity while addressing clasp problems without complex link repairs.
When soldering becomes necessary, you must work with exceptional precision on tiny links.
Confirm the chain ends are perfectly flush before applying flux to the join – this facilitates proper solder flow and creates stronger bonds.
Your steady hand and practice will determine success when joining these delicate connections without damaging surrounding areas.
After completing any snake chain repair through soldering, you’ll need to quench, pickle, and thoroughly rinse the section to remove residual flux and restore appearance.
Essential Soldering Methods for Chain Links
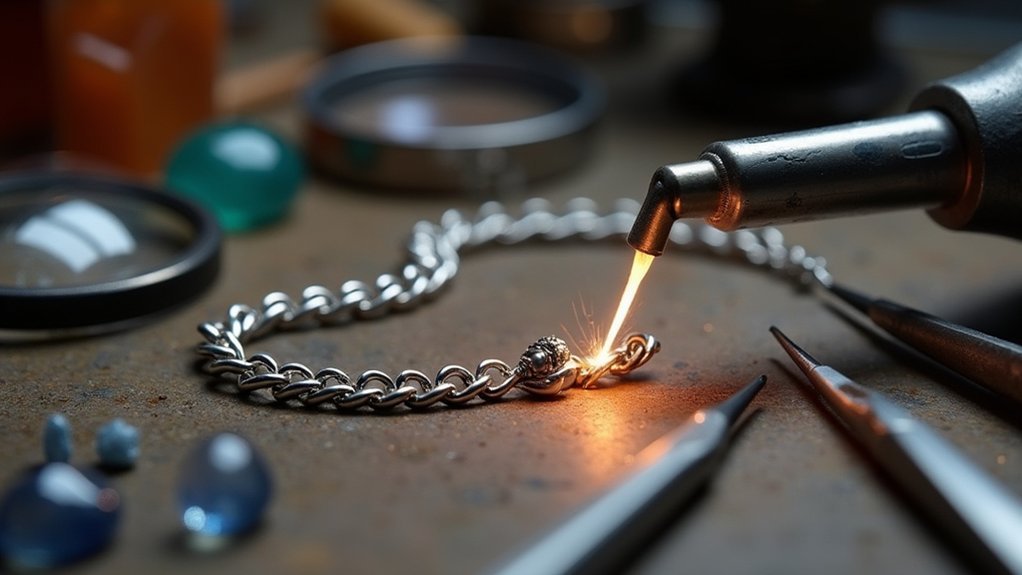
Success in chain link soldering depends on mastering fundamental techniques that confirm durable, invisible repairs. Your jeweler’s expertise begins with precise preparation – mark chain link ends with black marker for accurate alignment and apply flux to clean the metal surface. This guarantees solder flows smoothly during heating.
Control heat application using a soldering probe, allowing solder to flow onto the probe before touching the join. This technique prevents damage to delicate chain links while creating strong bonds.
Practice on fine chains is essential since they’re particularly vulnerable to breakage. Complete your repair process by quenching, pickling, and rinsing the work. This removes oxidation and residues, leaving professional-quality results.
Clasp Replacement and Reinforcement Strategies
When a clasp fails, you’re facing one of the most critical repair decisions that affects both function and customer satisfaction. Start your clasp replacement process by matching the new clasp’s size and style to maintain aesthetic appeal and guarantee compatibility.
Before proceeding, thoroughly inspect existing chain links for weaknesses that could compromise your repair. You’ll need to reinforce vulnerable areas using jump rings or by soldering new links to prevent future breakage.
Always invest in quality materials for replacement components—inferior clasps lead to premature failure and unhappy customers. Consider adding a chain extender, particularly for snake chains, to enhance flexibility and reduce wear on the clasp area.
These repair techniques guarantee long-lasting results that’ll keep your customers returning.
Proper Tools and Materials for Professional Chain Repair
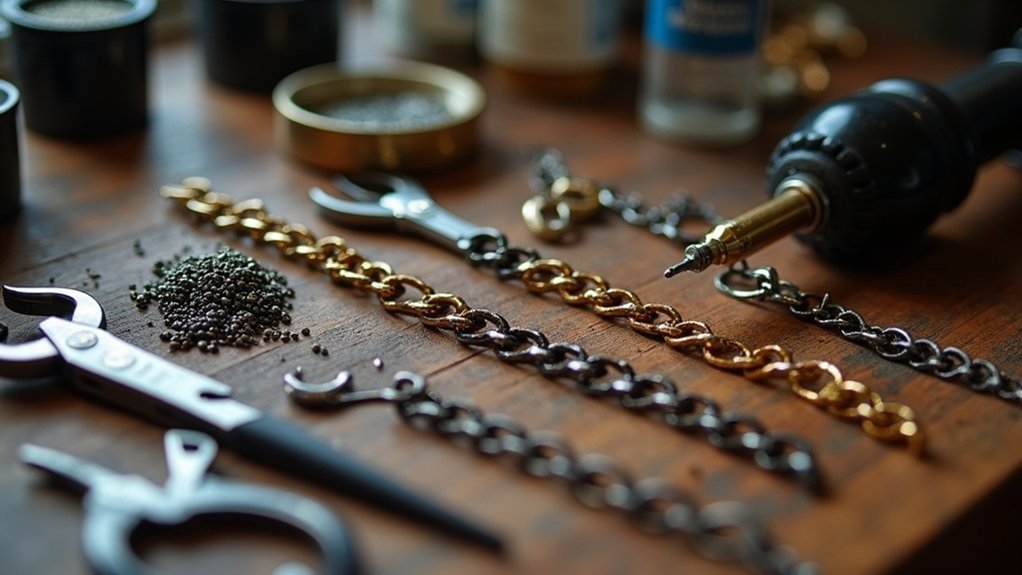
Before you can execute flawless chain repairs, you’ll need to assemble the right arsenal of specialized tools and premium materials. Your proper tools should include snipe nose pliers for closing links, wire cutters for trimming excess metal, and thorough soldering supplies like solder wire, flux, and soldering probes. These enable you to create strong, reliable joins that showcase your jewelers expertise.
Stock replacement components including clasps, jump rings, and chain extenders for efficient chain repair workflows.
Don’t overlook essential safety equipment—goggles and heat-resistant gloves protect against burns and eye injuries during soldering operations.
Maintain a well-organized workspace with adequate lighting and systematic storage solutions. This setup enhances your precision and efficiency, allowing you to deliver professional-quality repairs consistently while protecting both yourself and your valuable materials.
Quality Control and Finishing Techniques for Repaired Chains
Having the right tools and materials sets the foundation for quality repairs, but your work isn’t complete until you’ve thoroughly inspected and finished each piece.
Quality control requires a thorough visual check of your repaired chain, examining each link for proper alignment and structural integrity. Test the clasp’s functionality to guarantee smooth operation without sticking.
After soldering repairs, you’ll need to quench, pickle, and rinse the chain to remove oxidation and achieve a clean finish.
Apply a final polish to restore the chain’s original luster and match surrounding jewelry pieces.
Document your repair process, including techniques and materials used, creating a quality assurance record that builds customer trust and serves as future reference for your professional standards.
Frequently Asked Questions
How Do Jewelers Fix Broken Chains?
You’ll first inspect the breakage, then close open links with pliers using twisting motions. For irreparable damage, you’ll solder new links. Snake chains get extenders instead of direct repairs.
What Is the Most Durable Chain Style?
You’ll find box chains and rope chains offer superior durability due to their sturdy construction. Stainless steel chains resist tarnishing and breakage exceptionally well, while Byzantine and curb chains also provide excellent longevity.
What Does a Jewelry Repair Technician Do?
You’ll assess and repair jewelry by fixing broken chains, clasps, and prongs using soldering techniques. You’ll clean pieces, inspect for damage, work with various materials, and communicate repair processes and costs to customers.
Why Is Jewelry Repair so Expensive?
You’re paying for skilled craftsmanship requiring years of training, expensive specialized tools, high-quality materials like precious metals and gemstones, plus time-intensive work that demands precision and expertise for lasting repairs.
In Summary
You’ll master chain repair by understanding different chain types and their unique challenges. When you identify break points accurately, you can choose between basic link repairs with pliers and jump rings or advanced techniques like snake chain reconstruction. You’ll need to develop solid soldering skills and clasp replacement expertise. Don’t forget to invest in quality tools and materials—they’ll make your repairs stronger and more professional. Always finish with thorough quality control checks.


Leave a Reply