You’ll create stunning wire-woven pendant chains by following five essential steps: first, gather chain nose pliers, round nose pliers, flush cutters, and 18-gauge plus 28-gauge dead soft wire. Next, cut and bend your 18-gauge wire into a U-shaped foundation with a wave-pattern center element. Then master the figure-eight weaving technique using 28-gauge wire while maintaining even tension. Attach your chosen beads by wrapping wire securely around the foundation. Finally, form a bail from 16-gauge wire and thread your chain through it. These foundational techniques will reveal endless jewelry-making possibilities.
Gather Essential Tools and Materials for Wire Weaving
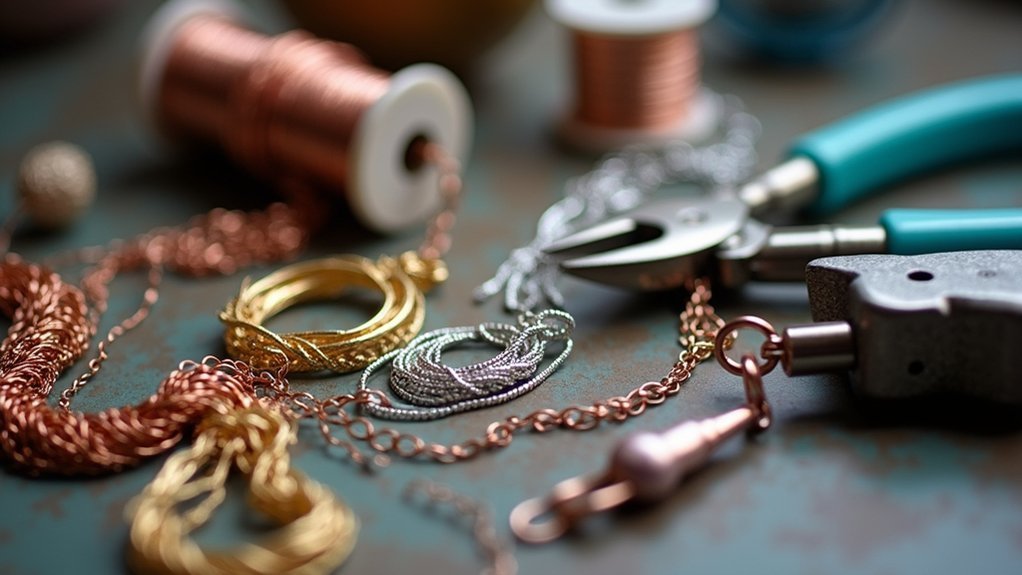
Before you begin creating your elegant pendant chains, you’ll need to assemble the right tools and materials for successful wire weaving.
Your essential pliers include chain nose pliers for gripping and manipulating wire, round nose pliers for creating loops and curves, and flush cutters for clean wire cuts. You’ll also need a steel bench block for shaping and hammering wire during construction.
For materials, select 18 gauge round dead soft wire as your core structure foundation and 28 gauge round dead soft wire for the actual weaving process. The different gauges provide ideal flexibility and ease of manipulation.
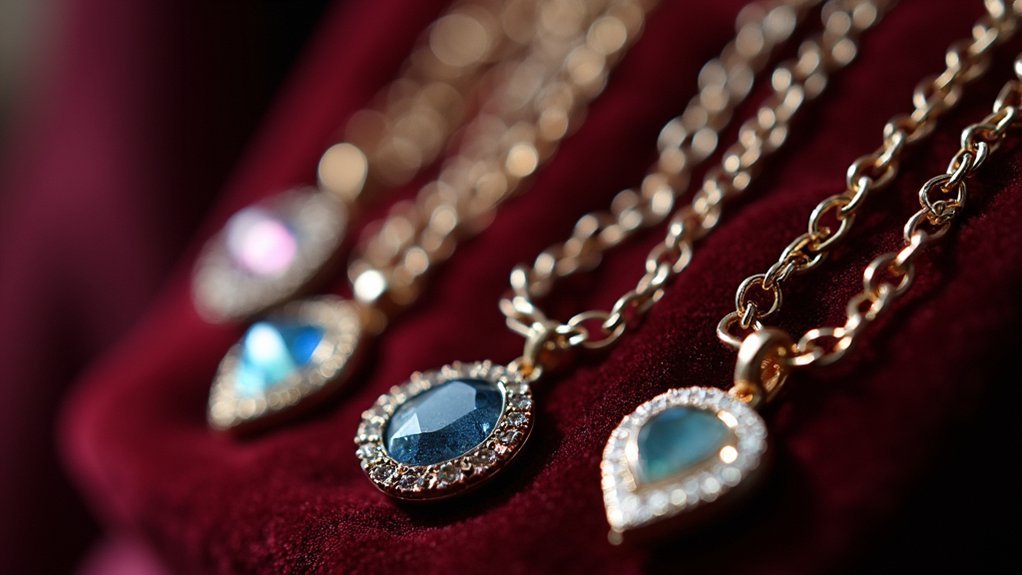
Consider incorporating Swarovski crystals or other beads that complement your chosen wire gauge.
Finally, keep a ruler or tape measure nearby for precise measurements, ensuring balanced and symmetrical designs.
Prepare and Shape Your Base Wire Foundation
Start by cutting a 5.5-inch length of 18-gauge wire, then use your chain nose pliers to bend it into a U-shape that’ll serve as your pendant’s base frame.
Focus on creating tight, symmetrical bends to maintain structural integrity.
Next, cut a 2.5-inch piece of 18-gauge wire for your center element and shape it into an attractive wave pattern.
Cut a 2.5-inch piece of 18-gauge wire and carefully shape it into an elegant wave pattern for visual appeal.
Consider hammering the center wire to flatten and polish its surface, then refine the curves with your chain nose pliers.
Sand any sharp edges for safety.
Secure this center wire to your base wire frame by wrapping it tightly with additional wire, creating a solid foundation.
Finally, prepare a long length of 28-gauge weaving wire for the decorative elements you’ll add next.
Master the Figure Eight Weaving Technique
With your foundation securely in place, you’ll begin the figure eight weaving technique by taking approximately three feet of 28-gauge wire and wrapping it 3-4 times around the leftmost frame wire.
Cross over to the central wire to form the distinctive figure eight pattern, creating texture and visual interest in your design.
Maintain even tension throughout the weaving process using nylon jawed pliers to smooth out any kinks. You can adjust the openness of your weave by varying how many times you wrap around each wire, creating different visual effects.
When splicing in new wire, cut the old tail and secure new wire ends on the back of your design. This guarantees a clean, professional appearance while maintaining the elegant flow of your pendant chain.
Attach Beads and Create Decorative Elements
Once you’ve mastered the figure eight weaving pattern, you’ll transform your pendant chain from a simple wire structure into an eye-catching piece by adding beads and decorative elements.
Mastering the figure eight weaving pattern elevates your pendant from basic wire work to stunning jewelry artistry.
Cut a 15-inch length of 28-gauge wire to attach beads securely to your central wire. When wrapping the wire around your existing foundation, position each bead according to your design vision for balanced spacing.
Essential steps for professional results:
- Stabilize metal beads by wrapping wire multiple times around the central structure
- Smooth wire kinks using nylon jaw pliers while adjusting bead positioning
- Trim excess wire carefully and smooth ends to prevent sharp edges
For enhanced visual appeal, incorporate decorative elements like additional accent beads or create an elegant figure eight weave bail that complements your pendant’s overall aesthetic.
Form the Bail and Complete Your Pendant Chain

Transform your beaded pendant into a wearable masterpiece by crafting a professional bail that securely connects to your chosen chain or cord. Cut a 1-inch length of flattened 16-gauge wire for your bail. Use round nose pliers to shape the wire into a U-shape, then wrap it around your pendant’s top, ensuring tight, uniform wraps for a polished finish.
| Step | Tool Required | Action | Result |
|---|---|---|---|
| 1 | Wire cutters | Cut 1-inch wire length | Bail foundation |
| 2 | Round nose pliers | Shape U-form | Basic bail structure |
| 3 | Round nose pliers | Wrap tightly | Secure attachment |
| 4 | File/sandpaper | Smooth wire ends | Safe edges |
| 5 | Chain/cord | Thread through bail | Completed pendant |
Add decorative figure eight weaves or curls for enhanced appeal. Trim and smooth all wire ends to prevent sharp edges. Thread your chain through the bail, adjusting length for ideal pendant positioning.
Frequently Asked Questions
How to Layer Pendant Chains?
Start with chains of varying lengths, typically 16-24 inches. Mix different textures and styles. Place your largest pendant on the longest chain. Space layers 2-3 inches apart. Use extenders for adjustability.
What Do You Call the Part of a Pendant That the Chain Goes Through?
You call that part the “bail.” It’s the loop or wire piece that lets you attach your pendant to any chain or cord. The bail’s design affects how your pendant hangs and moves.
How Do You Put a Chain on a Pendant?
You’ll open a jump ring with chain nose pliers, thread it through your pendant’s loop, then attach it to your chain before closing the jump ring securely to complete the connection.
How Do You Wear More Than One Pendant on a Chain?
You’ll attach multiple pendants using jump rings at varying lengths for a layered look. Choose a longer, sturdy chain that supports the total weight and guarantees all pendants sit comfortably without tangling.
In Summary
You’ve now mastered the art of creating elegant pendant chains through wire weaving. Your finished piece showcases the beautiful figure eight pattern you’ve woven, complemented by carefully placed beads and a secure bail. Don’t forget to smooth any rough wire ends and give your pendant a final polish. You can experiment with different wire gauges and bead combinations to create unique variations of this timeless jewelry-making technique.


Leave a Reply