To create stunning chainmail jewelry, always use saw-cut jump rings for secure closures and invest in quality tools—flat-nose and chain-nose pliers are essential. Open rings with a sideways twist to maintain their circular shape, and guarantee ends meet perfectly when closing. Start with basic European 4-in-1 weaves before tackling complex patterns. Keep your materials organized in labeled containers for efficiency. These fundamental techniques will transform your metalwork from amateur to professional as you explore further.
Selecting and Preparing Quality Jump Rings
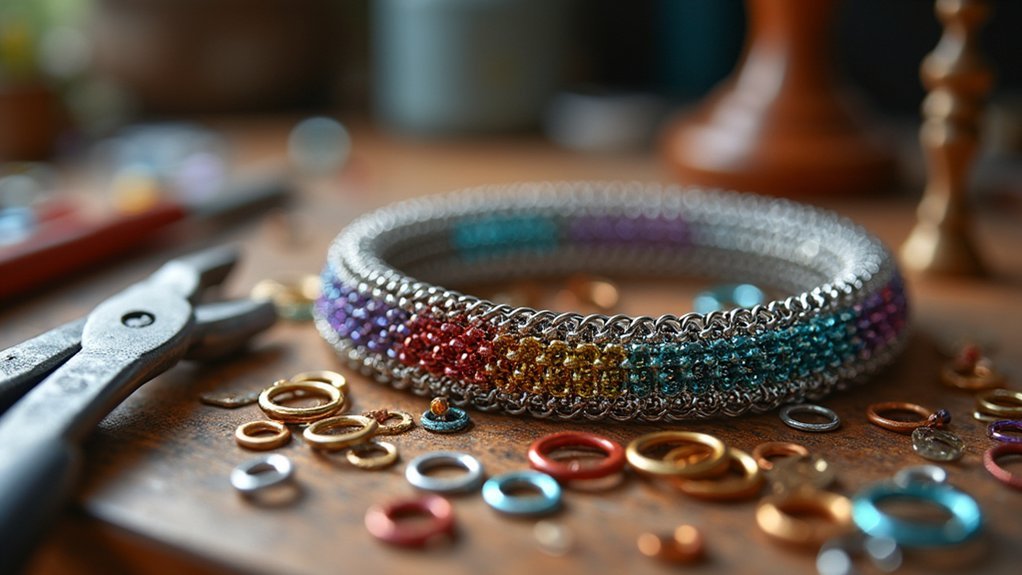
When starting on your chainmail jewelry journey, selecting the right jump rings becomes your foundation for success. Always choose saw-cut jump rings for your chain maille weaves, as their flush-cut edges create perfect closures that secure your designs.
Use digital calipers to measure jump rings accurately, ensuring consistency in your jewelry making projects. Purchase your supplies from a single source to maintain uniformity in gauge and metal type, and keep a variety of sizes on hand for different weaves.
Organize your jump rings methodically with clear labels indicating gauge, inner diameter, metal type, and source. This organization prevents mix-ups during intricate work.
Be wary of plated wire—low-quality plating wears off quickly, compromising both the appearance and durability of your finished chainmail pieces.
Essential Tools for Successful Chain Maille Creation
With quality jump rings organized and ready, you’ll need the right tools to bring your chainmail designs to life.
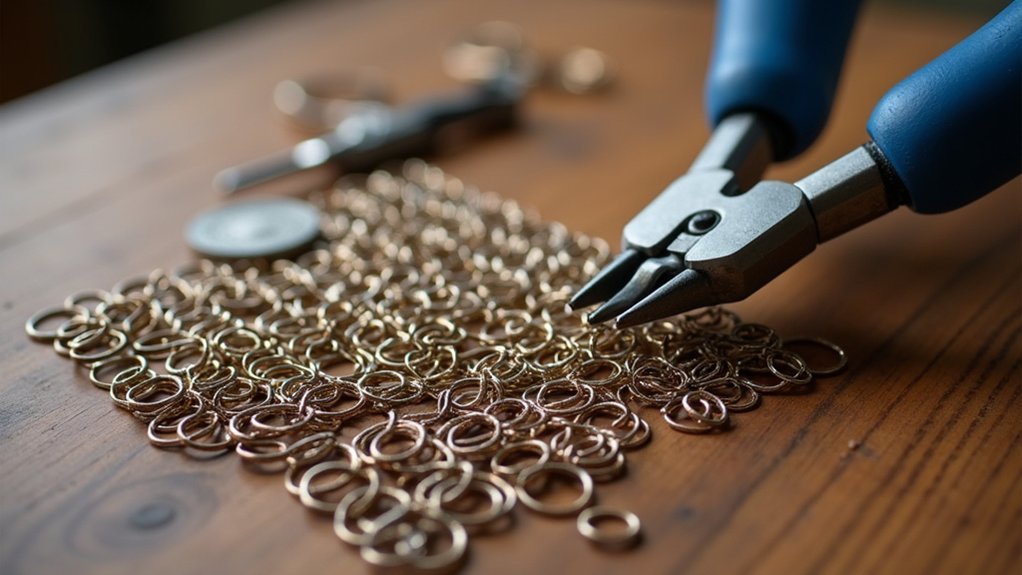
Start with two pairs of pliers—flat and chain nose varieties are ideal for precisely opening and closing rings without marring the metal.
Invest in reliable wire cutters that create clean cuts for perfect closures. A mandrel (which can be as simple as a knitting needle or dowel) will help you shape consistent rings, while digital calipers guarantee precise measurements of both mandrels and finished rings.
One of the most overlooked making tips: secure a stable, flat work surface to prevent your rings from escaping mid-project.
These essential tools form the foundation of your chainmail toolkit, allowing you to create intricate weaves with confidence and precision.
Mastering Basic Weave Patterns and Techniques
Although chainmail appears complex, mastering a few fundamental weaves will build your confidence and technical foundation. Begin with European 4-in-1 and 6-in-1 patterns, which provide the flexibility and durability vital for Chain Maille jewelry projects.
To simplify your setup, use wire ties or safety pins to secure starting ring pairs, helping position them correctly for specific weaves. You’ll find pre-opening or pre-closing jump rings before beginning streamlines your workflow considerably.
Consistent grip technique is essential when handling rings, especially during your initial attempts when managing those first few rings feels challenging.
As your skills develop, experiment by combining different jump ring colors and sizes within your weaves, adding personal flair to your jewelry creations. This creative variation will transform your basic mastering into artistic expression.
Proper Ring Opening and Closing Methods
The foundation of successful chainmail jewelry creation lies in mastering proper jump ring manipulation techniques. When making chain jewelry, you’ll need to properly open and close hundreds of rings using two pairs of nose pliers.
Always grip opposite sides of the ring and twist sideways rather than pulling apart to maintain the ring’s circular shape.
- Always use two pairs of pliers when manipulating jump rings
- Twist sideways to open rings instead of pulling ends apart
- Ascertain ends meet flush when closing for a secure connection
- Choose saw-cut jump rings for perfect closures with aligned edges
- Regularly inspect your closures during assembly to ascertain durability
Secure closures prevent snagging and breakage in your finished pieces.
With practice, you’ll develop muscle memory that makes opening and closing rings second nature, creating professional-quality chainmail jewelry.
Storage and Organization of Chain Maille Materials
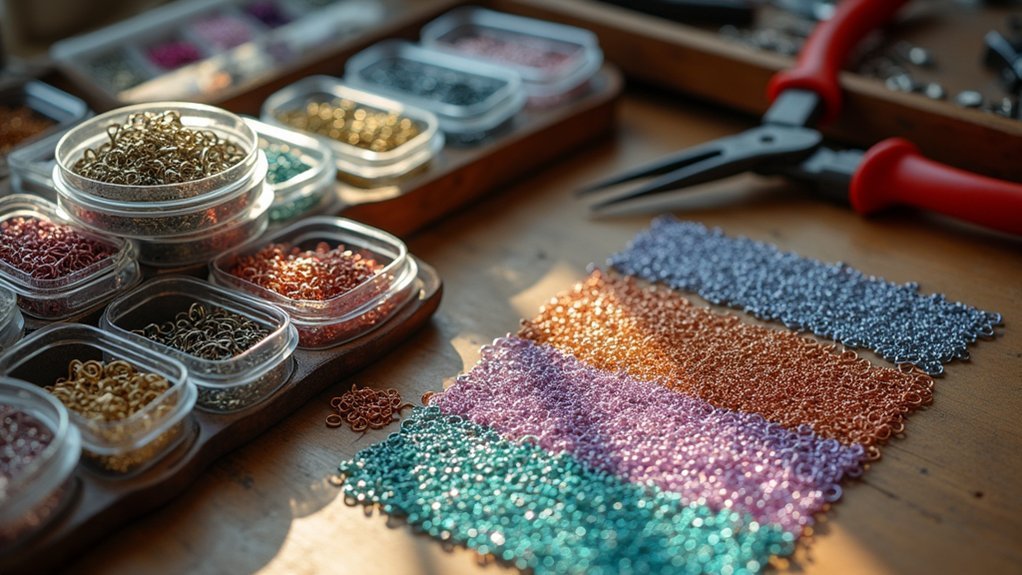
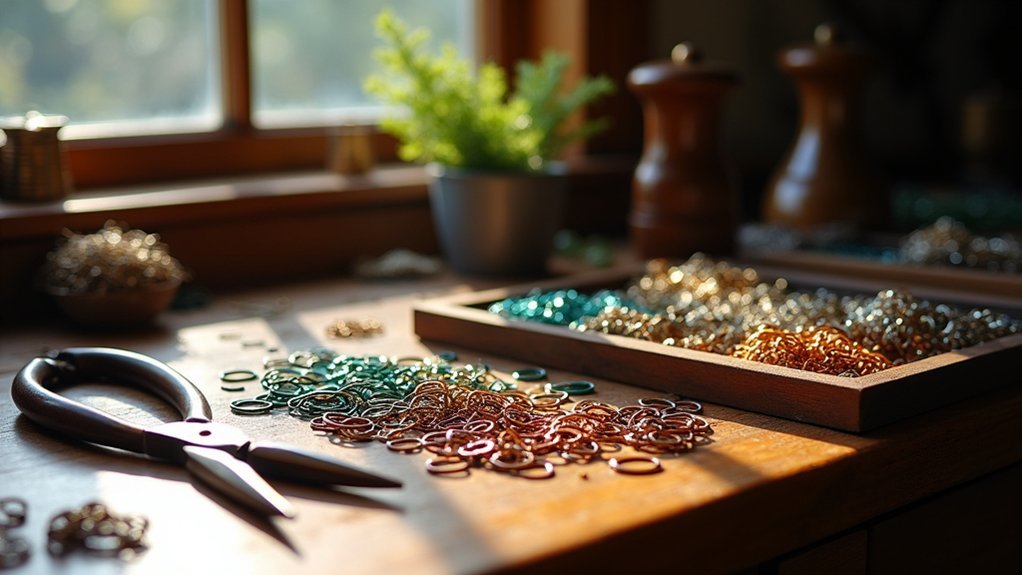
Maintaining an orderly workspace goes hand-in-hand with proper jump ring technique. Store your jump rings in labeled containers that clearly indicate gauge, inner diameter, metal type, and source for easy identification when you need to reorder supplies.
Clear storage bins offer visual access to different sizes and types of jump rings, helping you quickly select the right components for your projects. Organize materials by type and size to prevent mix-ups and maintain consistency in your chainmail jewelry.
Don’t underestimate the value of regular storage maintenance. Periodically inspect and reorganize your materials to prevent clutter that slows down your crafting process.
Keeping an updated inventory list helps you plan future projects efficiently and guarantees you won’t face delays due to missing supplies.
Frequently Asked Questions
What Do You Need to Make Chainmail Jewelry?
You’ll need pliers, wire cutters, jump rings in various sizes and materials, measuring tools like digital calipers, and a flat work surface. Don’t forget to practice different chainmail weaves for creating intricate designs.
What Is the Best Material for Chainmail Jewelry?
Stainless steel’s your best bet for chainmail jewelry due to its corrosion resistance and durability. If you’re prioritizing color variety or lightweight pieces, you’ll love anodized aluminum. Bronze offers a classic, warm aesthetic.
What Is the Best Wire for Chainmail Jewelry?
For chainmail jewelry, stainless steel wire is your best option. It’s durable, corrosion-resistant, and maintains its appearance. If you’re seeking color variety, try anodized aluminum. Choose lower gauge numbers for stronger pieces.
How Many Rings to Make a Chainmail Coif?
You’ll need between 500-1,000 rings for a chainmail coif, depending on your head size and chosen weave pattern. Plan for extra rings when using 16-18 gauge wire with 3/8″-1/2″ inner diameter.
In Summary
With these five essential chainmail tips, you’re now ready to create stunning jewelry. Remember to invest in quality jump rings, keep your tools in good condition, and practice basic weaves until they’re second nature. Always open and close rings properly to maintain strength, and don’t underestimate the importance of organizing your materials. As you continue developing your skills, you’ll find chainmail becomes both easier and more creatively rewarding.


Leave a Reply