You’ll transform ordinary copper into stunning jewelry when you learn champlevé enameling, an ancient metalworking technique that carves recesses into metal surfaces and fills them with vibrant, glass-like enamel colors. Workshop sessions teach you to etch troughs into 14-gauge copper sheets, fill them with enamel powder, then fire pieces at 1400-1650°F to permanently bond the materials. This accessible craft requires basic tools costing around $45 and produces professional-quality pendants and accessories with proper technique mastery.
Understanding the Champlevé Technique and Process
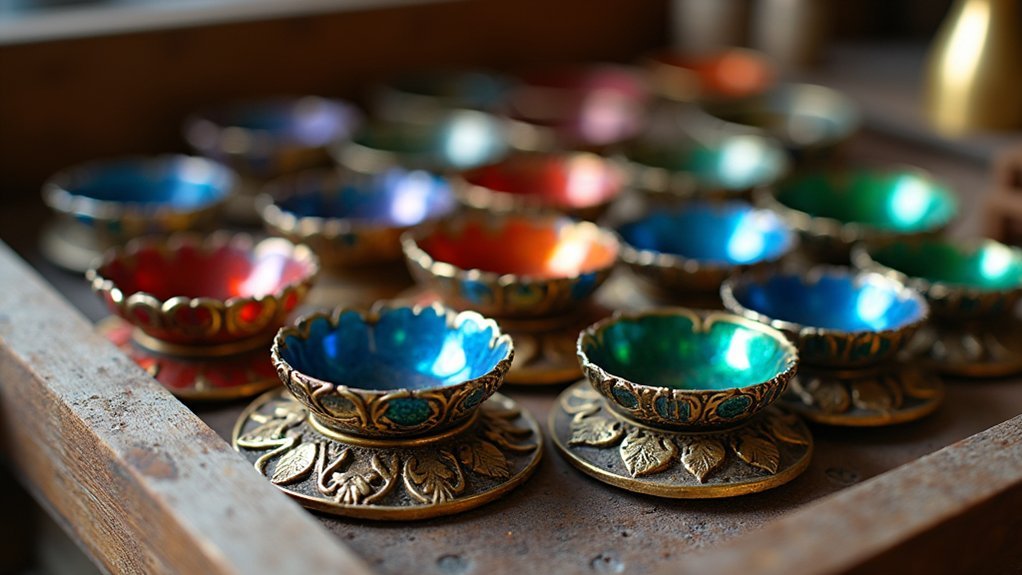
When you’re ready to explore champlevé enameling, you’ll discover a technique that transforms simple metal surfaces into vibrant works of art through carved recesses filled with glass-like enamel.
You’ll begin by creating troughs in your metal object through carving or etching, establishing the foundation for your design.
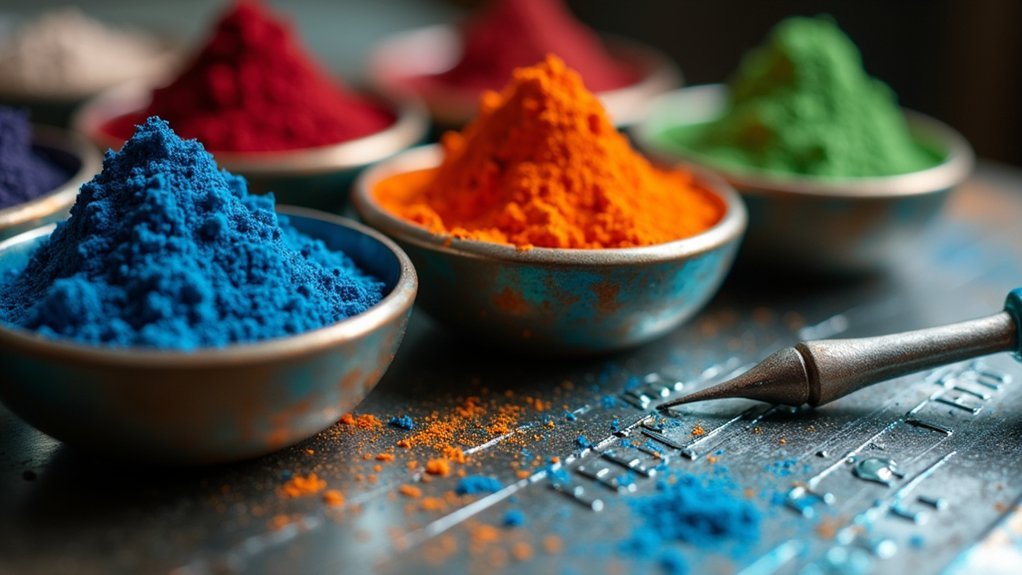
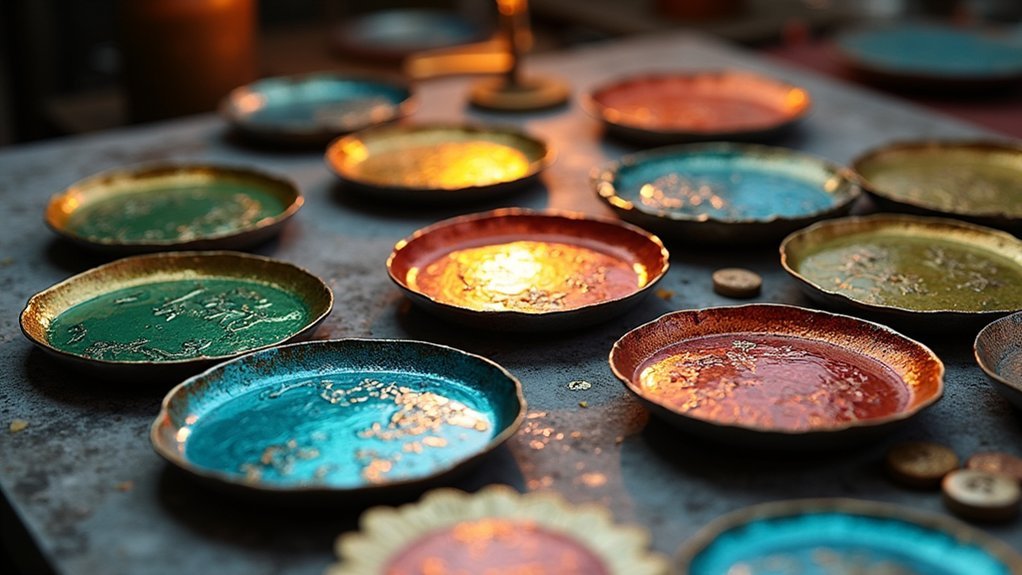
Next, you’ll fill these recesses with vitreous enamel powder and fire the piece at high temperatures to fuse the glass to the metal. The firing process bonds the enamel permanently to your base material.
High-temperature firing transforms vitreous enamel powder into permanent glass, creating an unbreakable bond with the carved metal surface.
After cooling, you’ll employ finishing techniques like polishing to smooth the surface and reveal the contrast between the colorful enamel and exposed metal areas, completing your champlevé masterpiece.
Essential Tools and Materials for Workshop Success
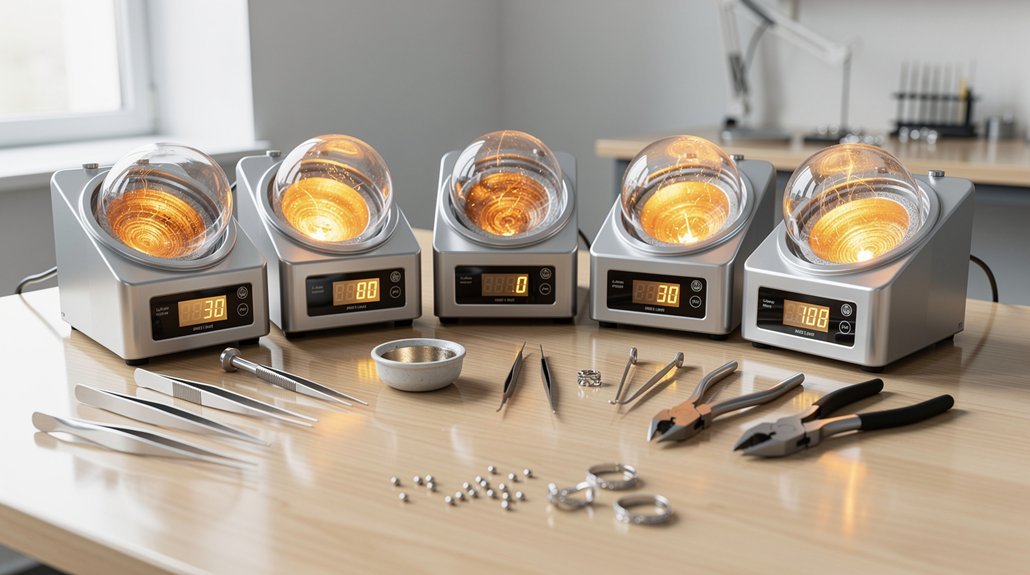
Success in champlevé enameling depends heavily on having the right tools and materials at your fingertips. You’ll need essential tools including 14g copper sheets, saw blades for cutting, and specialized etching materials to create troughs in the metal. A materials kit typically costs around $45 and contains enamels and enameling tools necessary for your projects.
| Category | Items | Purpose |
|---|---|---|
| Base Materials | 14g copper sheets, saw blades | Cutting and shaping metal |
| Safety Equipment | Safety glasses, dust masks | Protection during etching/firing |
| Enameling Kit | Enamels, specialized tools | Creating colorful designs |
| Personal Items | Sketchbook, individual enamels | Planning and artistic expression |
Don’t forget safety equipment like safety glasses and dust masks for protection during etching and firing processes. Bring personal tools and specific enamels to enhance your artistic expression while learning enameling techniques.
Step-by-Step Creation of Enameled Accessories
Five essential steps transform your vision into a stunning champlevé accessory.
First, you’ll design your piece on paper, ensuring compatibility with champlevé enameling techniques since modifications may be required for metal application.
Next, cut or etch depressions into your copper or bronze substrate using resist application to create the desired pattern.
Then, carefully fill these carved troughs with vitreous enamel powder, layering strategically for ideal color and thickness.
The fourth step involves kiln firing at temperatures between 1400-1650°F to fuse enamel permanently to the surface of a metal substrate, followed by gradual cooling to prevent cracking.
Finally, polish the finished piece to enhance color vibrancy while preserving the recessed enamel areas, completing your beautiful accessory.
Design Considerations for Pendant and Jewelry Projects
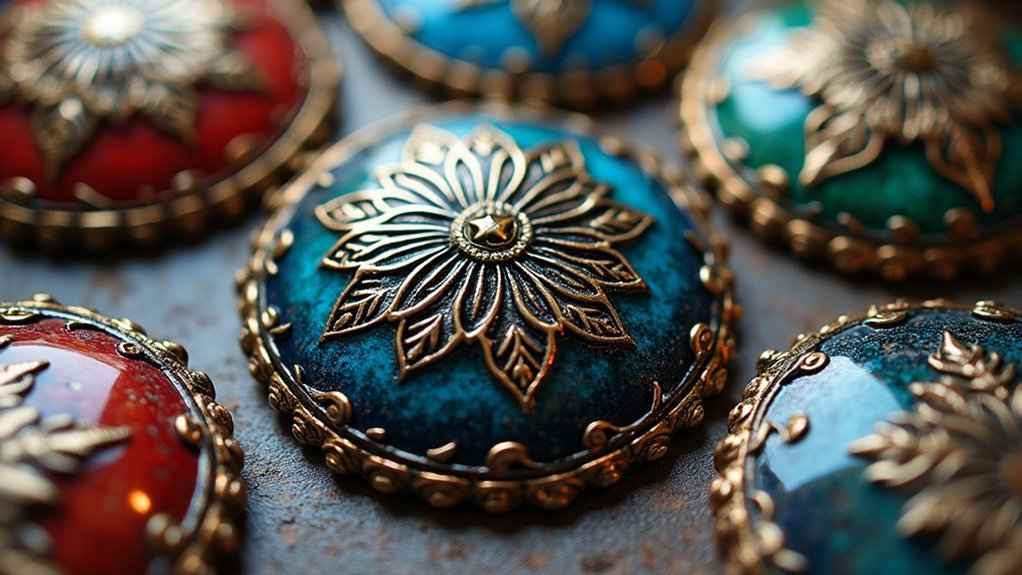
Although the technical execution of champlevé enameling follows established protocols, your design choices will ultimately determine whether your pendant becomes a cherished heirloom or merely decorative jewelry.
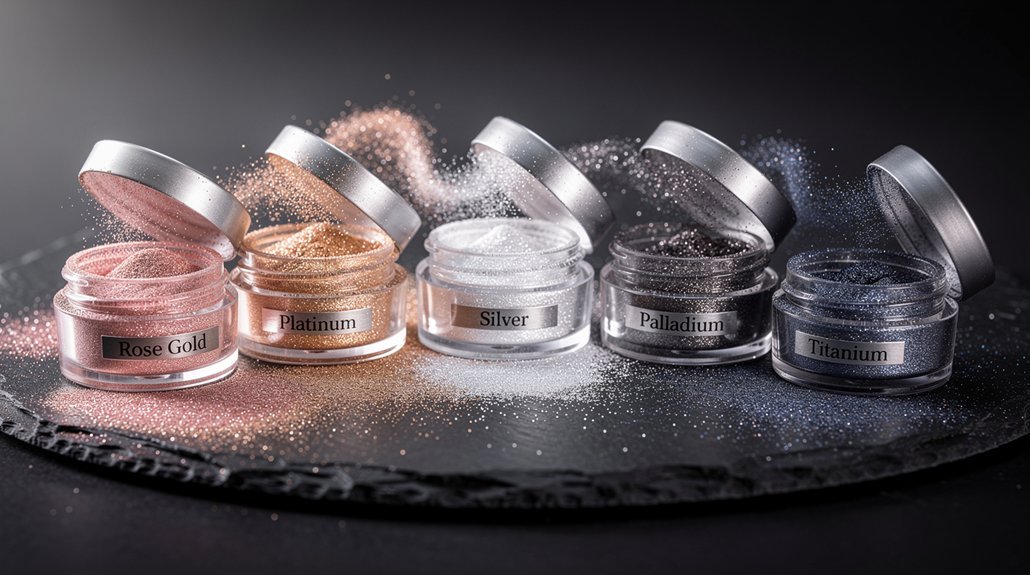
Your metal selection greatly impacts the final result. Copper offers excellent adhesion and vibrant color development, while silver provides elegance but requires careful temperature control during firing.
Choose your base metal wisely—copper delivers brilliant colors and superior enamel bonding, while silver demands precise firing temperatures for optimal results.
Consider these essential design considerations:
- Trough dimensions: Carve recesses deep enough to accommodate enamel thickness without compromising structural integrity.
- Personal symbolism: Incorporate meaningful patterns or motifs that reflect your artistic vision.
- Color harmony: Apply color theory principles to select complementary enamel shades.
This enameling technique demands thoughtful planning before execution. Your trough depth affects both aesthetic appeal and technical success.
After firing, implement proper finishing techniques like polishing to enhance tactile quality and visual impact of your completed piece.
Advancing Your Skills Beyond Basic Workshop Techniques
Once you’ve mastered these fundamental design principles, expanding your champlevé expertise requires structured learning beyond introductory techniques.
Advanced classes focusing on complex techniques like soldering and kiln firing will elevate your craftsmanship markedly. Seek hands-on workshops led by experienced instructors such as Marissa Saneholtz or Wyatt Nestor-Pasicznyk, who’ll provide personalized feedback tailored to your artistic style.
These workshops offer access to specialized tools and high-quality enamels that aren’t typically available in basic courses. You’ll experiment with diverse color combinations and textures, developing your signature style.
Following up with open studio sessions guarantees continued skill refinement and lets you tackle more ambitious projects. This progressive approach transforms basic knowledge into true mastery of champlevé enameling.
Frequently Asked Questions
What Is Enameling in Workshop?
You’ll learn enameling by fusing powdered glass to metal surfaces using high heat between 1400-1650°F. You’ll work with copper, silver, or gold, creating vibrant, durable finishes for jewelry and decorative pieces.
What Is the Difference Between Cloisonné and Champleve Enamel?
You’ll create compartments differently in each technique. In cloisonné, you’ll place thin wires to form sections, while in champlevé, you’ll carve or etch recessed areas directly into the metal surface.
What Is the Difference Between Champleve and Basse Taille?
You’ll carve troughs into metal for champlevé, creating textured surfaces with solid color blocks. Basse taille involves engraving designs that show through transparent enamel, producing smooth surfaces with delicate light variations.
What Is Vitreous Enamel Used For?
You’ll find vitreous enamel used for creating colorful jewelry designs, coating cookware, protecting metal surfaces from corrosion, and decorating religious artifacts, providing both stunning aesthetics and exceptional durability.
In Summary
You’ve now mastered champlevé enameling’s fundamental techniques, from carving recesses to firing vibrant glass powders. You can confidently create stunning pendants and jewelry pieces using proper tools and materials. Don’t stop here—experiment with complex color combinations, intricate patterns, and mixed-metal approaches. You’ll develop your unique artistic voice through consistent practice. Keep pushing boundaries, refine your technical skills, and explore advanced champlevé methods to elevate your accessory workshop creations to professional standards.
Leave a Reply