You’ll master cloisonné enameling by following five essential steps: prepare your metal base using copper, silver, or gold, then clean and apply clear flux at 830°C. Next, cut and solder thin metal wires to create compartments for different colors. Apply powdered enamel into each section using fine brushes, then fire at 1400-1650°F for proper fusion. Finally, grind and polish systematically from 150-grit to 1500-grit for a professional finish that’ll reveal this ancient technique’s full potential.
Preparing the Metal Base and Foundation
Three essential metals serve as the foundation for cloisonné work: copper, fine silver, and gold.
You’ll need to shape your chosen metal base using sawing and soldering techniques before beginning the enamel process. Annealing relieves stress in the metal—heat it, then quench in water for easier manipulation.
Proper metal preparation through sawing, soldering, and annealing creates the essential foundation for successful cloisonné enamel work.
Clean your metal thoroughly using 3M sponges and Scalex cleaning agents to remove oxidation.
Apply a clear enamel flux as your base layer, then fire it at 830°C to create a smooth foundation for intricate designs.
After firing, clean the back and apply counter enamel to prevent warping during subsequent high temperatures.
This balanced approach guarantees your piece won’t distort as you build up decorative layers throughout the cloisonné process.
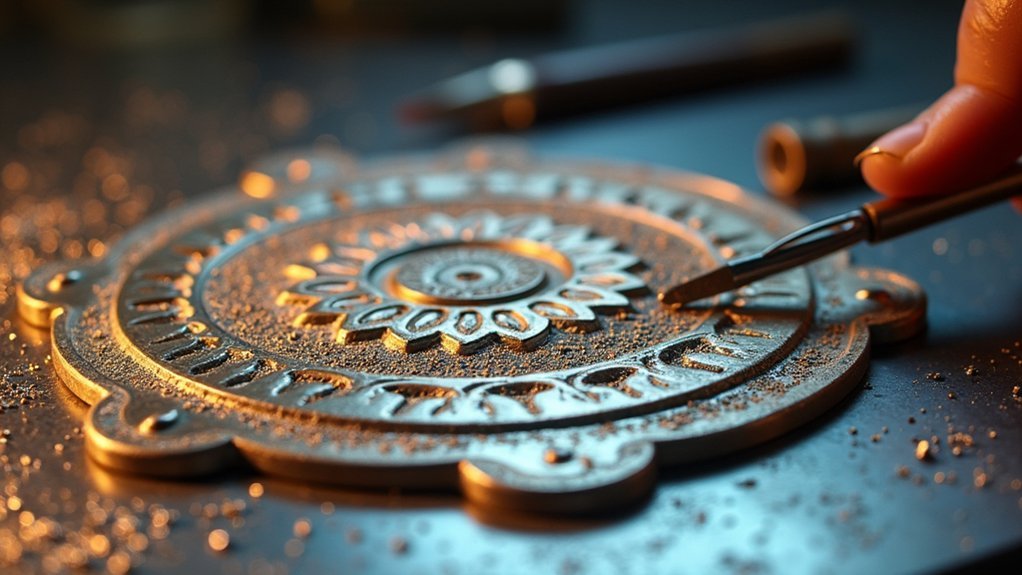
Creating and Positioning Cloisonné Wire Compartments
After your foundation has cooled completely, you’ll begin creating the defining wire compartments that give cloisonné its distinctive cellular appearance.
Cut thin metal wires, typically gold wires or silver, into precise lengths for your design. You’ll bend these wires into intricate shapes using tweezers, ensuring they fit snugly against the metal base without gaps.
Pay attention to wire width variations, as they’ll affect your final design and how much glass enamel each compartment holds. Solder the wires securely to the base, creating distinct enclosures for different colors.
These enamel techniques require careful positioning and alignment checking before proceeding. Once your cloisonné enamel compartments are stable, you’re ready for the next phase where applied enamel transforms your metalwork into vibrant art.
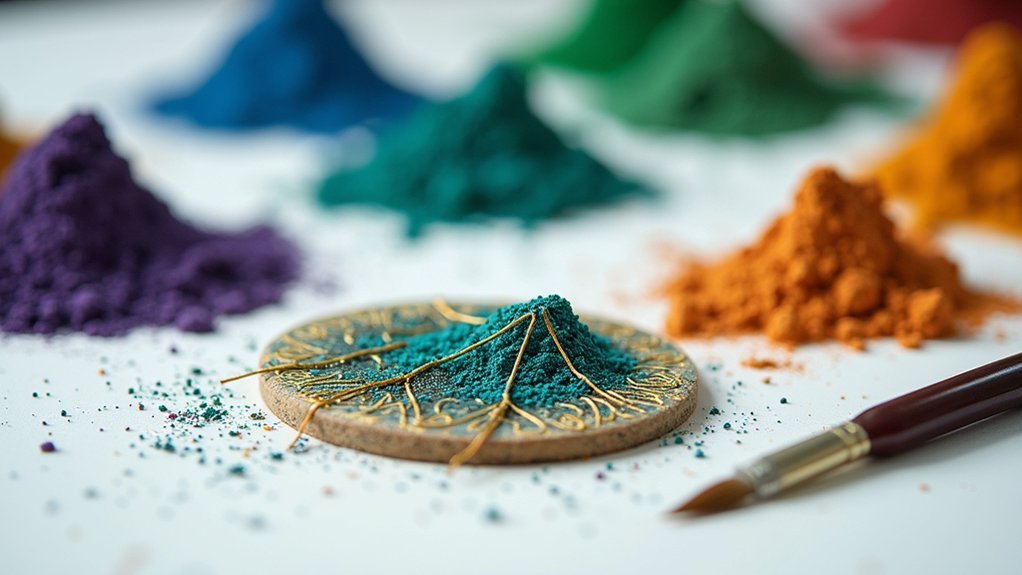
Applying Enamel Flux and Color Layers
With your wire compartments securely positioned, you’ll transform raw metal into luminous art by applying enamel flux and color layers through a methodical firing process.
Ancient artisans used powdered glass to create intricate patterns that remain vibrant centuries later.
Generations of craftspeople transformed simple glass powder into enduring masterpieces that continue to captivate with their timeless beauty.
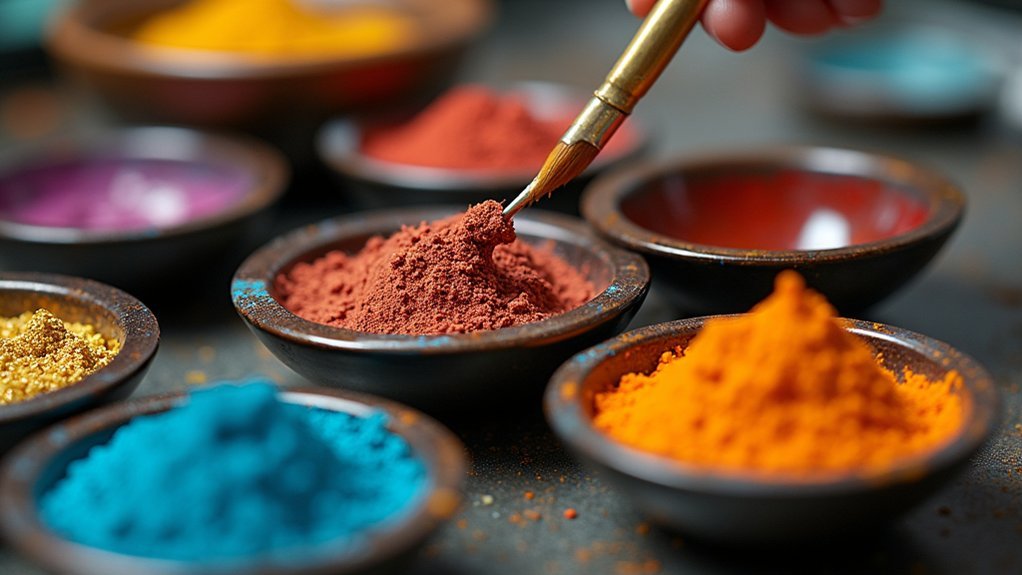
The cloisonne technique requires systematic application:
- Sift powdered clear enamel flux evenly across the metal base
- Fire at 830ºC to create your foundation layer
- Apply wet enamel into each wire compartment using fine brushes
- Repeat firing for each color layer until desired thickness
Each time enamel is applied, you’ll carefully fill compartments with different colors, avoiding overfilling that causes bubbling.
Multiple layers of enamel build depth and vibrant color intensity.
Final sanding between firings smooths surfaces, creating the luminous finish that makes this ancient art so enchanting.
Firing at Precise Temperatures for Proper Fusion
Temperature precision determines whether your carefully applied enamel transforms into brilliant glass or becomes a costly mistake.
When firing at precise temperatures between 1400°F and 1650°F, you’ll achieve proper fusion without damaging your metal substrate. Your first firing establishes a vital base coat, while repeated firings build up each layer of enamel for stunning depth and color.
You must maintain strict temperature control throughout the process—exceeding 1400°F risks melting fine silver and destroying your work.
This ancient glass technology demands intricate craftsmanship and careful timing. Monitor your kiln closely as each layer is applied and fired, ensuring consistent heat for durable enamel that won’t crack or bubble.
Mastering this technique creates exceptional enamel jewelry with that coveted smooth, glossy finish.
Grinding and Polishing for Professional Finish
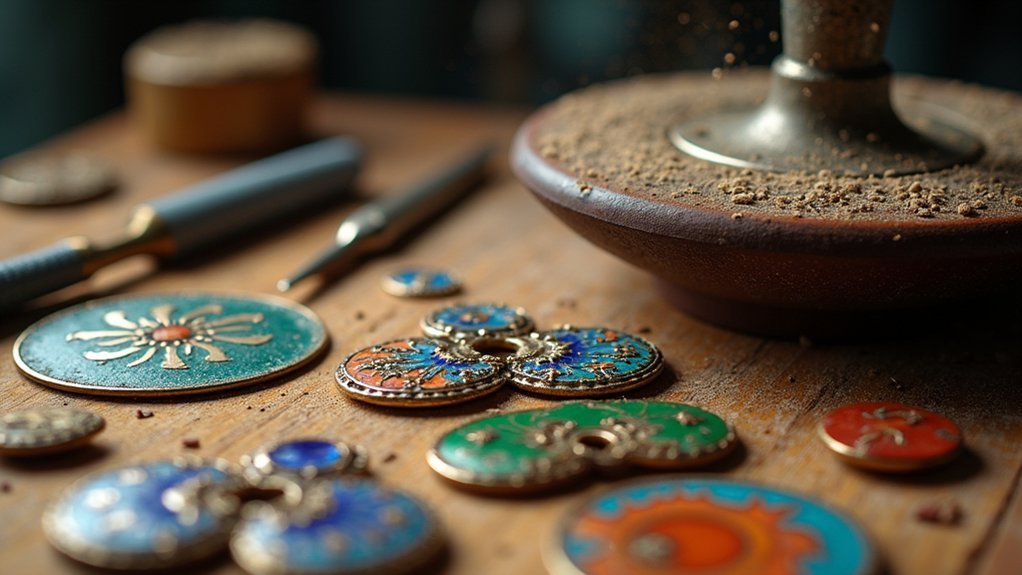
Transform your fired enamel piece into a masterwork by grinding and polishing the surface to achieve perfect smoothness and brilliant luster. This critical technique requires systematic progression through different grits to level the enamel surface with the cloisons.
Systematic grinding and polishing transforms rough fired enamel into a masterwork with perfect smoothness and brilliant luster through progressive grit techniques.
Follow this grinding and polishing sequence:
- Start with 150-grit alundum stones, progressing to 320-grit.
- Use wet/dry sandpaper up to 1500-grit for final polishing.
- Work under running water to prevent debris embedding.
- Refill and refire cloisons if needed after grinding.
You’ll often need refiring after grinding to restore color vibrancy and evenness.
For your final finish, choose between applying oil for a soft matte appearance or refiring for a brilliant glossy surface, depending on your desired aesthetic outcome.
Frequently Asked Questions
How Is Cloisonné Made Step by Step?
You’ll shape a metal base, solder thin wire partitions, apply clear enamel flux, fire at 830°C, add colored enamels between wires, fire multiple times, then sand and polish until smooth.
What Are the Stages of Enameling?
You’ll start by preparing and cleaning your metal substrate, then shape and solder cloisonné wires. Next, you’ll apply enamel powder in layers, firing each separately, before grinding and polishing.
What Are Cloisonné Enamelling Techniques?
You’ll create compartments using thin metal wires soldered onto a substrate, then fill each section with enamel powder and fire multiple times at high temperatures to fuse the glass permanently.
How Was Ancient Enamel Made?
You’d create ancient enamel by fusing powdered glass to metal at temperatures between 1400°F and 1650°F. You’d apply it in layers, firing multiple times to achieve vibrant colors and secure bonding.
In Summary
Mastering cloisonné enamel takes patience and practice, but you’ll find the results incredibly rewarding. Each piece you create becomes a miniature work of art that can last centuries. Don’t get discouraged if your first attempts aren’t perfect—even experienced artisans continue refining their technique. With consistent practice of these five fundamental steps, you’ll develop the skills needed to create stunning cloisonné pieces that showcase this timeless decorative art form.


Leave a Reply